Quote:
Originally Posted by Alcides

Your assembly line continues working very well 
Why do you did the holes after the assembly ? To me is easier just to do the holes before. |
Yes Alcides is true, but because the same motives of wing cutties explained in Brewster SB2A topic I choose make the holes after gluing the pieces...
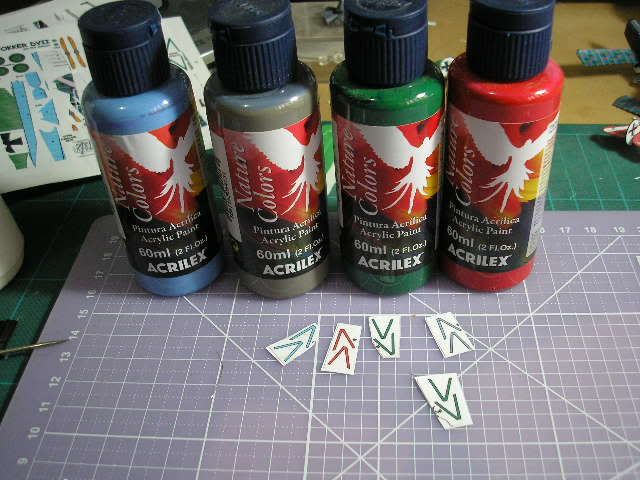
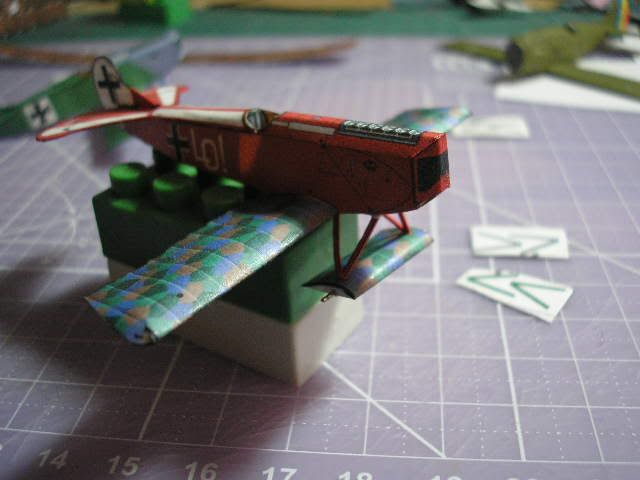
Retake the assembly of this project, I made the undercarriage, the first providence is paint with acrilyc paint the back of undercarriage legs, ater this paint I'm cutting with careful the parts...
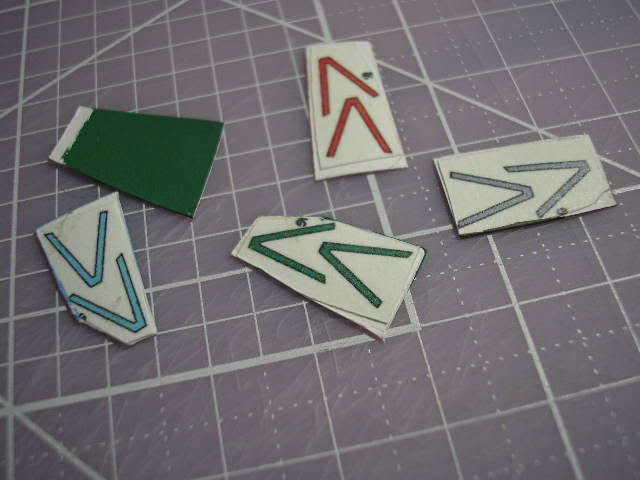
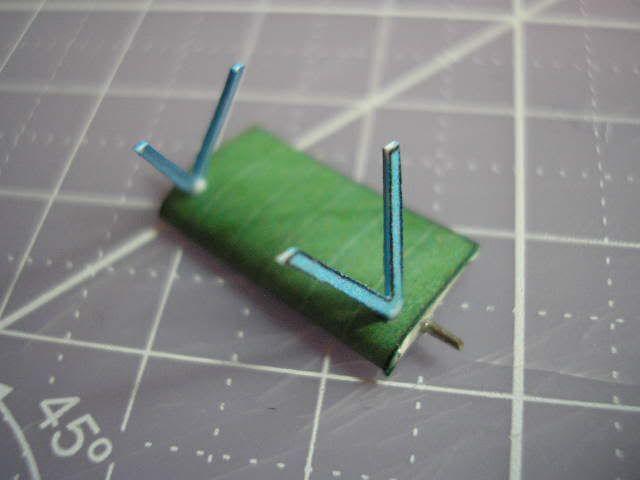
After I glue each undercarriage set in correspondent airplane, for this job I use a PVA glue with slow dry time...
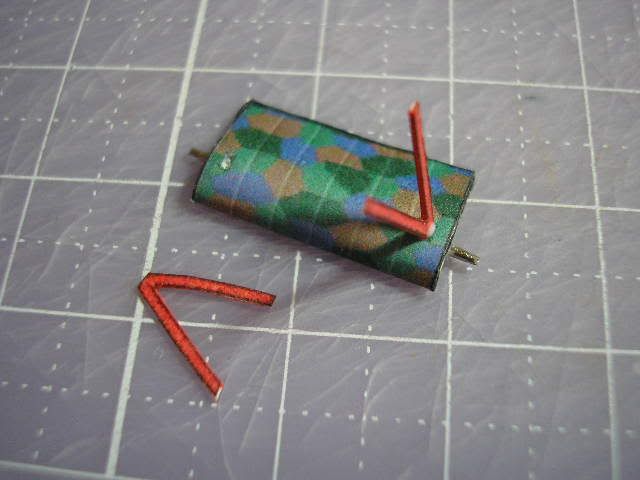
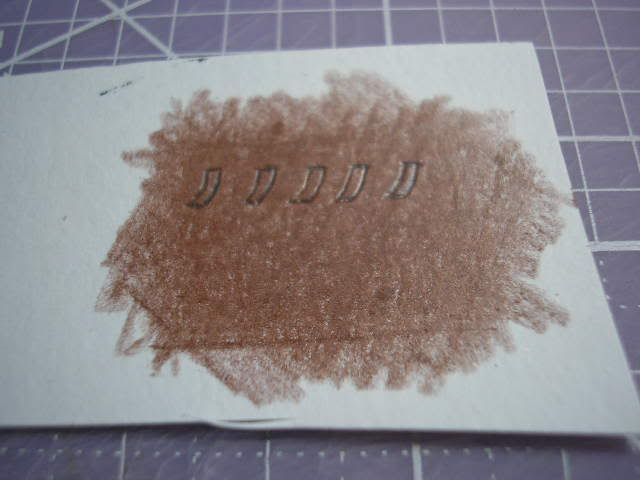
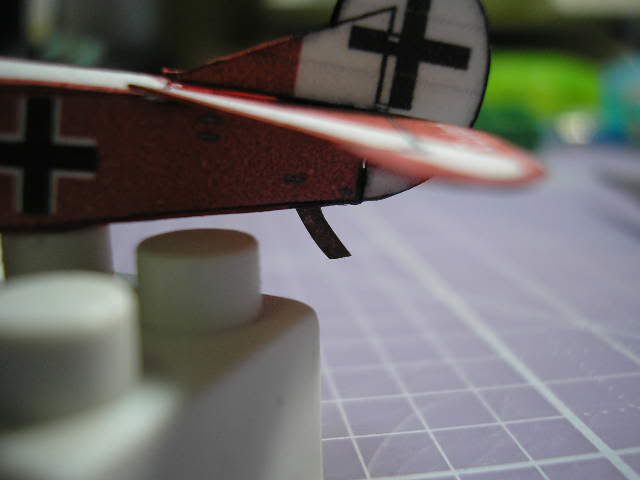
The next target is made a tail leg, in the original in WSAM scale (1/60) Chip recommend the use of scrap of balsa or matchstick, but in 1/100 180g para is suficient for reproduce this part, for simulate the wood grain I use pencil color drawning is multiple directions, before is cutting and glue in each plane...
The next objective: the undercarriage stais, control atuactors and cables...