Let's give some wings to the birdie.
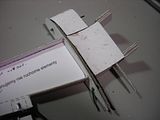
Let's start with the wire for the ailerons movement. Here again is the same method I used for the elevators and rudder.
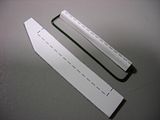
Verify that the size of the wire are the same as the slots where it will be attached on the internal wing structure.
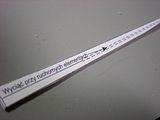
This piece says something in Polish... "if you wish to have moveable elements, cut here." So I did.
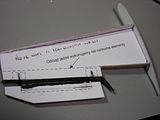
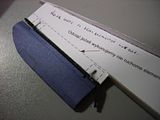
So, I glued the rest of the pieces to the wing structure and ailerons.
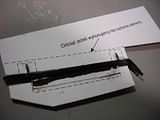
The piece of the structure says in Polish... "Do not cut if you wish to have moveable elements." So the model gives the complete option to have static or moveable control surfaces.

Now the complete aileron piece is built.
And it is now "stuffed" with its structure.

Before I bend the paper to create the wing form, I did the holes for the guns. On the inside I put a little piece of paper painted in black so it can give the view of the gun.
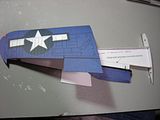
Now, I prepare the wing to attached it to the set. Here only the tip has glue.
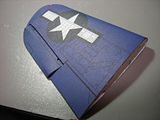
And now it is closed applying a good amount of glue.
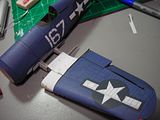
Another dry fit test to check its place and to verify the balance of the wing.