And here is a next update.
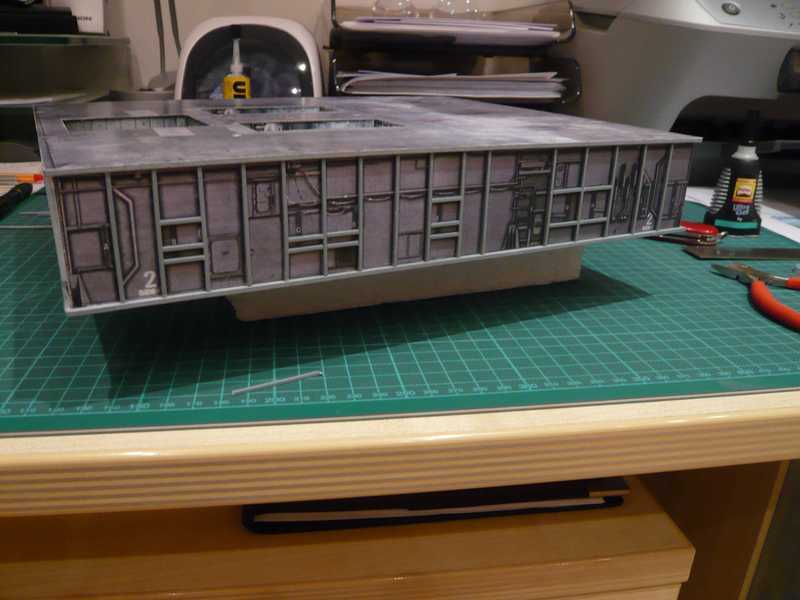
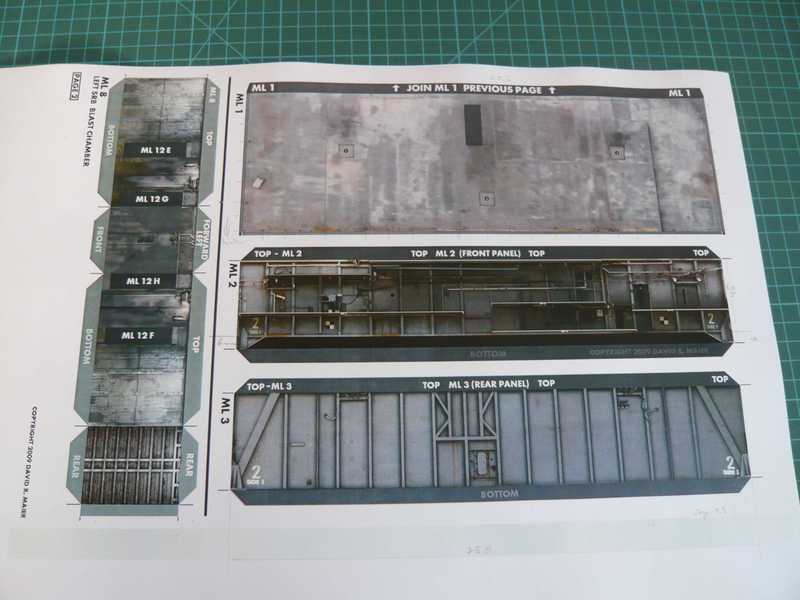
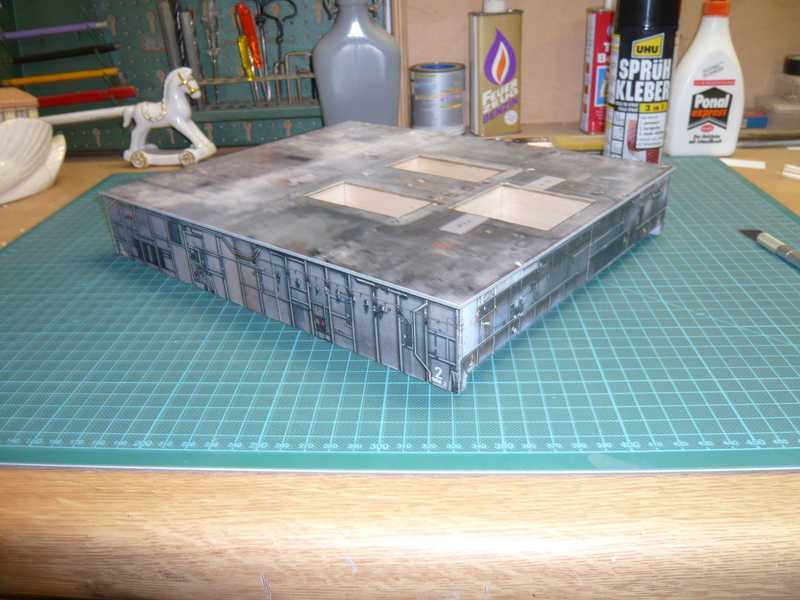
The carcass part looked last still rather naked. Therefore now first times the top deck got its decoration wallpaper. There first however times was the question about the most favorable sticking variant. Since such can full-laminar probably be pasted a relatively large surface of nevertheless approx. 30 cm x 25 cm from the tube or even with a Pritt pin rather more badly, I decided for sticking spray (Uhu). And thus it went then also completely well, although one must be careful, otherwise sticks there fast also everything else ...


Next was the front Side 1, whereby still following is to be entered afterwards: As one can see in one of my last pictures,
this front in the paper kit has the same height as the remaining MLP sides, which does not correspond however to the original, how one can see at the step on this NASA photo, which goes up to the center of the SSME Blast Chamber.
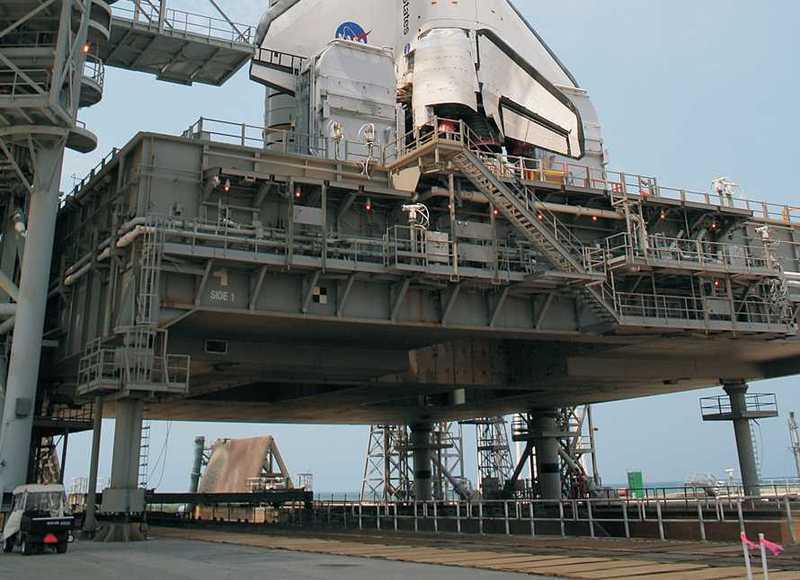 Source: NASA
Without this step the building of the MLP base would be somewhat easier, which however was not in my sense. Therefore I have corrected this small omission sin of Mr. Maier by the appropriate step.
And then finally still the remaining 3 sides of the MLP followed.
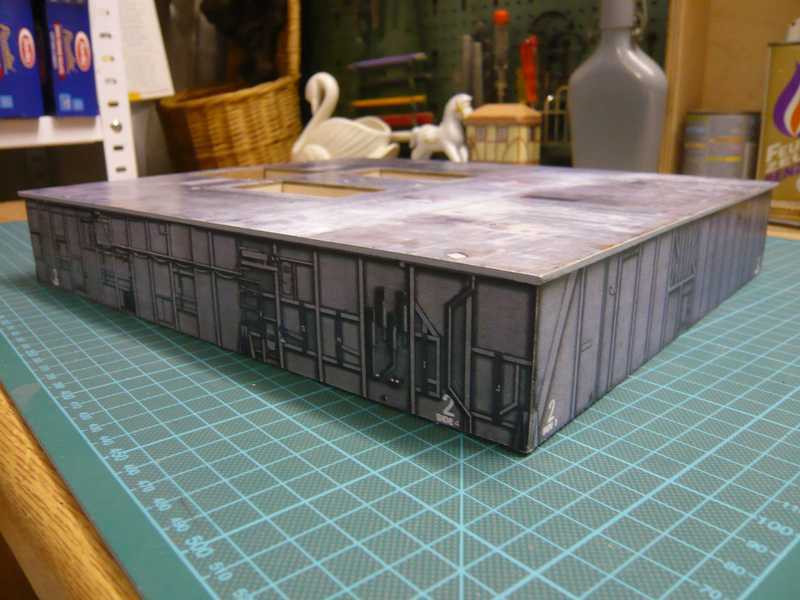
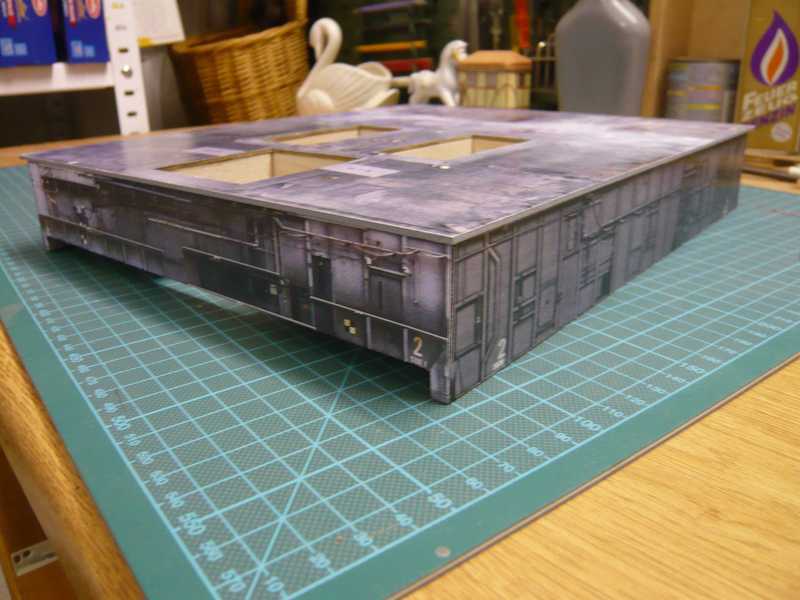
Now the MLP looks equal already many nevertheless better.

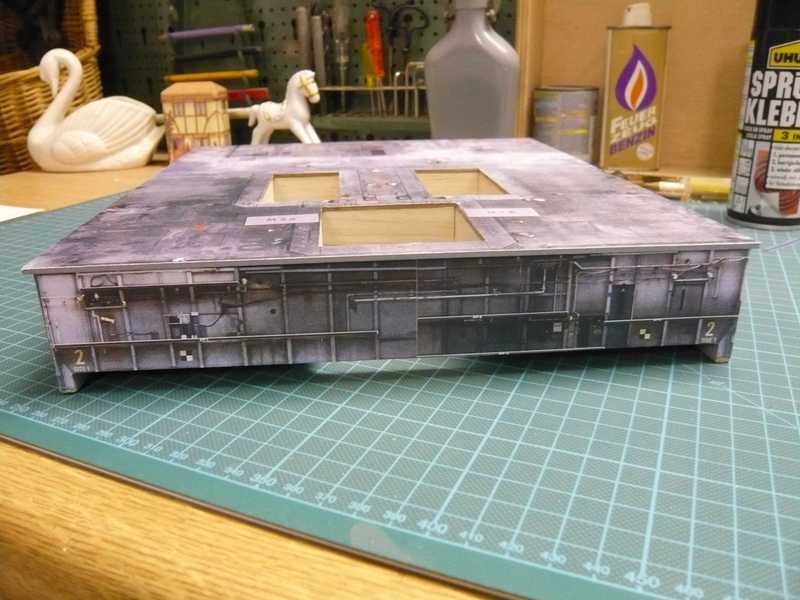
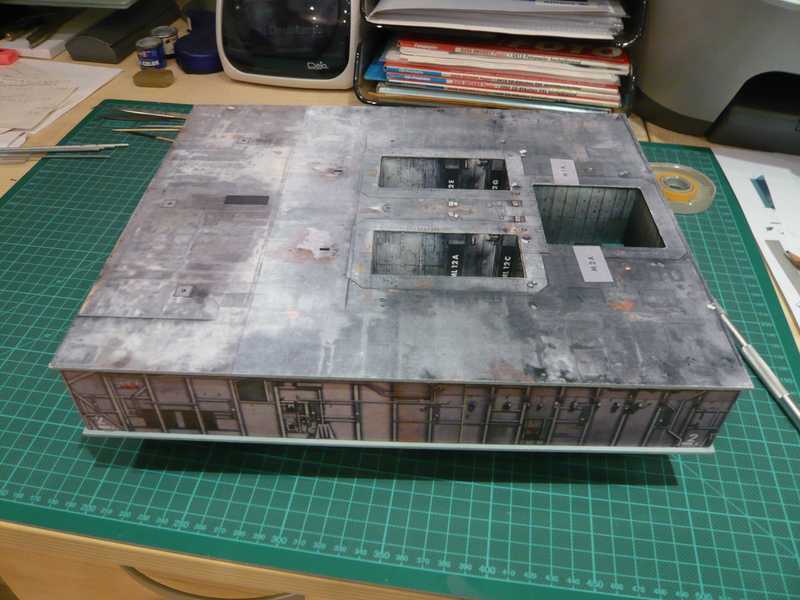
Next the bottom side was completed, which got a grey painting from the Tamiya spray.
Thus then the outside covering of the MLP would be actually already nearly complete.
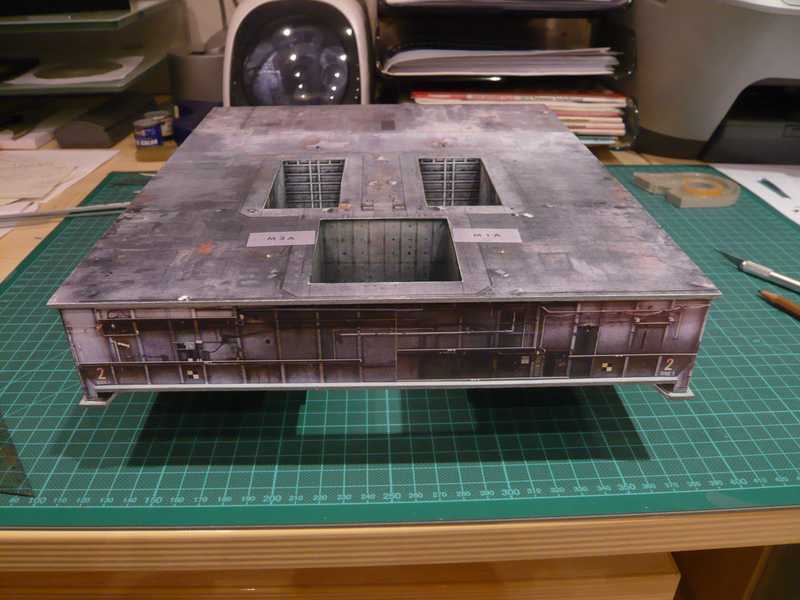
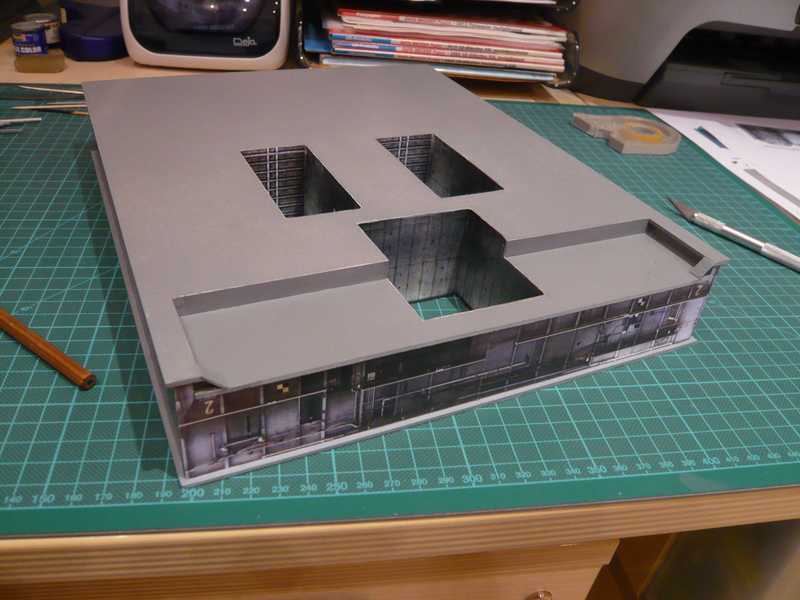
And as one can see, became already also Blast chambers for the two Rocket booster (SRB) as well as the Main engine (SSME) disguises. During launch the hot exhaust gases are derived by these openings.
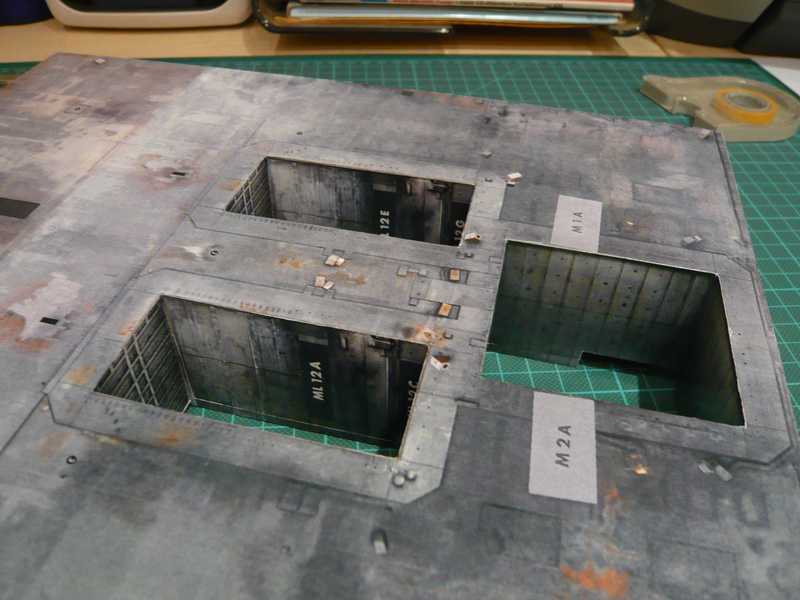
Although everything don't look bad already, however Blast chambers are just like the 4 sides to be structured later still further by scratch building with Evergreen Styrene strips. Therefore I've prepared already some meters of strips (1x1 mm and 1.5x1.5 mm), as well as priming and paints. That must happen with my mixed media building method (unfortunately) before sticking together, since following painting is absolutely taboo.
And that will be simultaneous then for me also the entrance into the Airbrushing, with which I have so far still no experience. Property in addition on recommending my modeling shop forwards to test the Aqua Color colors of Revell.
Then I unpacked my Airbrush basic set from Revell with compressor, loaded the gun and completely started courageously straight. Knew so far only the terrible vapor from the Tamiya sprays.
And those are now my first proud results, approx. 6 current meters, which wait now for the cut.
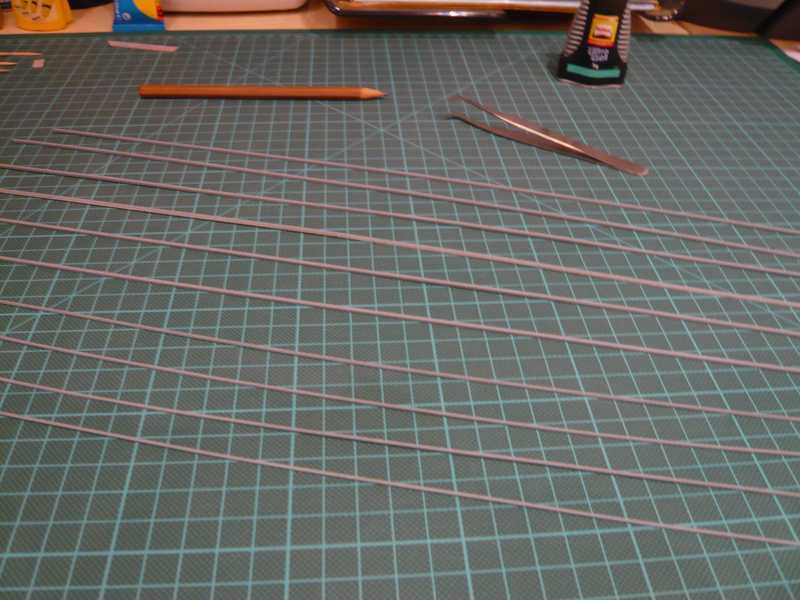
Those are profiles 1.5x1.5 mm for the MLP sides and 1.0x1.0 mm for the SSME Blast chamber.
With the result I am so far quite actually content, but every beginning is difficult ...
And now the freshly painted profiles should come naturally also on the right places. And so the first meter profile 1.5x1.5 mm is already glued, and it looks already quite good for the beginning. This 3D effect looks much better than the 2D printing surface, isn't it?