okay, so its been some time since this thread was started
and I have been saying for a very long time, that I need to overhaul and update my P47 template.
And I have finally caught up on enough projects to do that!
First step is to complete the full vector redraw of the P47 template...
and add a few needed items ...like a Cockpit and recessed Landing Gear wells.
This also means creating new Landing Gear, new Tail Gear and Tail Gear bay.
I also want to tweak a few seams and panel lines.
And add a lot of new details.
My second trip to the Smithsonian Air & Space Museum left me with a bunch more closeup reference photos
of the P47 on display there...so I have plenty to improve on rivet and panel details, as well as closeups of many other areas.
[My P47 Flikr album:
https://www.flickr.com/photos/659362...7650603690231/]
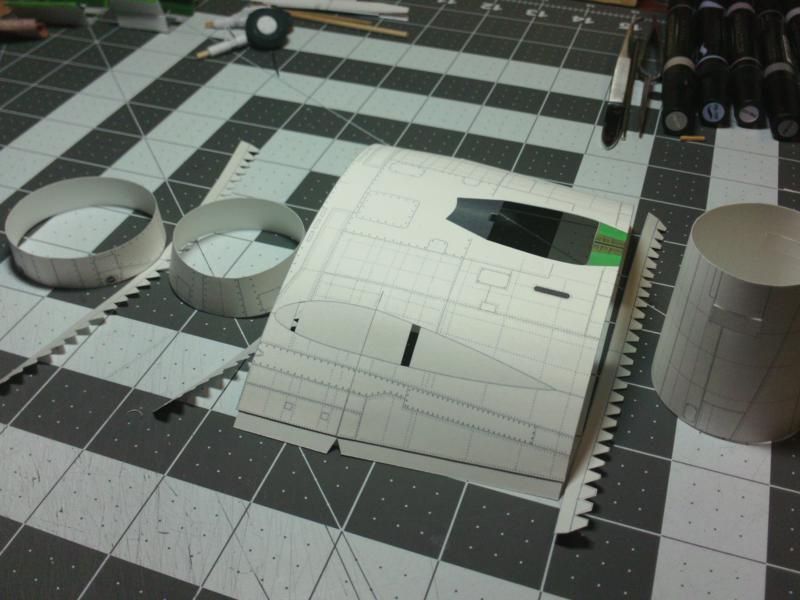
I am finally printing parts and test building to see if things are going to go together.
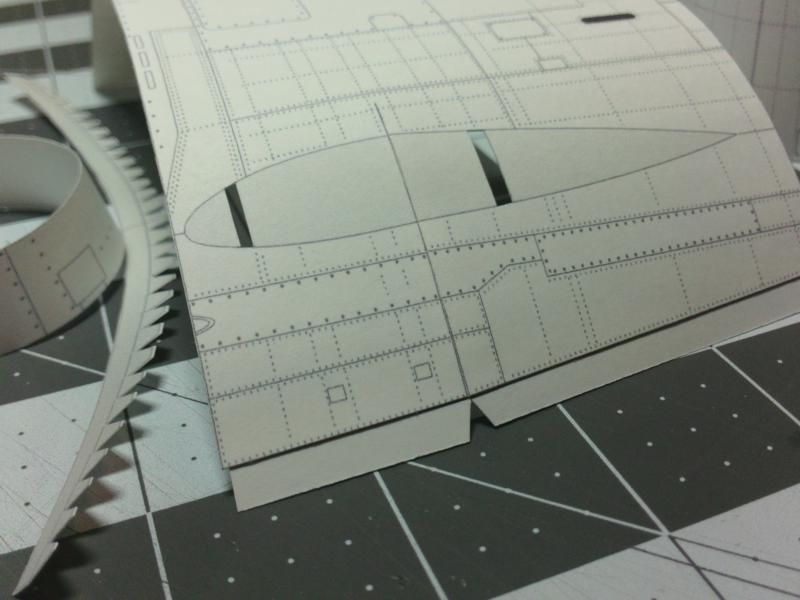
You will notice the new wing spar arrangement calls for two fuselage holes instead of one.
As I said, I am tweaking seams and connections, along with panel details and adding rivet textures.
So far, things are going together quite well.
One area that needed a little bit of clean up, is that lower cut in the center fuselage section, that creates the curve under the cockpit.
The two sides never matched very well. You could fix it with cutting, but I thought it was time to make it better.
Once I change the colours, the seam should be a lot less noticeable.
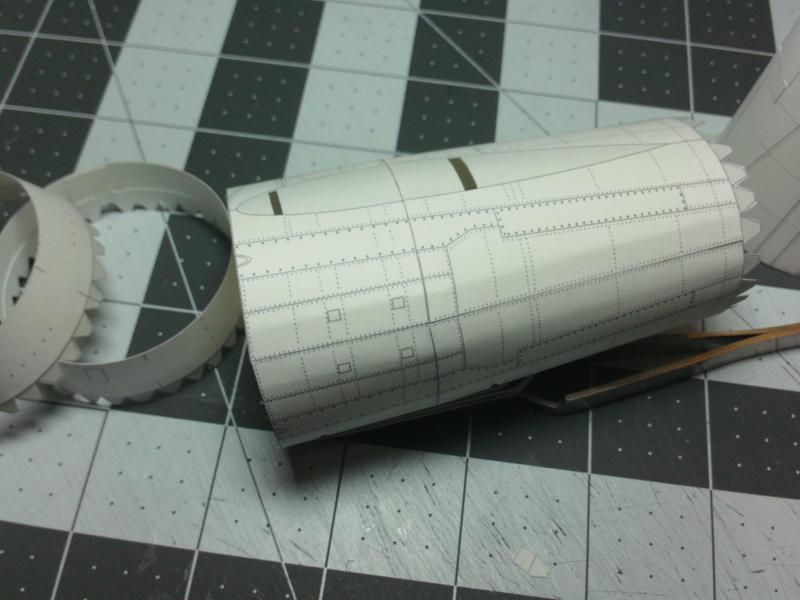
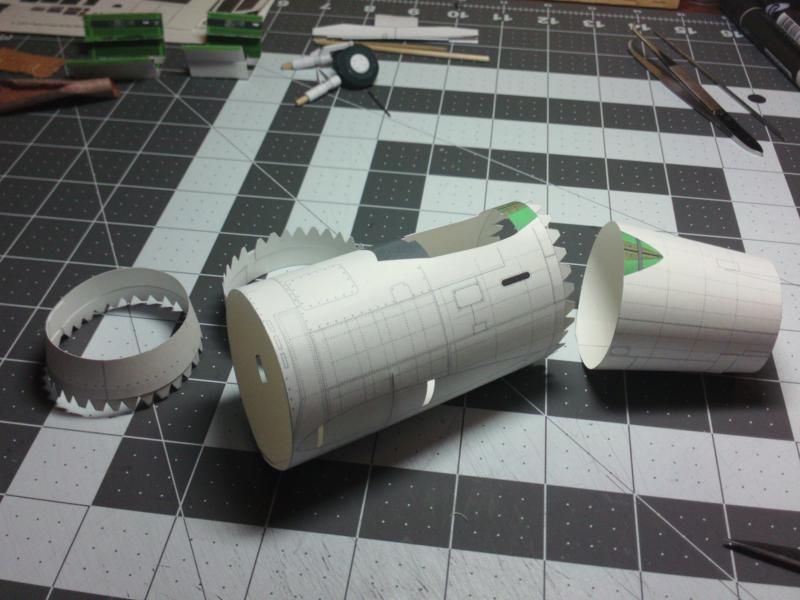
I won't get too carried away with the construction of this "white" test,
but I am connecting the main fuselage elements to check fit and finish
...and I also need something to fit the new Cockpit into!
You can see I have created the cowling over the Instrument panel, and the rear armour deck
...I'll probably add some 3D parts that you can add on top (if you want).
The cockpit "tub" took three builds to get it right, and to figure out an assembly method.
Its easy to design a box that glues inside the fuselage, but you also need to consider "how to get it in there!".
And how to properly support it, and not interfere with the rest of the fuselage assembly.
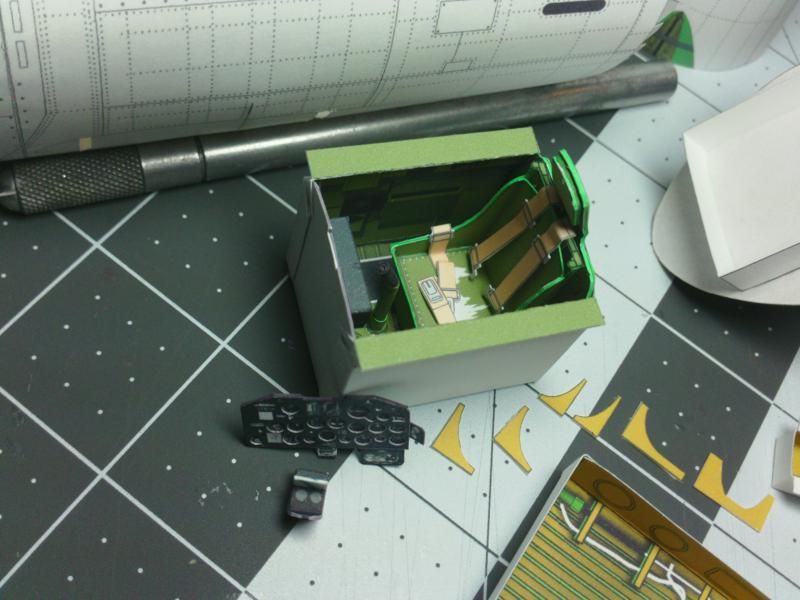
I think I have it sorted, using a spaced double former near the center of the fuselage.
You can see the additional former in this pic, with its supporting shelf for the cockpit tub.
The Instrument panel is three layers...a supporting layer and the panel itself.
I'll also include a optional top layer, if you want to cut out all the instrument holes (like I did).
In front of the panel, you can see the gun sight which will mount on top after the cockpit tub
and instrument panel have been installed in the fuselage.
I've also started to assemble one of the Main Gear boxes...
and you can see the new tail Wheel box and Gear.
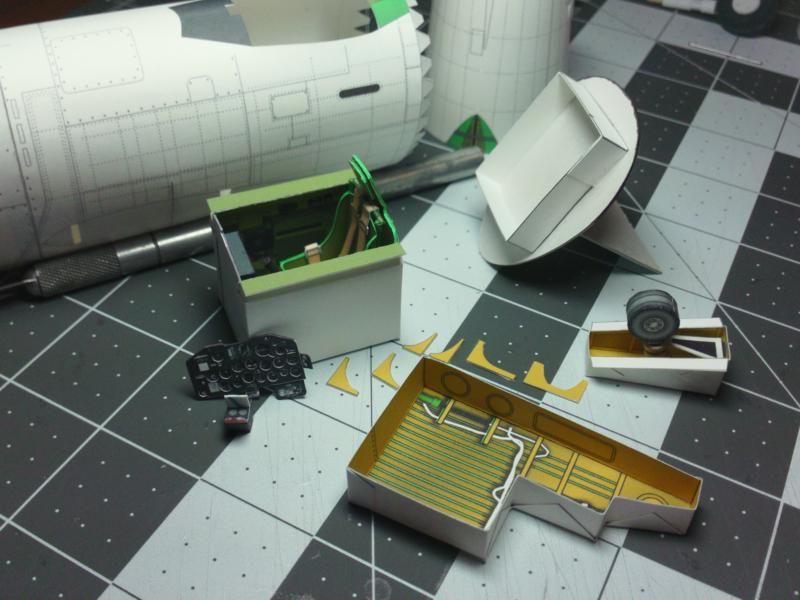
Stay tuned!