To complete the "fuselage", you need the front/engine cowling which also includes the engine artwork.
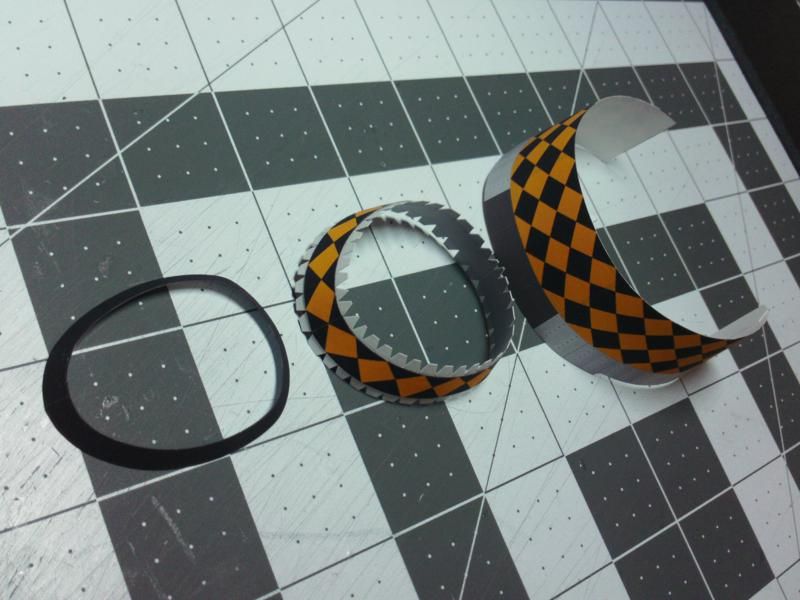
Three ringed sections make up the cowling plus a tabbed joiner strip that is installed on the inside of the middle ring.
The rings are shaped (using the formers as reference) and glued using small joiner tabs.
Then bend the tabs on the center part and attach the other two parts making sure to line up the top and bottom center lines.
...
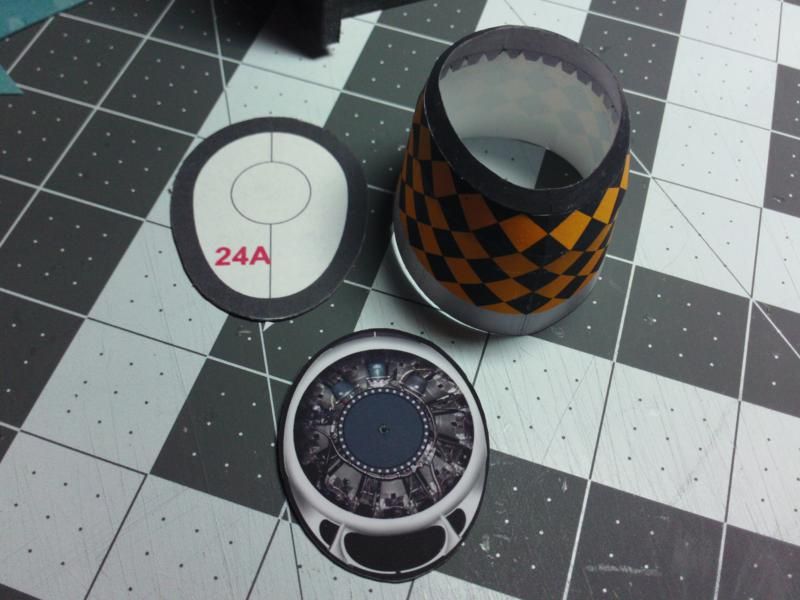
Once the three sections are tightly glued together, you can install the engine former.
Glue the engine artwork to heavier card (like the other bulkhead formers).
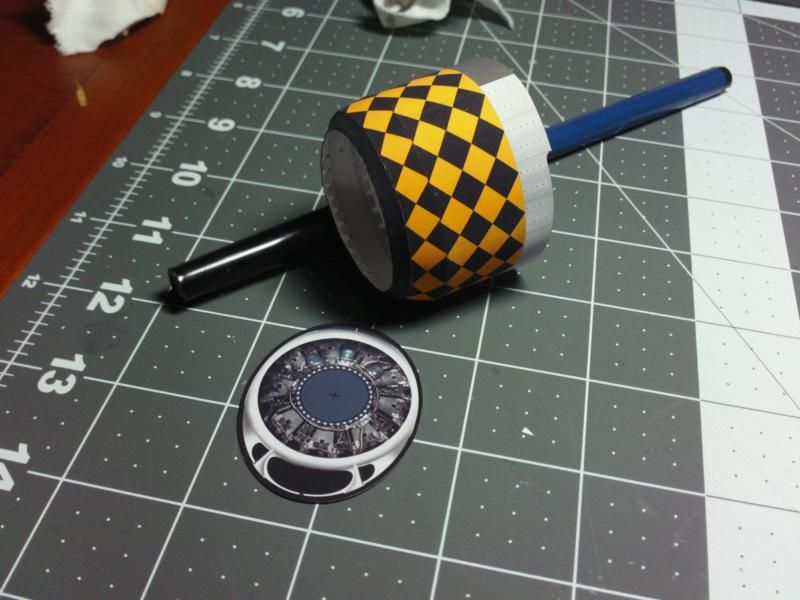
But first, I like to burnish the cowling parts to get a smoother finish and make the whole thing a lot more rounded.
Once again, place the part face down on a flat surface and burnish from the inside, across the seams, with a rounded end tool.
(The marker in the following picture is just a support...not my burnishing tool!)
There is a second former that must be installed, this one to the rear of the engine cowling.
This former not only shapes the cowling, but is the mounting plate to the main fuselage.
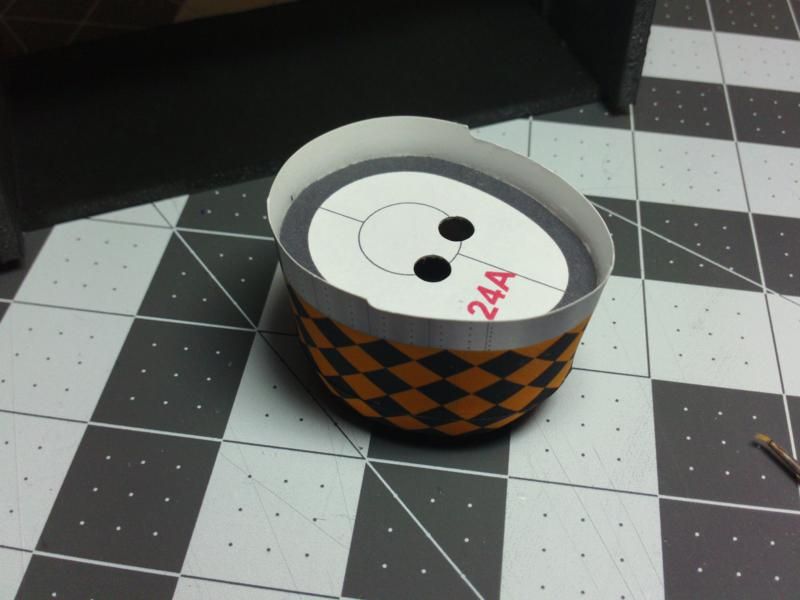
You may also notice I created a hole in the center of the engine to receive the intended propellor support.
You'll need to plan out the propellor assembly to create the proper size hole in the engine.
I will be using a sanded wooden toothpick, about 1.7mm diameter, so I drill a slightly smaller hole that I will ream out later.
The centers of all the related engine and propellor parts are clearly marked for this purpose.
The engine plate fits a prescribed depth from the front edge of the cowling (as stated in the instructions).
The rear former fits at the base of the engine cooling flaps.
Note: the cooling flaps are marked out and can be cut to bend outward.
...
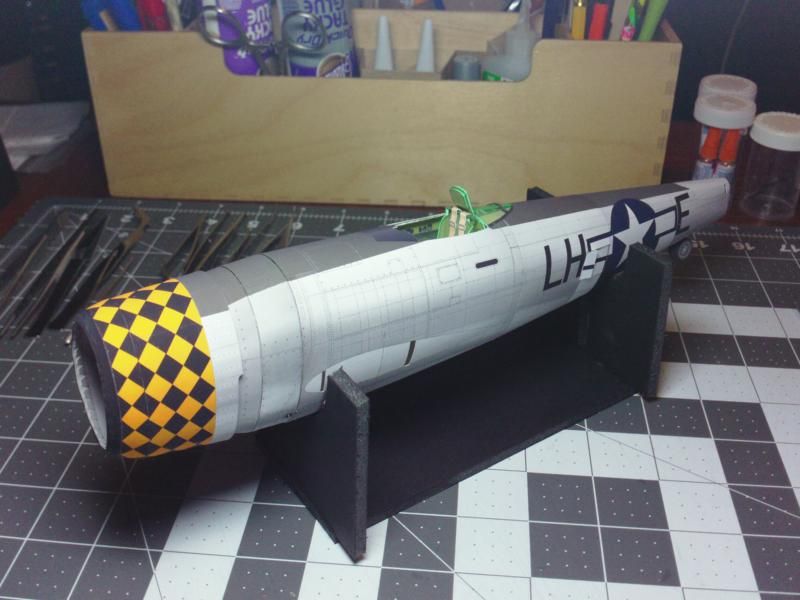
And the last thing to do (to complete the Fuselage) is glue the complete engine cowling to the front of the fuselage.
Just butt it up, center it (top and bottom, side to side) and glue in place.
Once it is secure you can assemble and attach the propellor parts.