Been reading a lot more information about the Bud Rocket Car and that day in December of 1979...
some very interesting transcripts, from people who were there and people in the know,
disputing most of the claims as to a supersonic run by the car.
According to some eyewitness accounts, there was in fact a legitimate speed trap reading recorded
during the "supersonic" run of the Bud Rocket car...a recorded speed of 666mph.
Obviously well below the speed of sound.
(According to car owner Hal Needham, the car had hit 740 mph before the speed trap and was
(for some strange reason) slowing down when it entered the trap.)
Its important to note that 666mph would have set a new World Land Speed record at that time
if the car had met all the FIA requirements.
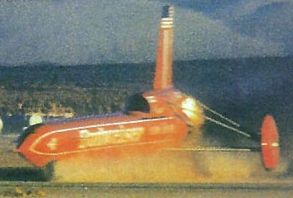
Air Force pilot Chuck Yeager's support that the car did indeed go supersonic, is based on a theory that
supersonic shockwaves will create a lifting cushion underneath the rear of the car.
A well know photograph of the car, taken as it enters the SpeedTrap, clearly shows the rear wheels
about 10 inches off the ground.
Regardless of the actual speed, I say you have to have some very large kohonees to drive a rocket
at that speed...on only one front wheel!!
...
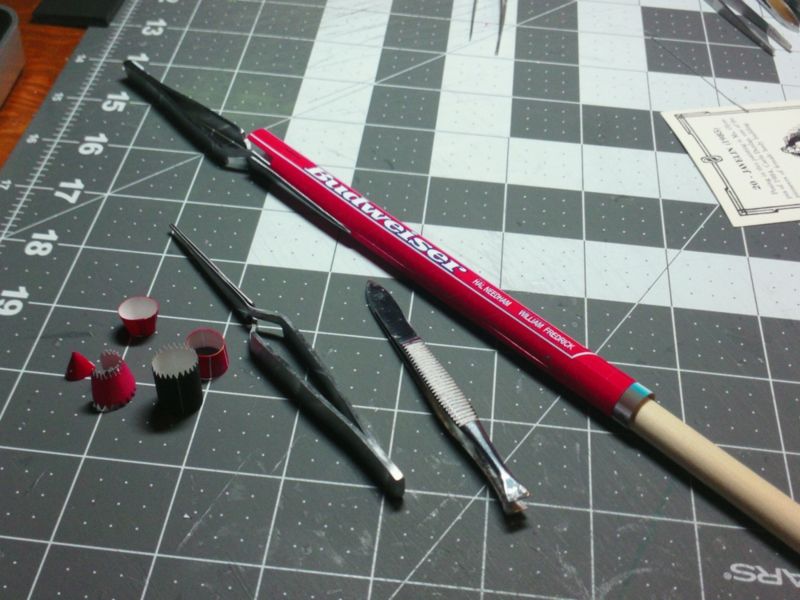
So I think the toughest part of this model (for most people) is the main tubuar body of the car.
I am in that group, that struggles with rolling paper tubes.
I tried three slightly different construction designs before settling on this last one.
I also considered breaking up the tubular body into two or three smaller/easier segments.
But this car does not have any major seams in the fuselage and the scale demands fewer parts.
I use wooden dowels, and other round objects, to assist in rolling my tubes.
I have a large dowel that is almost the correct size for the tube.
A smaller dowel helps get a stronger curve into the parts.
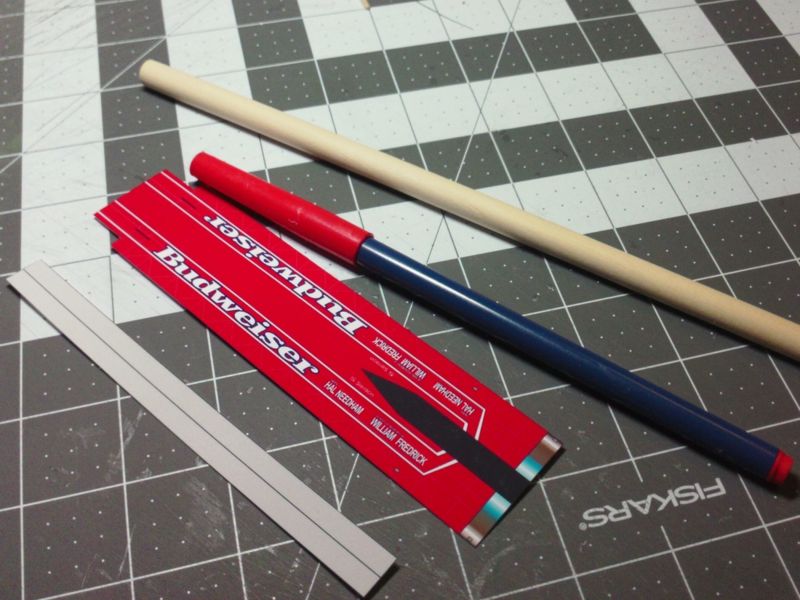
Start by cutting out the main part and the joiner strip.
Cut out the forward notches (for the front wheel parts).
Edge colour the part.
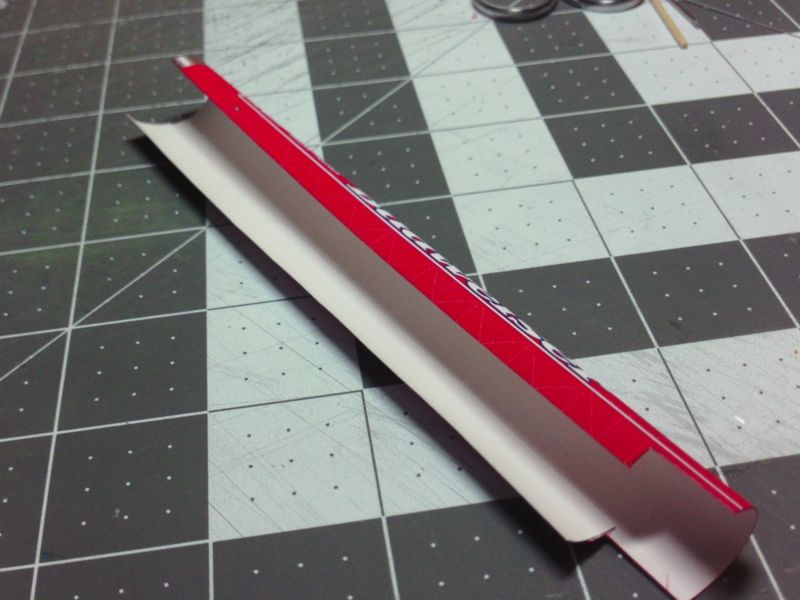
And then, start rolling the main tube parts.
...
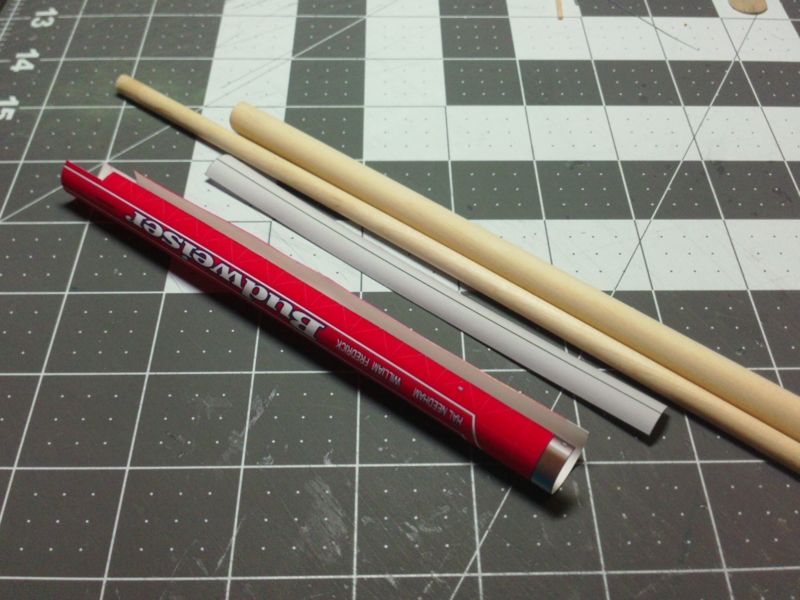
I don't do anything until I have established a strong curve into the parts.
I want the parts to retain their tubular shape, on their own, as much as possible.
Next, I glue the joiner strip in place.
(You could glue the joiner strip into place before you roll the tube, but sometimes you create a crease
visible on the outside of the tube (right at the edge of the joiner strip).)
...
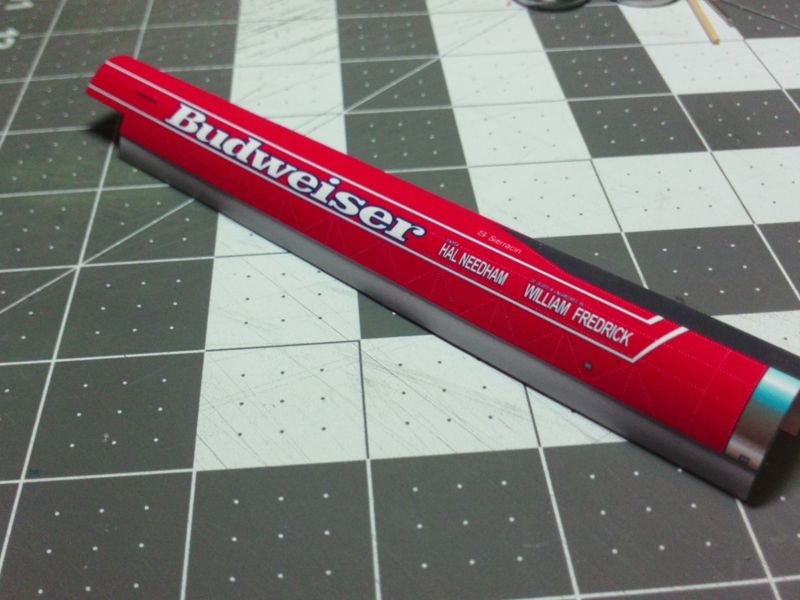
Last thing to do is glue the opposite side of the joiner strip.
This is where it gets real tricky...keeping a tight seam, while keeping the tube straight and untwisted.
I use dowels inside for support...and clamps to hold the ends as i glue the middle areas.
And, I print extra tubes.
Do it three or four times and you get the hang of it!
You can also see, in the photo, I am preparing the nose cone parts.