Lets keep this going!...
next step is to assemble the upper fuselage elements.
This area houses the cockpit, and supports the vertical stabilizer.
(...also, the second rocket motor was installed under the stabilizer.)
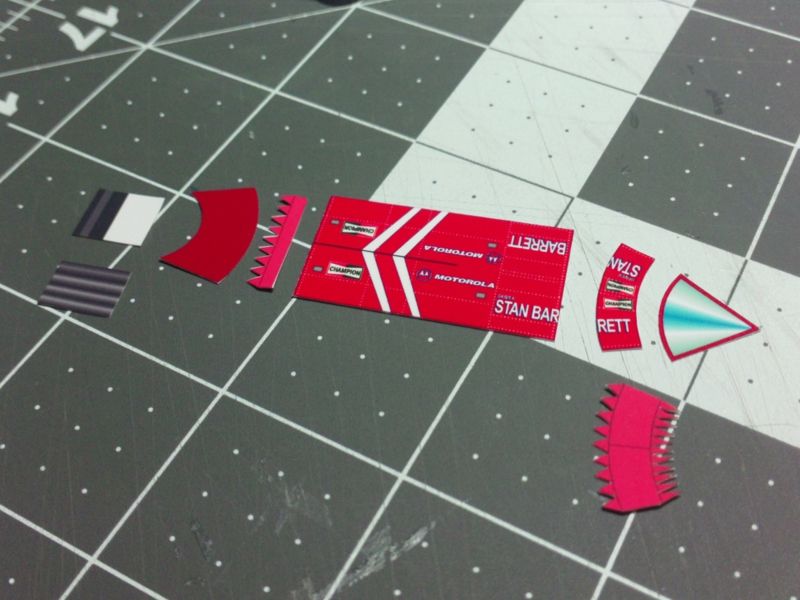
Cut out the parts:
Cockpit canopy, forward and center sections, and the extra cover added over the Sidewinder Rocket motor.
There is also the exhaust tube for the second rocket motor, and two tabbed joiner parts.
...
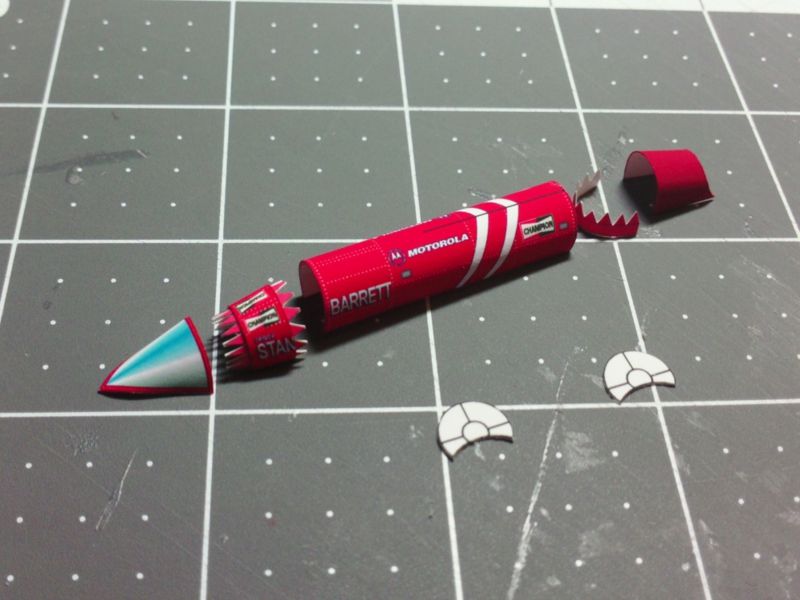
Once agan, its important to curve and pre-shape the parts.
Install the tabbed parts after everything is nicely shaped - and holding their own shapes.
I have also added two "formers" for the center section.
Completely optional, but might help the longer section retain its shape.
I glued the formers to two more layers of card, so they are stiffer.
Note: make sure to install the formers far enough inwards to clear the joiner tabs.
...
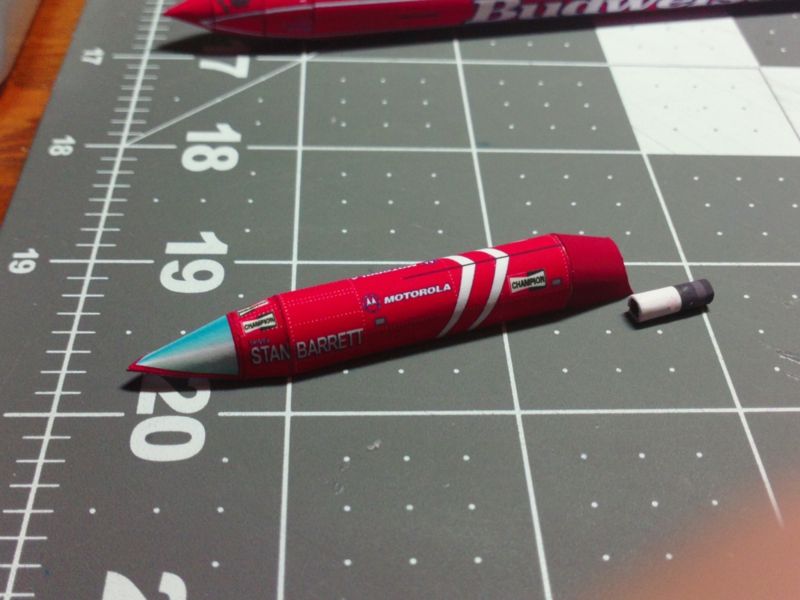
Hardest part is keeping the shape in the Cockpit Canopy part.
Because its a very small tapered half-conical part, it wants to unroll.
You need to keep shaping it with your fingertips, and only when it is glued into place, will it retain its shape.
The exhaust tube is ready to slip into place after the assembly is installed on the fuselage.
It is constructed from an inner and outer tube.
...
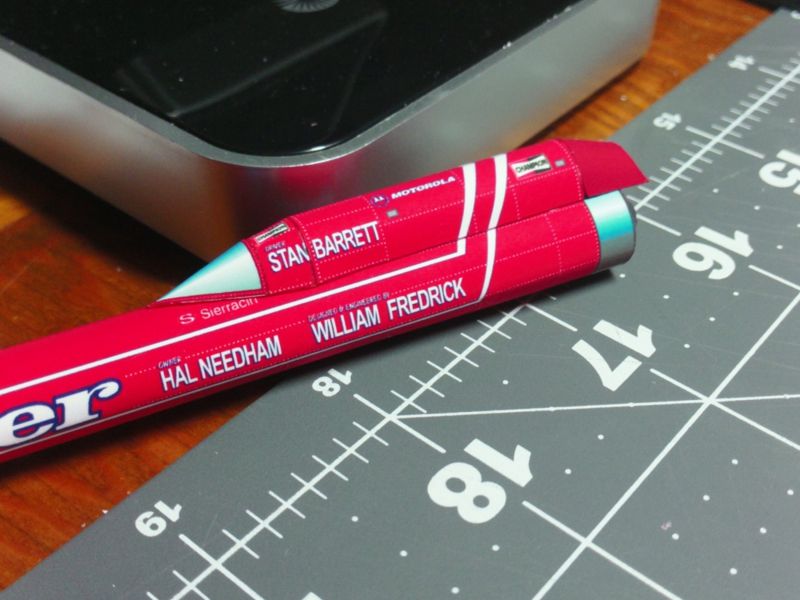
If its all shaped properly, it will sit on top of the fuselage quite nicely.
As I said, you may have to coerce the canopy back into shape, but thats all.
A thin bead of glue along the edge of the assembly should hold it in place.
A tight fit against the main fuselage is important, so press it down hard.
Make sure to line up the stripes, they will be your reference.
...