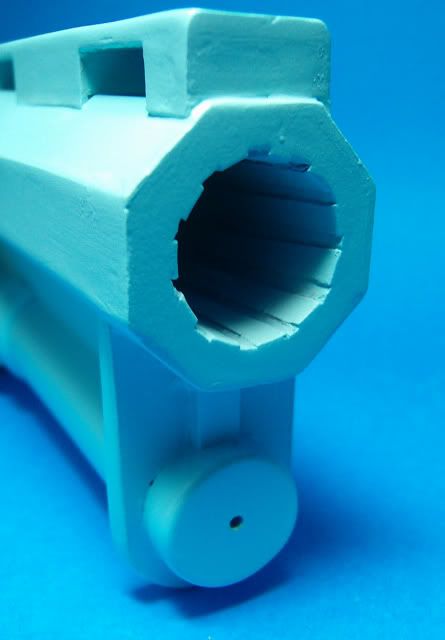
The Barrel Liner: The kit comes with a printed liner, but of course I wanted proper rifling, so I cut some thin card into strips an applied the to the printed part. I the painted most of it silver, as it would be difficult to reach with a brush later on.
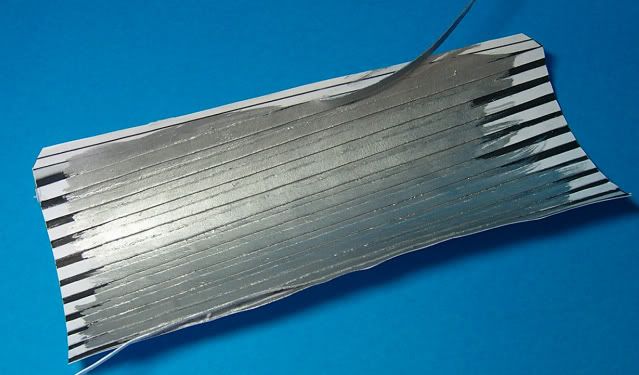
This will make it more difficult to roll up, but take your time and all be okay. I've left the ends of the overlapping parts of the rifling loose so the can be glued over the seam when the rest of the liner is dry. (This all fell in a heap of course when I discovered my barrel wouldn't fit. see last post).
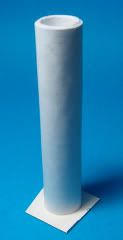
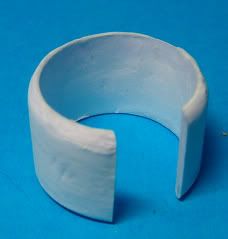
The Round 'Recoil damper" is done just like the ring earlier, only longer. more detail will be added to this at a later date.
The huge size of this weapon is really becoming apparent now.
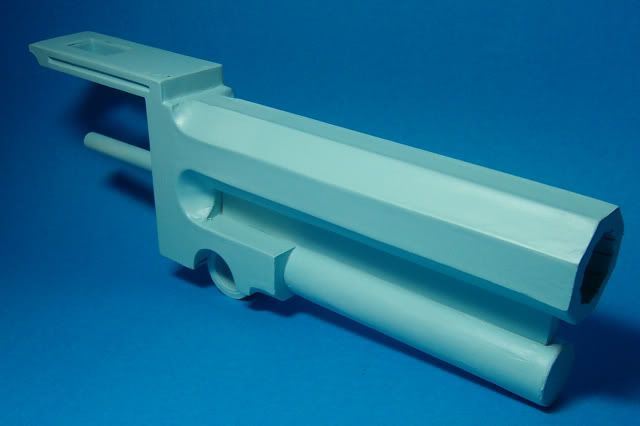
All parts have been given a thourough coating of superglue, before sanding, primering, supergluing a bit more in spots, sanding some more etc etc.
I've gone the extra and moved up to spray putty (a type of thick, heavy build body spray, available from auto parts suppliers) for the main sections, as there's no detail to obscure yet, and it will hopefully make the job quicker.
Smells a bit though.
Next picture shows a couple of additions to the basic model, that are aesy to add and easily visible in photo's of the real one.
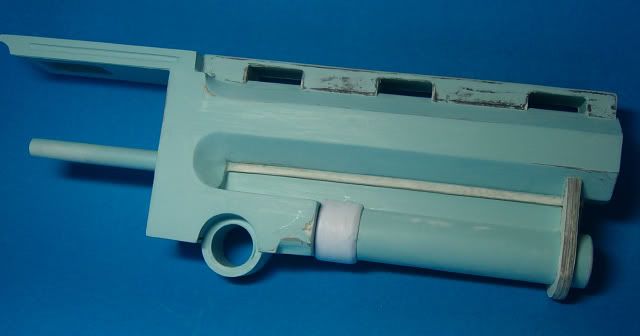
Firstly, and simply, a couple of bars running down each side under the barrel. a couple of strips of card about 2x3mm fixed this.
Second, a bit of a bulge at the rear of the recoil compensator tube. rolled, like everthing else, from paper with the ends sanded to shape.
I made this as a full tube and cut it to fit.
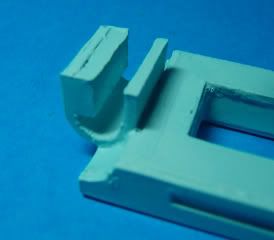
The barrel clamp was laminated up to 5mm thick, and fixed in place. A trick for cutting such heavy laminations is to cut one layer at a time, stick it to the next layer and use it as a template to cut the next layer.
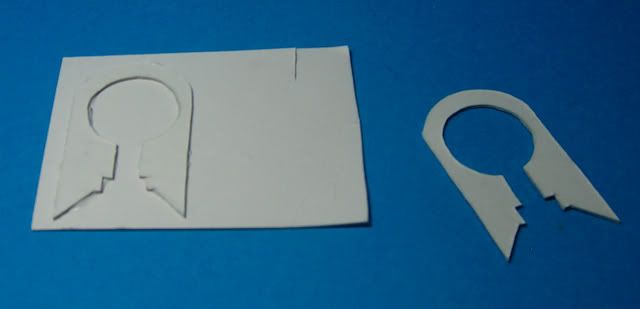
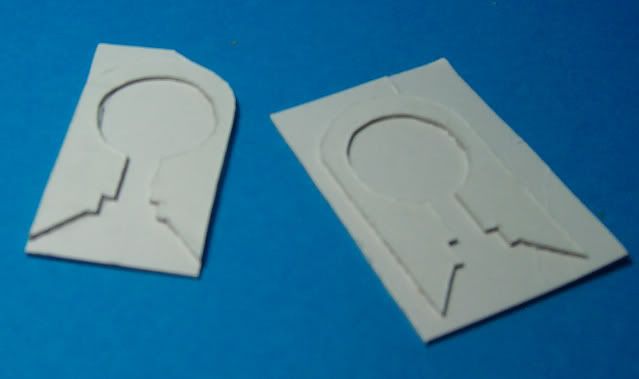
The next part worries me a bit, as its supposed to support the locking mechanism at the rear. the included pieces seemed wofully inadequate for the job, so I made the whole piece anew from a horseshoe of layers of paper superglued at every layer (no white glue) to basicly make what is a solid plastic part. I'm still not sure it'll be strong enough, but time will tell.
*NOTE* I didn't end up using this part at all, due to my subsequent total redesign of the catch. Not a fault of the model, per-se, just a personal choice.
And here it all is again , which essentially completes the barrel assembly with the exception of the sights and screw details.
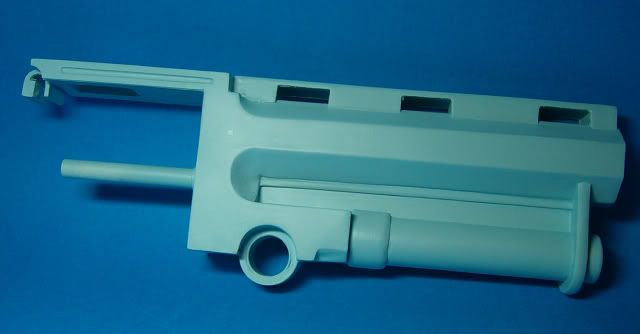
...Next up: the cylinder. (I really hope it fits past the catch thingy on the back....)