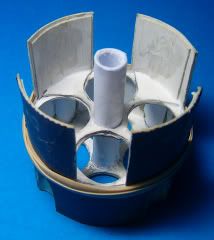
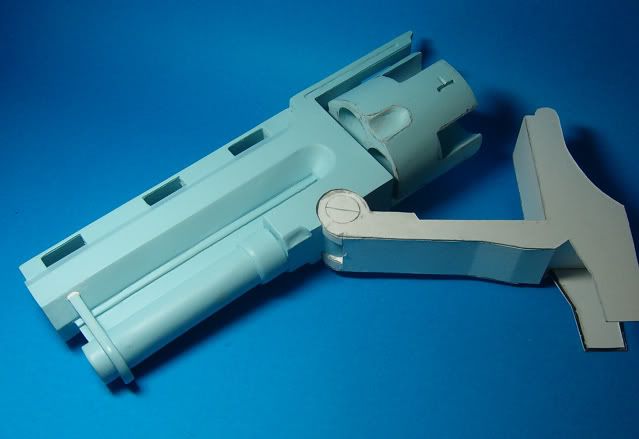
Cylinder Started:
I think I've made this more complicated than nessesary, by asuming that I could build it better than designed, without actually testing to see how the design worked in the first place. So I've added extra rings in the middle, and gone with simple tubes at the front, and horseshoe shapes in the top, but this leaves me with a seam accross the middle of the chambers that the "proper" design wouldn't. Appologies to UHU02, you are not to be doubted.
Anyway, pictures:
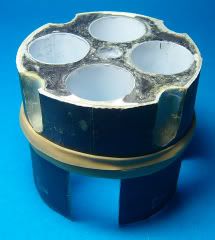
sorry no pictures of the offending seams, camera recharging.
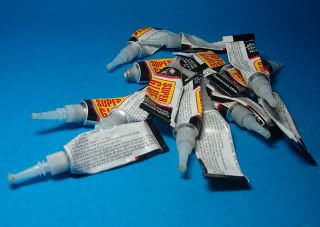
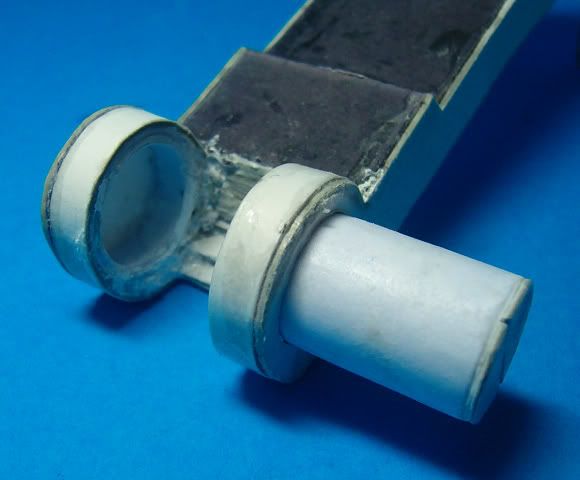
Now, I mentioned earlier that large quantities of superglue are required for this type of construction. Here's a picture of the carnage so far:
Mind you, I have a barrel assembly I can stand on now.
oh, and in case you are wondering what calibre this monster is, it's only a 22.
22mm! It's puts me in mind of 12 guage shotgun sort of size.
and yes, one of the wonderful thing about this technique is it DOES start looking like crap, but thats no problem 'cos it's going to be sanded and painted, so you can be as messy as you like.
While I'm waiting for the cylinder to set up, I've started on the frame.
the pivot point at the front has to take a lot of stress, so I reinforced the hell out of it.
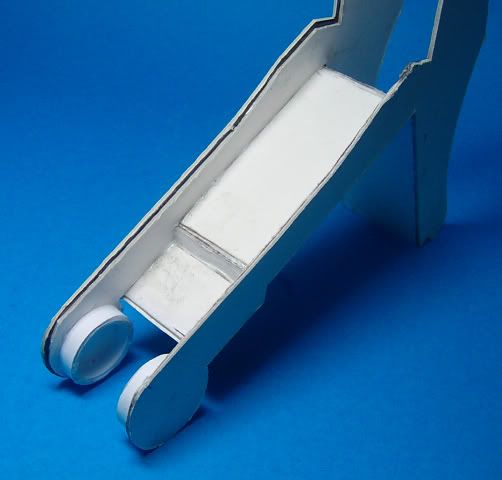
The whole lower section of the frame right to the back near the handle is pretty much solid laminated cardboard.
Something the instructions would have you do is leave one side of the frame loose so you can fit a retaining pin inside and then close it up. I noticed watching the movie the other night that there's a large screw there, so I'll be going down that route.
...now I've just got get to the blighter out again........:o