I'm doing this tutorial for a couple of reasons;
Some people seem to like my tutorials. lol Don
These new Paper Wheels for the C130 model are a not an easy build.
Working with Hoops, Ringed construction, and tabbed joiner strips is common in my models.
The C130 Paper Wheels I created are tough to build.
Mainly because of scale (1/48)
At this size, the strip parts are thin and small.
But, with patience...and a little help...you should be able to get through it.
lets go!
Do me a favour, and wait until the end of the Tutorial posts to leave any comments.
...................
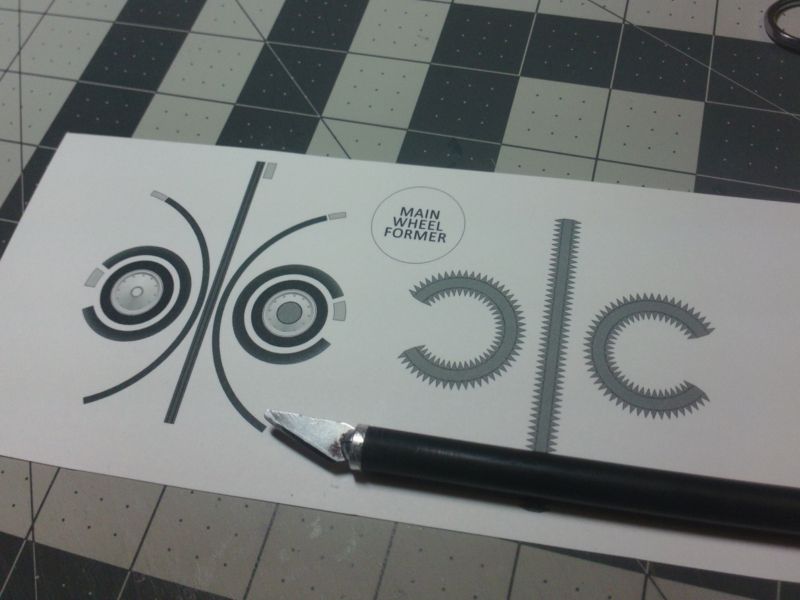
1. I start by scoring all my fold lines.
In this case I'm only building one wheel, so thats all I have printed.
Normally, I would tackle an entire sheet of parts and prescore all the fold lines.
I use a blunt Hobby Knife (ground down to flat on a stone).
There is another thread here regarding Scoring Tools - look for it!
...
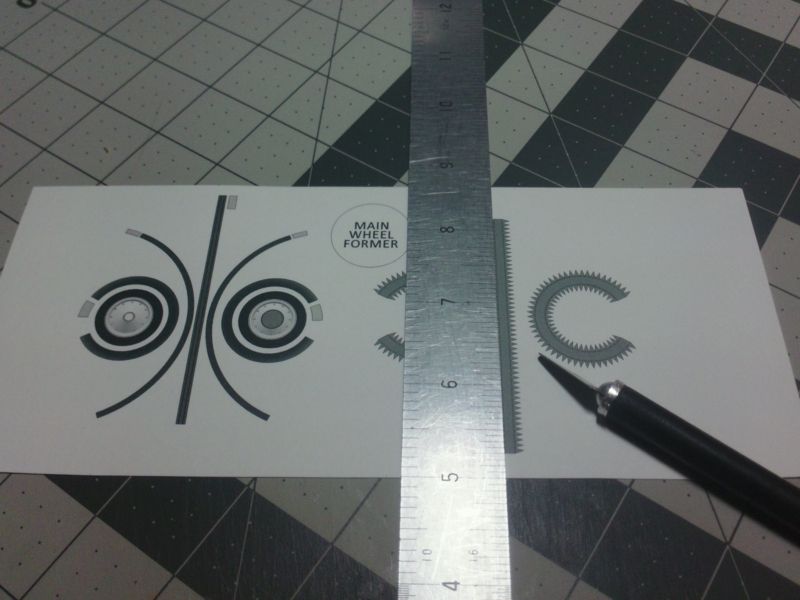
2. I use a straight edge wherever possible...for scoring and for cutting.
Unfortunately, when building round things, there are few straight folds,
so a lot of scoring will be done freehand.
In this case, its just the tabbed joiners that need some scoring.
Just take your time...patience, as usual, is your friend.
He says while pulling out the last of his hair!
...
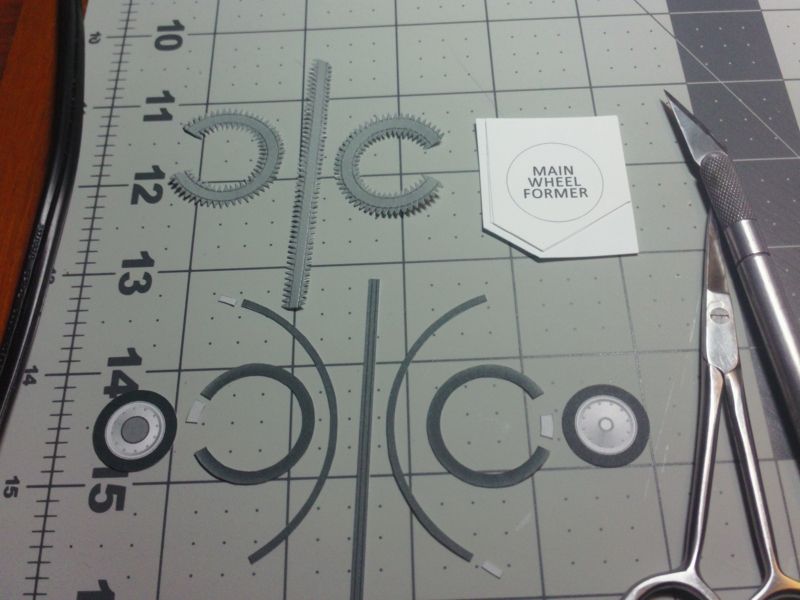
3. Now I cut out all my parts.
I use both Knives and Scissors...and I take my time.
I cut as close to the part as possible, but not inside the edge lines.
This gives me room to trim if needed.
You'll find your own method to cut out multiple parts...find your own rhythm.
Cutting all the little tabs on the Joiner Strips is tedious and time consuming.
The C130 has six wheels...that means eighteen of those tabbed strips! mwahahaa!
...
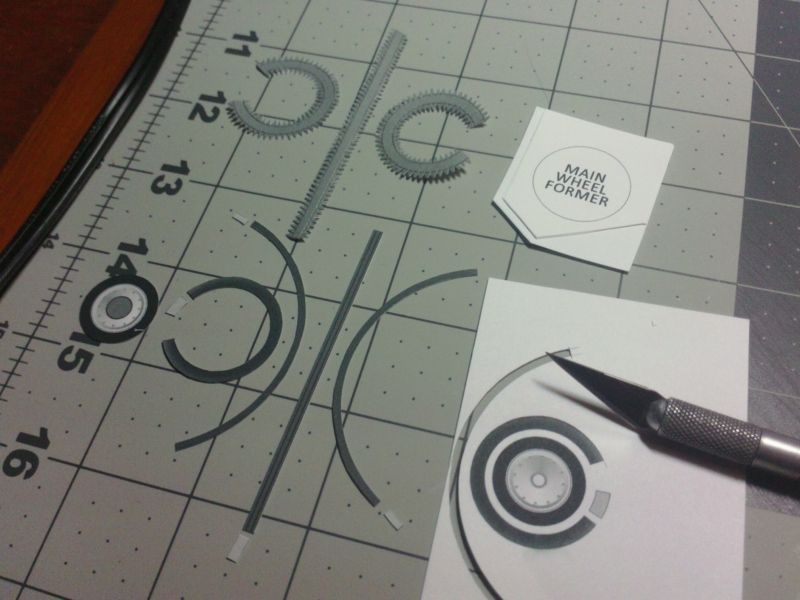
4. Study the parts and how they fit together before you jump into the assembly.
I personally tend to lay out my parts (
OCD much?) so I can see where everything fits
and so I don't get confused with part placement or assembly order.
For these wheels, I have provided a "former" disc to help the wheel hold a nice round shape.
This is an optional part.
For a larger scale wheel, the tire parts will have more width and rigidity,
and the wheel would be big enough for you to get your fingers inside to work the connections.
(A former would be in the way)
A wheel this small needs some help just to stay in a circular shape.
The former has more benefits than hinderances.
In the photo, you can see, that I have laminated (glued) the Former to three layers of card.
Not too much to cut out, but enough to make it a rigid insert.