5. Edge colour the parts before assembly.
I like to use Art markers.
Yes, they bleed into the paper.
You have to learn how to be quick and light with the Marker to apply colour, but not too much ink.
I also have a large set of colours, so I can match the colour more closely,
but mostly so that I can choose a lighter shade of colour which will not show as badly when bleeding into the paper.
Other builders use paints, pastels, pencils...
...
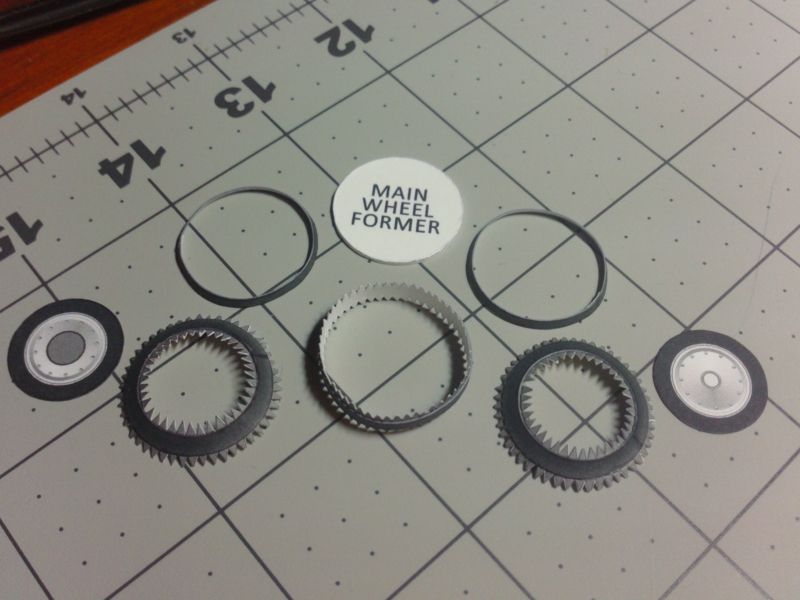
6. Attach the Joiners to all the hooped parts.
Since the Wheel is made up of a series of hoops - ringed parts, its best to pre-assemble all those hoops.
Each one will need a little joiner tab.
Sometimes these tabs are not coloured.
Its best to colour them before assembly so that they don't show through any gaps in the final part.
...
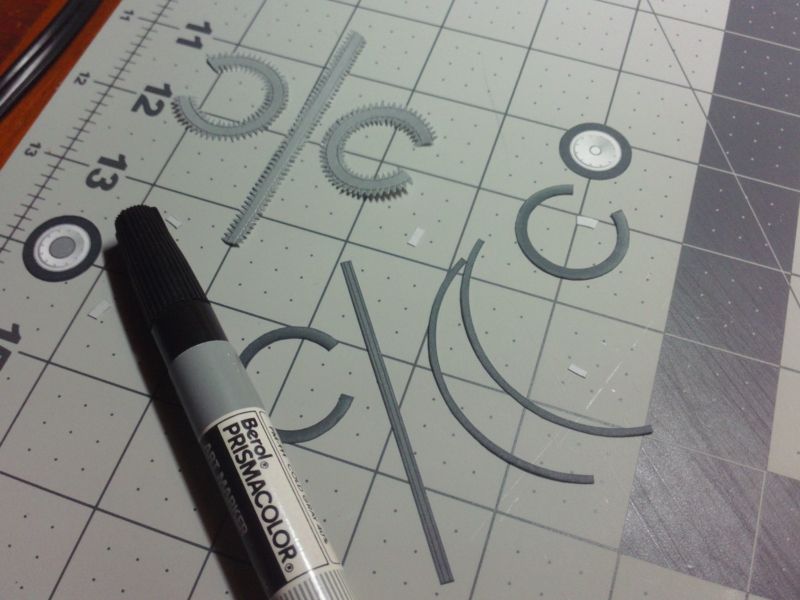
7. Preform the Parts.
The more you pre-form and pre-shape parts, the easier they will fit together.
It also helps when gluing, if a part wants to hold its shape and position.
I use round objects, like dowels, pens and pencils...of various thicknesses and sizes,
to roll and curve parts into the proper shape.
Even the Joiner Strips get pre-shaped!
...
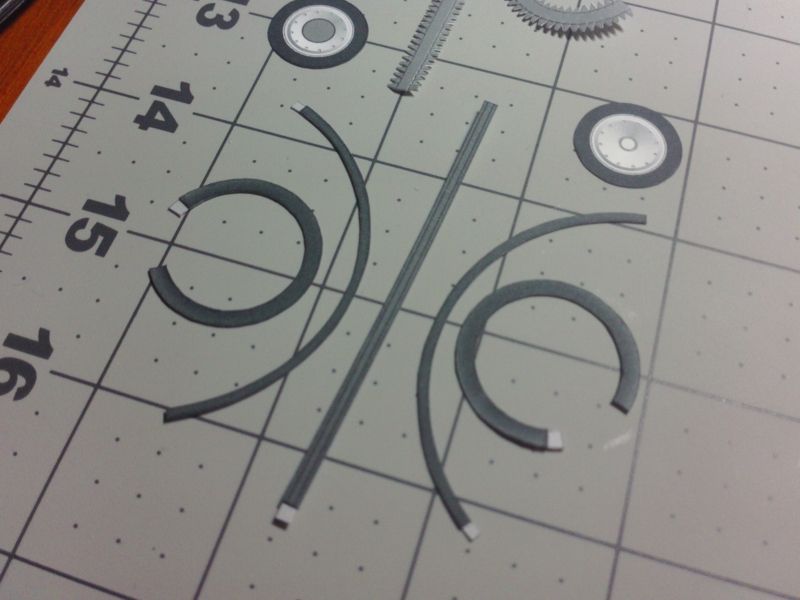
8. Connect the Hoops.
Join the opposite ends and connect all the hooped parts.
Its important to line up ends properly.
If you haven't cut out the parts carefully, this is where it will cause you a problem.

...
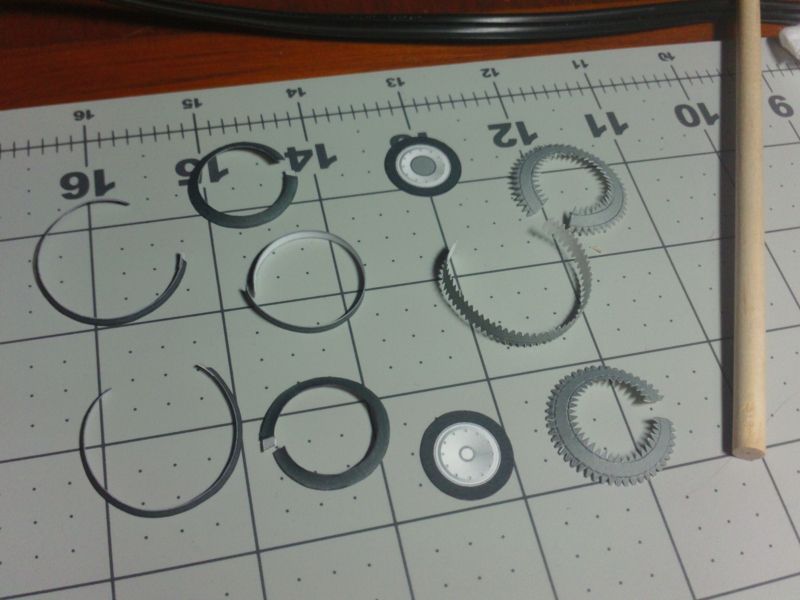
9. Install the tabbed Joiner strips.
I have glued in place, the three tabbed Joiner Strips into their respective Parts.
Preshaping the parts helps a lot here.
The tabbed strips need to be carefully lined up within the hooped Parts.