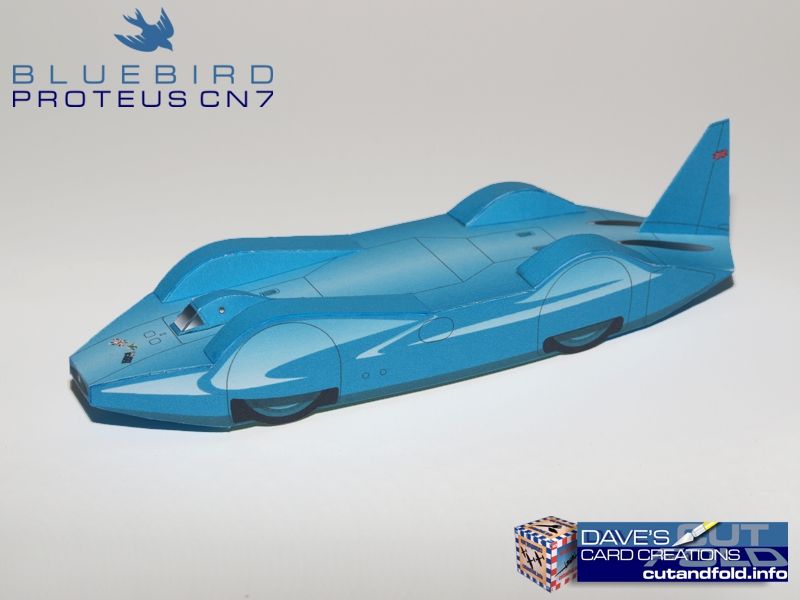
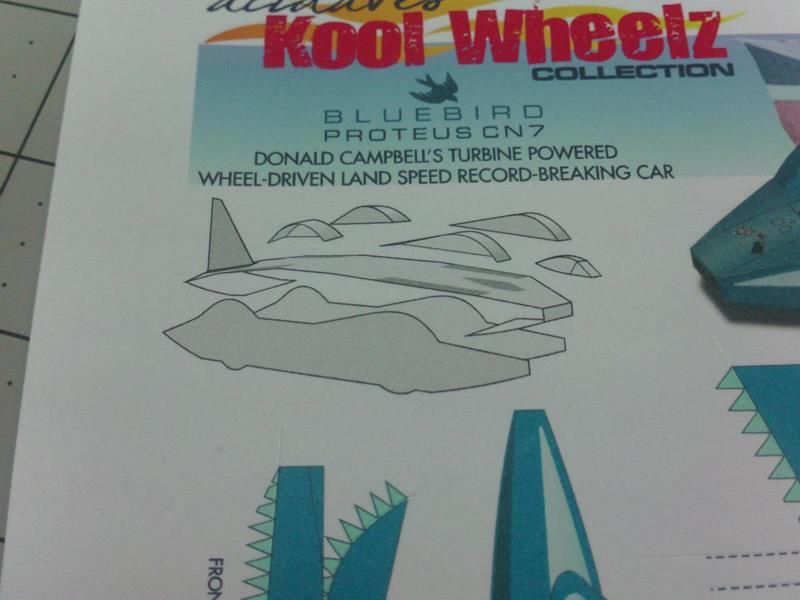
The Bluebird Proteus CN7 model is a tricky one since it uses flat surfaces
and sharp angles to recreate the smooth curves and rounded shapes of the real car.
The shapes and separate parts are not complicated but its a tricky build because of the scale.
Patience is your friend with most models, especially this one!!
You'll need to allow glued tabs time to sufficiently set up before continuing with the build.
You'll need to take your time along each connection, gluing shorter sections.
As with most of the KoolWheelz models, some of the tools you will need (recommended):
Fine/small pointed Scissors
Hobby or Craft Knife (Scalpel style)
Scoring Tool
Glue
Tweezers for handling, clamping, and folding.
Metal Straight Edge for scoring and cutting.
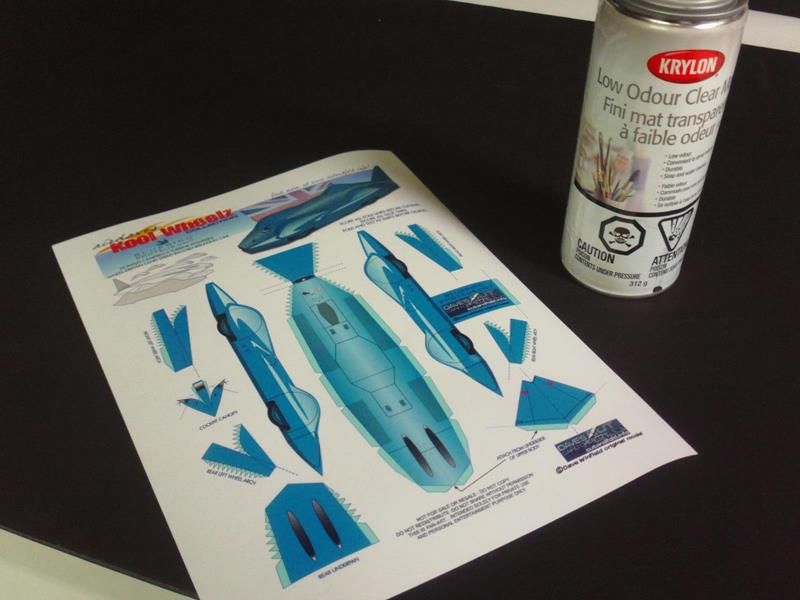
Step 1
Print your Model sheet and inspect it for any printing errors.
Optional: Seal it with some type of Fixative, Sealer or Clearcoat
...
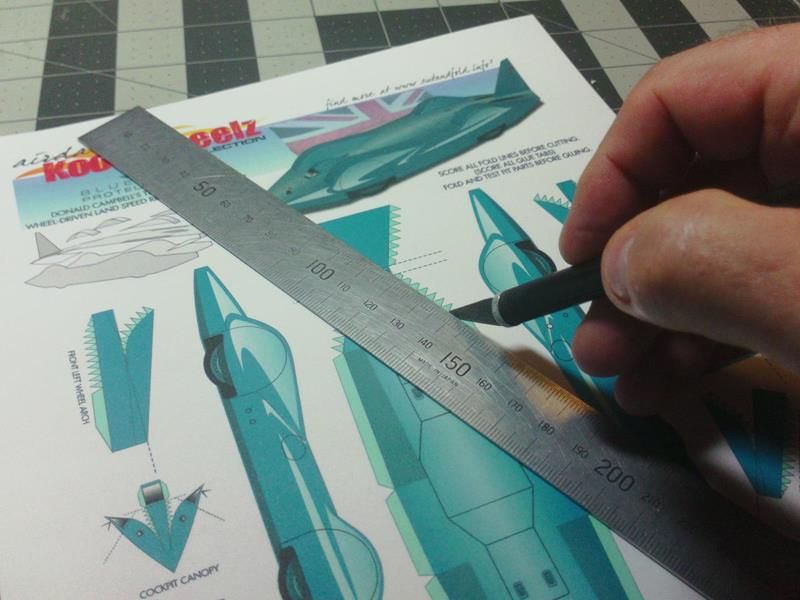
Step 2
Start by scoring all your Fold Lines.
This includes the folding Glue Tabs.
Most fold lines are straight and you should use a metal straight edge for those.
Curved lines probably have to be done free hand.
Just take your time...score short lengths, like the length of each Glue tab...and slowly work your way along the line.
...
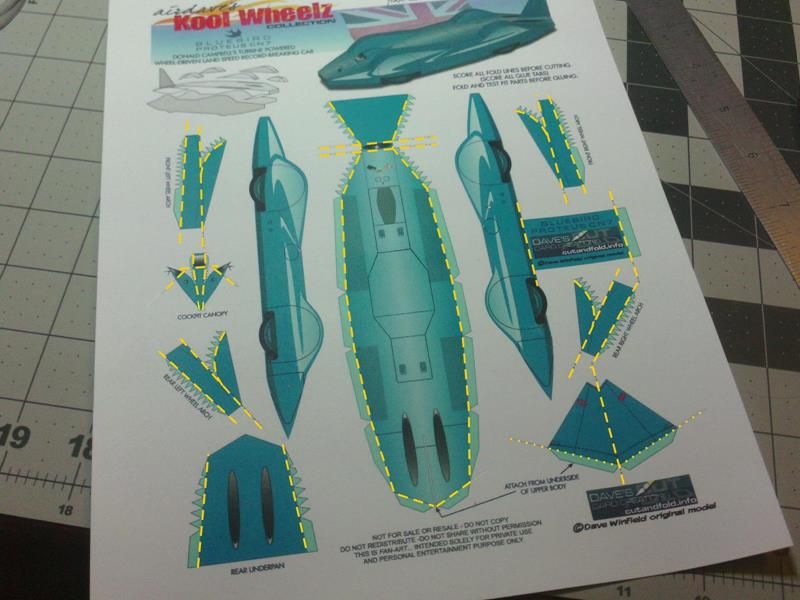
I've attempted to illustrate all the fold lines in case any are not obvious.
This model also uses a couple of "valley" folds, along with all the "mountain" folds.
Valley folds are just negative folds.
Just think about the V shape for Valley...inversion of a peak (inverted V) for mountain folds.
I usually illustrate the different folds by using a slightly different fold line (dots and/or dashes)
and sometimes a different coloured line.
...
As well as a photo of the completed model to assist with your build
this model sheet also includes a small assembly diagram.
Not all my KoolWheelz models have this type of diagram.
Usually only on the more complicated models...and if I have room on the sheet.
Wouldn't hurt to keep the Diagram handy during the assembly.
...
There are a number of small Parts in this build.
There are also similar Parts...right and left...front and rear.
Don't mix them up.
We are going to assemble each individual Part, one at a time.
So I think its a good idea
not to cut out all the Parts at once.
Lets cut out each Part as it is being assembled.