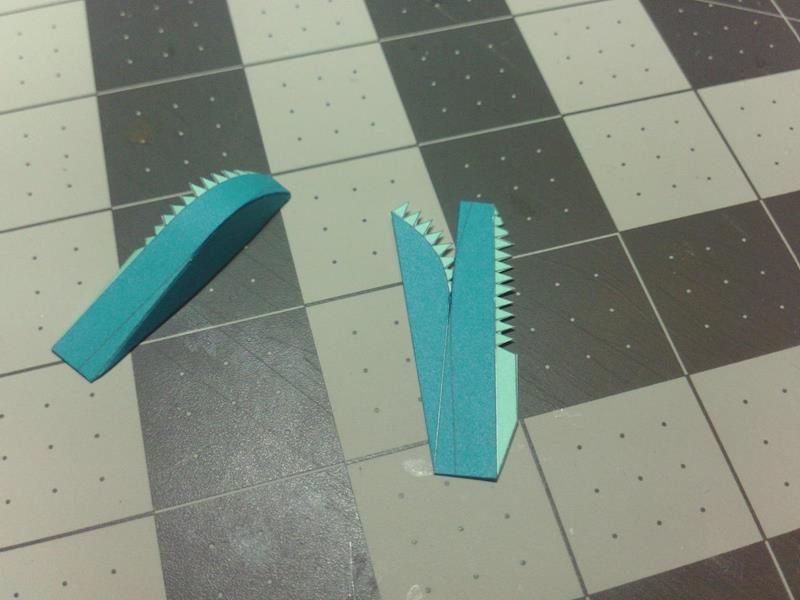
Now you can refold those Glue tabs and the Part should be ready for gluing.
If the top panel curves a bit more than it should...thats okay.
Better that, than have it not curve enough.
You don't want the part fighting you when you glue it together.

...
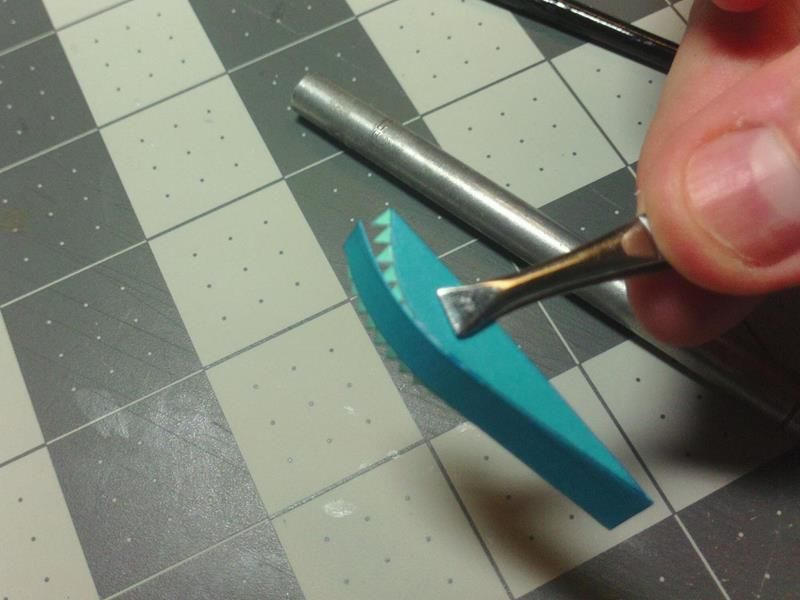
Start gluing the Tabs against the top panel.
Glue one or two tabs at a time, working your way around the curved edge.
It can be a bit easier to hold the part firmly in tweezers, while forming the top panel into place.
If you try to fit, glue, form and attach the entire curve all at once, you will not do as good a job.
Glue short sections, lining things up carefully...wait for the glue to set up in-between sections...
It takes a bit longer to get it done, but it will look a lot better.
...
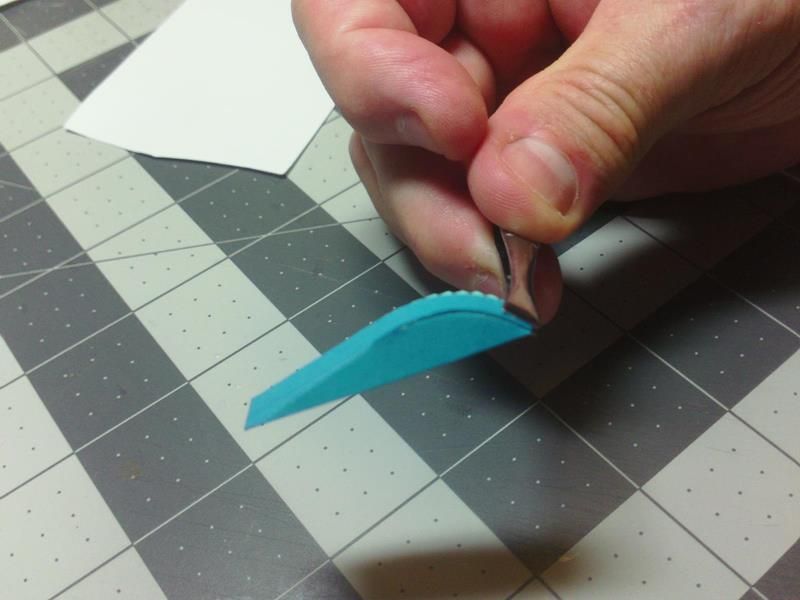
Its important that the ends line up.
If the top panel overhangs slightly, thats okay...because we can trim it later.
But we don't want it short.
Do your best to line up the ends.
...
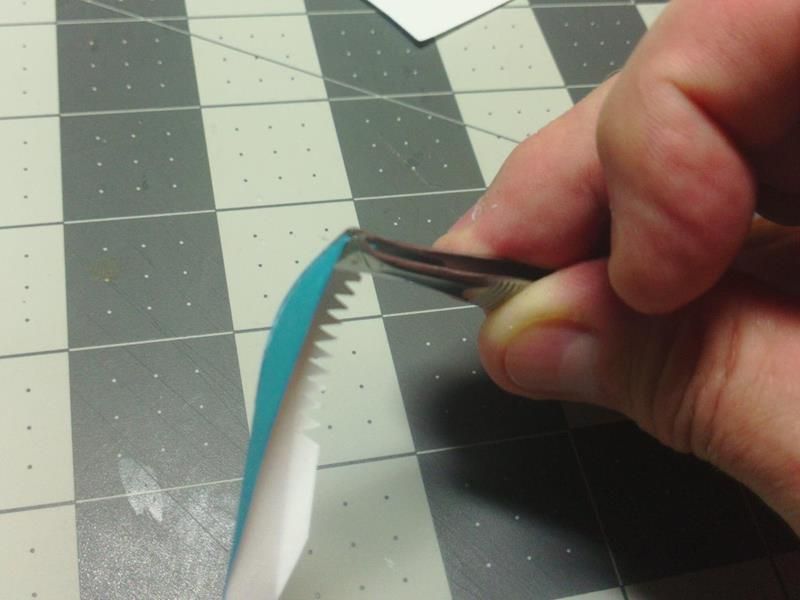
Use your tweezers to clamp newly glued tabs.
Apply pressure to secure the connection...it will grab faster and more securely.
Apply pressure on the insides of the Arches too.

...
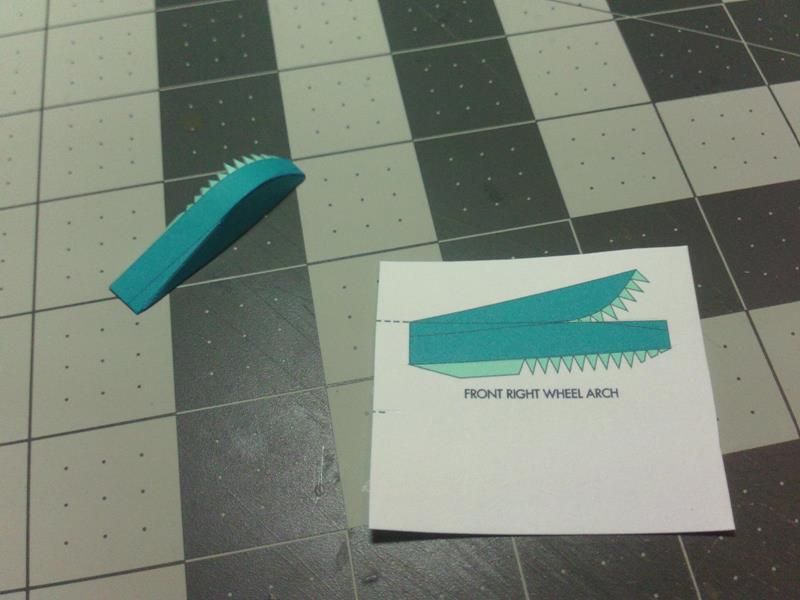
Thats one Wheel Arch formed and ready for attachment (to the Body).
Lets do the opposite side front Arch.
Its exactly the same thing...only mirrored...so the assembly is exactly the same.
This one should go a lot quicker for you.
...
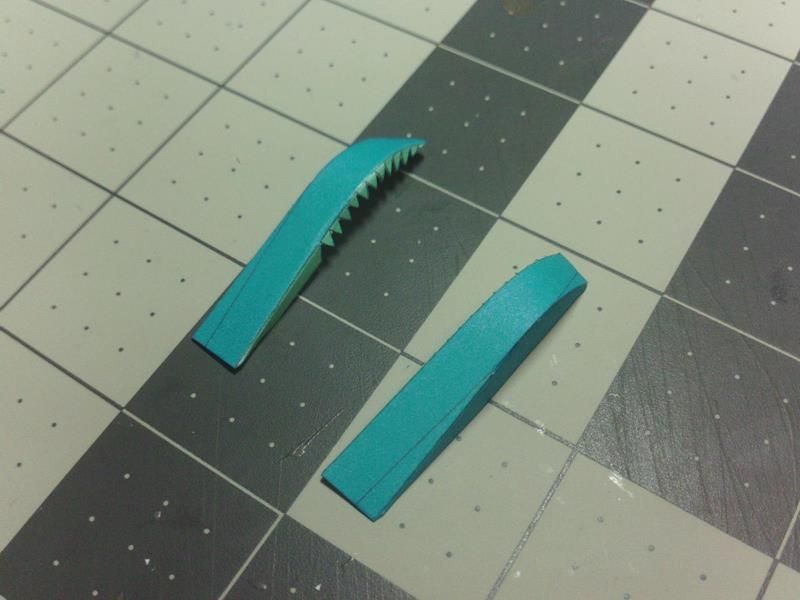
Scored Part.
Cut out the part.
Cut the Glue tabs.
...
Edge colour....Fold, shape, curve, glue....etc
And put the two Front Arches aside for now until we get the body done.
...