Continuing on...hopefully everyone is getting through the front Wheel Arches with no serious issues.
Let me know if you are all doing okay.
Plenty of time to get caught up...even with these next parts.
Next....
Now that we have mastered the Right and Left Front Wheel Arches/Pods,
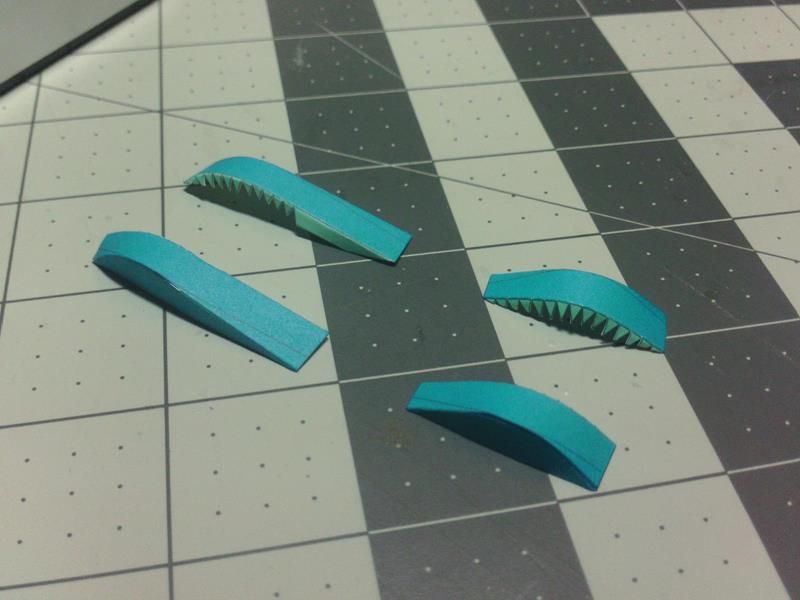
its time to assemble the Rear Arches.
Exactly the same thing.
Slightly different size, but thats all.
The build process is exactly the same.
Lets try to do two at a time.
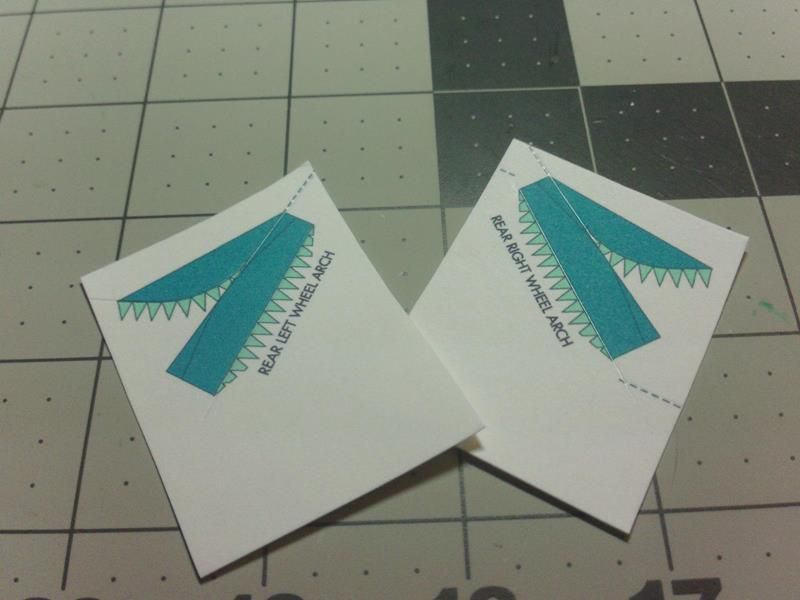
Cut out the parts from the Model Sheet.
...
You did already score things properly...right?
Cut the straight sides with a Knife and a Metal Straight Edge to get the best (straight) cut.
Cut the ends of the top panels the same way.
Cut around the Glue tabs with your scissors (or your knife).

...
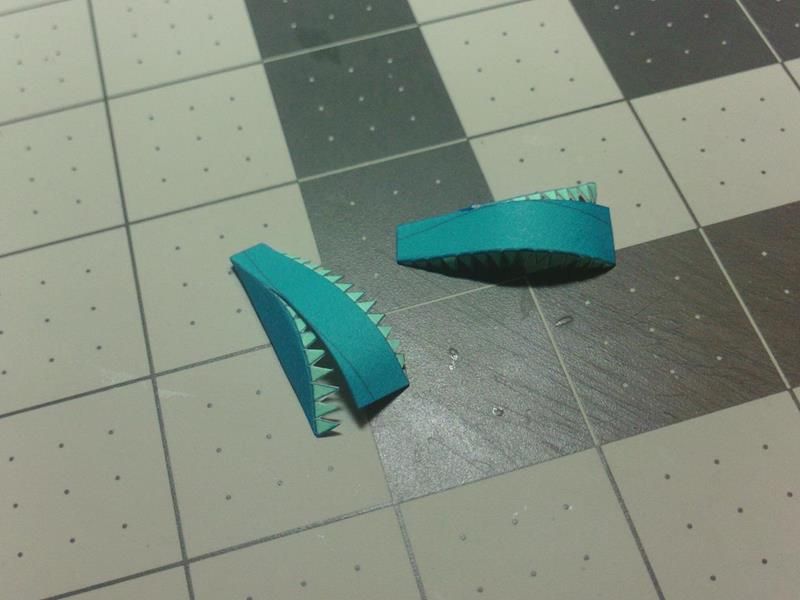
Cut out the remaining sections of the Glue Tabs.
Bend all the Glue Tabs.
Use clamps and/or straight edges to get clean folds.
Fold the edges of the top panels to create the side panels.
Then fold the curved Glue Tabs.
Unfold everything again, and apply the curved shape to the top panels.
Once again, use the side panels as your reference and match things up as closely as possible.
...
Now make sure all the Tabs are folded again and eyeball the shape and fit...
then glue the curved edge Tabs
...remember, take your time, glue one or two Tabs at a time.
Apply plenty of pressure, and make sure each Tab is securely glued.
Make sure the ends of the top Panels are aligned with the side panels at the ends.
Thats it.
Now we have a full set of Wheel Arches/Pods that will eventually mount on the top of the main Body.
So, these Parts can be set aside for now, until we are ready for them.