Nice work everyone!
I am really impressed.
I won't make you wait...it looks like you all got through the prep stages with no problems.
So lets continue.
I'll check in again (in about 8 hours) and post more if you are caught up.
...
Next...
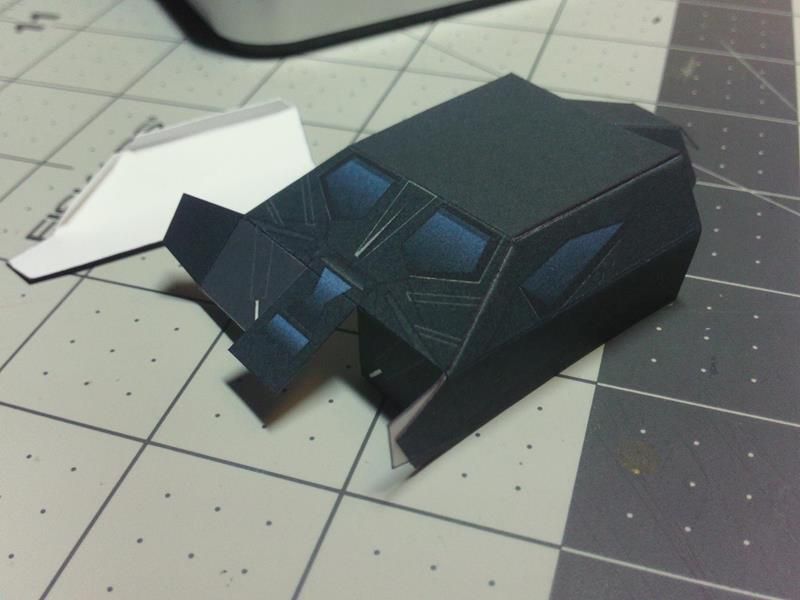
Start by attaching the side Body panels to the center body section.
Line up the top (roof) glue tab and line up the rear edges of the two parts.
The forward pillar tab should locate at the same time.
Glue the pillar
after the roof tab is secure.
Try not to fold the front extension (of the side panel).
Repeat the process to attach the second body side panel.
Its important to allow sufficient time for glue to dry and connections to become completely secure.
This can be important when assembling a part that has multiple connections and different angles.
You need to twist, pull and bend parts to make all your connections
...so its important that previous connections are strong and secure.
Be patient, and wait for your parts to dry!
...
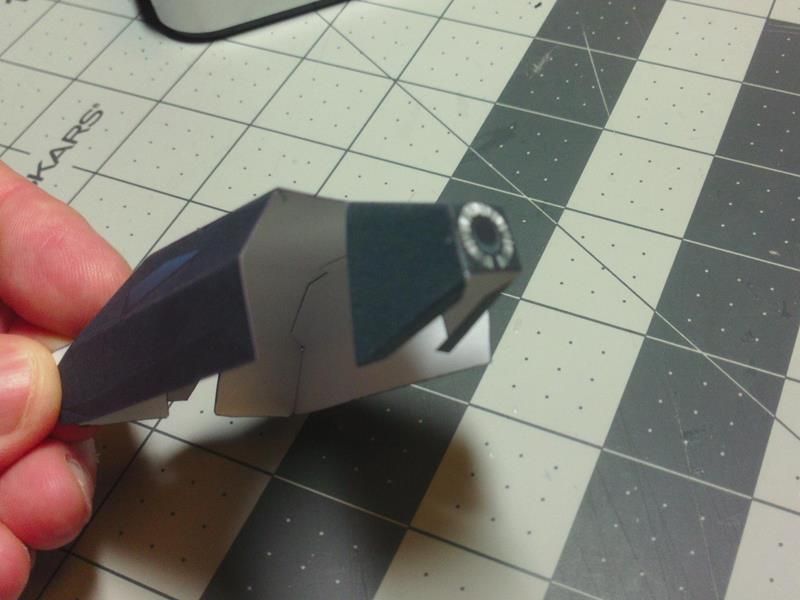
The rear Engine housing should be folded like this (see image below).
Fold the Exhaust nozzle panel down, against the glue tabs and glue in place.
We will swing this assembly downwards after the floor pan is attached.
For now, leave it up.
...
By pushing the front panels of the central body part downwards, the side forward extensions should line up.
This creates a two layer, double sided extension to the side body panels.
These are also the forward supporting arms for the front wheels.
Apply a thin even coat of glue and join the the layers...making sure the edges line up cleanly.
Clamp until properly secure.

...
Once those side forward extensions are glued and secure, the Floor pan can be attached.
Starting with one of the long sides.
Apply glue to the side panel and locate the glue tab of the floor pan...make sure its flush.
Once it is secure, attach the front panel to the floor pan (also flush).
...
Repeat for the opposite side and the front panel attachments.
Its a good idea to clamp wherever possible...the side tabs are exposed from the rear,
so its easy to get a clamping tweezer in there.
A little bit of pressure speeds up the gluing time and makes a stronger bond.
...
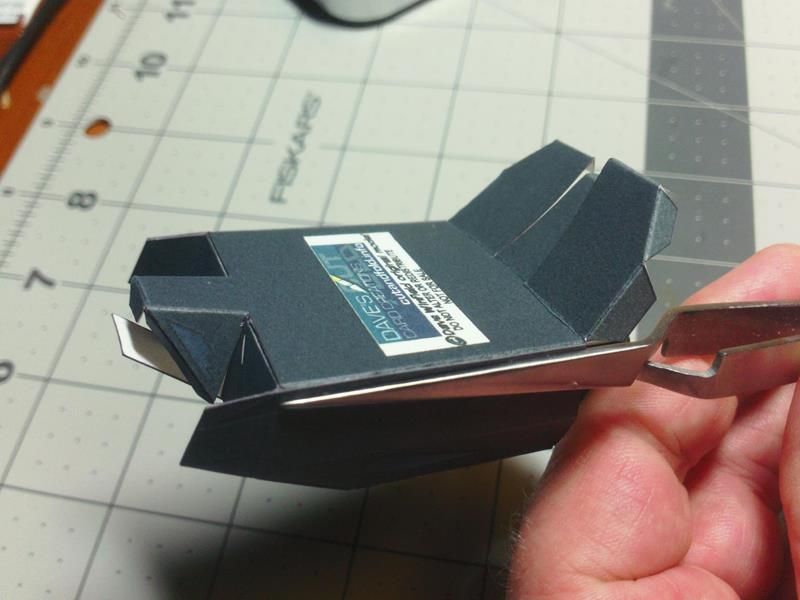
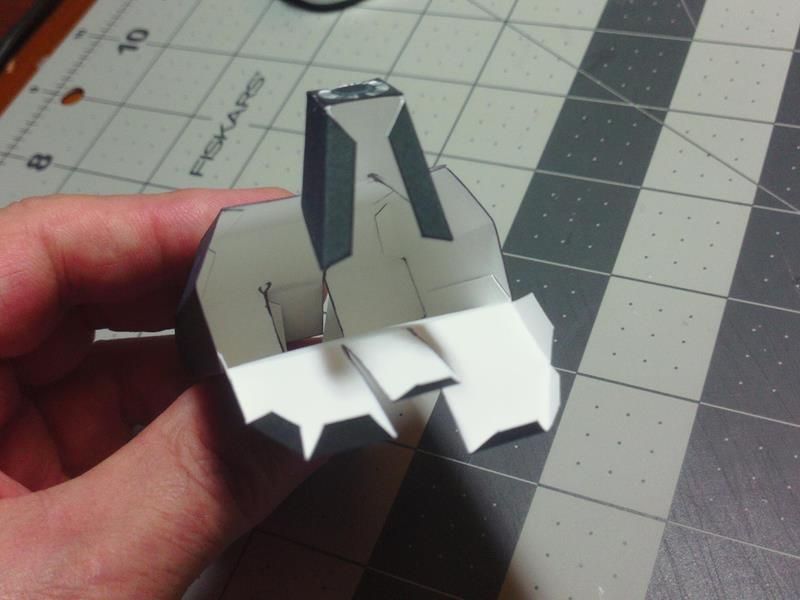
You can fold the rear end parts outwards...giving you more room to work.
This allows you to reach inside to deal with the forward connections.
Note the split rear sections (into three parts).
...