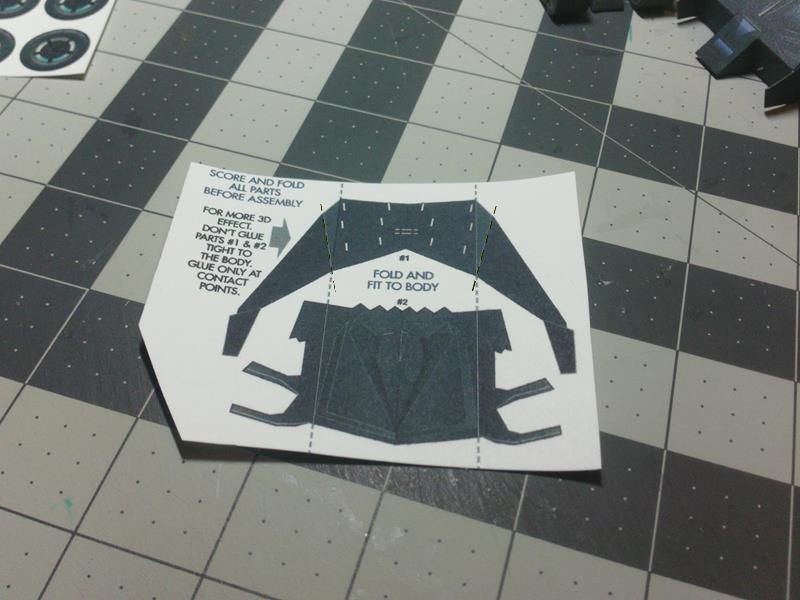
Moving on with the main Body, lets prepare the two parts that attach to the roof and sides.
If you haven't already scored the parts, do so now...and then carefully cut them out.
...
Don't forget to edge colour.
Part 1...the first part (to be attached) has a couple of angles, but the center section will
have exactly the same width of the roof (of the body).
Those lines on the center panel, are the simulated supporting "brackets" for all the Roof Wings.

...
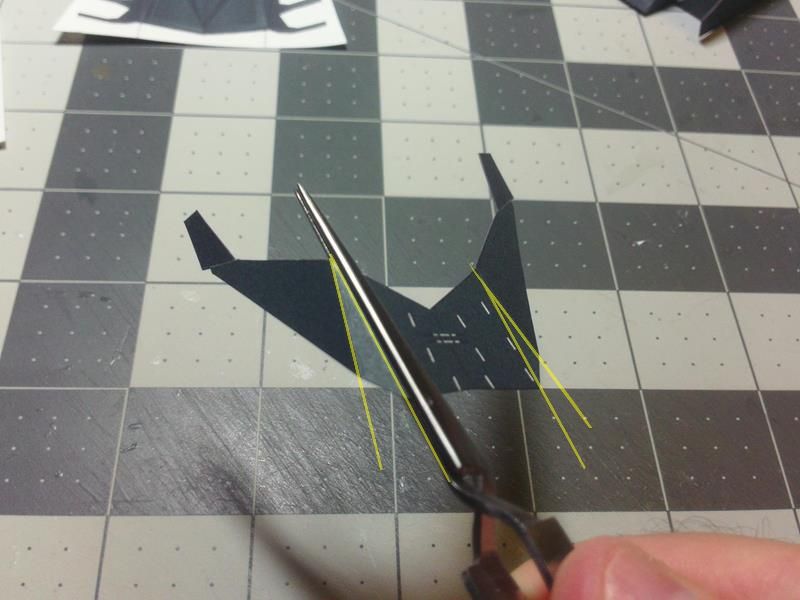
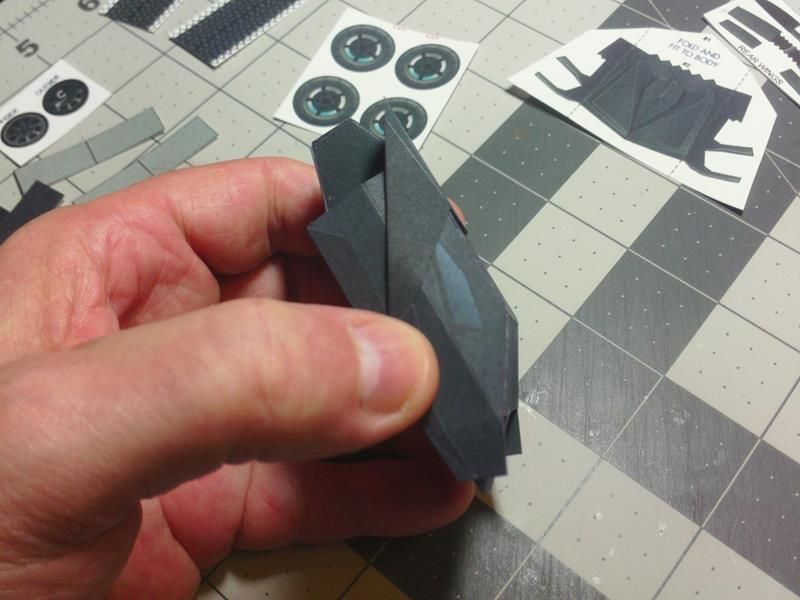
Use a straight, or clamping tweezer, to make clean folds in the attachment.
There are four folds to deal with...resulting in side extensions that are at right angles to the roof panel.
...
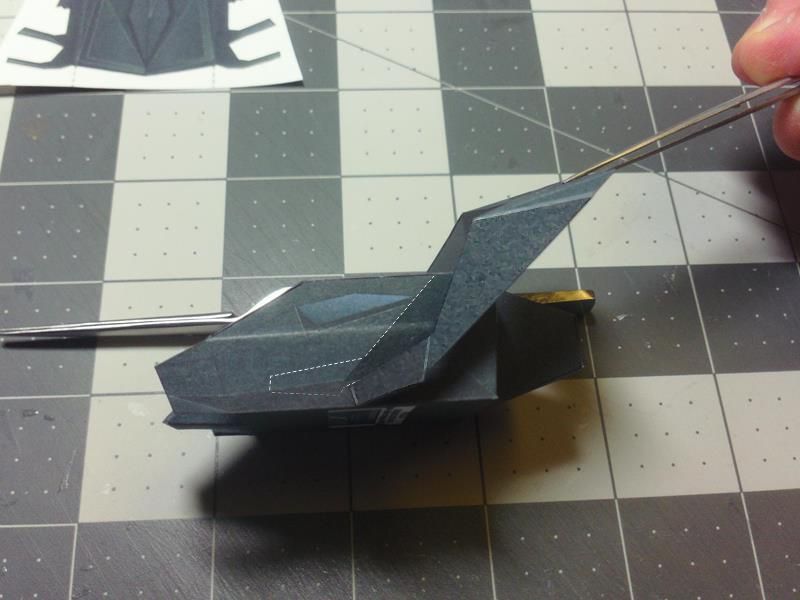
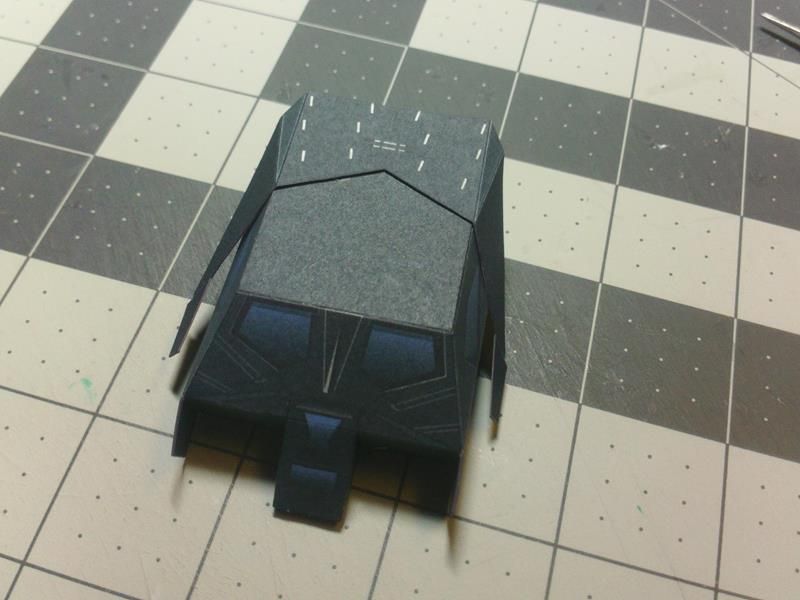
Test fit the first body attachment to the roof of the Body.
The diagram shows the approximate location (dotted lines) of the side panels once it is attached to the roof.
Your main body has darkened areas on the sides to help you with the placement of the roof attachment..
...
The center panel of the roof attachment will fit flat to the roof.
...
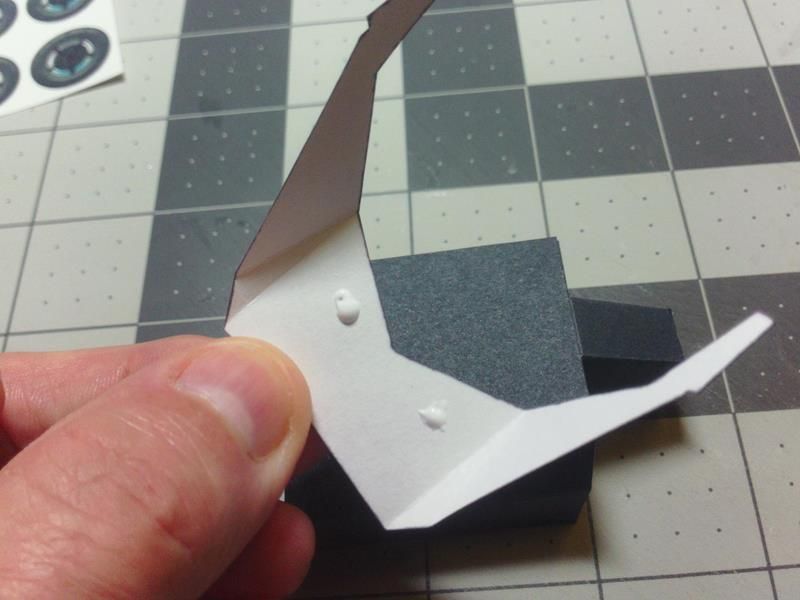
To affix the first attachment to the Roof, I add a couple of blobs of glue.
This is sufficient to hold the part in place, plus it allows the part to float a little.
If it sits a little bit away from the surface, it looks more like add-on armour.
At least thats my theory.
...
Press the center of the attachment against the Roof of the car.
Make sure you have lined up the side extensions in their correct position,
and make sure the center panel is aligned with the Roof of the car.
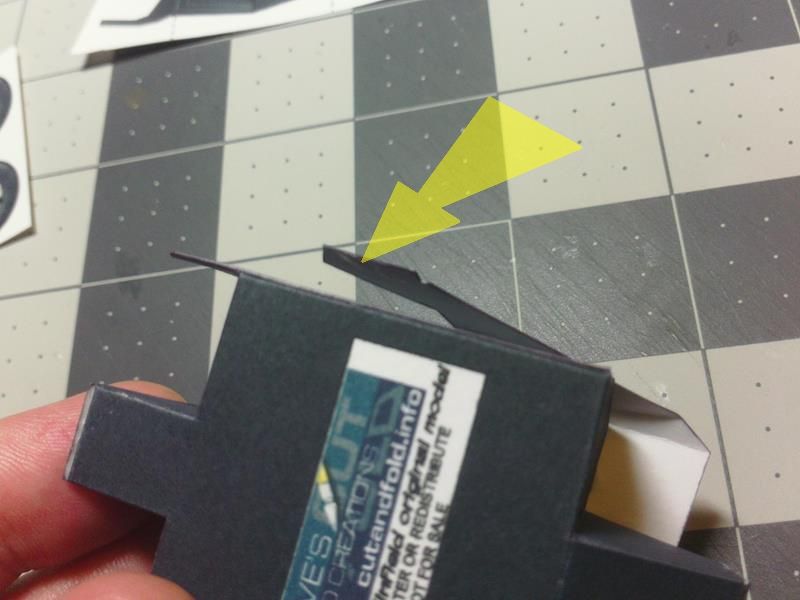
The rear of the attachment part should hang out beyond the rear of the main Body.
...
The end sections (of the side extensions) are the only areas you will glue.
Press the ends against the body to see where they will contact.
...
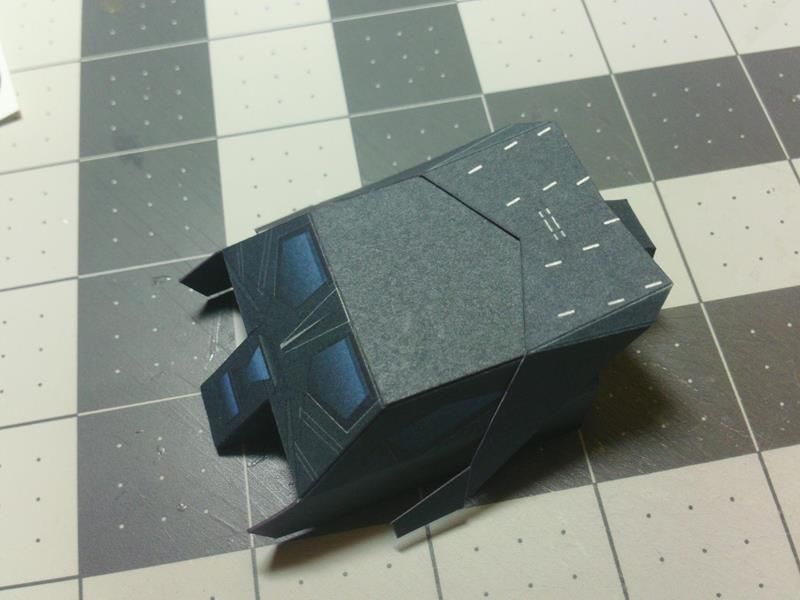
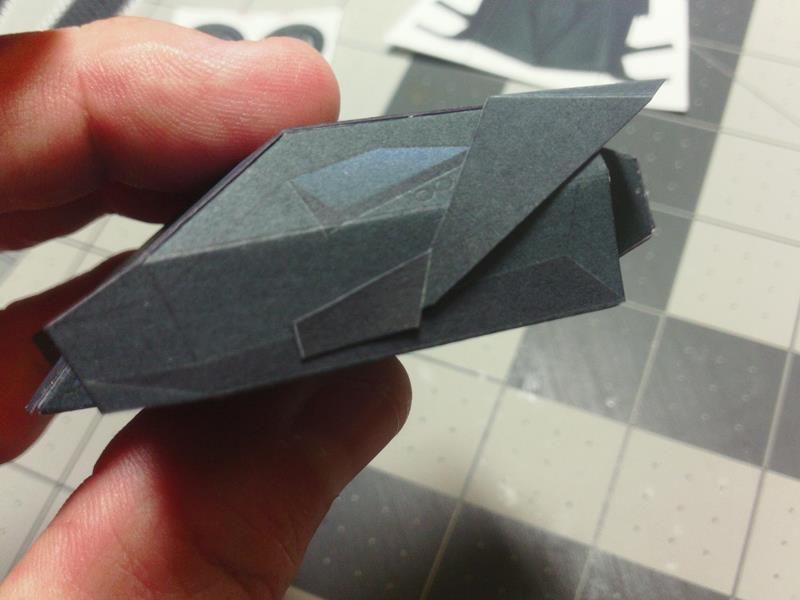
Apply a small amount of glue in the center of the end section and press down onto the body side.
They should fit somewhere similar to what you see in this photo.
There is no exact defined location. Just close, will do.
...
Repeat the attachment for the opposite side...apply a little bit of pressure to secure the parts.
Be careful...the body has no internal support and its easy to crush at this location.
Make sure the glue has dried and the part is properly secure before continuing.
...