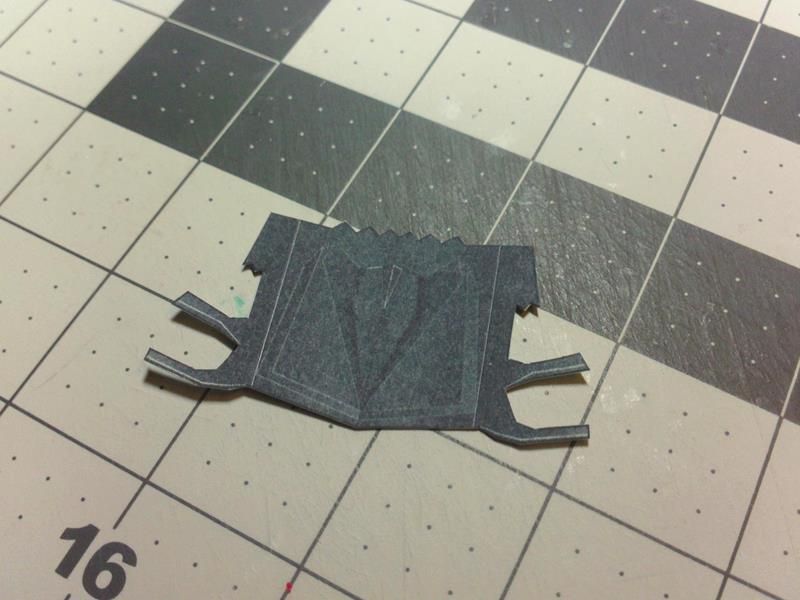
Cut the second (#2) Roof Attachment.
Don't forget to edge colour.
...
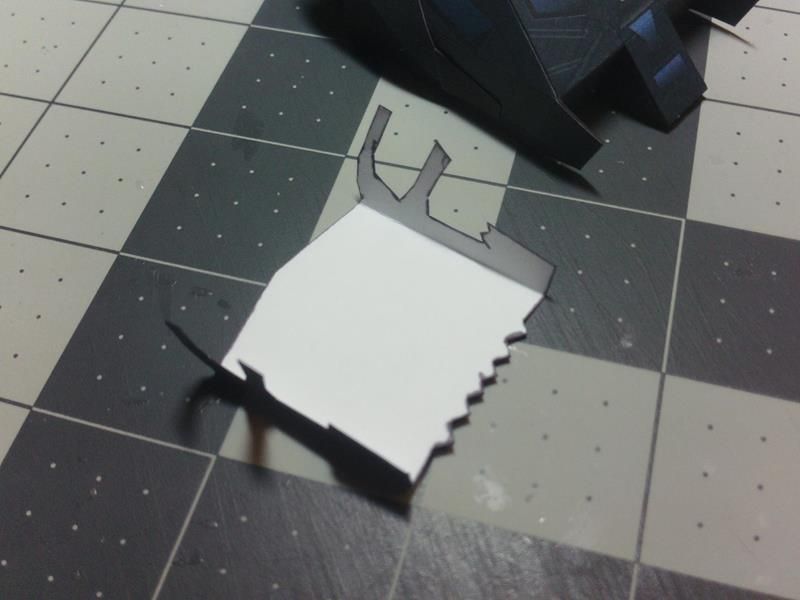
Fold the side extensions down using a straight edge of some sort.
Once again, this part should match the width of the Body with #1 roof attachment in place.

...
The attachment matches the shape of the main body.
The side extensions are not quite 90 degrees,
but you want to give them a little extra fold...makes it easier to glue them in place.
...
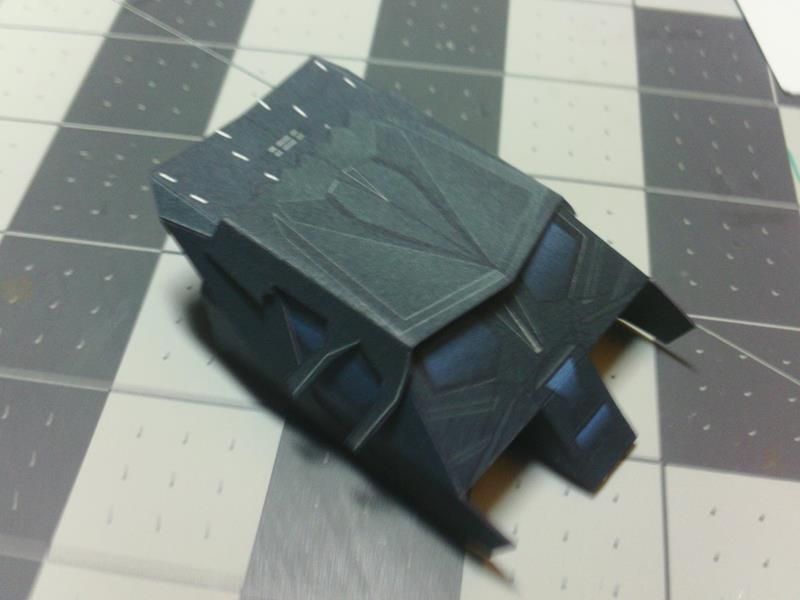
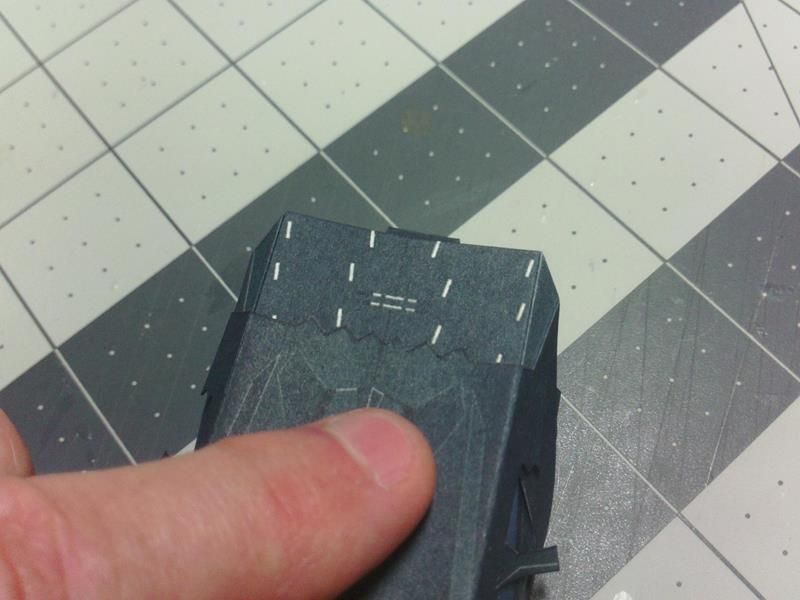
Locate the second attachment on the roof, by lining up the rear edge across the first row of Wing "brackets".
The front edge of attachment #2 will hang out over the Windscreens creating a visor effect.
Once again, there is no prescribed exact location...just eyeball it!
...
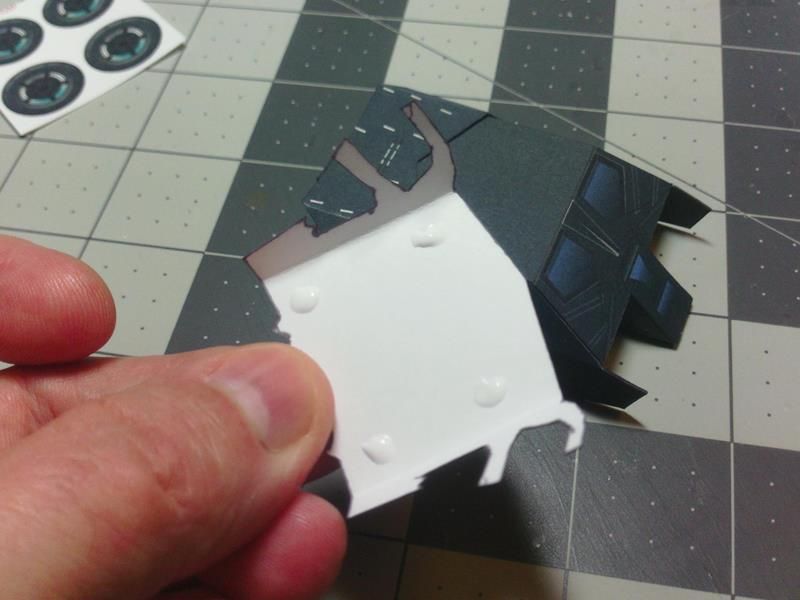
I just use some blobs of glue to attach the part...as before, I like the idea of the part floating a little.
...
Center the part, align it, and straighten it
..press it down onto the roof and over the first attachment part.
The rear edge should align with the first row of Wing "brackets"*.
(*cover the outside brackets about halfway, barely contact the front edges of the inside brackets)
...
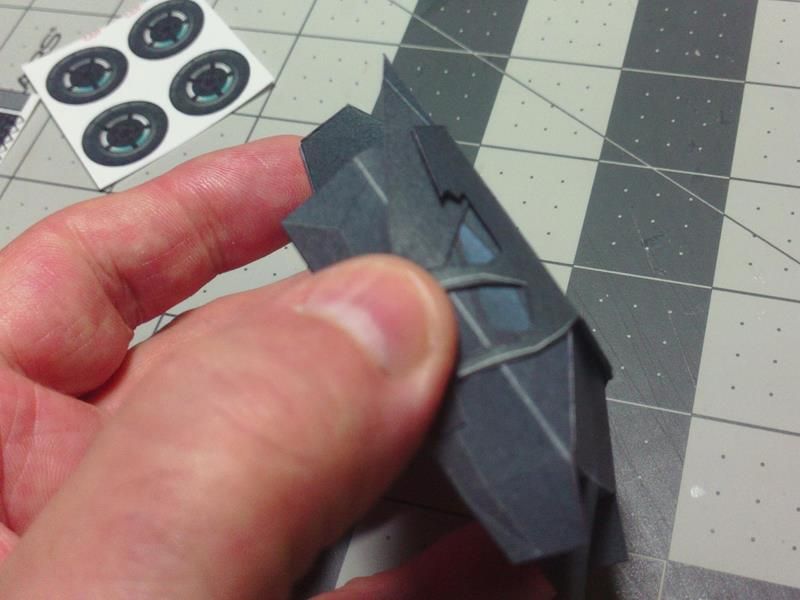
Once the roof attachment(#2) is secure...press down the side extensions until they contact the body.
Glue in place at those locations.
Just a dab of glue under the ends will do.
Hold firmly until the parts are secure.
Again, be careful not to crush the body.
...
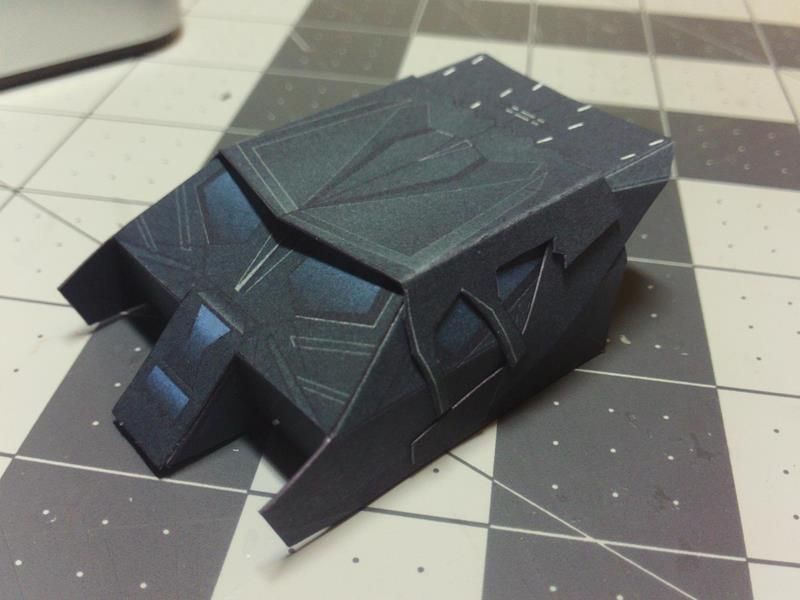
Once again...the body is complete (stage 2)...ready for those Roof Wings.