Good day all.
I felt that a lot was done this weekend.
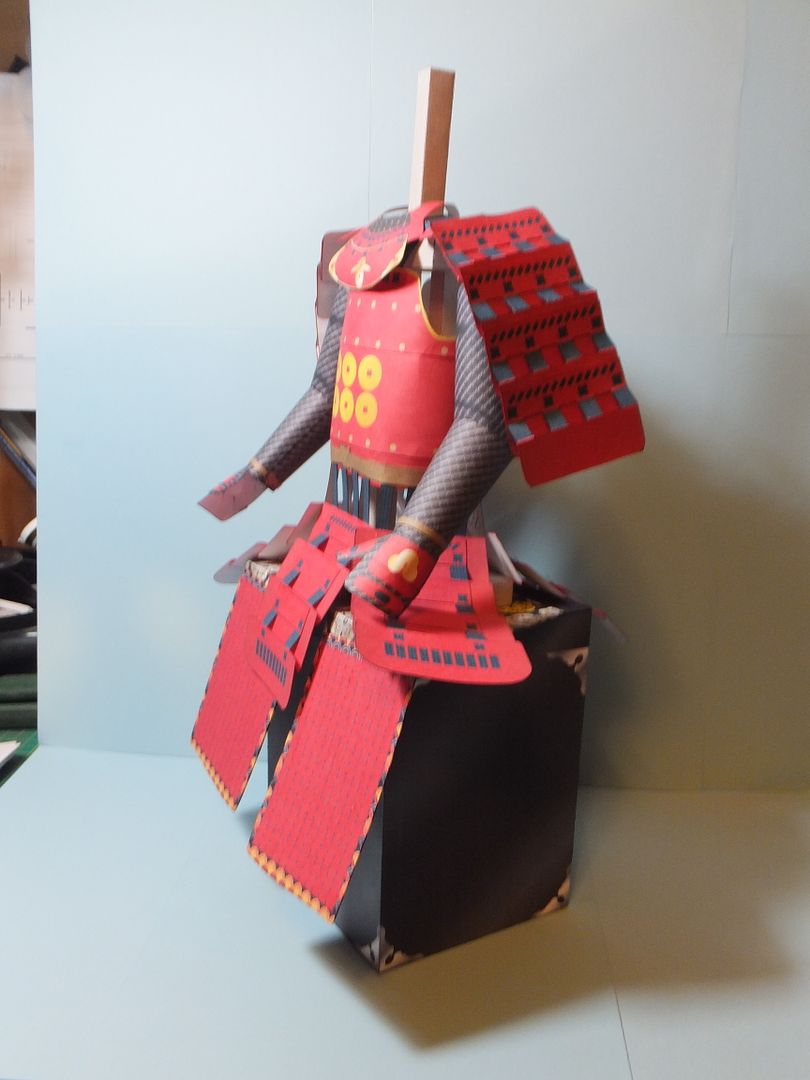
The completed "Do" breastplate assembly was shaped around the armour stand and glued together. It is better to attach the centre section first, the the top and bottom after the centre is dry.
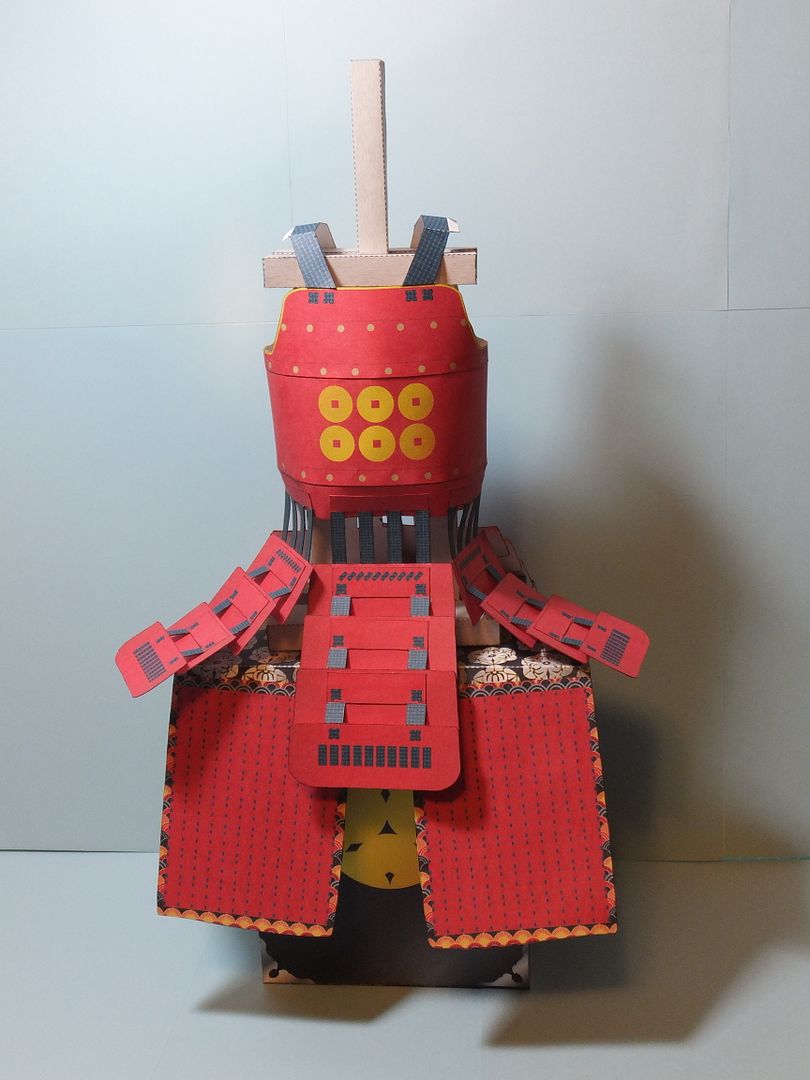
When complete the belt is then attached to the breastplate.

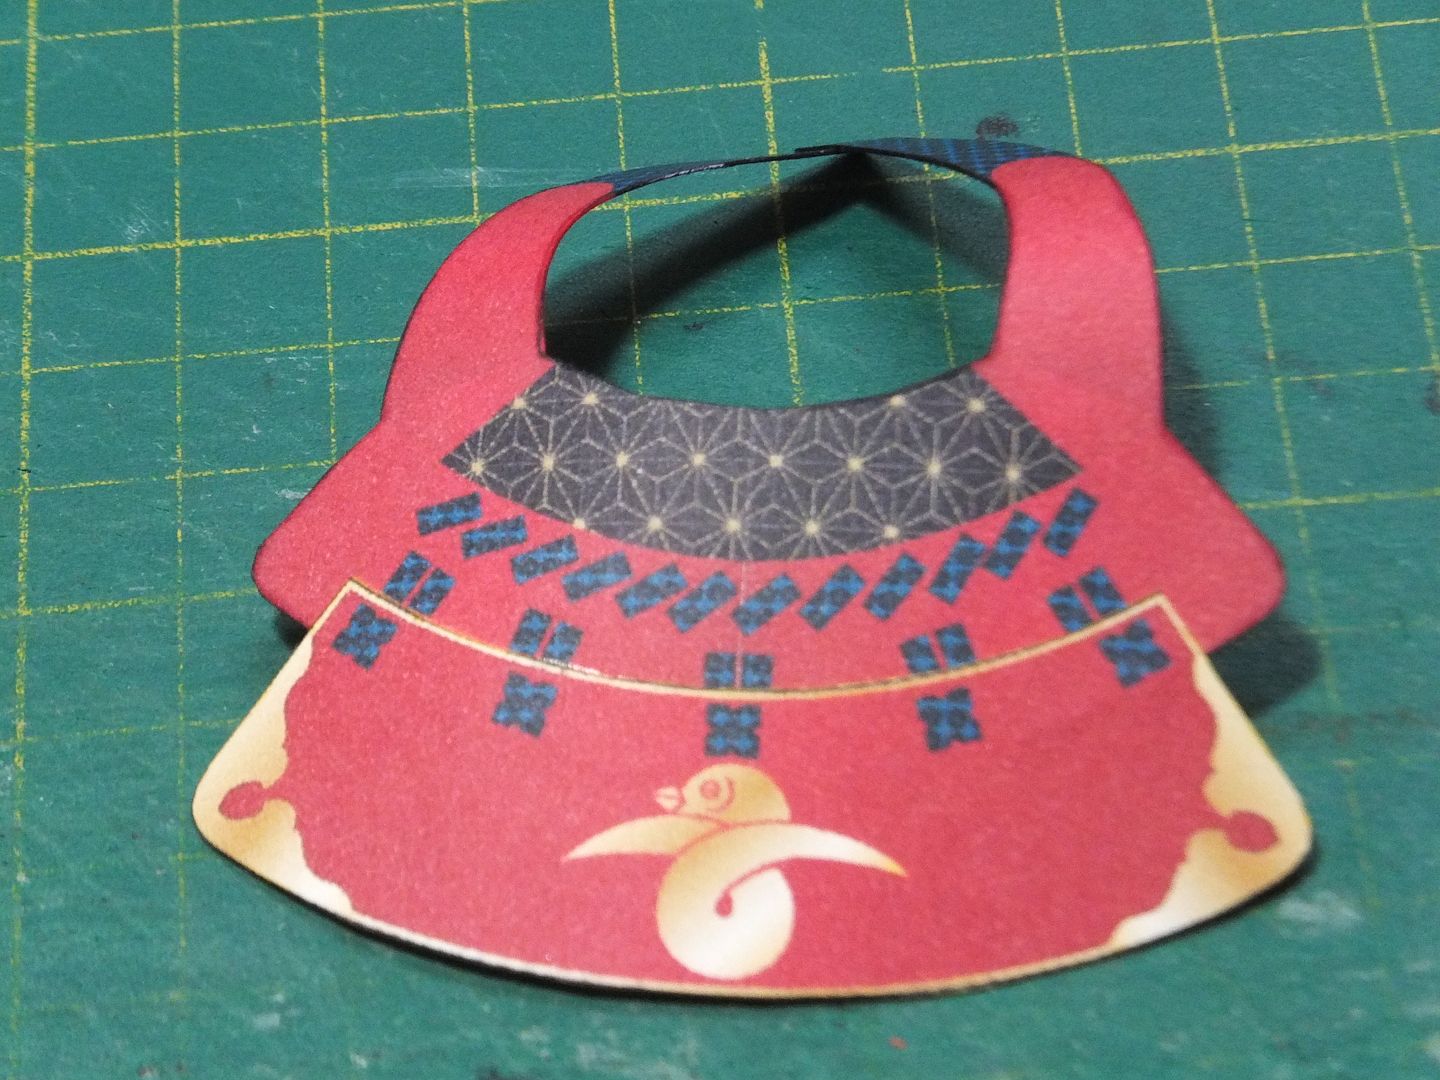
From here the front neck protector or "Nodowa" is assembled and placed onto the stand.
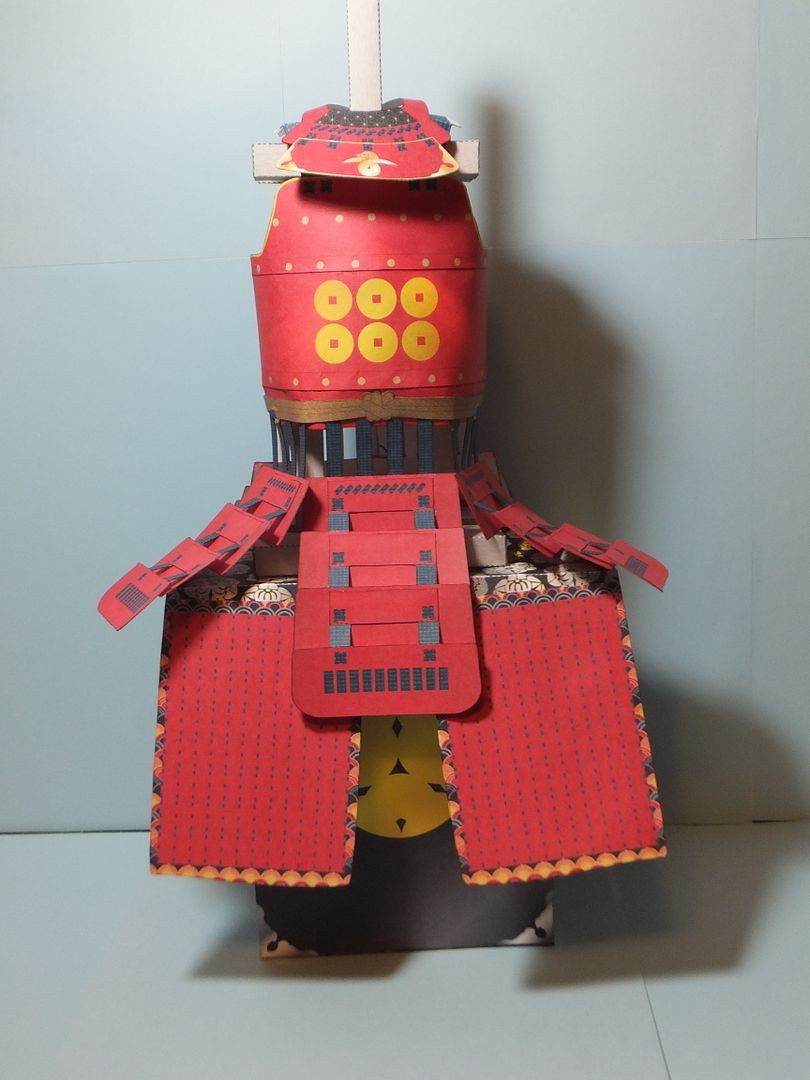
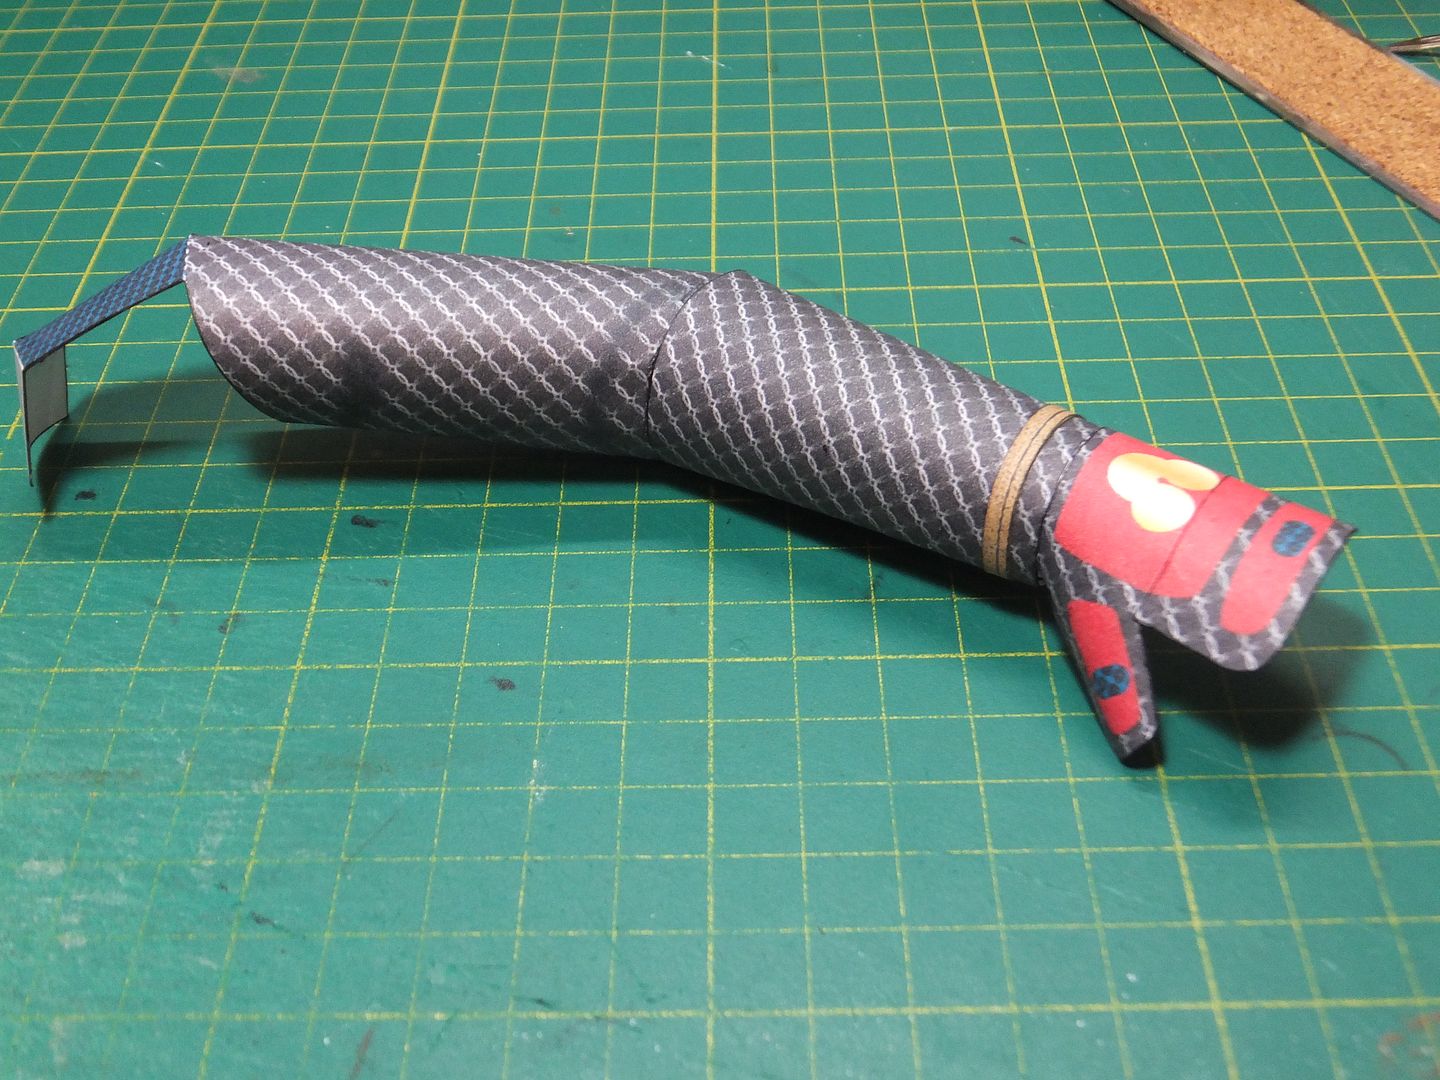
Next up are the sleeves, "Kote" and the hand armour, "Tekko". The sleeve proper is assembled and attach to make the full sleeve. The completed hand armour is shaped, then attached to the wrist of the sleeve.
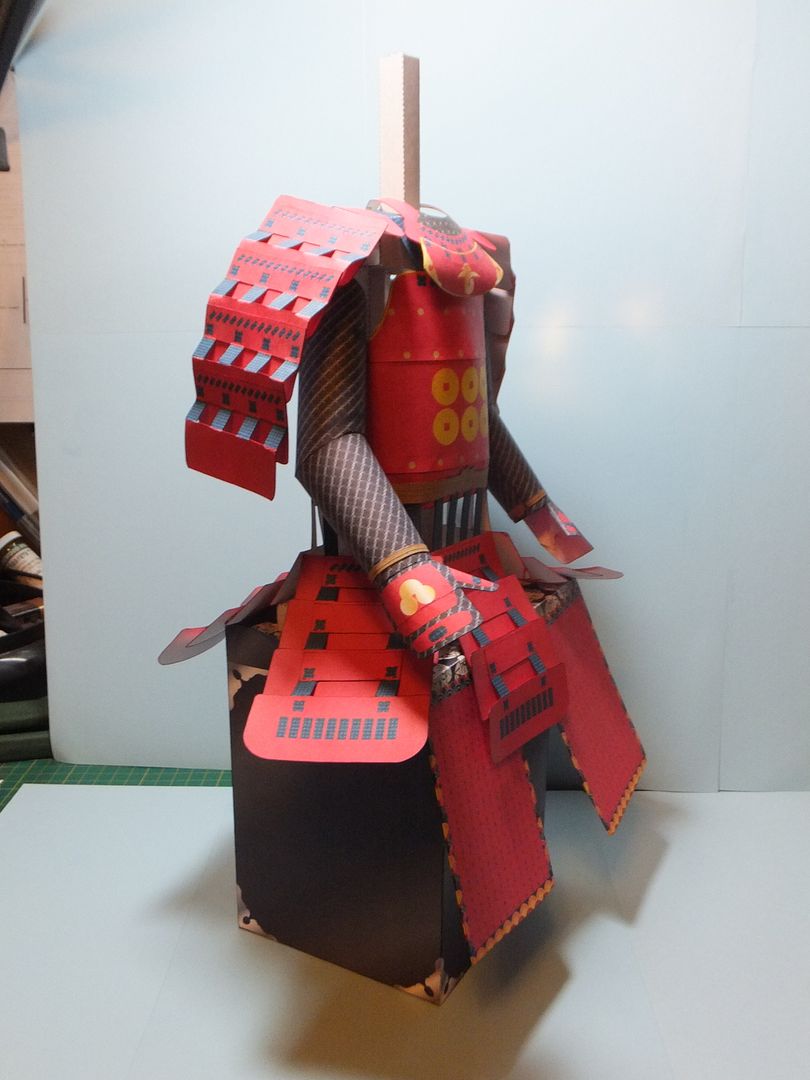
The completed sleeves are then attached to the shoulders of the main armour.
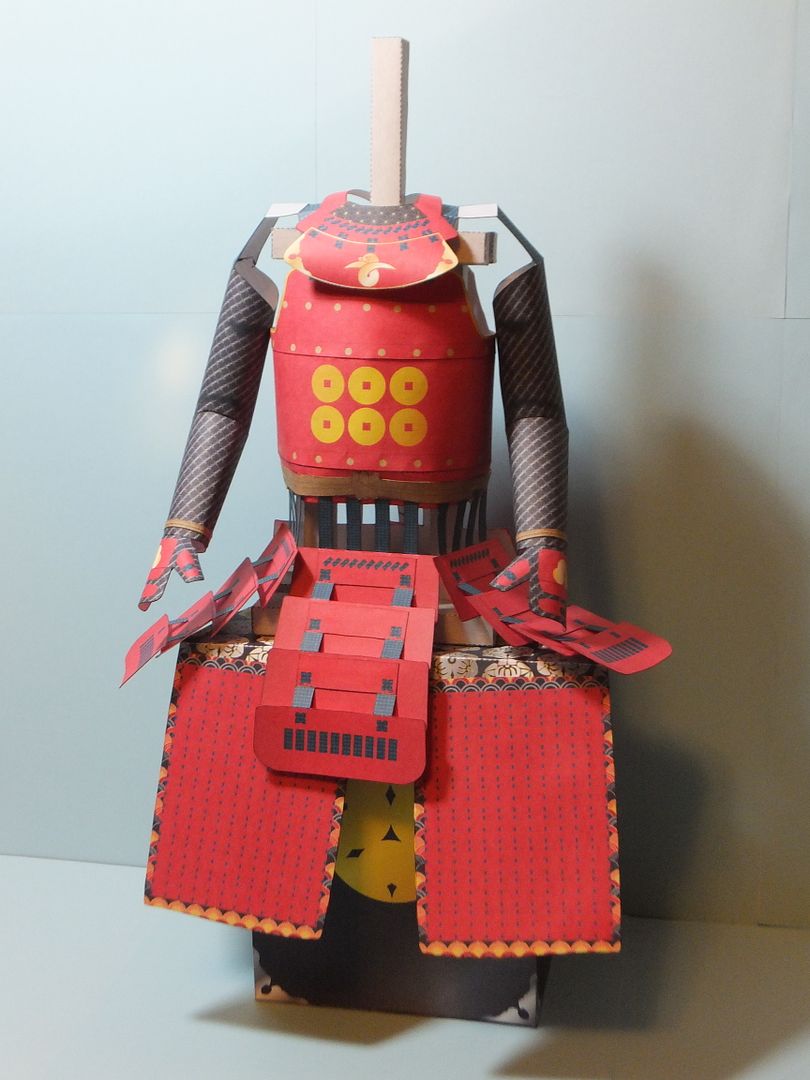
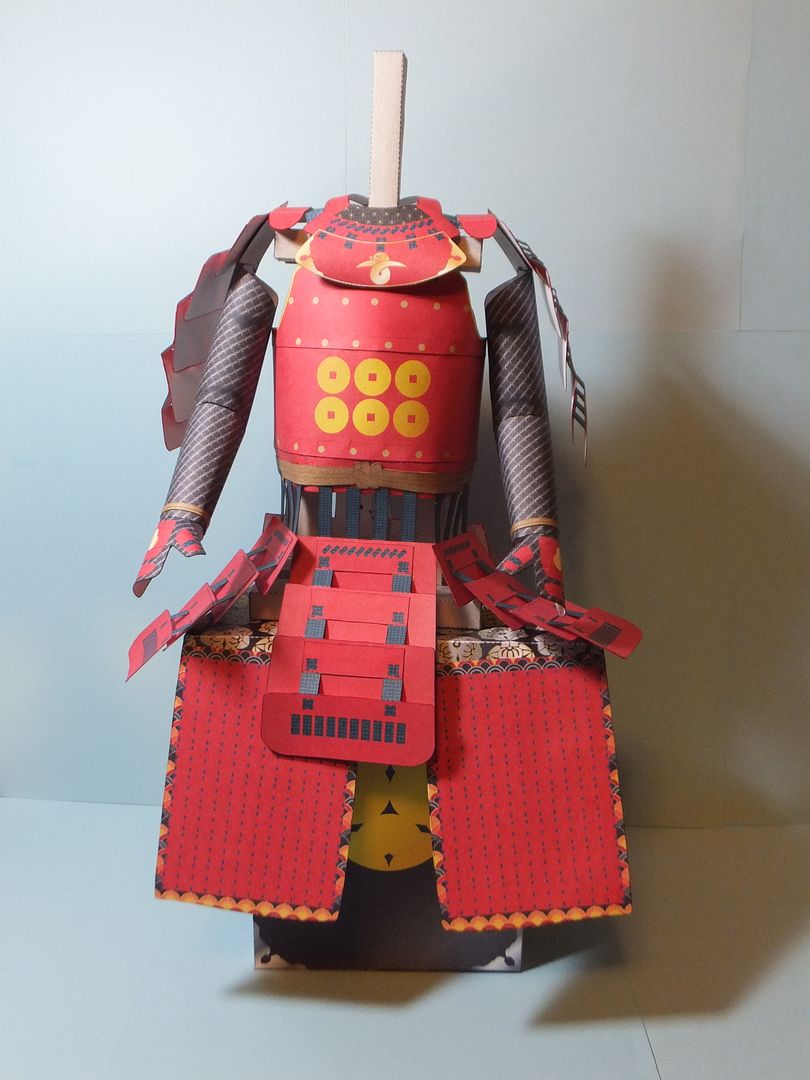
The side armour or "Sode" are cutout, assembled then when dry attached also to the shoulders.
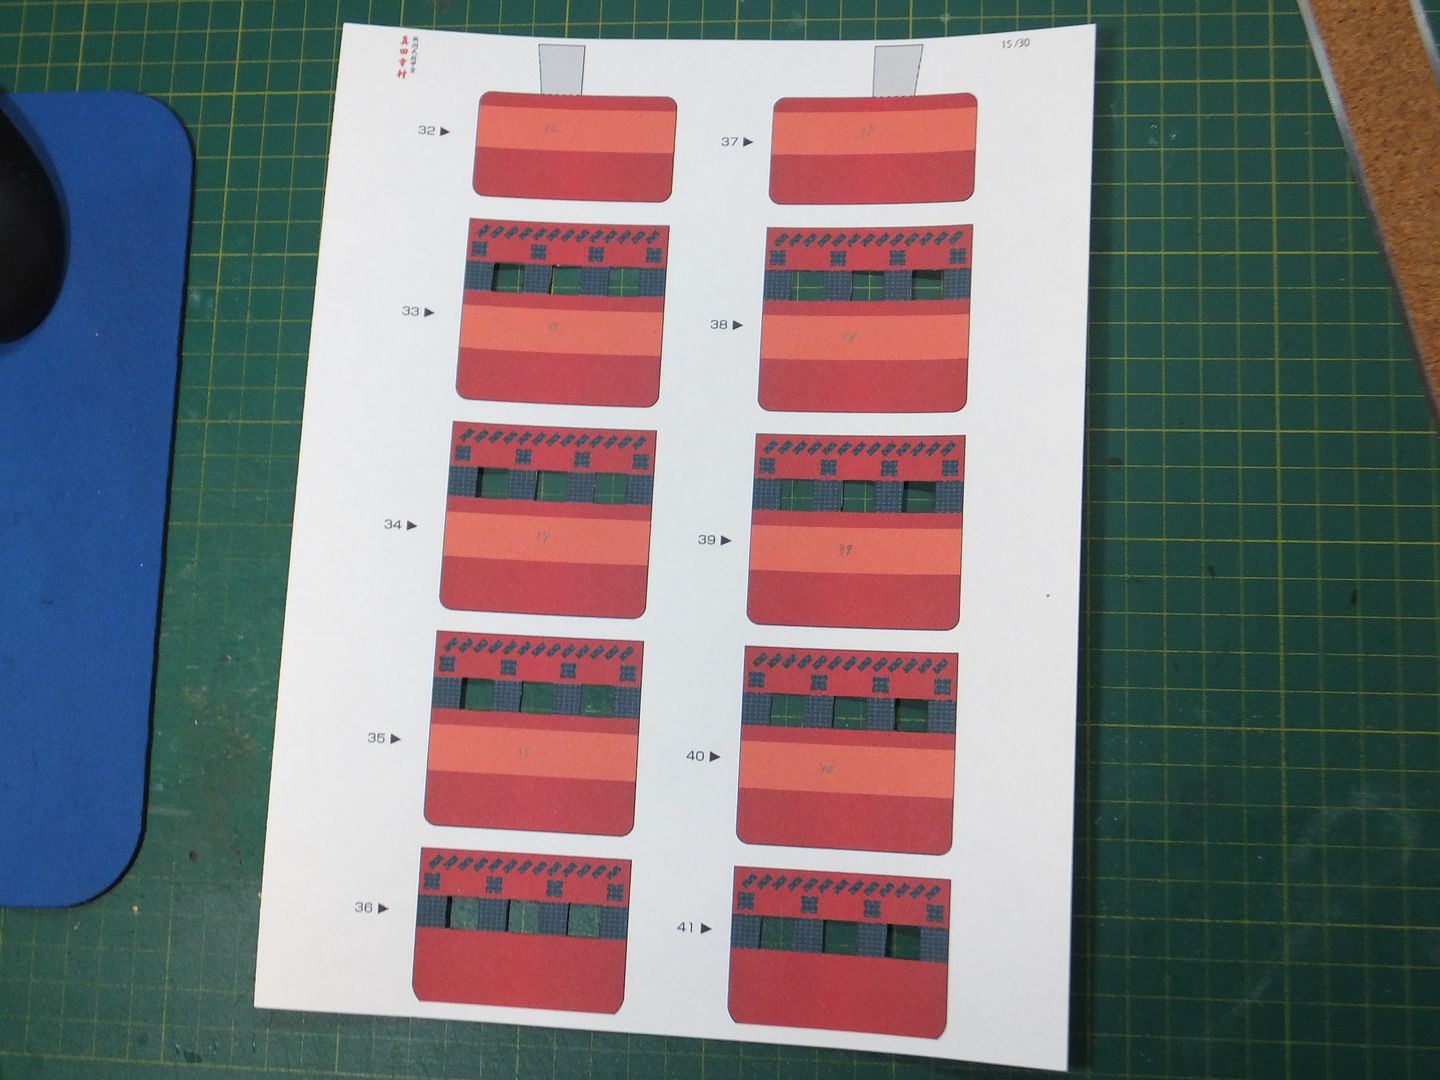
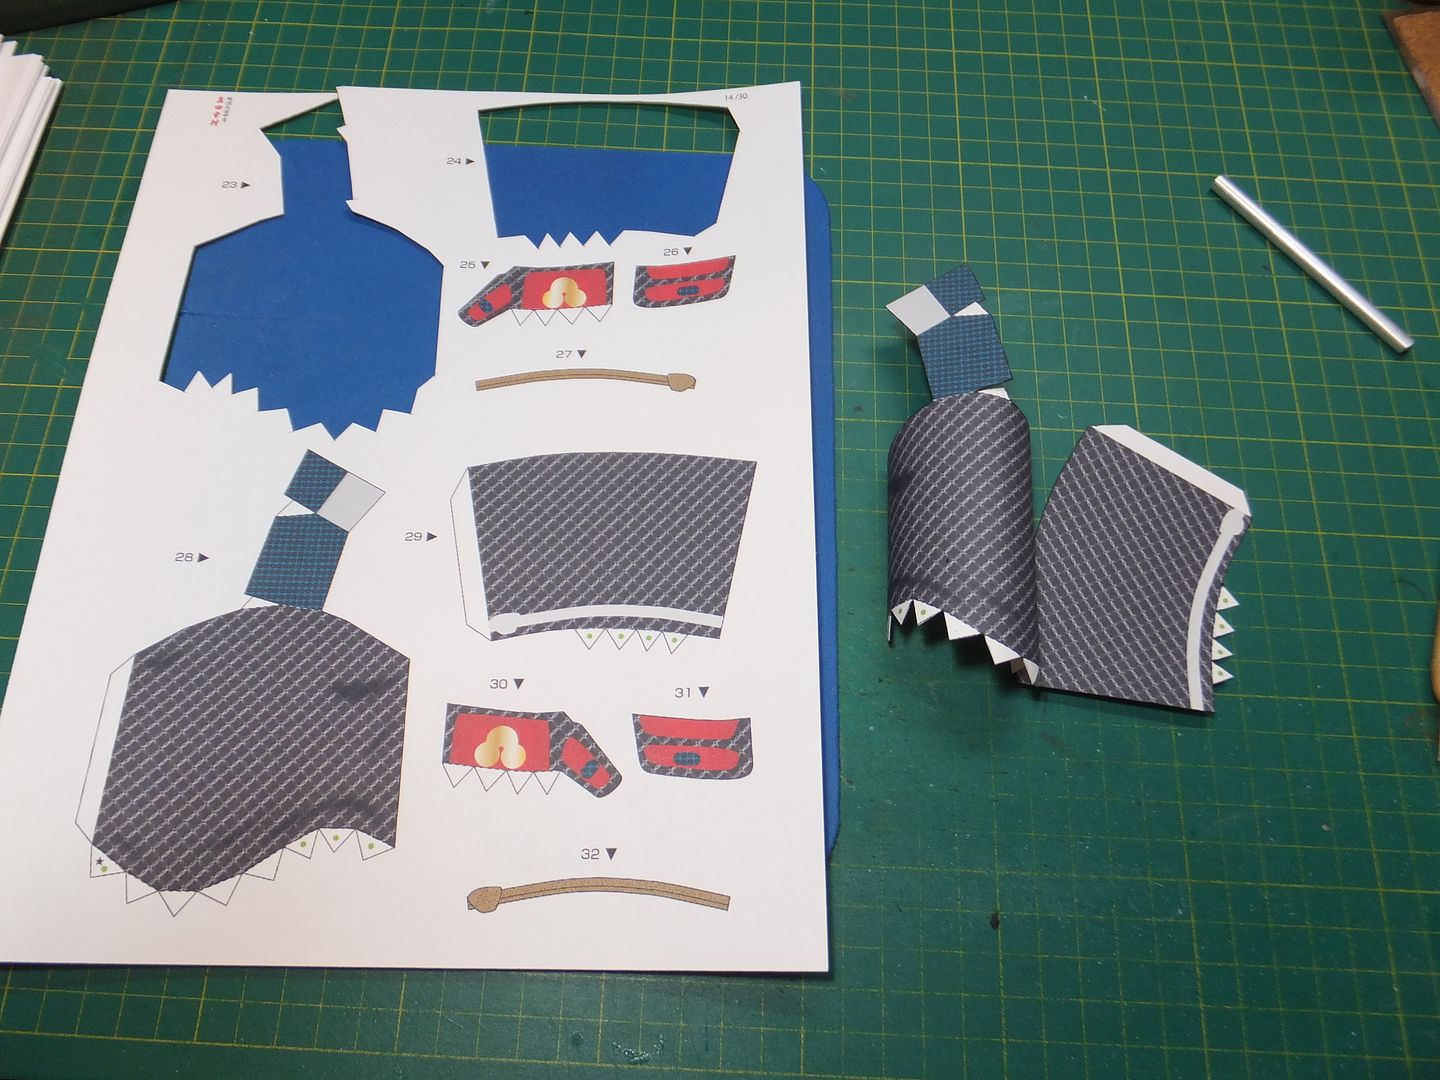
Now we start onto the helmet, "Kabuto", fisrt with the back neck protector or "Shikoro".
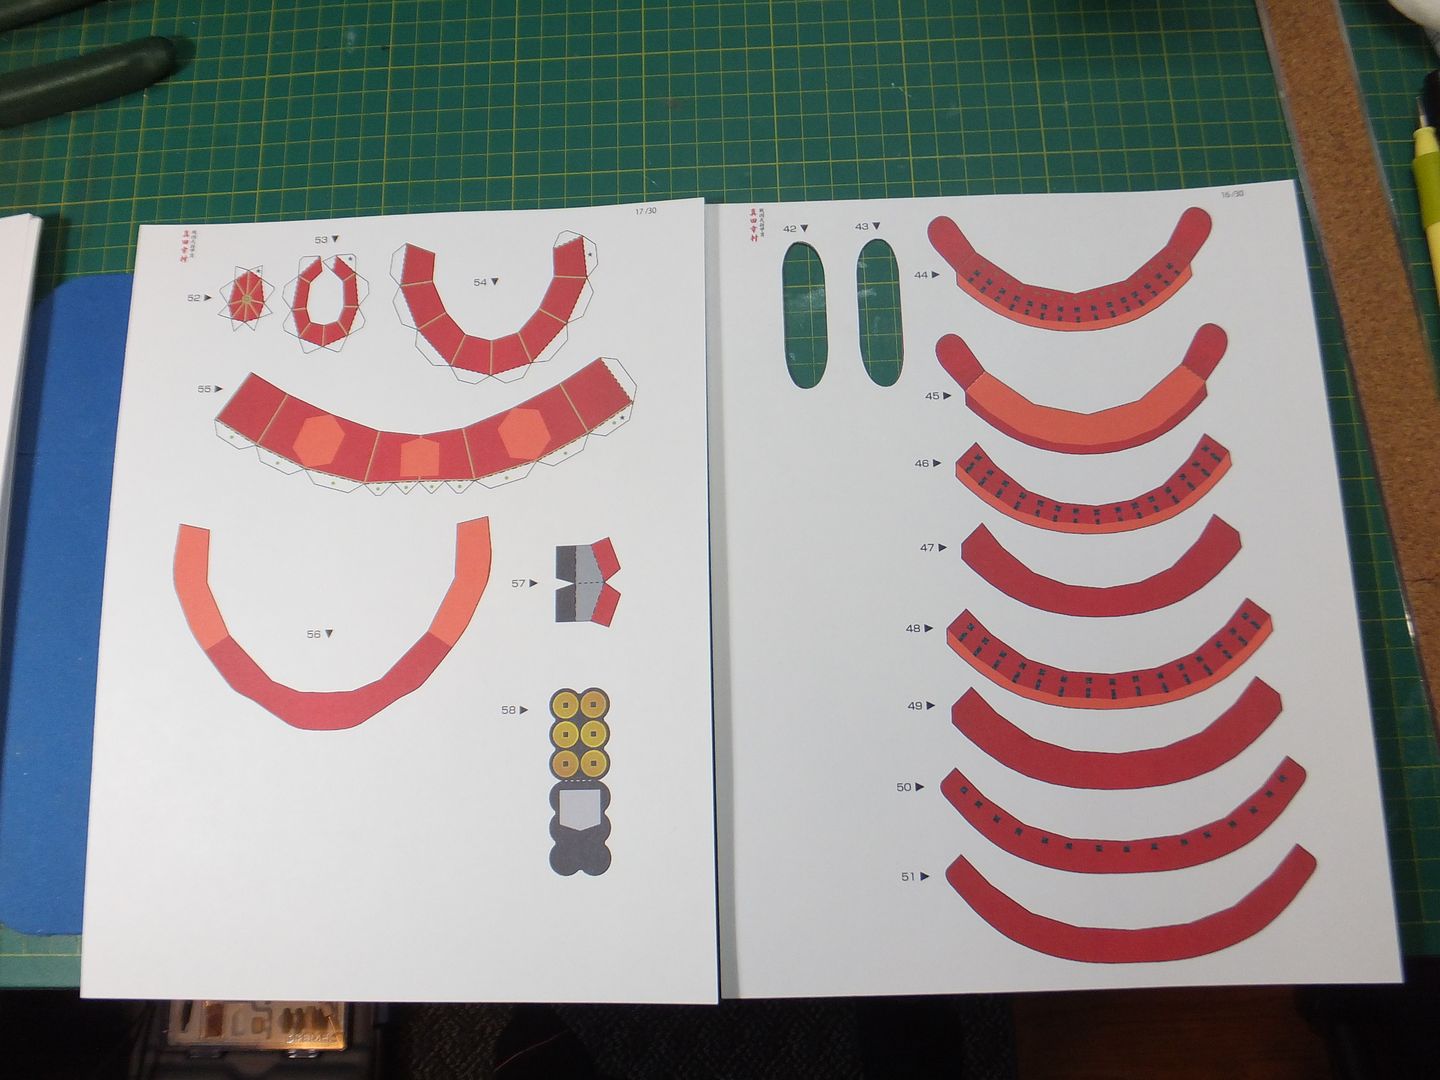
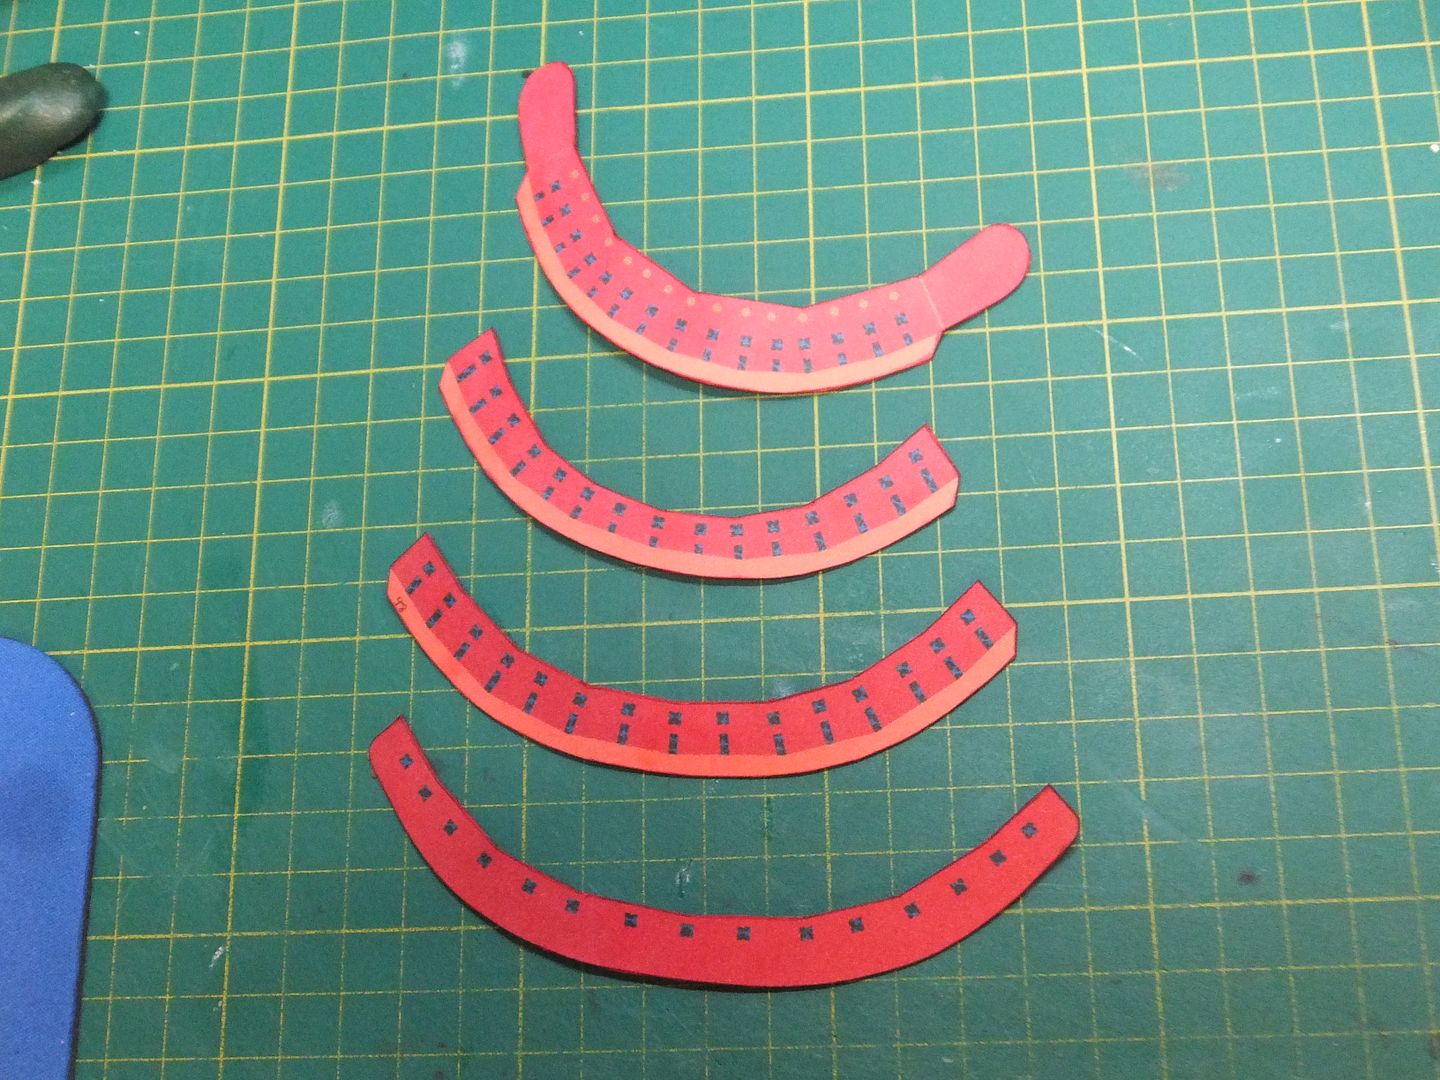
These are laminated first, put into the press and let to dry before assembly.
This is where I am at, at this moment.
Thank you for following.
Questions and comments welcome.