Great...thanks papermate!
...unfortunately, I have a few corrections to your method and build.
I appreciate the step-by-step, but its not exactly to my methods.
(I will need to add more details to the assembly diagrams!)
Photo 1...Your chassis cross brace isn't square enough (up and down)
and it needs to be (as indicated in the assembly diagram).
I made a mistake by marking the wrong side (as the TOP).
This caused you to install the cross brace part upside-down.
Sorry about that.
Photo 2...cutting out the arches afterwards is a VERY good idea!
Those corner areas of the body are very thin.
Photo 4...that small section of diamond plate, is
not a glue tab.
(Thats why it has diamond plate artwork)
It covers and fills the gap at the end of that insert assembly.
Photo 5...these tabs are not part of the model.
I didn't think tabs were really needed here...but the builder is free to add anything!
I just put a little glue on the edges of the chassis and pressed the body panels to contact.
This holds the sides of the body in place.
Photo 7...some people prefer no glue tabs at all...just edge gluing.
So...there are no edge/folding tabs on this model.
I included separate glue tabs (that mount from behind) to make sure the connections are all flush and square.
At this scale, if you overlap tabs, the thickness of card will severely distort the shape of things.
Folded over tabs will seriously affect the dimensions and shape of the assemblies.
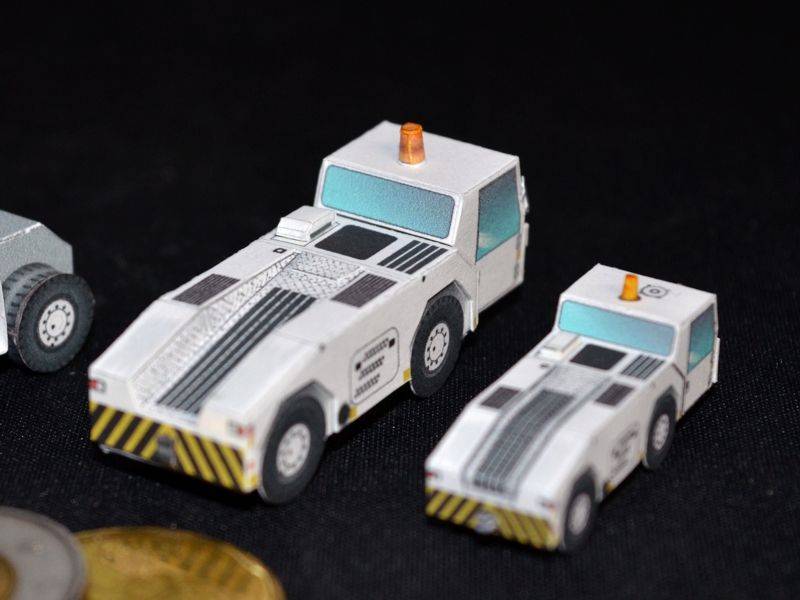
Photo 11...the mirrors are installed incorrectly.
Once again, I say refer to the assembly diagram.
(Your right side mirror, is also upside down)
Photo 13...I added center references for installing axles.
A 2mm axle (wooden toothpick) works good.
However, I also indicated "up" for all the wheel faces.
My artwork gives a 3D effect, but only if the wheels are fixed (in the correct position).
I prefer to glue my wheels in place...non rotatable.
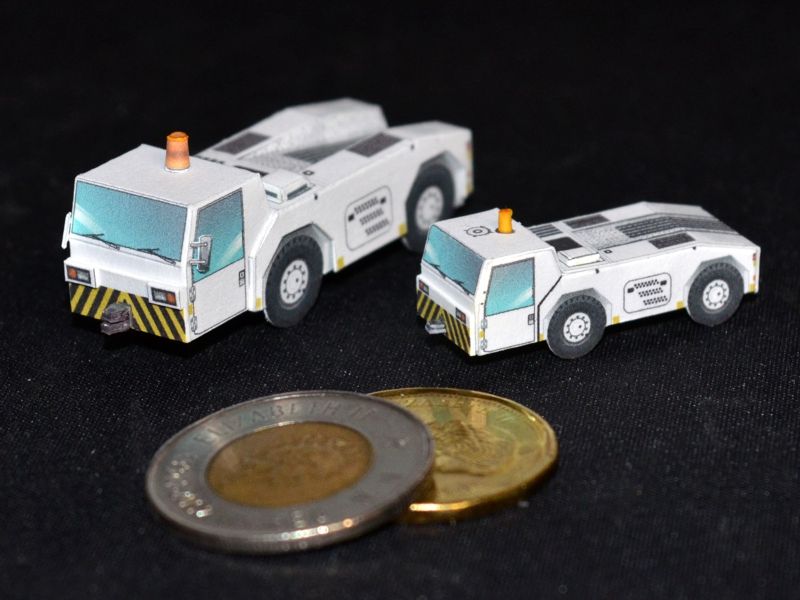
You also assembled the Hitch Plates incorrectly, but thats probably my fault again.
My assembly diagram doesn't show it clearly.
The plates areto be separated into two plates (each two layers) and positioned one upper and one lower, with a gap in-between.