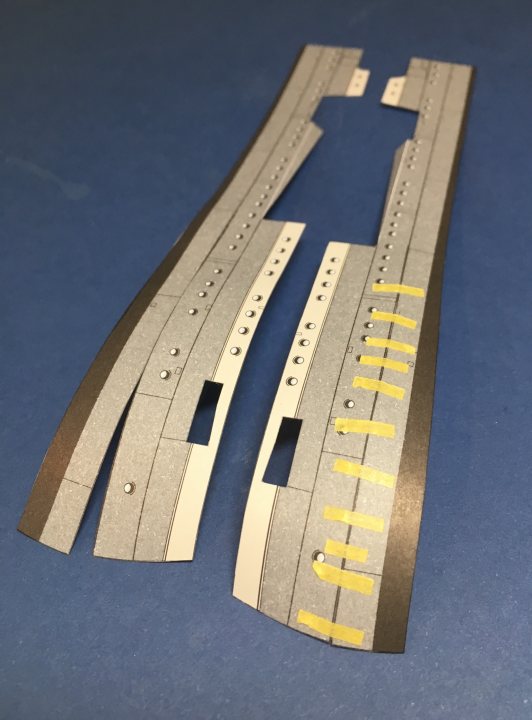
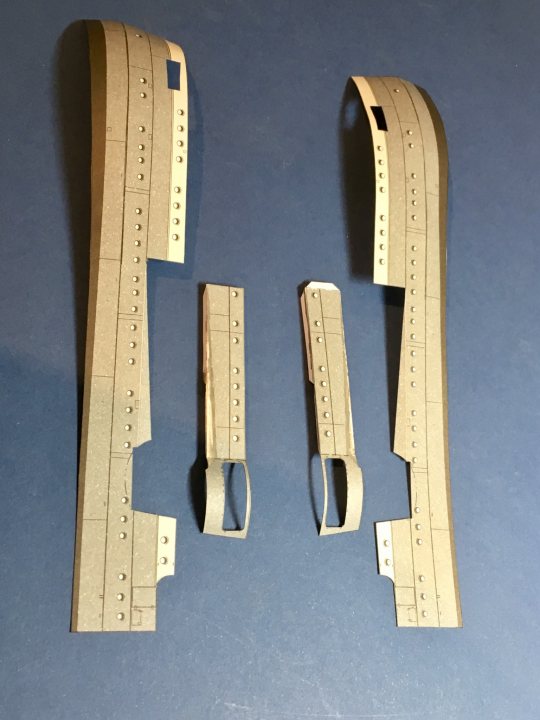
Now things get tricky. There are 4 stern panels and the deck, all of which need assembling to pretty close tolerances if there are to be no gaps. The areas around the casemate guns comprise curves and angled sections, all of which need to mate pretty much perfectly. The stern sides also have cuts in them which when closed, form an angled, curved profile. Starting with these, after painting all exposed edges, I tacked them in place with Tamiya tape:
Then painted pva along the joints, backed up with thin tracing paper to form a shear joint rather than an edge joint:
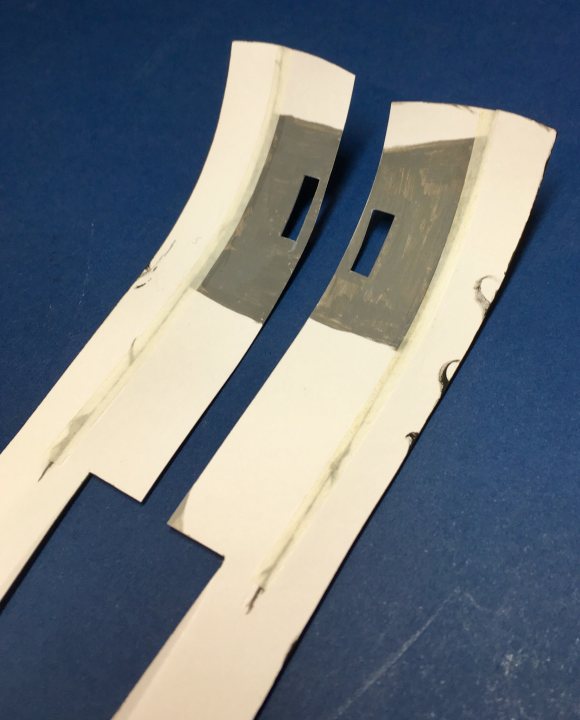
Then painted the back to make any small gaps opaque. The upper and lower bow sides were joined in the same manner:
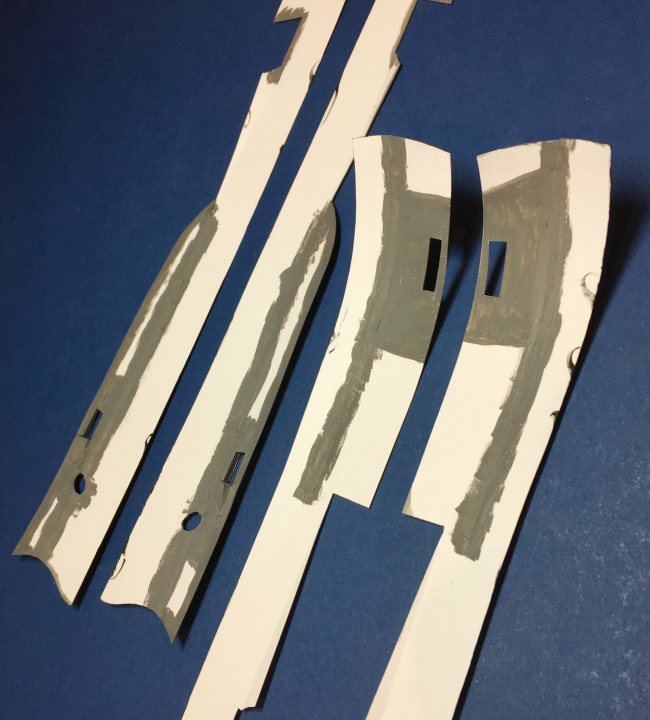
This results in - pretty much - perfect joins, with no excess glue on the outside:
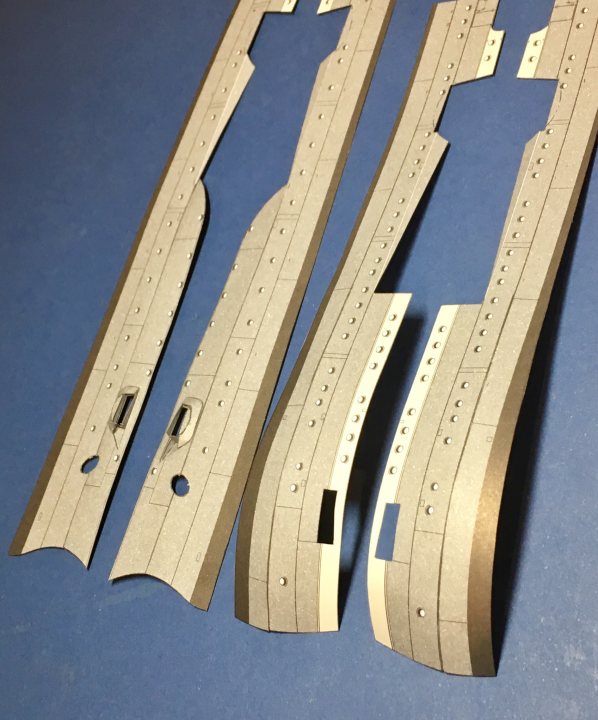
On to the casemate panels:
The ends were trimmed to the right length, and joined to the stern sides as above. Then, the two sub-assemblies were fitted to the rear deck using Elmer’s glue, which allowed adjustment to suit the casemate bulges. PVA was then brushed along the inside edges of the hull-deck interface. This formed a shell structure:
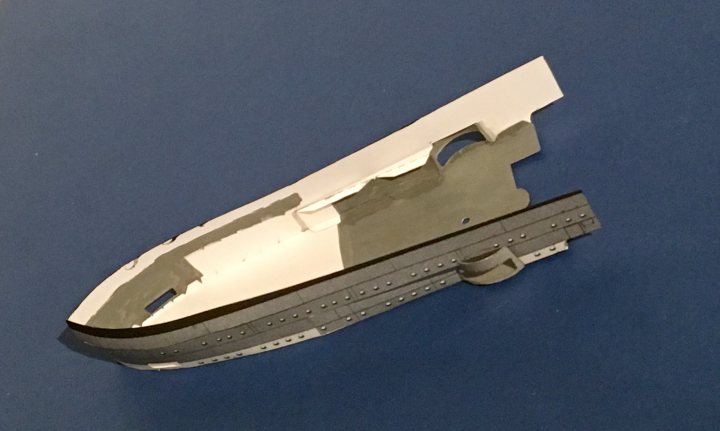
I opted for this shell method because it simplifies the critical, and very difficult, hull-deck joint, allowing access to the inside and outside for adjustments and application of glue.
The insides will be finally painted dark grey in case anything is visible from the gun ports (unlikely, but possible). The shell fitted nicely to the stern sub-structure, at least as a test-fit. The aluminium rod represents the mast spigot, which lines up nicely with its previously fitted socket.
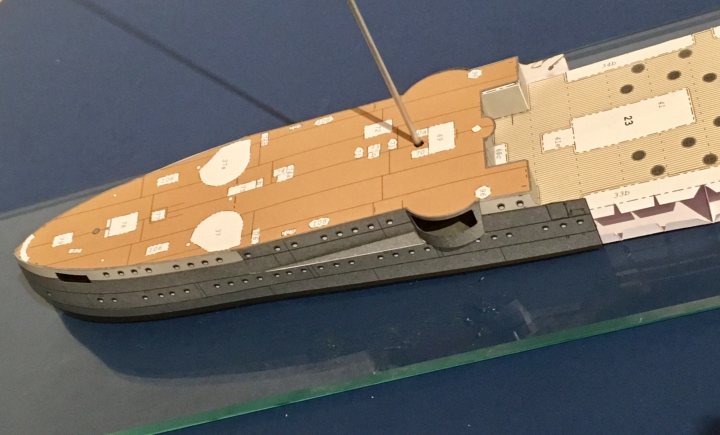
Next, the bow shell structure.