Well, my plan works...sort of...
not only have I made more modifications to the frame rails and the cross members,
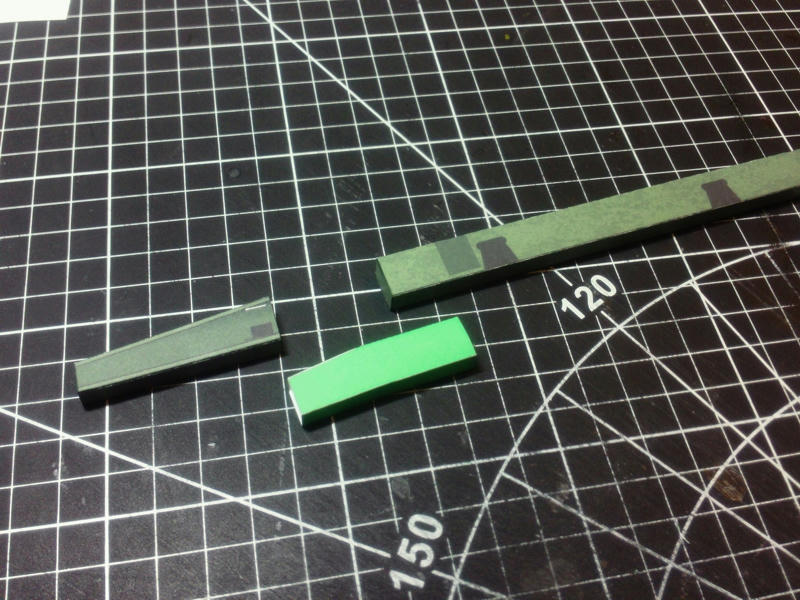
I have split the frame rails into two parts (with a joiner part).
Although there are three parts to assemble now (instead of one long one) the assemblies are very simple.
And the longest section is straight and easy to keep untwisted.
The joiner section is a very tight fit, but I think it needs to be.
Its tricky not to crush and distort the frame tube...I did that to my first attempt...but a tight fit is better I think.
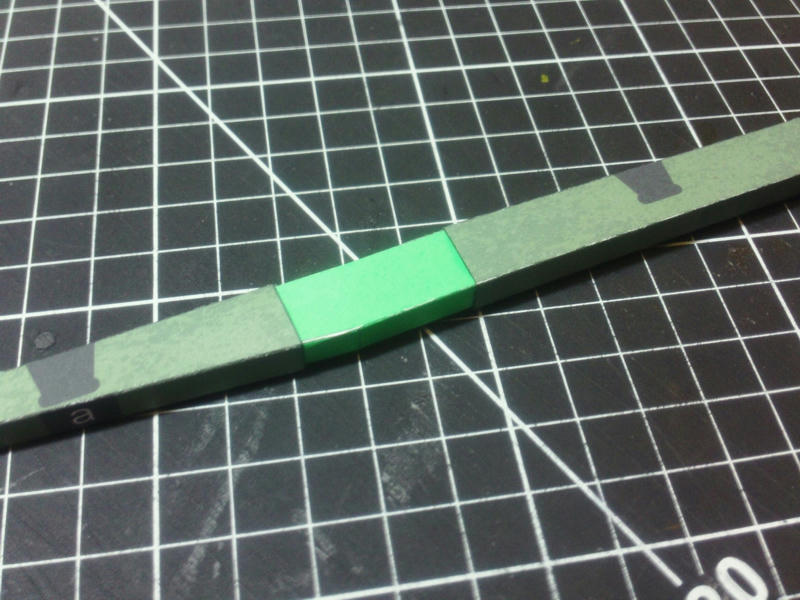
The fit is acceptable, although the seam is quite visible.
I probably made it worse... I edge coloured a bit dark, which makes it stand out even more.
I still think its an acceptable trade off since the frame rails are almost(almost) dead straight.
The cross members will help square up the frame and get it close enough to work.
To be honest, a stamped steel frame is not that perfect.

The final result is very good...I am quite happy with this!
The help I received from on another forum, helped me sort out the cross members.
Disclosure...I made more changes to the frame rails, and rebuilt the parts once again.
This last time, I got lazy, and reused some parts (like the joiner pieces for the frame rails).
The split connection is a bit rougher than my earlier attempt.
I may print some frame rails on lightweight paper, and cut out the side panels and glue them to the rails to hide the front seam.
In fact this sounds like a good way to deal with the seam anyway.
Something I might put in the instructions?!
