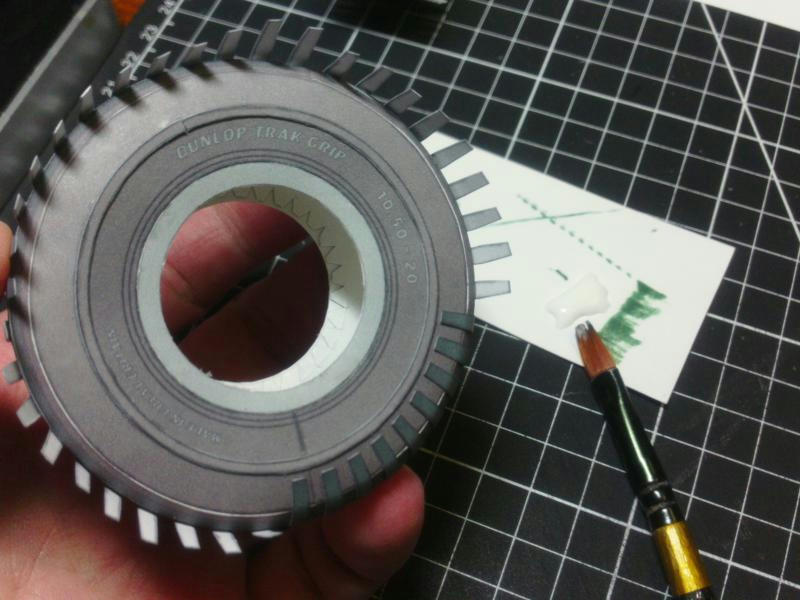
Now its time to finish the tire by adding the raised tread details.
Its important that the tread is positioned in the centerline of the tire, so that the treads cover the same amount on each side.
I have added a dotted centerline to help the placement of the tread...but its still a bit tricky.
I haven't got one perfect yet!
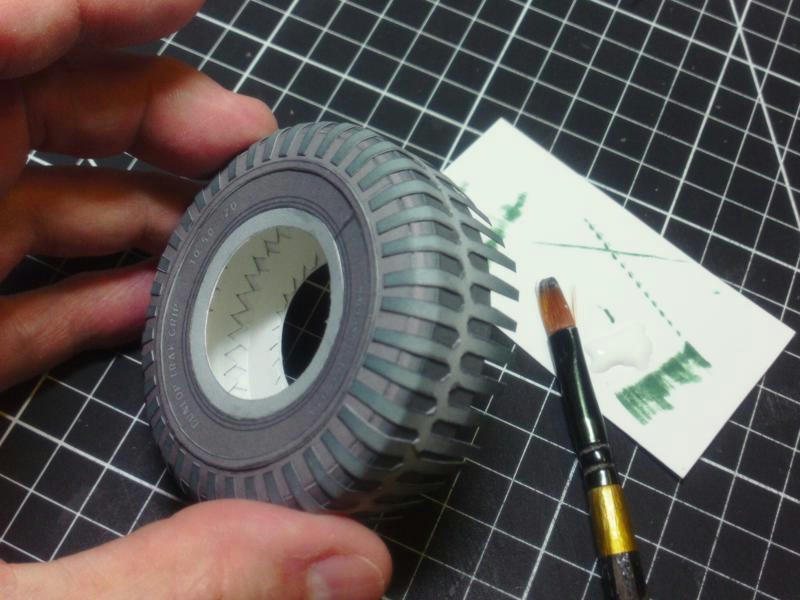
Start by gluing one end of the tread part to the Tire.
Right now, we only glue the very center strip of the tread part.
Slowly wrap the Tread part around the tire, gluing it in place, until the ends meet.
There is no need to wrap it tightly, just let it fall into place, so as not to overlap the ends.
if the ends do overlap, a little trimming is required.

...
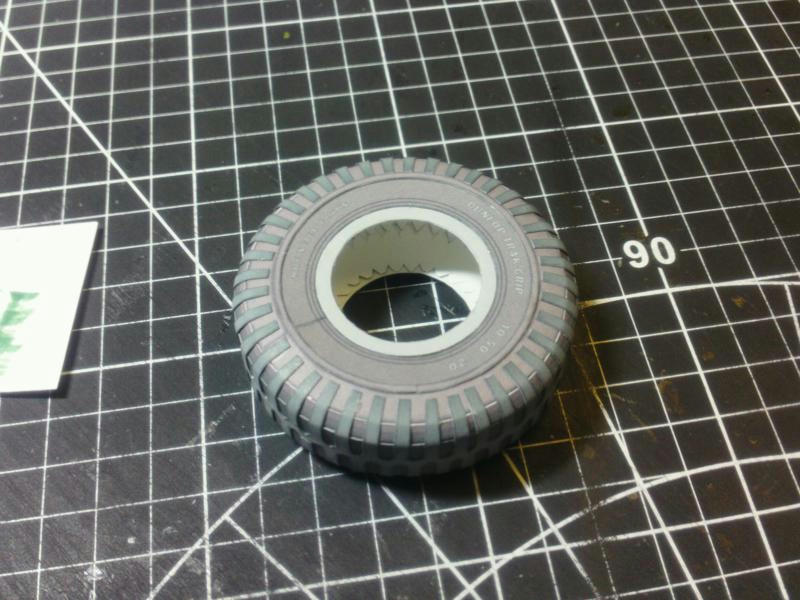
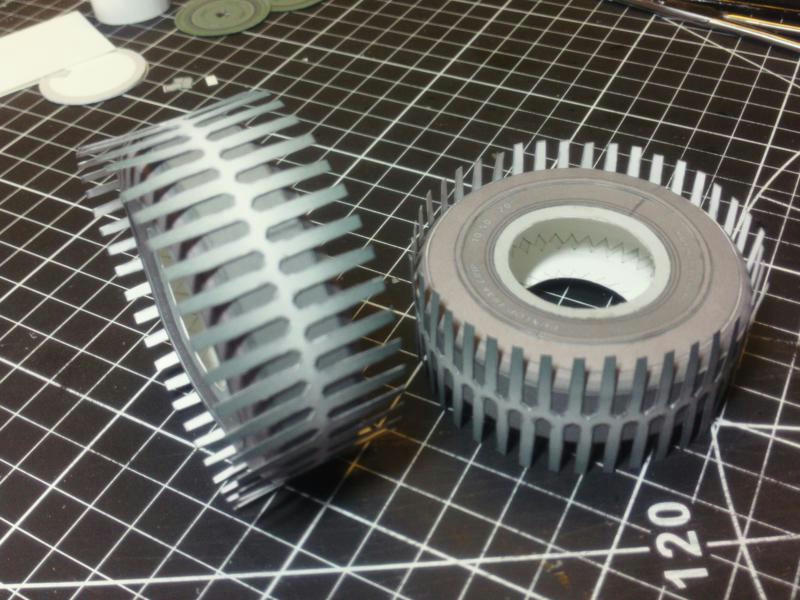
Once the Tread part is in place, each tread extension has to be glued down to the tire.
Each tread will fold around the tire and be glued flat, and should fall short of the raised bumper strip on the sidewall.
if you got the Tread part centered around the tire, it will do this!
If not, it might be a tight fit on one side of the tire.
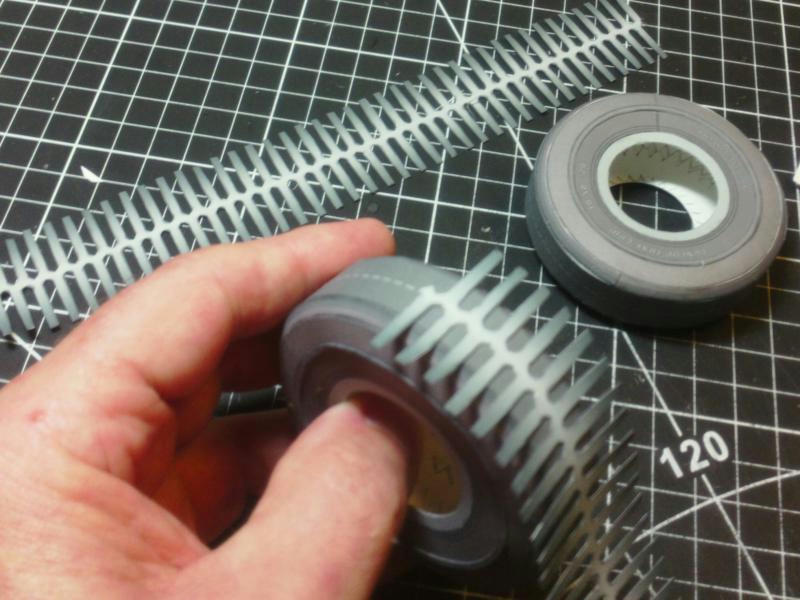
I used a paintbrush to apply glue and glued two treads at a time, working my way around the tire.
Its important to make sure each tread is firmly glued flat to the tire surface.