I just finished releasing the 1/16 scale Field Artillery Tractor model,
and I plan on producing the Limber (Ammunition) and Gun Trailers for it.
Since I have access to the real things, I will be taking measurements and photos
...but I won't be able to do that for another 2 weeks.
So while I wait for the opportunity to get started on the FAT Limber and Gun Trailers, I want to work on something...
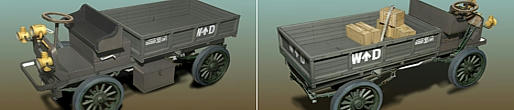
and I thought I would revisit this Autocar Lorry model.
When I designed and built the WW1 Autocar Armoured Car, I followed it up with this
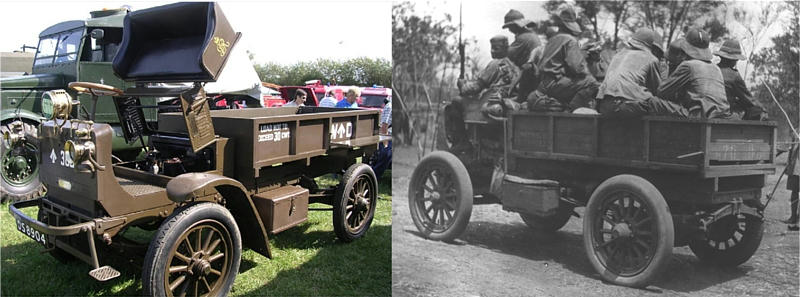
British Army 30cwt Lorry that was originally built on the exact same Autocar Truck chassis.
A fellow in England owns one of these Lorrys...now fully restored...and he provided me
with all the photos I needed of the Chassis during its restoration.
In return, I copied his Truck into a second model using the Autocar chassis.
Anyway, since I had already built the chassis, I didn't need to build another one...
I only needed to test build the upper elements (body, cab, etc) at that time.
That was enough to guaranty it all went together, and to mock up some images of the finished Lorry.
The Body parts have been sitting on the shelf ever since, and I have threatened many times
to build another chassis and finish the Truck.
Now is as good a time as any!
First, print out some parts pages...and spray seal them with Krylon matte clear.
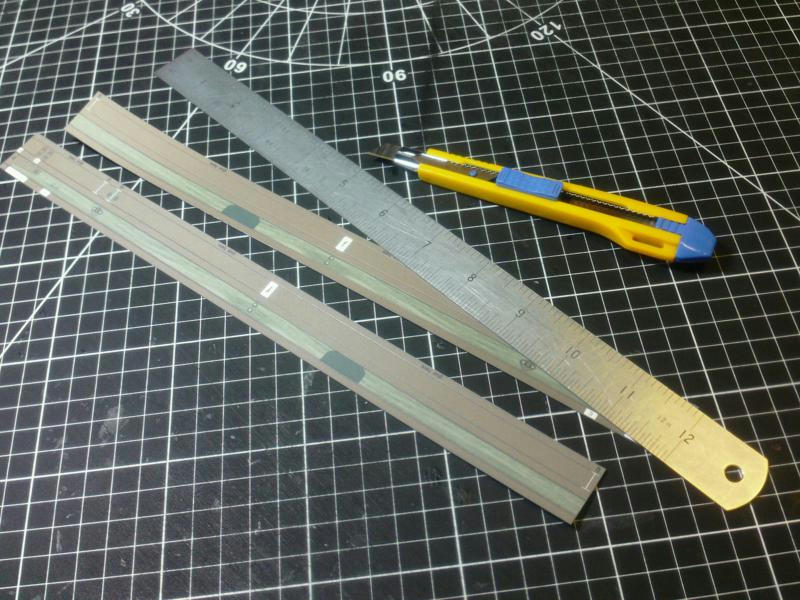
Then score all the fold lines...I am starting with the Frame Rails.
Its important to use a stiff straight-edge for scoring.
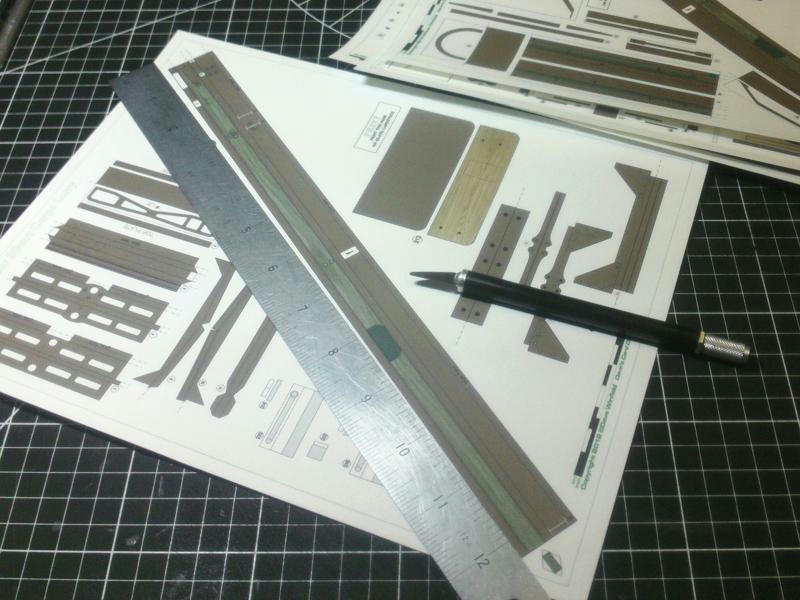
I also use that straightedge for cutting out the rails.
I remember how much trouble long straight square tubes can be...
they require careful scoring and cutting, and very careful folding.
These Rails have an overlapping section, so they require creasing and folding...then unfolding for gluing.
I glue the entire length of the Rail, then overlap and fold flat (diamond shape).
Make sure the length of the rail is straight, then un-diamond, and re-diamond the opposing sides.
Do this a few times until the glue has completely grabbed, and you get as straight as possible.

After gluing, I do my best to twist and stretch and keep those tubes as square as possible.
As the glue dries, they will want to do all kinds of things (other than staying straight!)...so you need to keep an eye on them.
After I was sure they were in the best straight shape, I strapped them both together with paper strips.
This way, if one twists, the other will match it.
then put them aside to fully cure.
