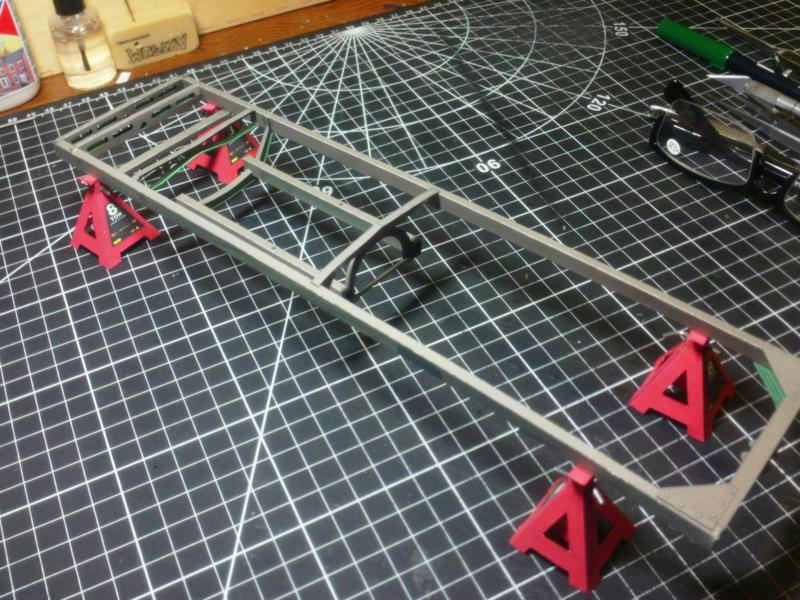
Once again, referring to the Instruction diagrams (and the marks on the Frame), install the Sub-Frame to the Main Frame.
I apply a lot of extra glue to make sure its as strong as possible.
Some of the connections are small and narrow, not a lot of contact area between parts.
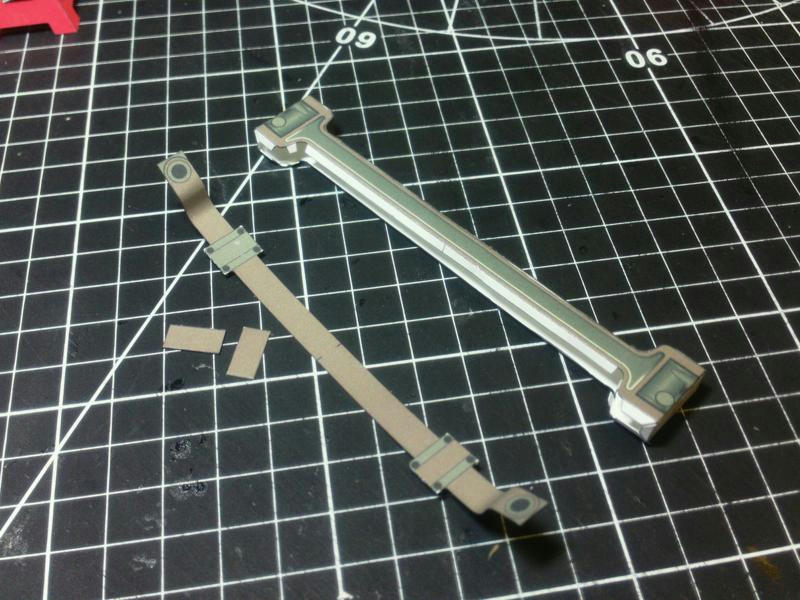
A couple of Frame details to install...these little brackets are part of the Frame artwork already,
but extra parts are provided, so you can layer to create more 3D effect.
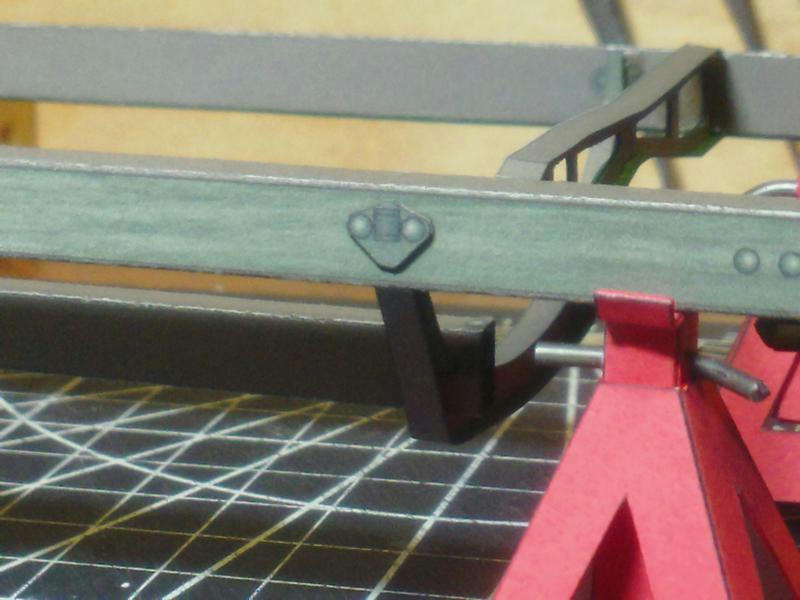
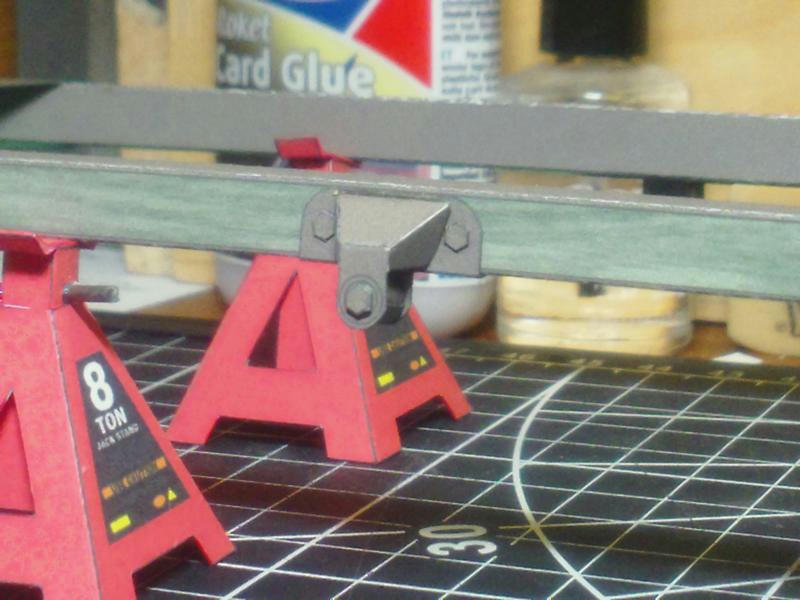
At the rear, I've attached the surface plates to the Frame Rails...and then attached the forward pair of (Rear) Leaf Spring mounts.
Two creased and folded parts, one small rolled tube, and two small discs, make up each Mount.
While the Frame is set aside again, I start on the solid front Axle.
Its only four parts to assemble...but a very tricky assembly.
Its a closed box like assembly...which can be difficult when you get to attaching the final side.
And the top and bottom plates require precise pre-shaping, otherwise its a fight to glue to it all together!
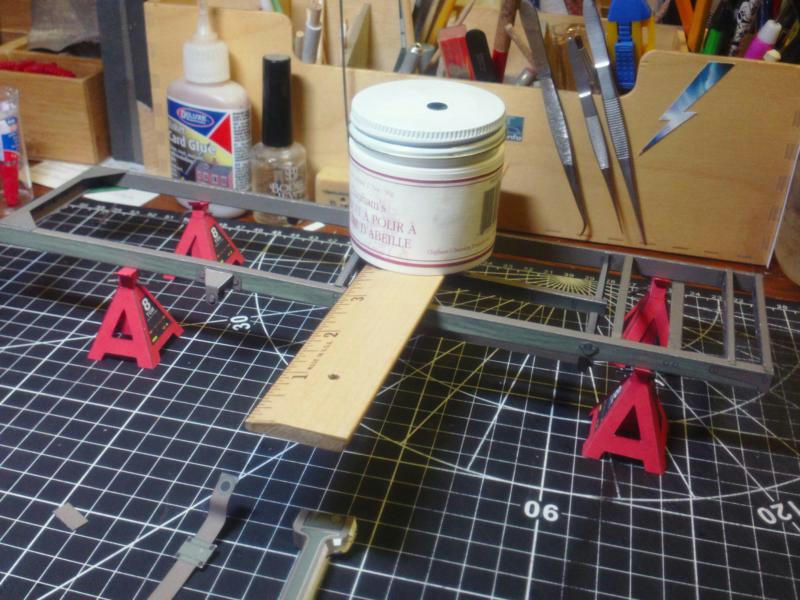
Oh, while the Frame sits to the side, I am still concerned about twisting and warping, so I make sure
it has help to stay in the correct shape. In this case, my Jack Stands come in handy (since the frame can't lay
flat on the table) and I applied some light weight in the center to keep it from curving and twisting.