Continuing on...
I had forgot to cut out the smaller side holes in the Former assembly...photoshopped into the last photo...
So I used an electric drill to punch them through and then sanded them to the correct size.
These will be for an "axle" dowel...you can see it in the next photo.
It will be some sort of support for the two wheels on the Limber, I'll explain later.
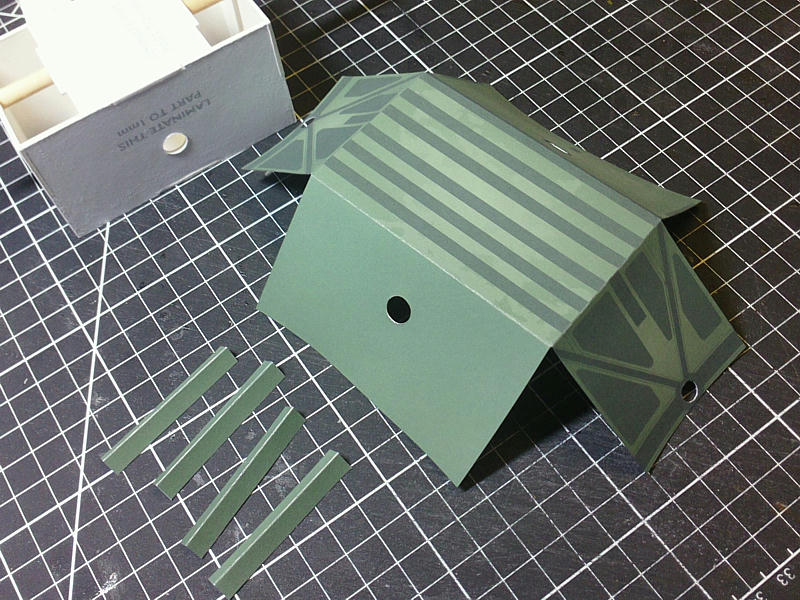
So, now I prepare the "skin" for the Limber.
Going back to my idea of simplifying the assembly, I came up with a one piece cover
ready to receive a lot of surface details and add-ons.
Score, cut and fold...cut out the holes for the dowels...and prepare the four corner joiners.
...
The bottom panel will be an additional part.
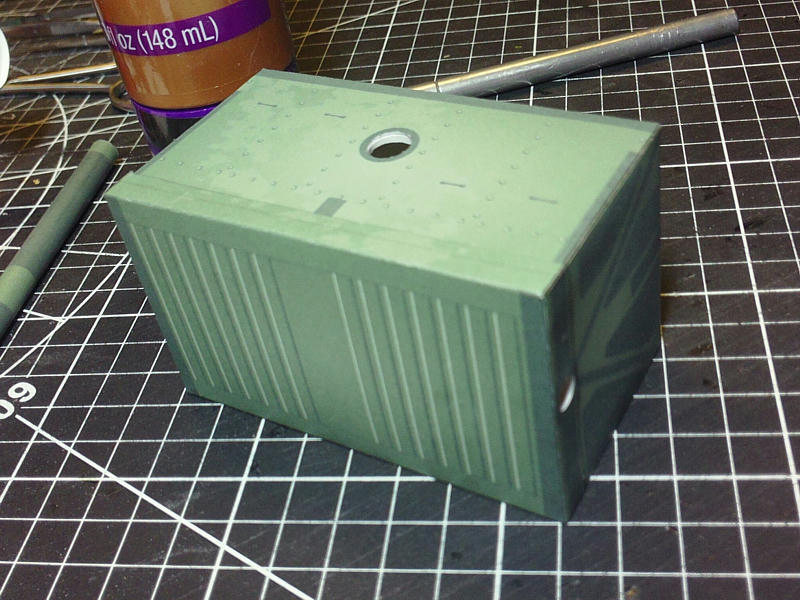
The "skin" fits nicely. Even the dowel holes line up!
Its a very snug fit. Nice!
Once the Former assembly is in place, I use a paintbrush to slide some glue into each side panel and lock the skin in place.

...
Bottom panel is prepared the same way and it will attach by way of four edge tabs.
But this is real easy, since only one the tabs (rear) goes under the "skin".
The other tabs are exterior panels that glue flat to the outside of the skin.
The bottom panel is very slightly oversize to allow the tabs to wrap around the Limber box.
Lining it all up is real easy!
Just make sure the "axle" holes are lined up.

...
Once the bottom panel is installed I do some touch-up edge colouring.
Then the completed box is set aside to cure.
The easy part is done!...now its a lot of layered surface details and very small parts.
Its still surprising how many parts are so small at 1/16 scale!
...