...
still building...
I struggled with a method for the top of the limber box.
Its actually a ribbed panel on the top, with castelated side panels, welded together.
But at this scale, forcing the builder to cut out 2mm raised tabs
and then score and fold the top panel to match, would be quite advanced (I think).
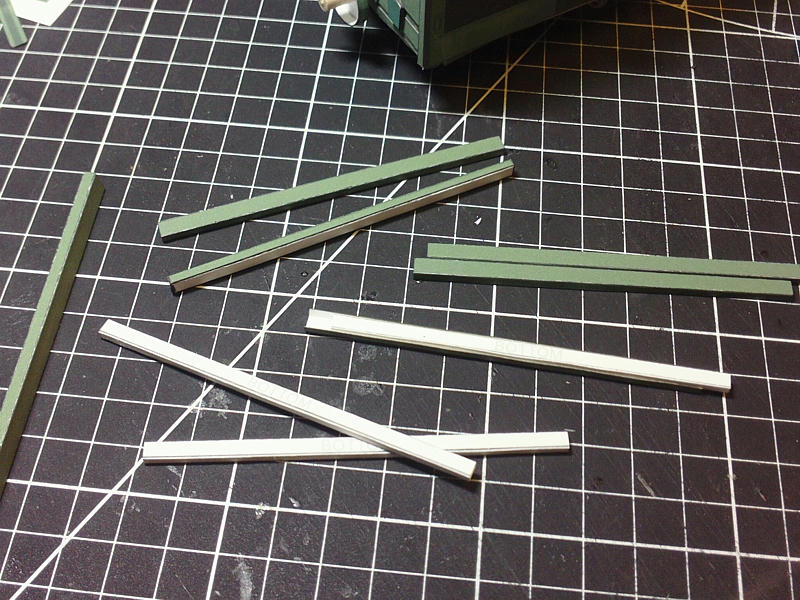
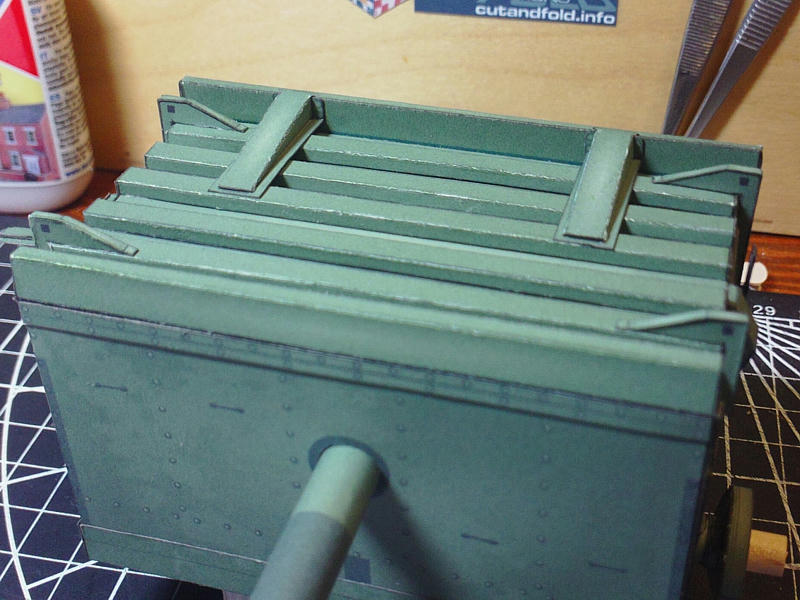
So, I settled on making the "ribs" separate entities that could be assembled more easily and then glued on to the top.
There are five of the shorter ribs, and one taller one, to assemble.
Each of the shorter ribs are two parts each:
a squared tube (former), and a folded exterior skin.
...
If you take your time, and score each part carefully, then fold precisely and glue,
they fit together quite nicely...and it works.
I set them aside for a day to properly cure before gluing them flat to the top panel.

...
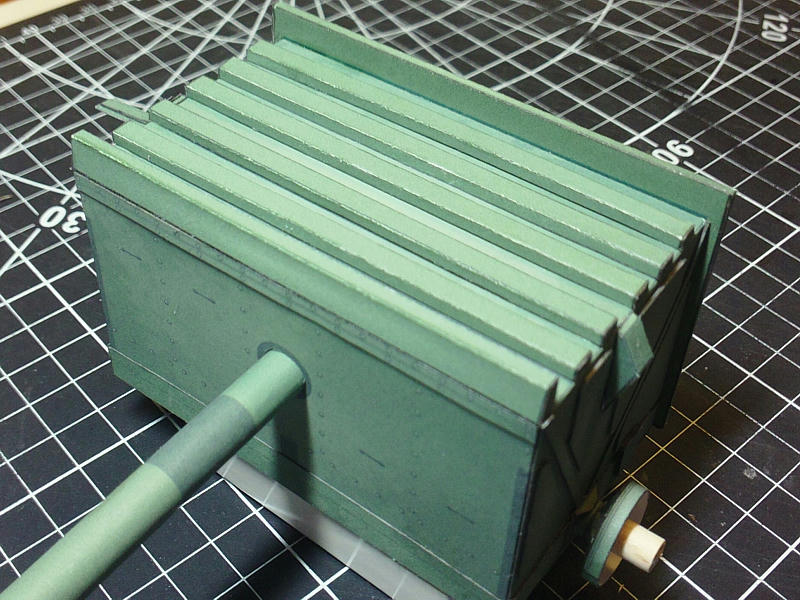
The front "rib" is much taller, and angled at the front.
It sort of matches the rear extended panel, to create mounting points for other hardware.
It also extends slightly out from the box and is supported by an additional front detail strip.
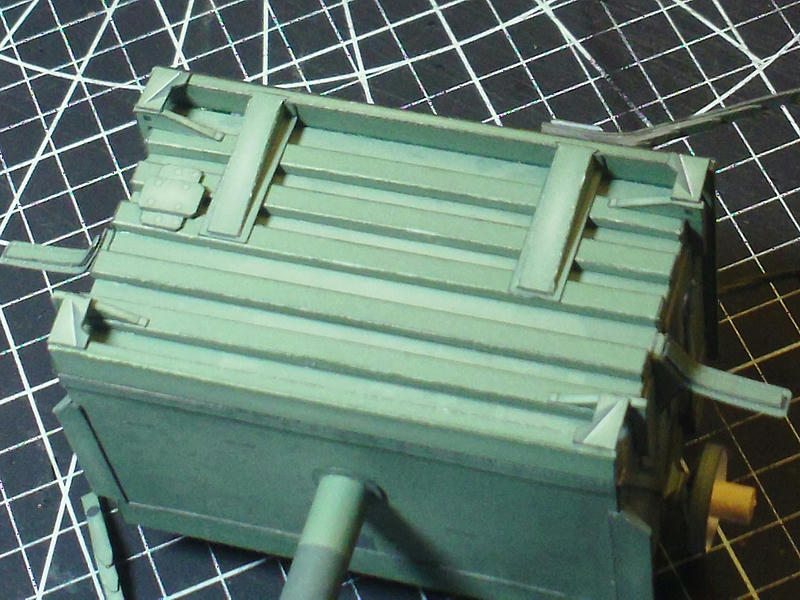
With all the ribs in place, its really starting to look like the real thing!
...
More surface bracketry attached...these appear to be strengthening gussets for the rear panel.
Once again, its surprising how small some of these parts are, and although these brackets look simple,
they have narrow folded sides...its tricky to get a clean score and fold.
...
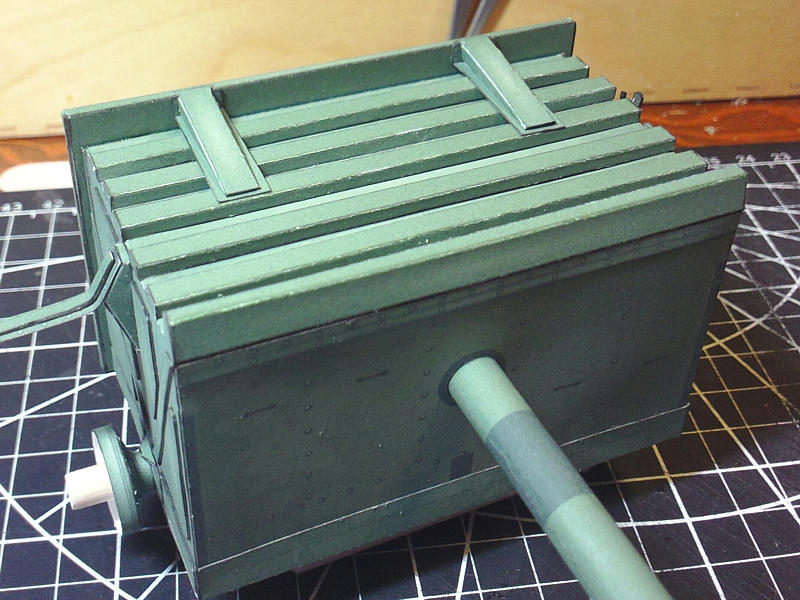
1/16 scale seems big...but some of the bracketry is just too small and complicated.
And I hate having to deal with things that have Pins and Metal Rods.
From this point on I am simplifying and stylize some things.
Like these four braces.
...
And these four corner brackets will have to do...the smaller hardware that is partially hidden underneath will have to be a builders option.
Last thing to place on the top (for now) is the base plate for the spare Wheel Hubs.
I won't be adding a "spare wheel hub" but the mounting plate is a good feature to break up the area.