Lots of new developments over the last week!...
I continued to design and add some more Carriage details like these little brackets.
All four of these brackets are for mounting the tail skid plate/slider thingy.
...
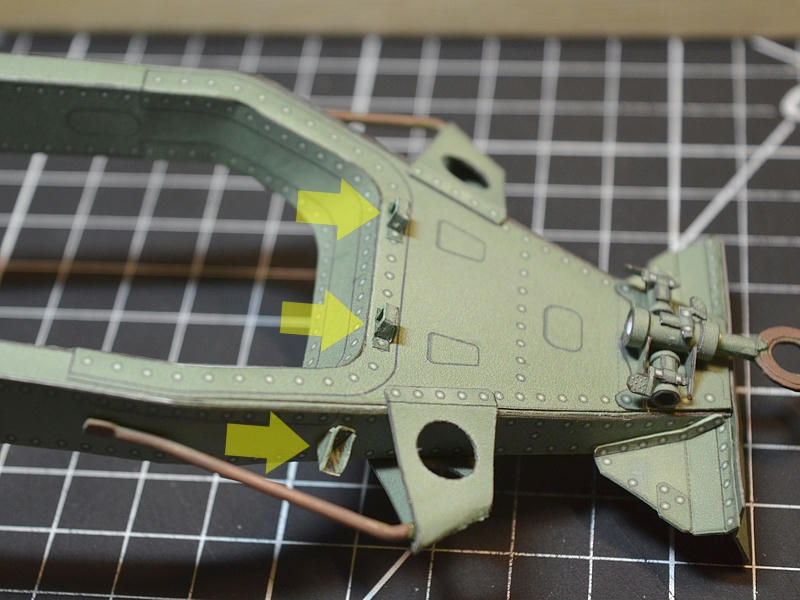
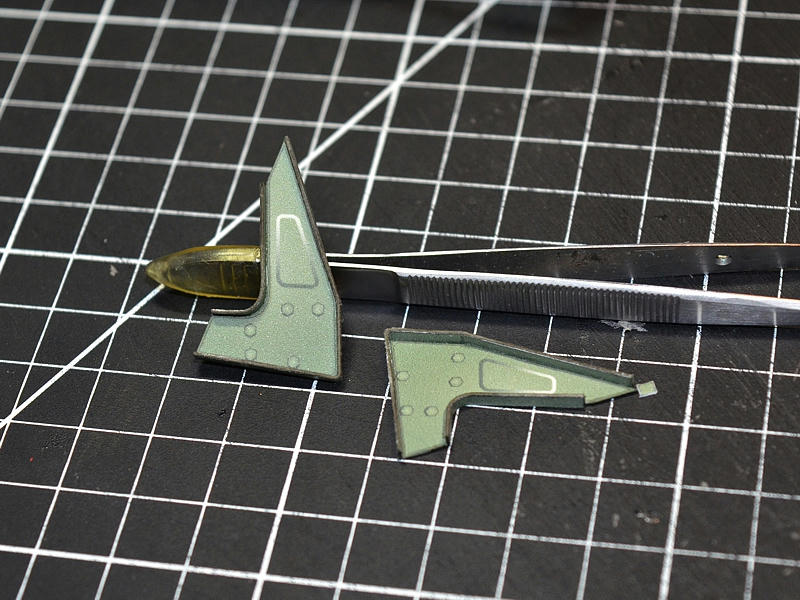
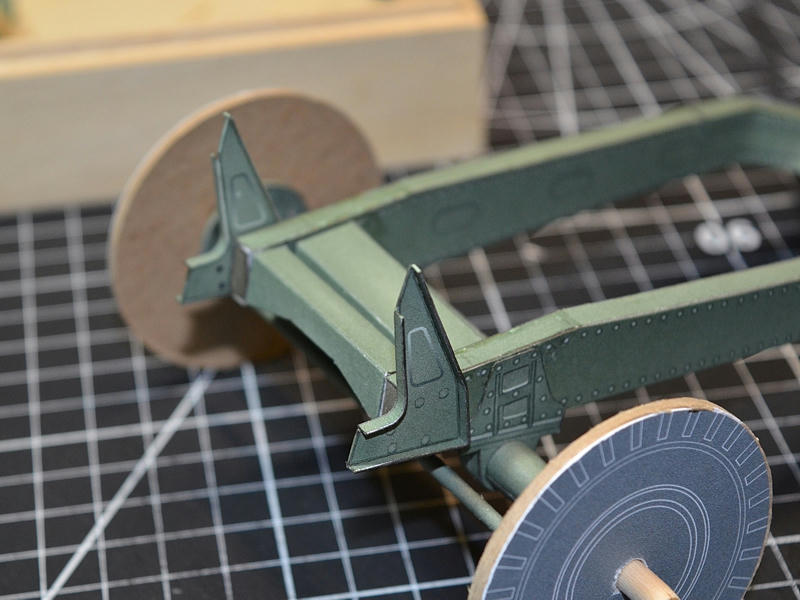
And...the front end brackets that support the Armour Shield plate.
They are layered card, with a layered edge strip.
Patience is required to cut out the thin strips and then pre-shape them, before you edge glue them to the flat plates.
Then, they are aligned and glued to the front ends of the Frame Rails.
...
and this is where things went sideways!
I was looking for "what to do next" and making diagrams for a couple of things.
I wanted to install some of the bracketry that holds the swivel base.
But for that, I needed to understand the size and position of the Base itself...
so I decided I better design the swivel base while figuring out its position.
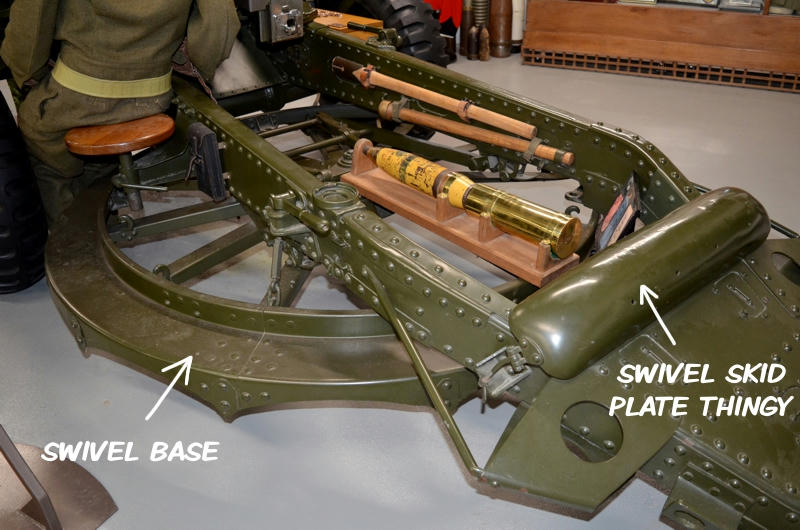
And thats when I discovered that (based on my measurements) and various photos,
the Base would NOT fit under the Carriage.
Meaning, it appeared to be sized correctly to match the Carriage, but there just wasn't enough room
under the carriage (from front axle to rear Carriage tail stock).
Although I had some measurements from my last trip down to the real thing, they didn't seem to jive with my photos or my model.
It appears that the entire Carriage is short by about 20mm (scale about 1 foot!)
In addition to extending the middle of the frame rails to move the tail rearward,
I also would have to make a small adjustment to the front of the frame rails.
In total, about 20mm adjustment.

...
Of course, this means all the work I have done to date...is useless ...and now I have to rebuild the Carriage.
Which led to the next problem...and series of problems!
I redesigned the Frame Rails to the new dimensions and started test building.
As with my first Carriage build, I had difficulty maintaining straight/true Frame Rails.
And even if I managed to assemble two matching/mirrored rails that appeared straight and square...
once I joined them with the upper and lower plates, and insider wall, everything went askew again!
I have designed, redesigned, printed, assembled and reassembled about a dozen sets of Frame Rails and accessory parts so far!
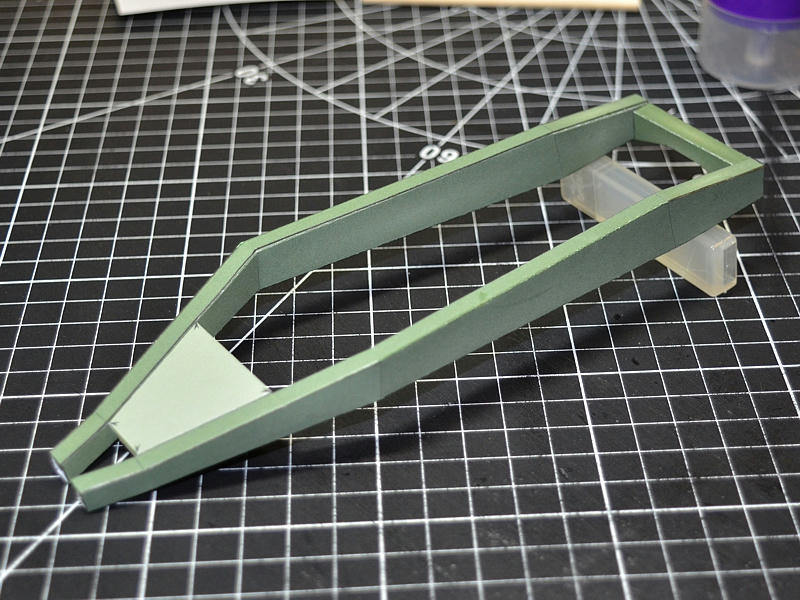
Until I finally decided to throw out the curved corners and curving surfaces in these multi-angled frame rails.
And replace them with straight/scored angles.
Of course, I had to completely redesign the upper and lower plates...and the inside wall panel (a nightmare!).
I also added a box spacer to the tail end to help with aligning the frame rails.
Now the frame rails assemble easier and stay straight and square....and I can continue with the new build! Success
...
I pre-assembled the upper and lower plates with the inner wall part...and then fitted it to the new frame rails.
Once the outside layers are installed, you can hardly tell the difference (angles versus curved surfaces)!
I've managed to save a few parts from the earlier build, and transfer them to the new design.
The other parts I will rebuild, no worries.
Moving on!!
