No problem, Becky, I have already decided for the second variant.

Hello everybody,
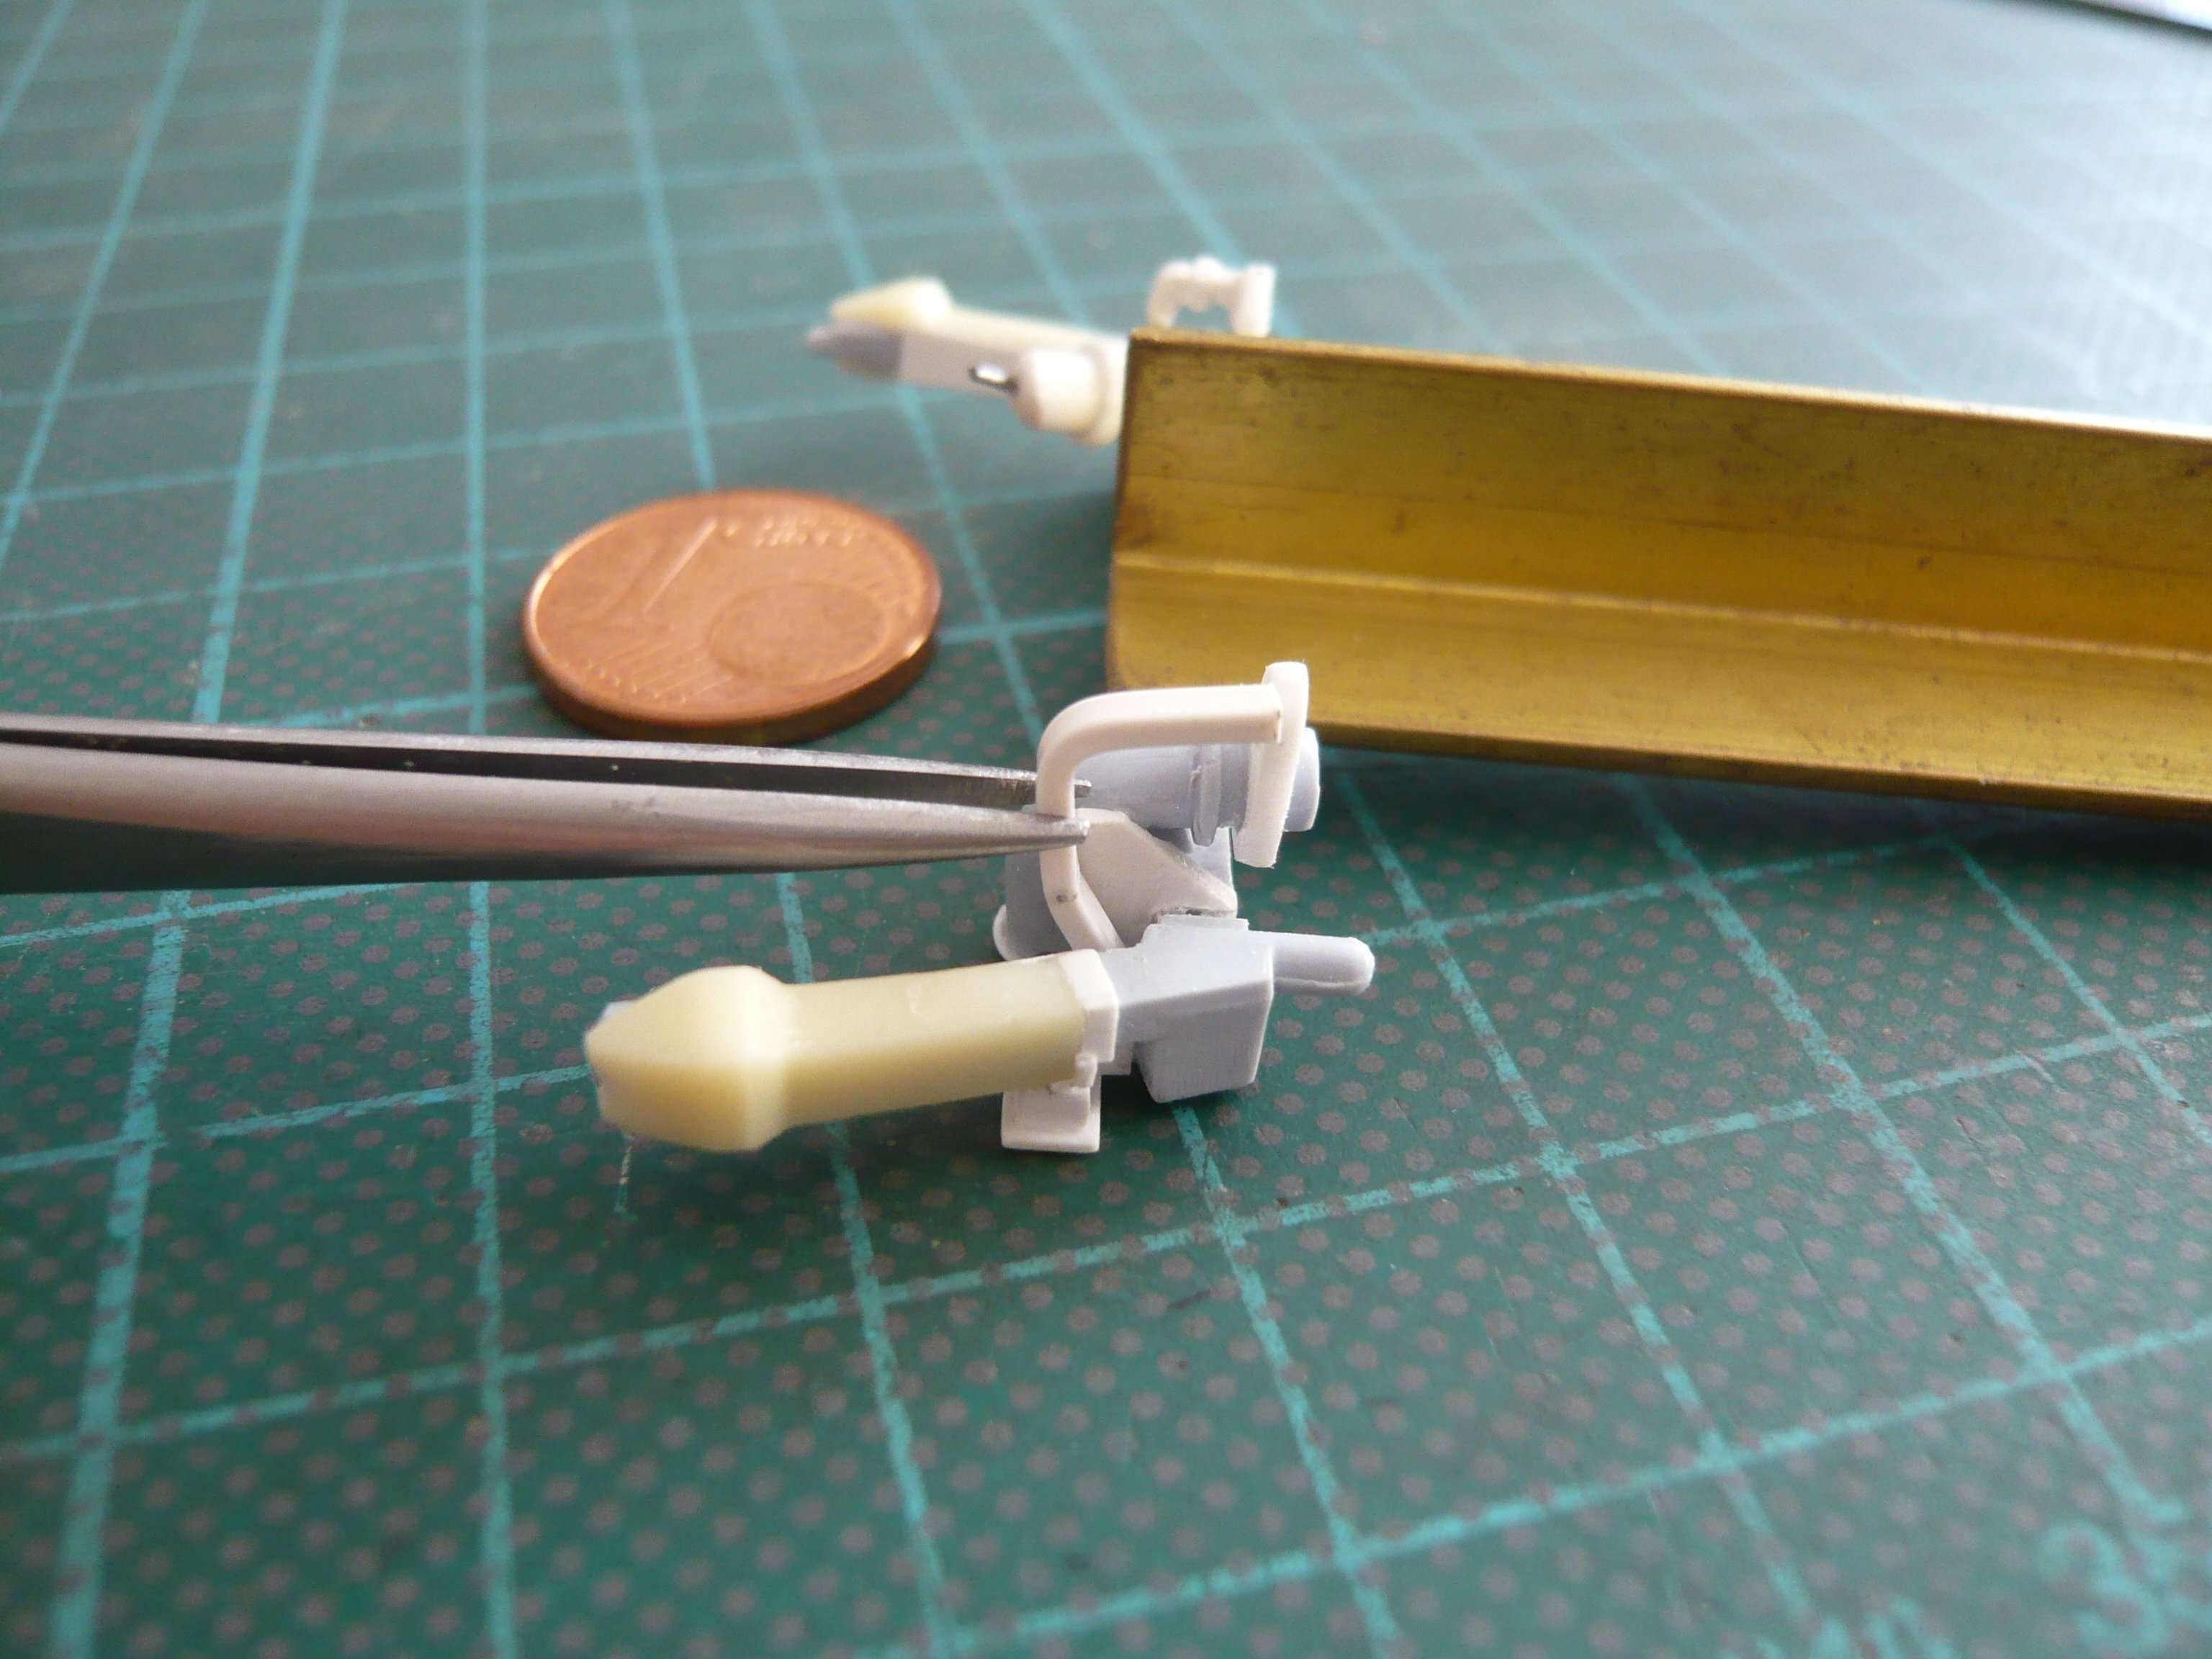
next, I've cut off the two tiny
Closeouts from an
Evergreen strip (0,25 mm x 1,5 mm), as well as sanded a bit,
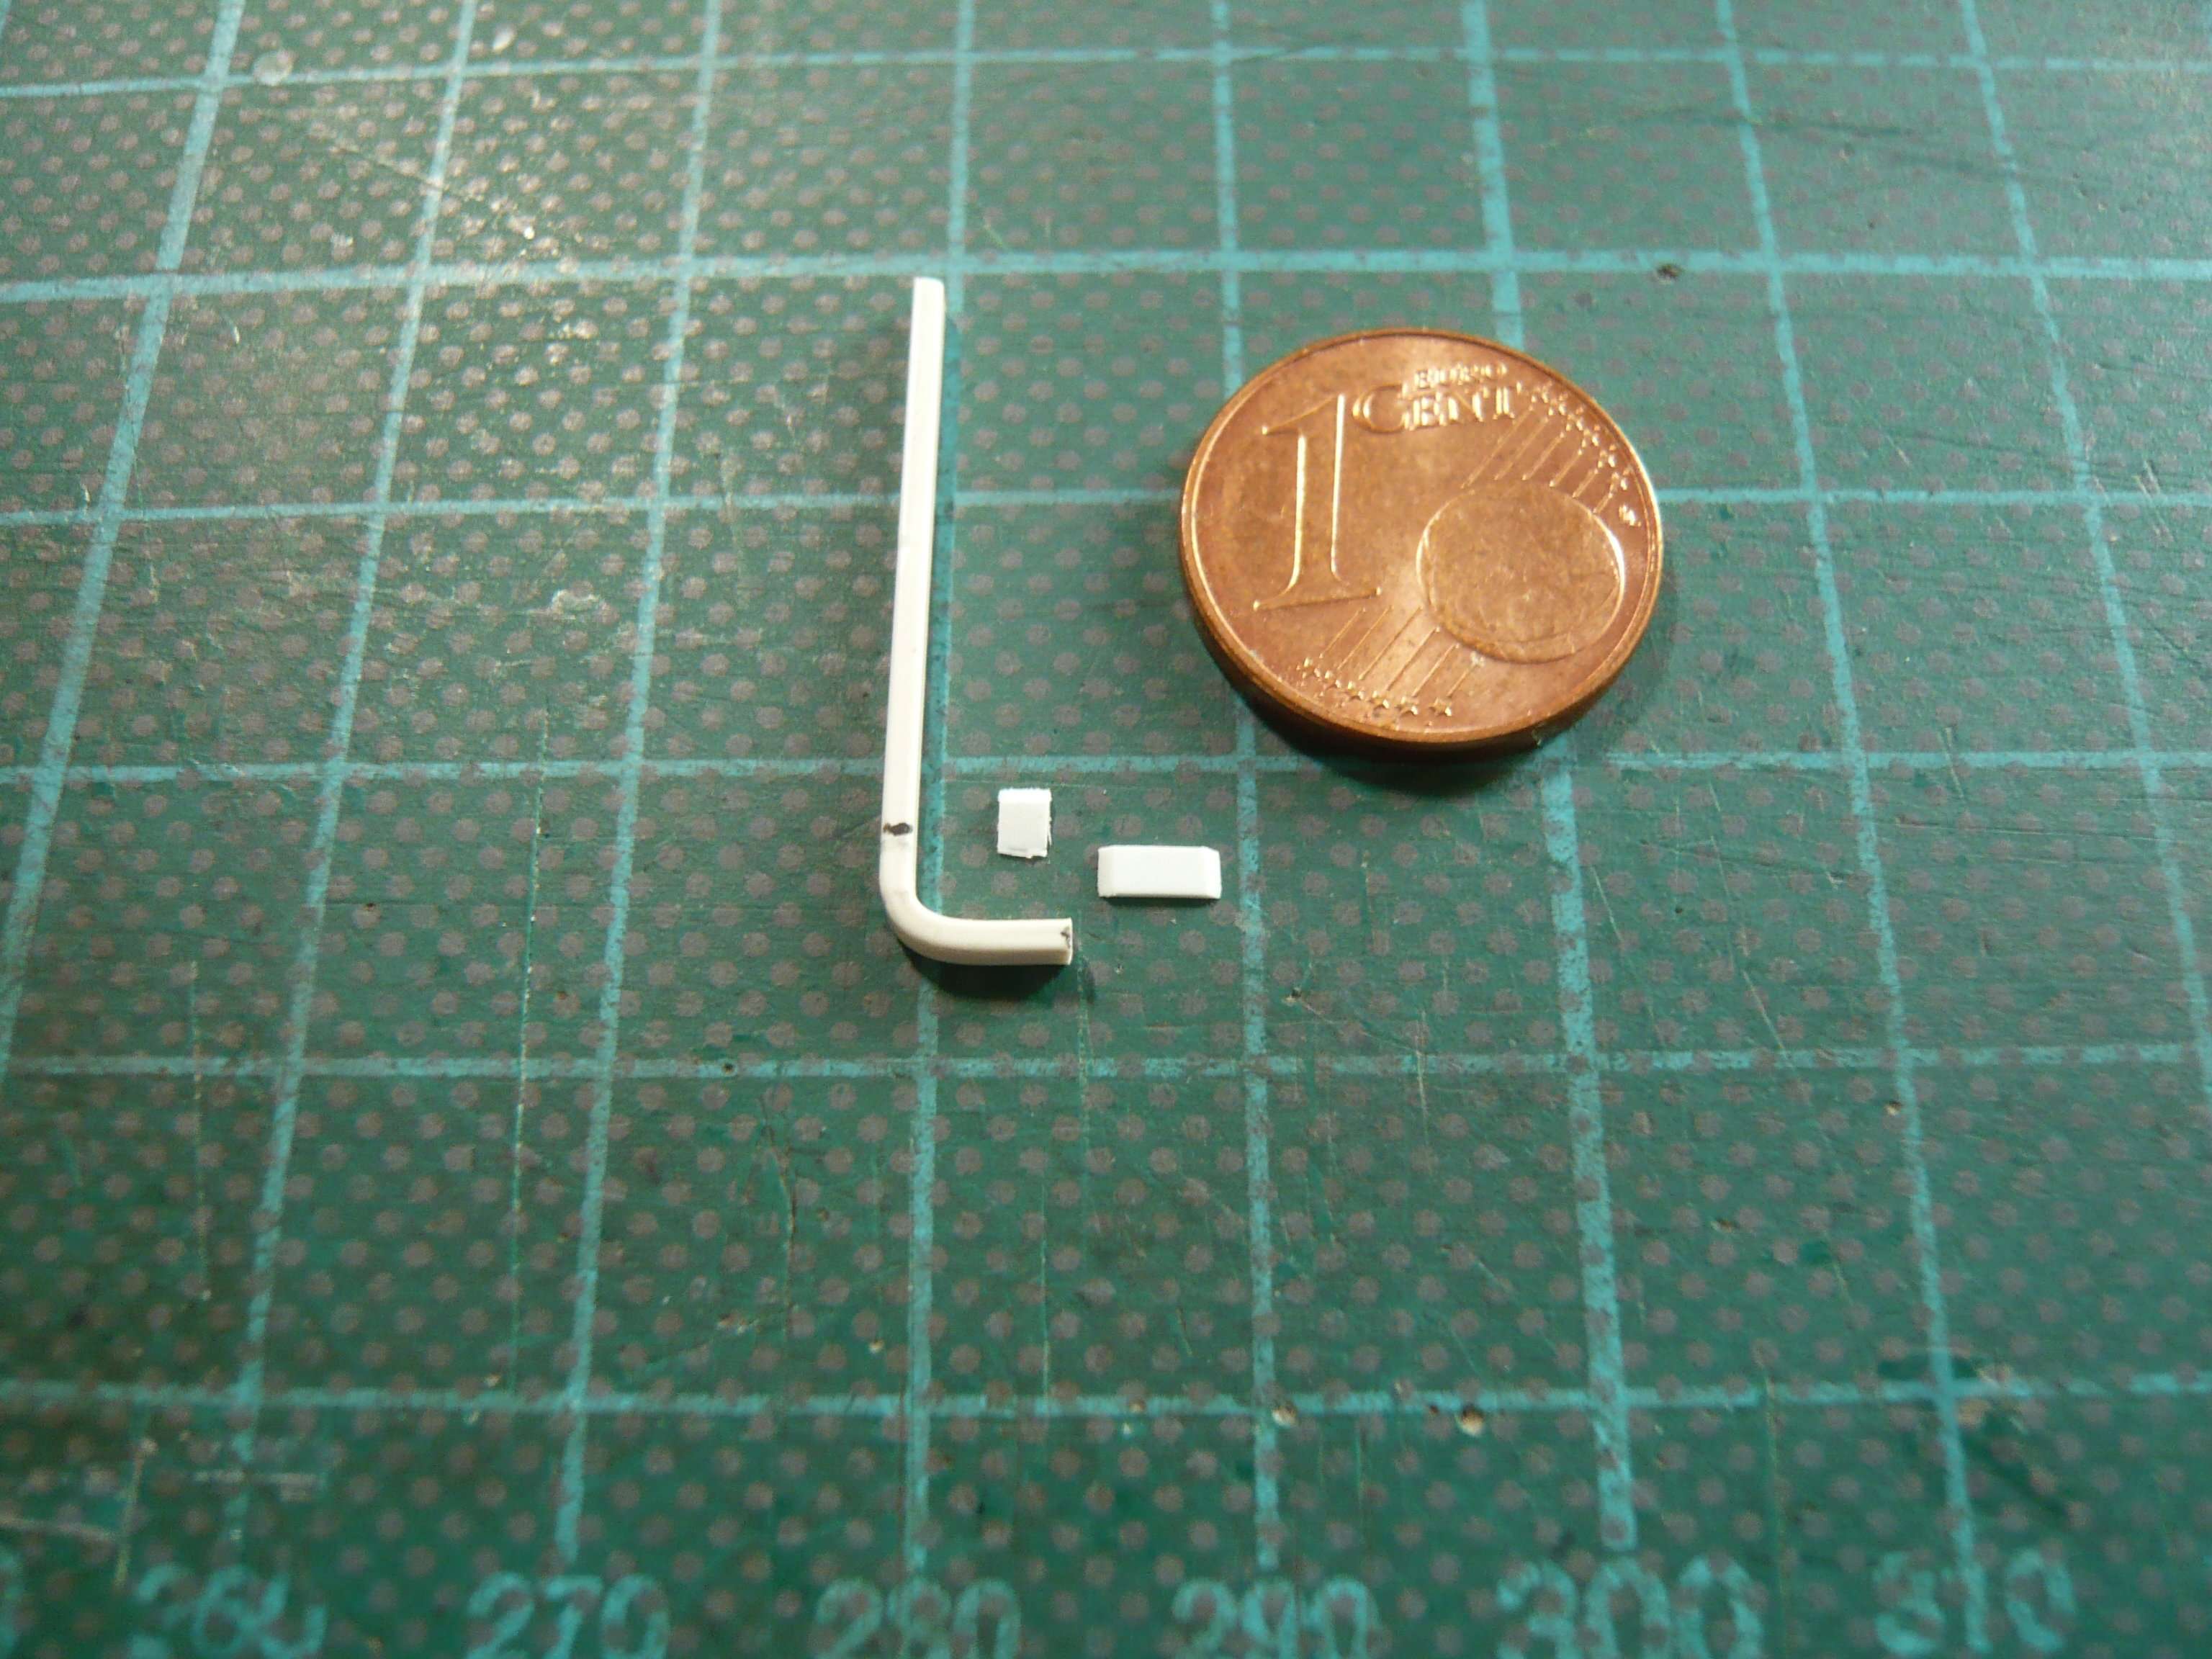
and glued them on the bow (
Part 3.1).
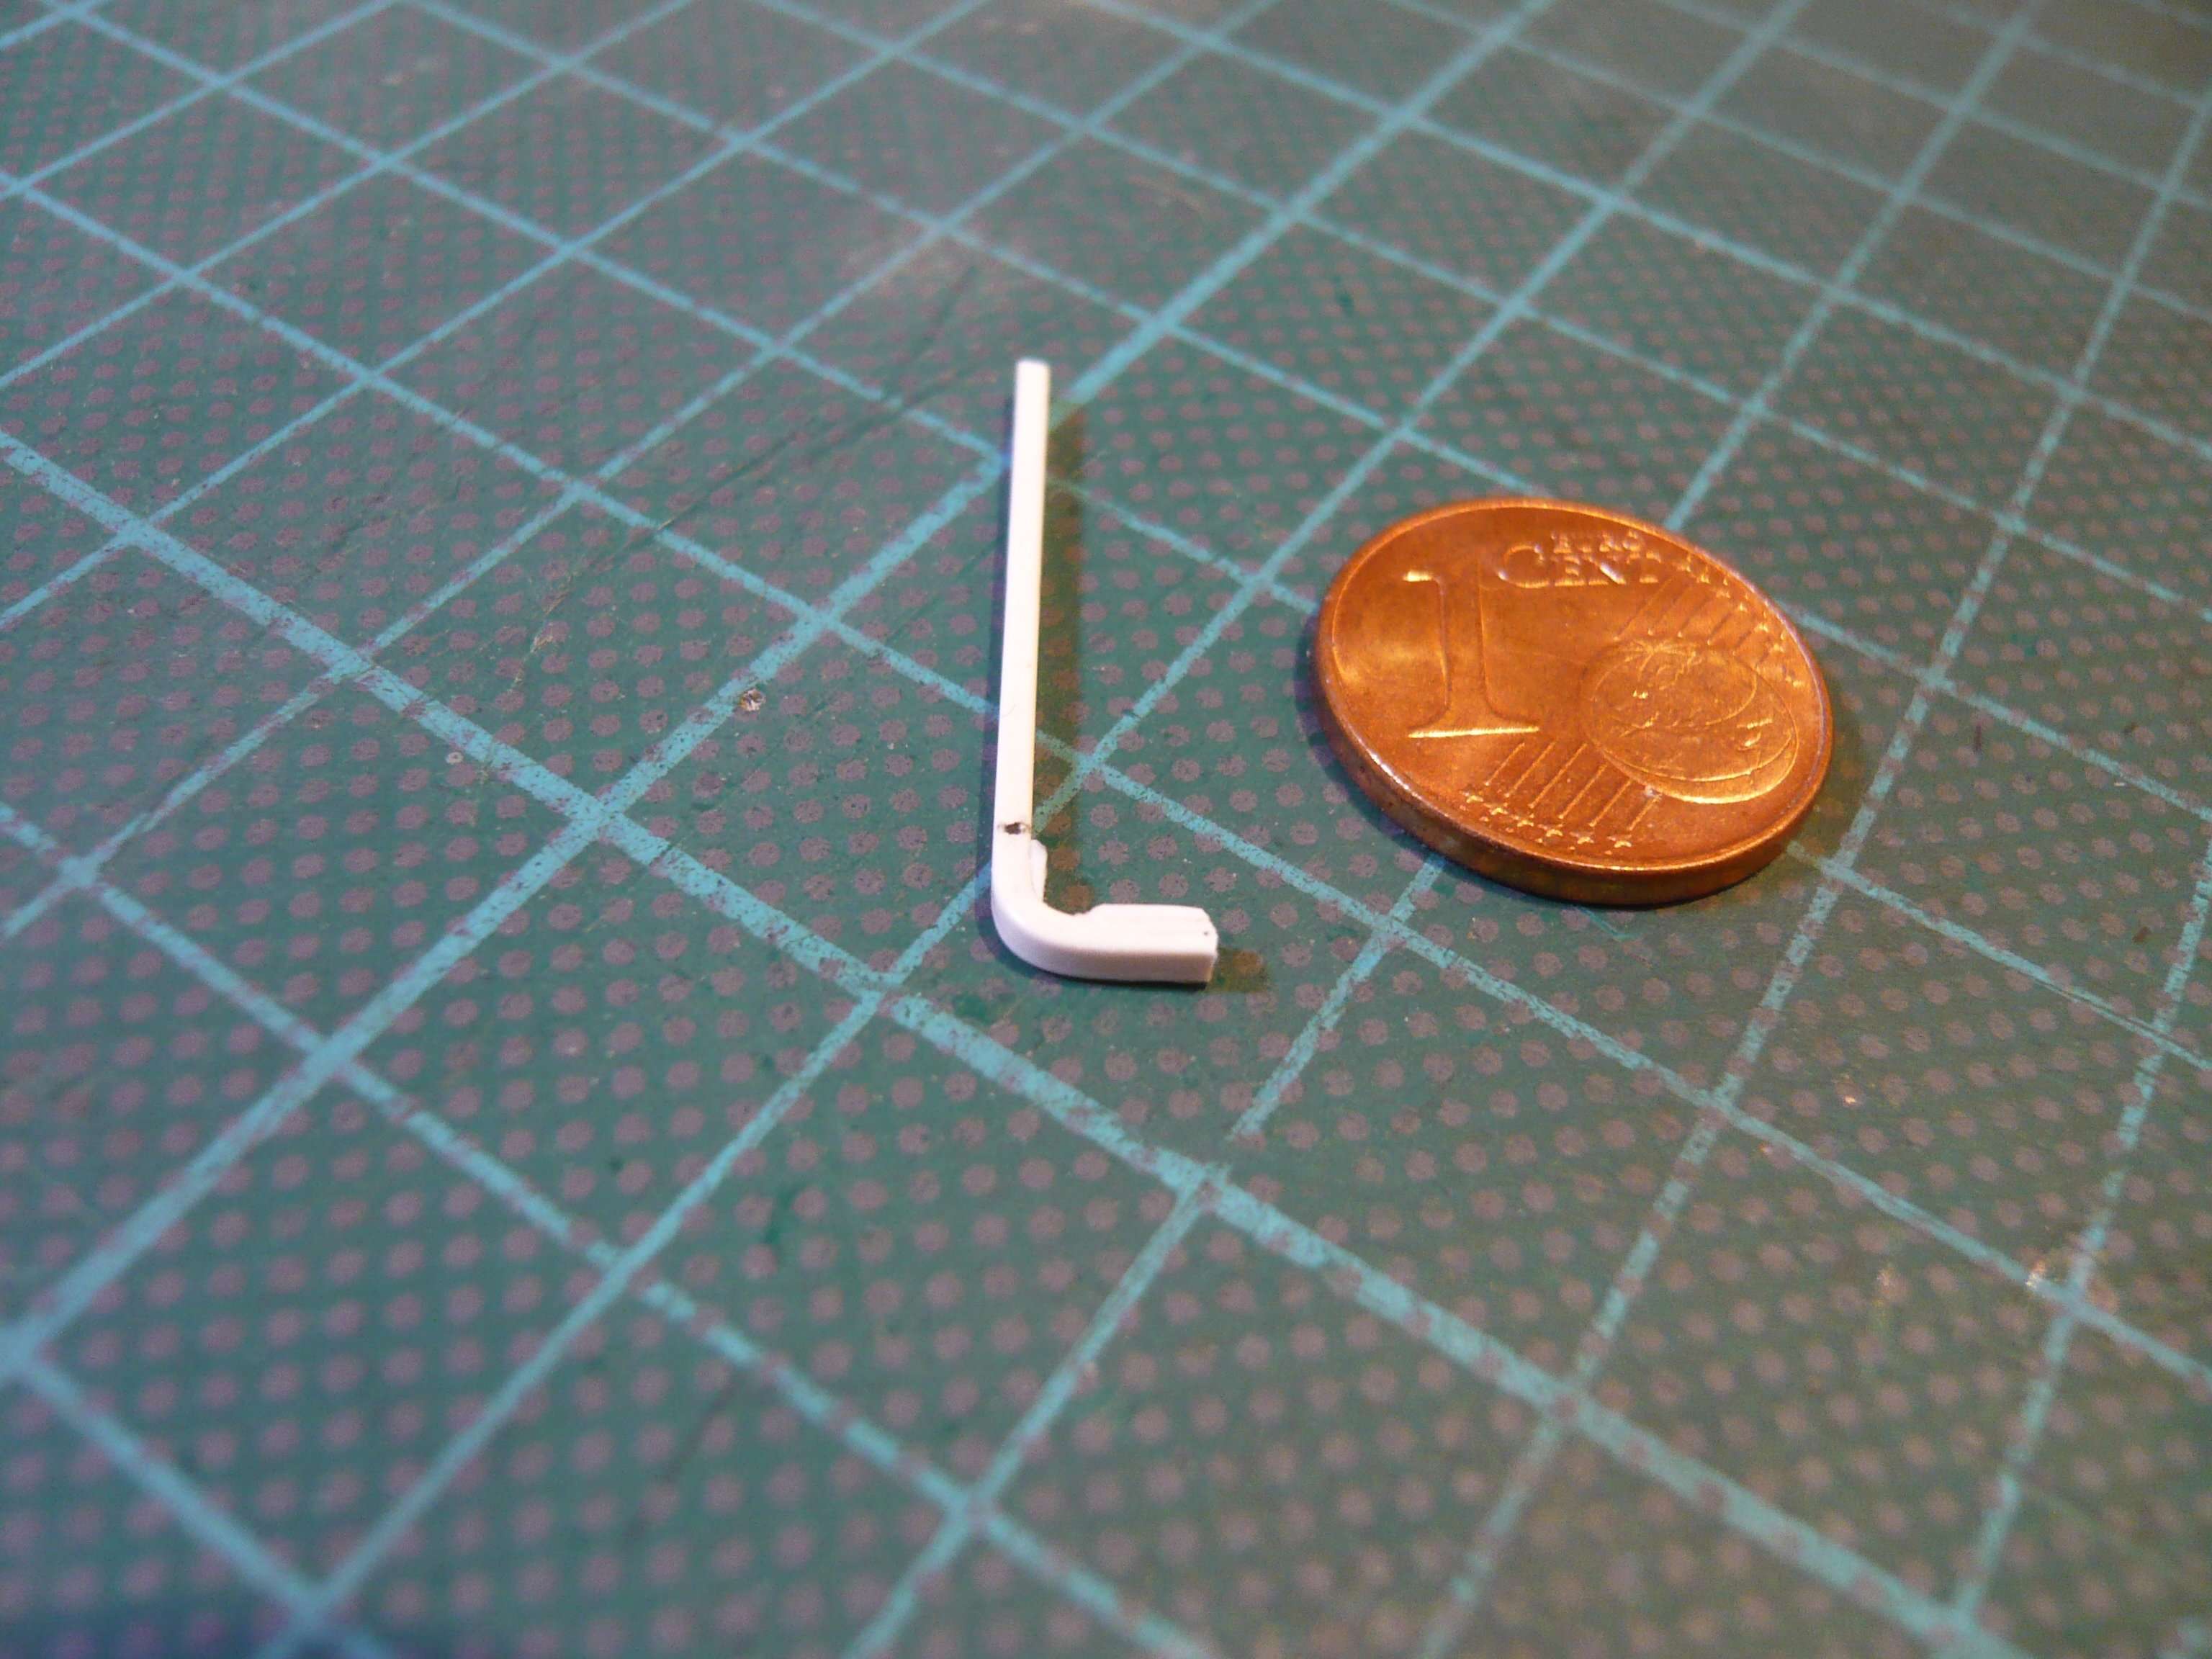
With it then I have checked the arrangement of the bow together with the center support (
Part 2) and the provisional
Part 3.4 for which I used a
Profile bar (1,5 mm x 1,5 mm),

what already looked pretty neat.
Here's for comparison the scale drawing of this arrangement,

which I've provisionally laid on locally, in order to see if or how the size fits, which also looks quite well.
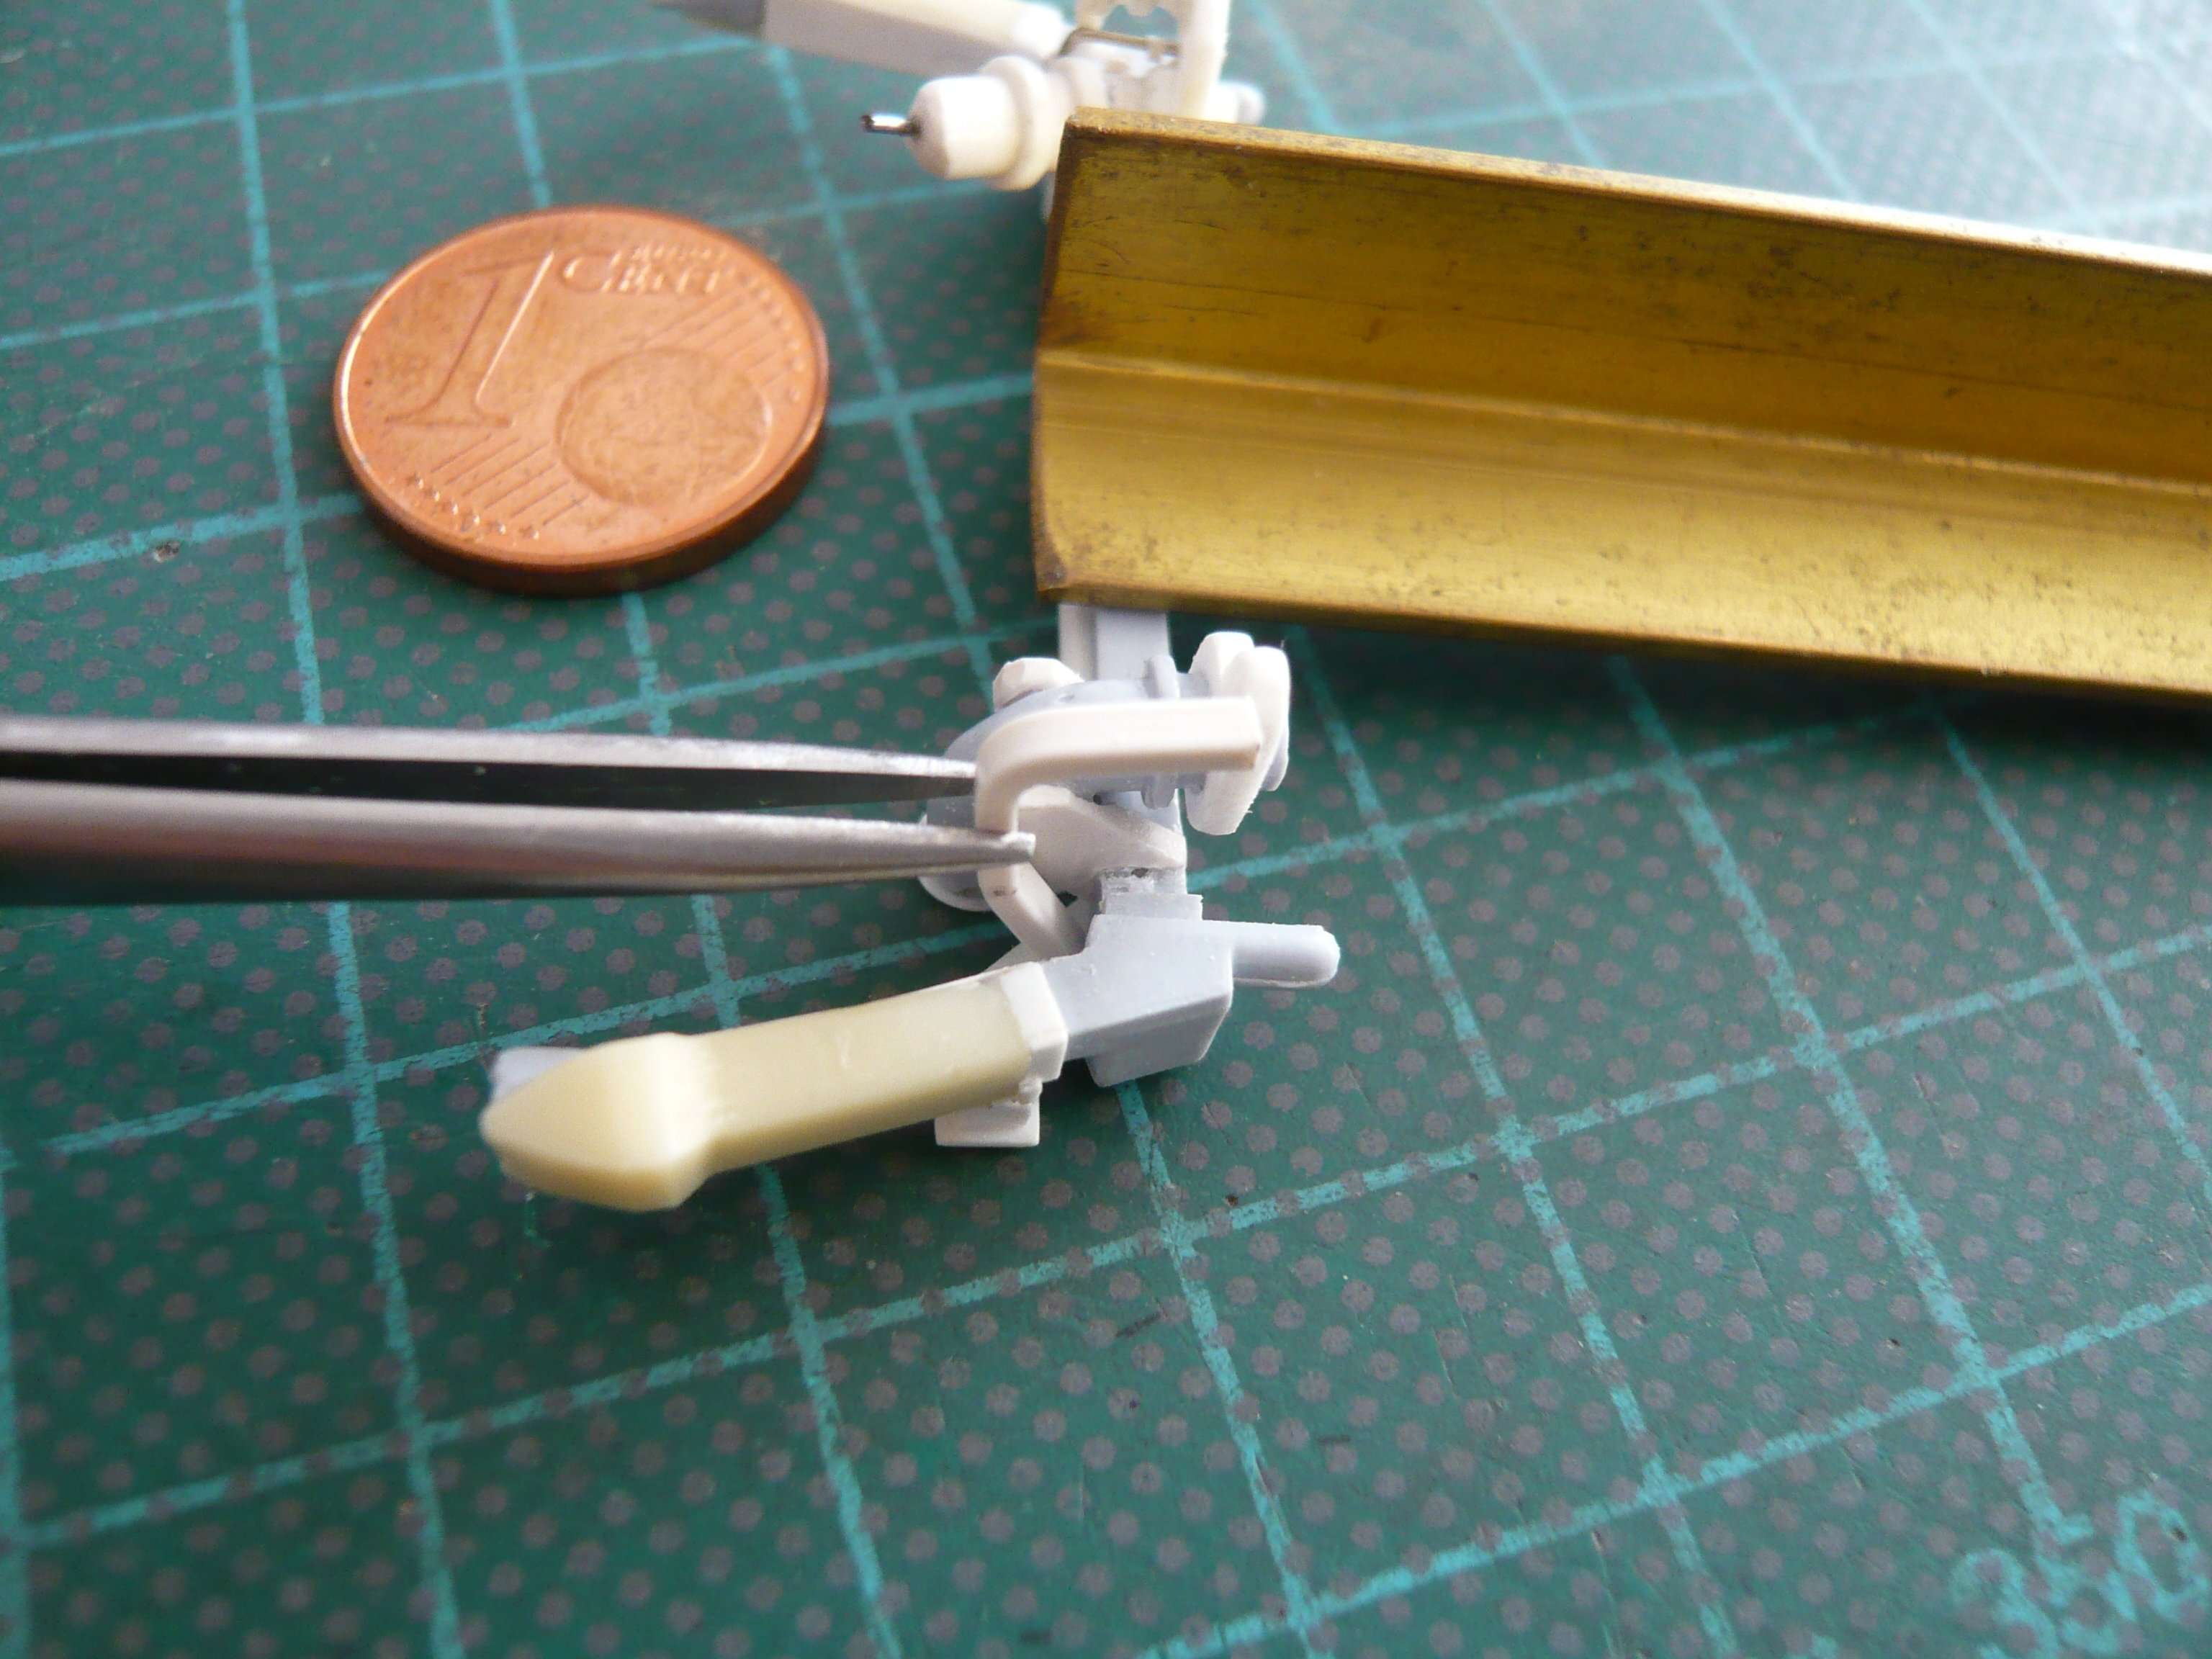
So far so good, but since with it neither the endpoint of the
Cable Tray in front of the
Crossbeam nor the length could be determined, I came up with the idea,

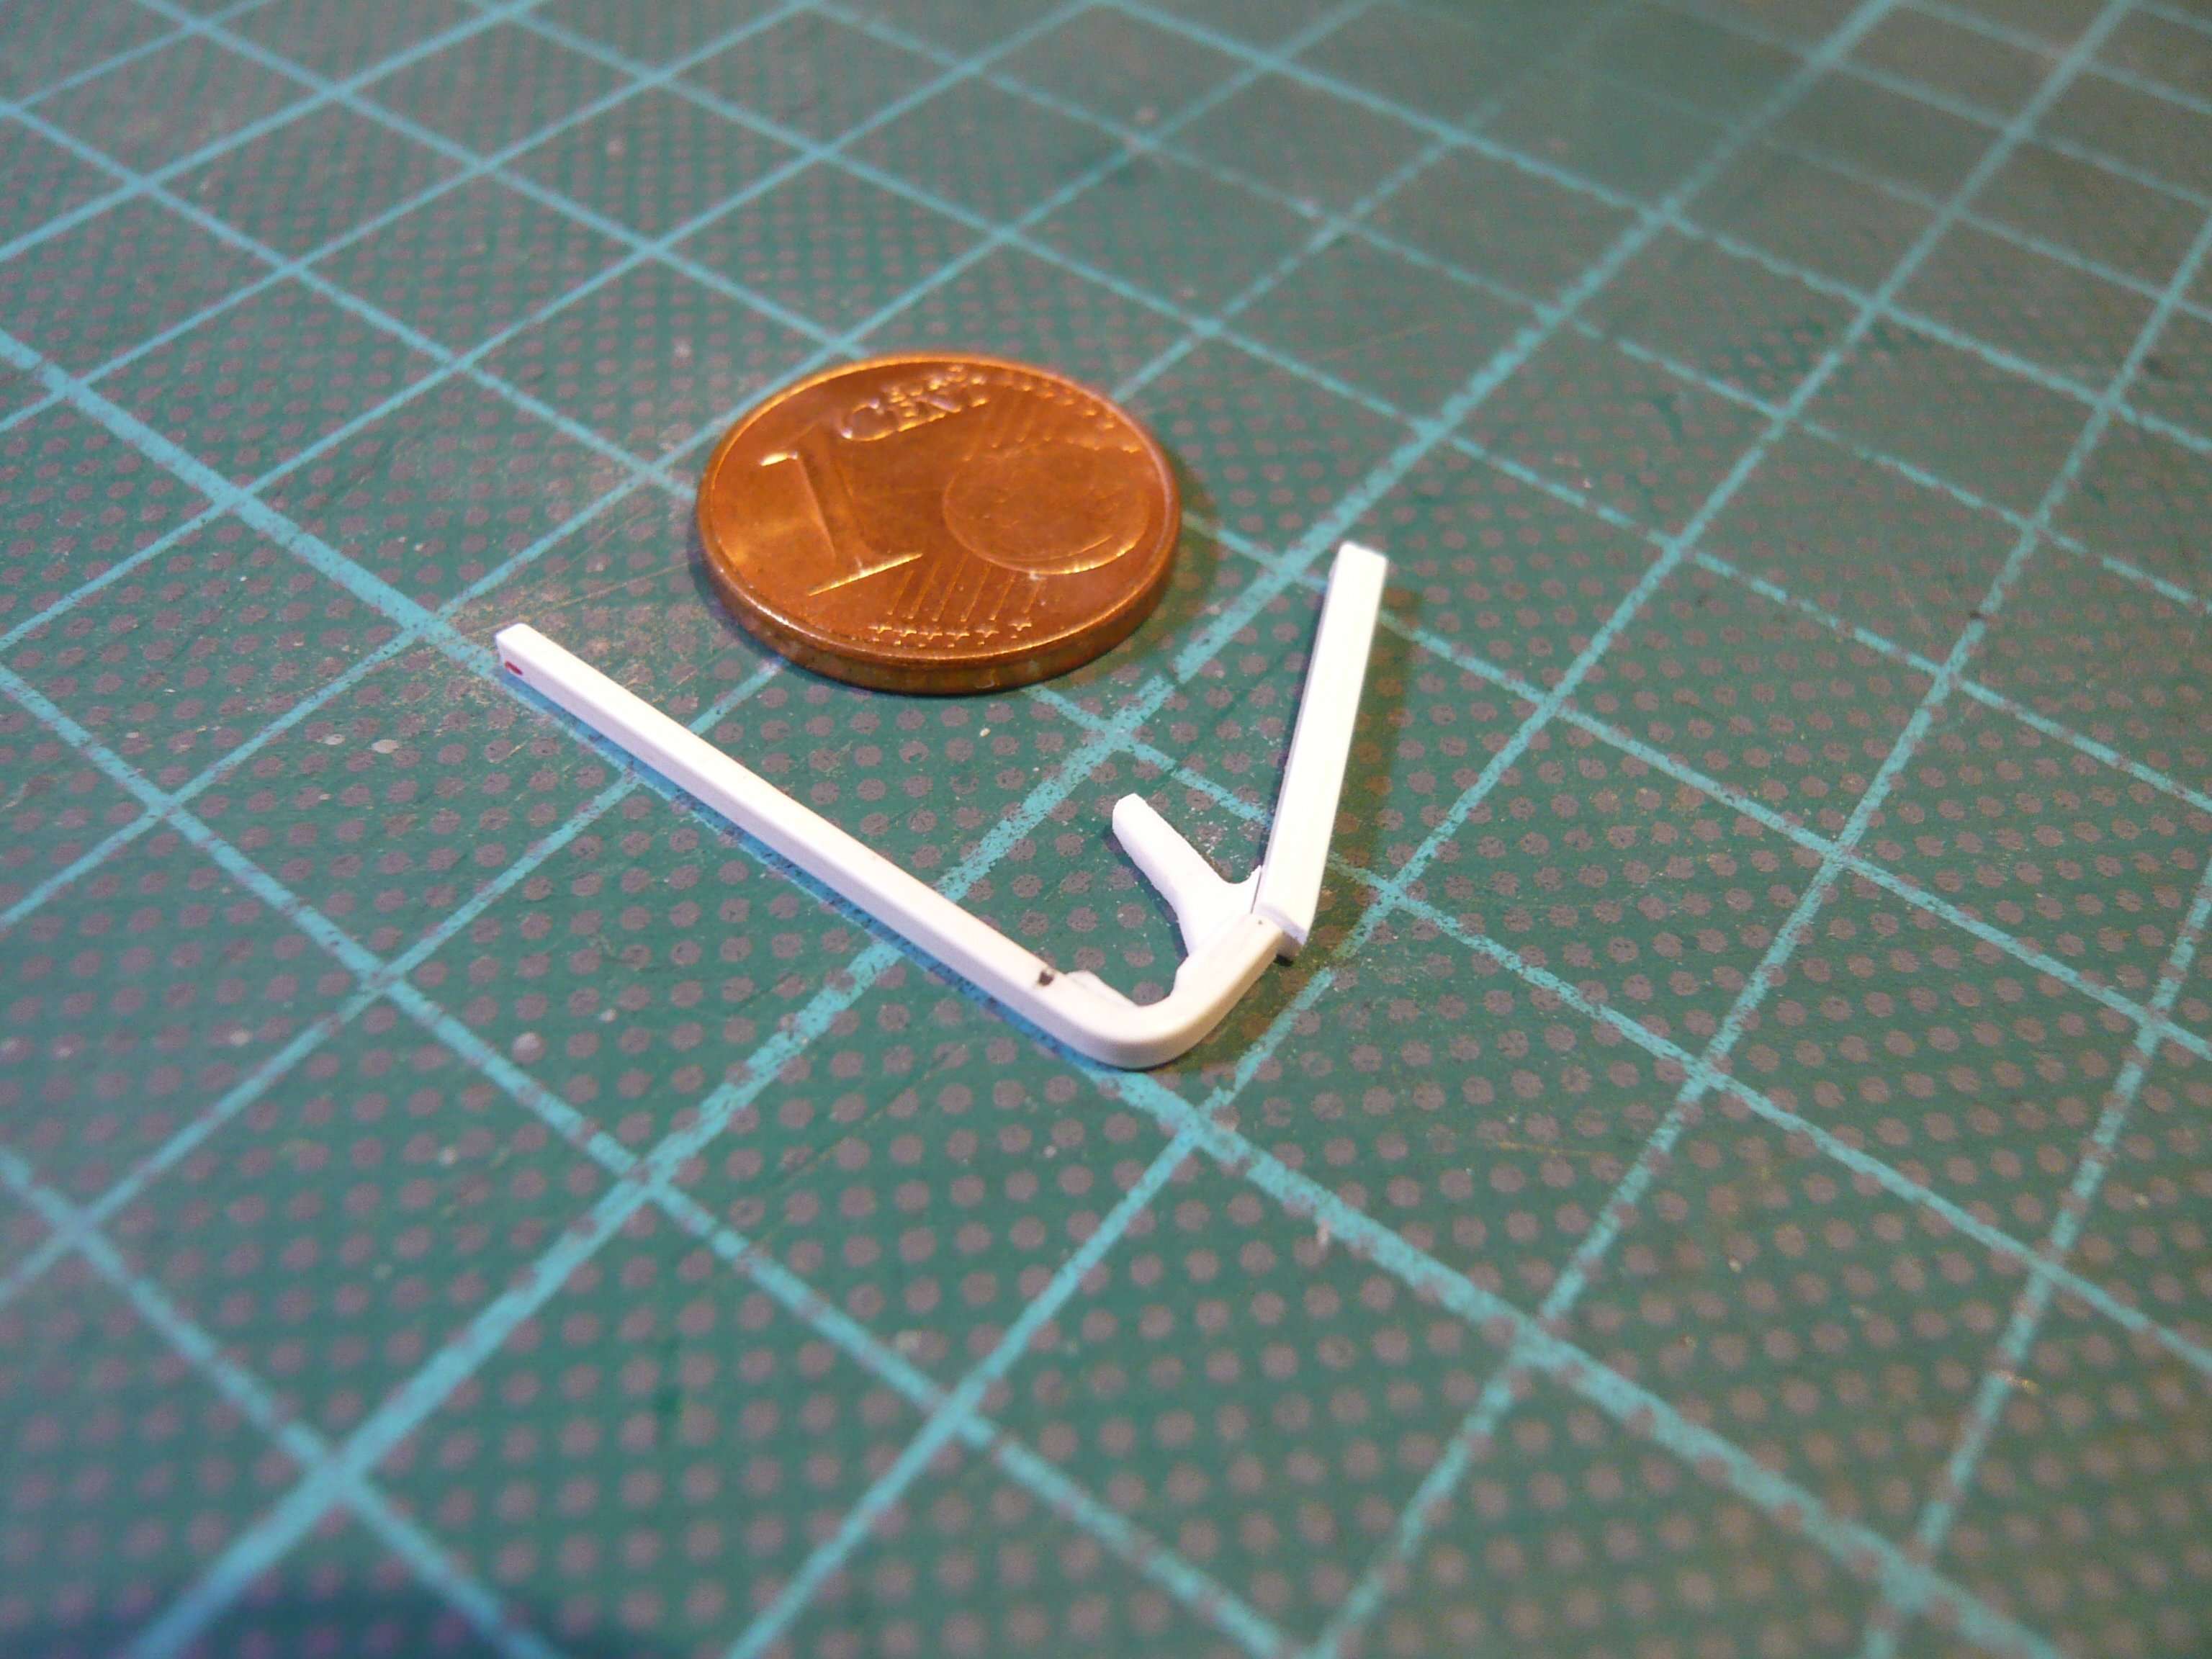
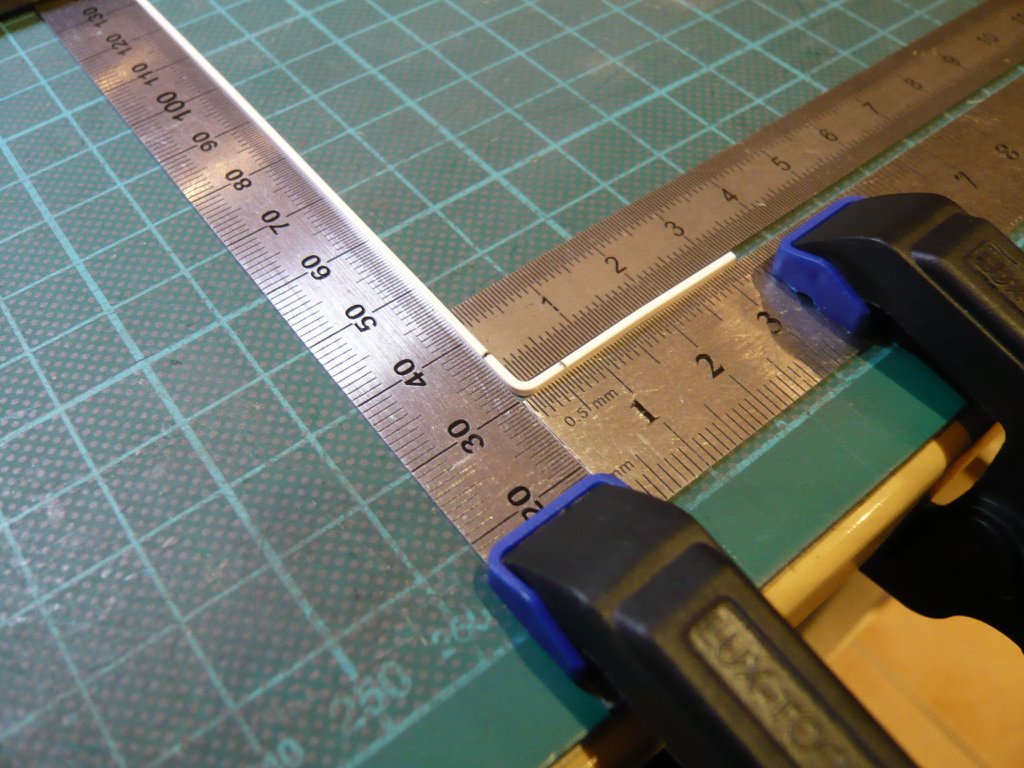
to bend a complete
CT-Dummy out of a
Strip (1,0 mm x 1,5 mm) and to test its location locally according to my previous measures.
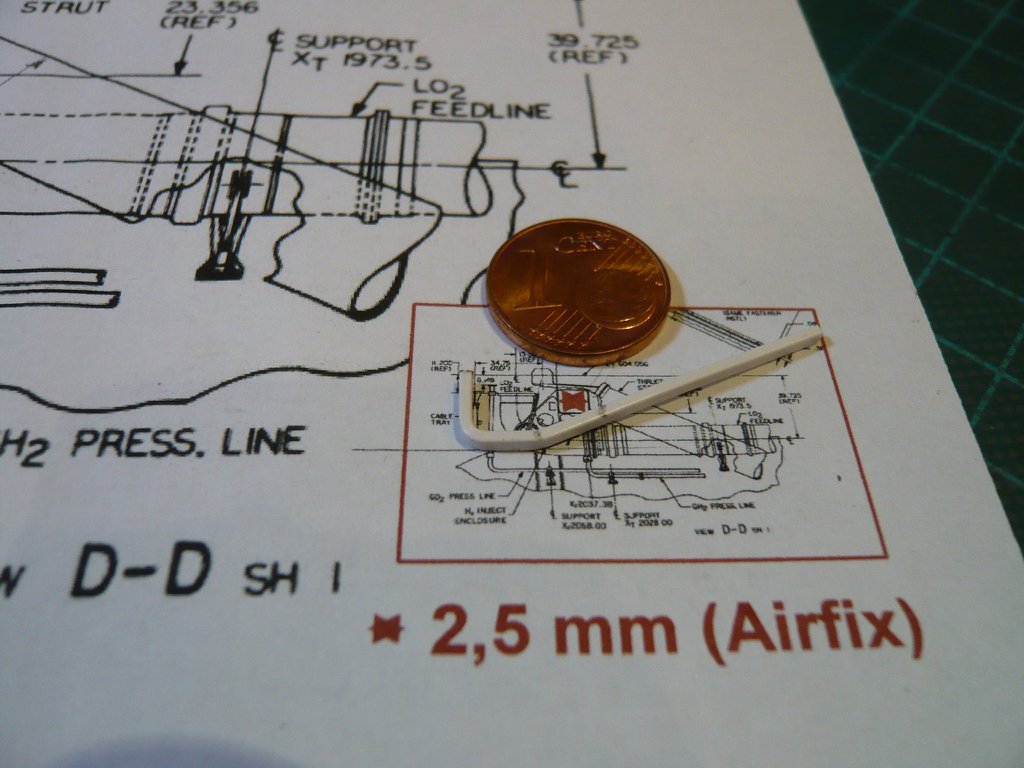
After that was done in no time,

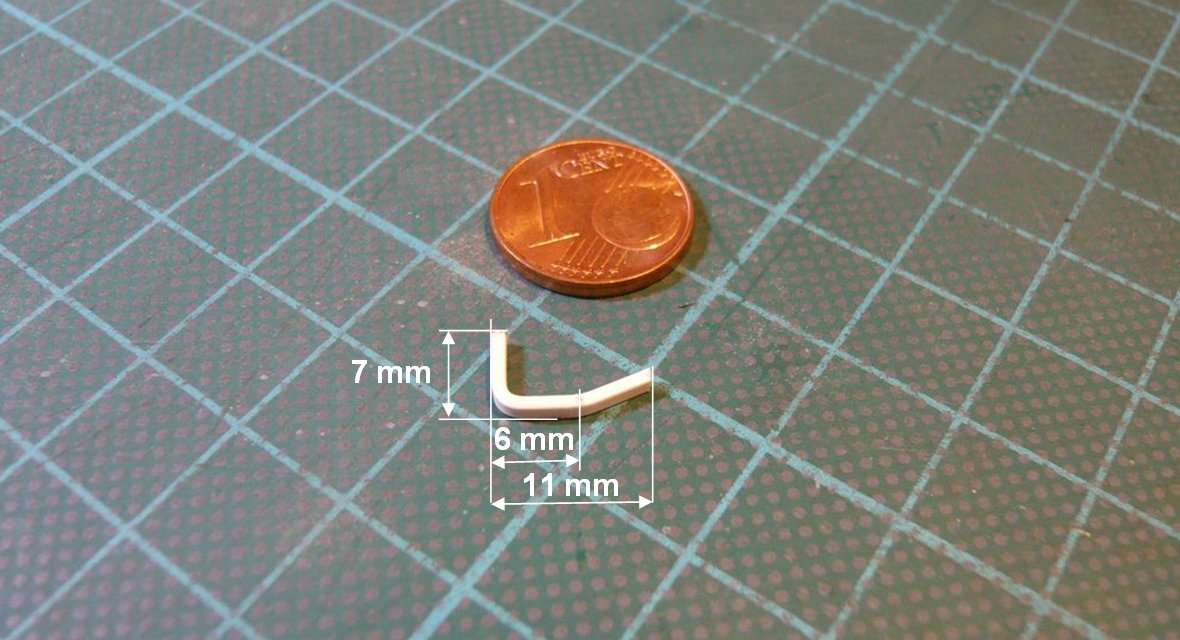
I've marked the height up to the
Umbilical plate (about 7 mm), as well as the distance to the
slant (6 mm),
where I've bent it after the upper cut.
The length of the
CT Dummy from the
Crossbeam to the endpoint under the
Umbilical plate I have measured with
11 mm.

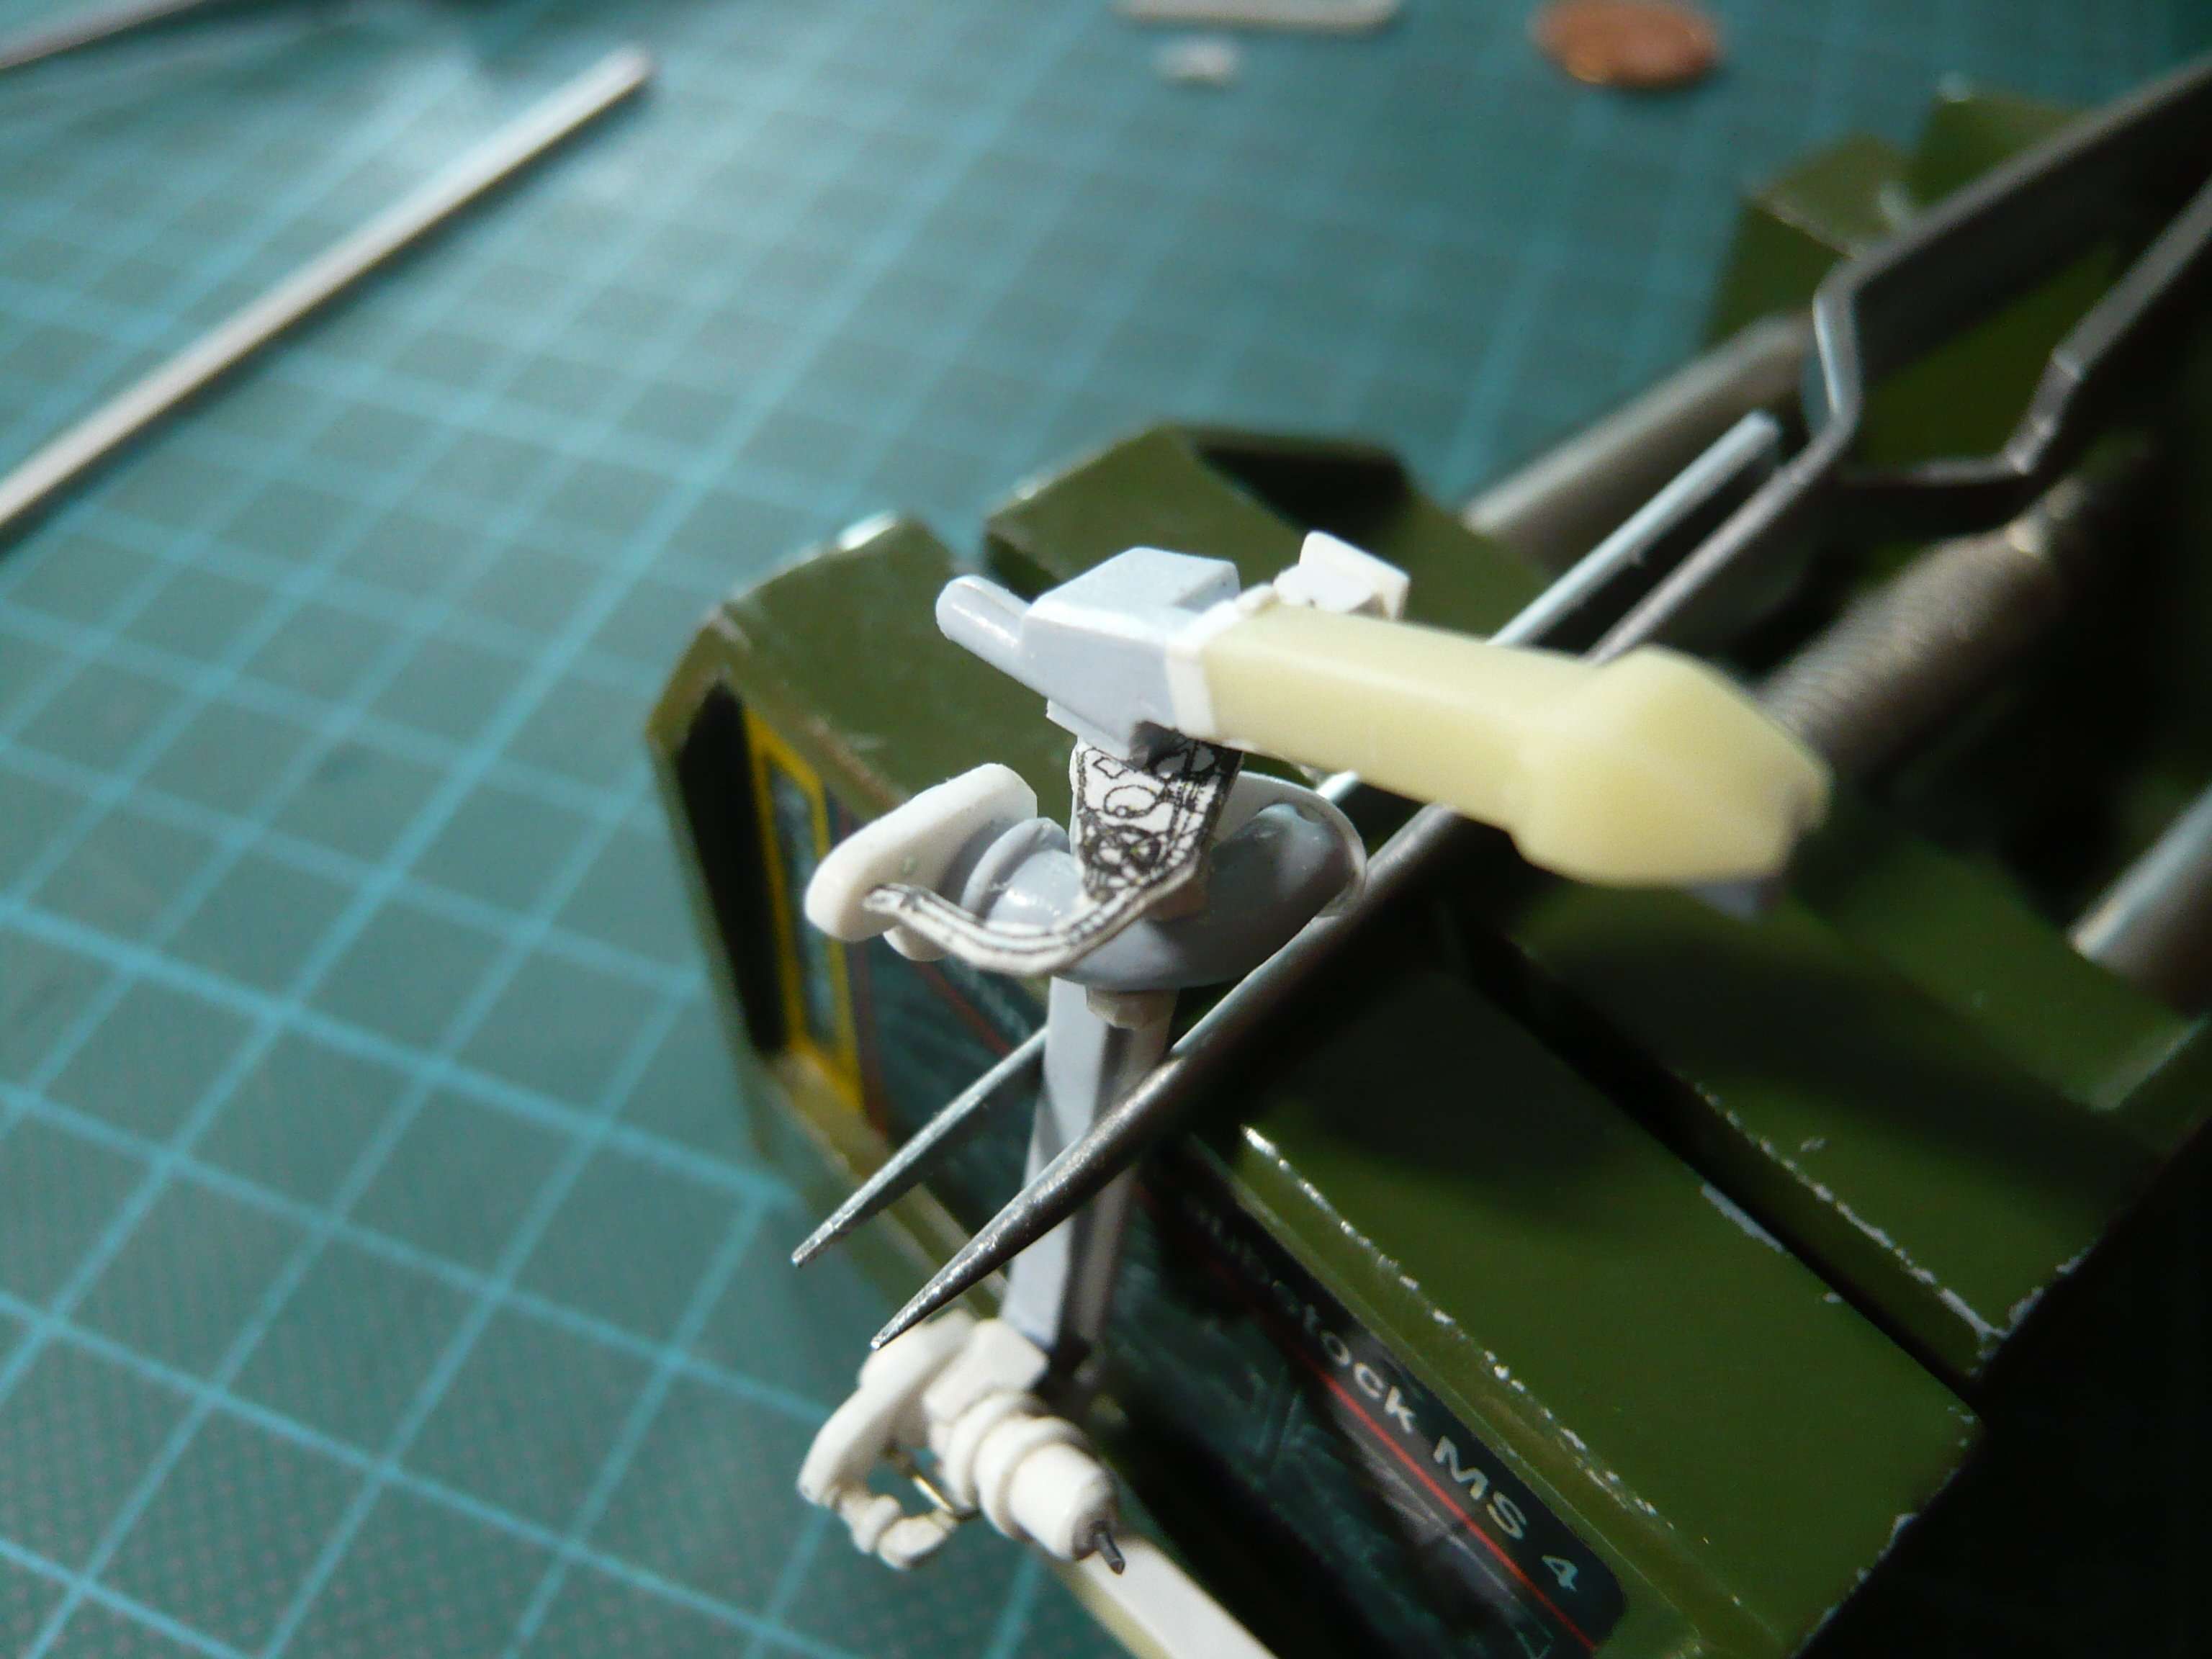
And then I've tried this dummy locally, whereby the positioning was a pretty tricky affair.

And as one can see, the part fits quite well,
and hits roughly onto the slant of the
LH2 Cable Tray below the
Crossbeam, which seems quite plausible.
With these dimensions, I can now scratch the remaining parts on both sides of the previous bow.
That's it for today.

