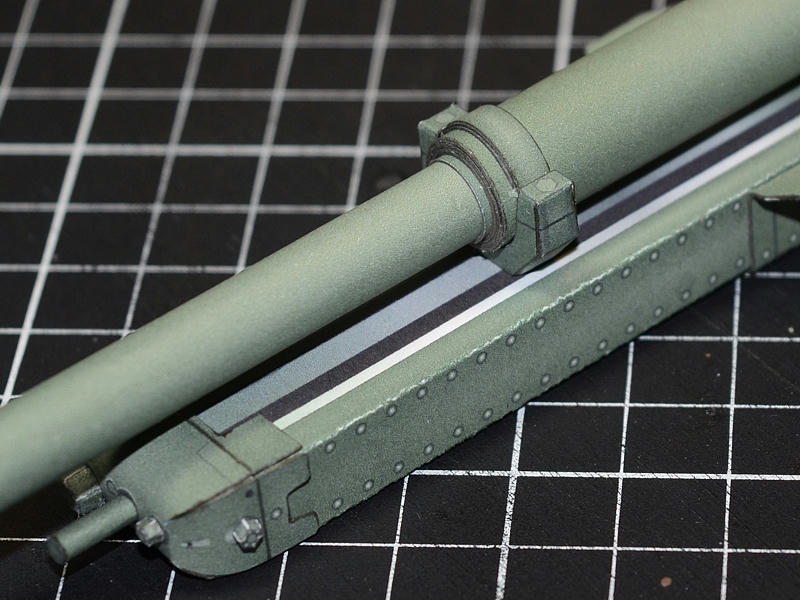
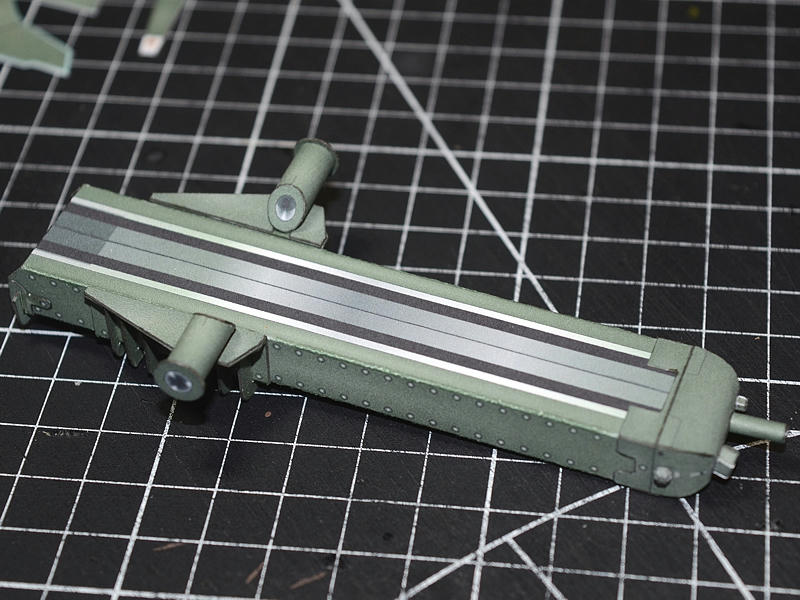
Close up of the finished front Barrel hold-down.
The strip around the barrel is still place,
but the side elements and lower cradle are assembled separately and then installed.
...
This was my biggest source of frustration...
figuring out the swivel pins/supports that conect the Gun Barrel assembly to the Frame Cradle.
On the real thing, the swivels are thick walled, short tubes...laid flat on the side brackets (of the Recoil mechanism).
These tubes are securely welded in place, but very little material is actually supported over the brackets.
I couldn't run a supporting dowel or tube across the entire gun barrel, and paper parts are a lot more flimsy than solid milled steel.
I am stuck with two short pivoting tubes that must be securely attached to the gun barrel brackets.
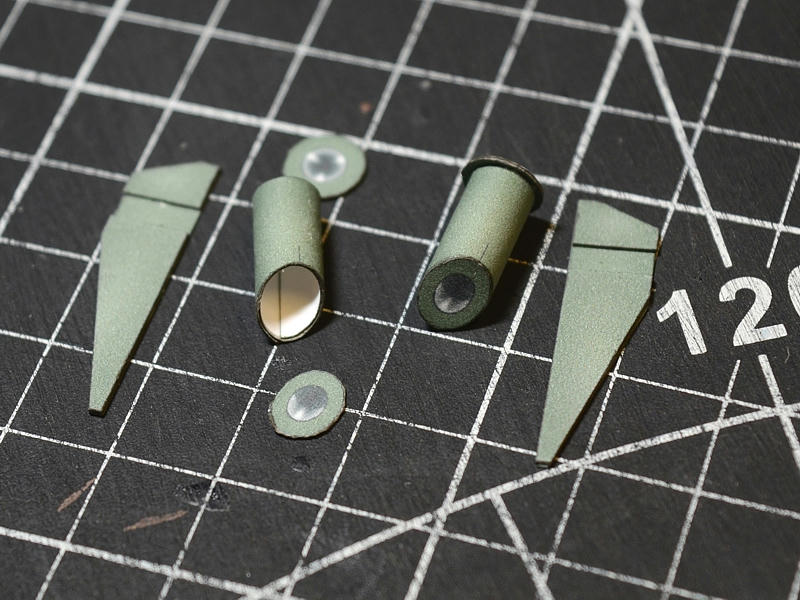
In the end, I decided to enlarge the surface area of the top plates
(you can see in the photo, I am adding additional plates, rather than rebuild the entire assembly).
The final design will not require this.
But the builder will need to add a split second layer to the top, which creates a small cut-out for the pivot tube.
You can fill up the gap with glue and lay the pivot tube in place and this should help locate the pivot and give a stronger connection.
...
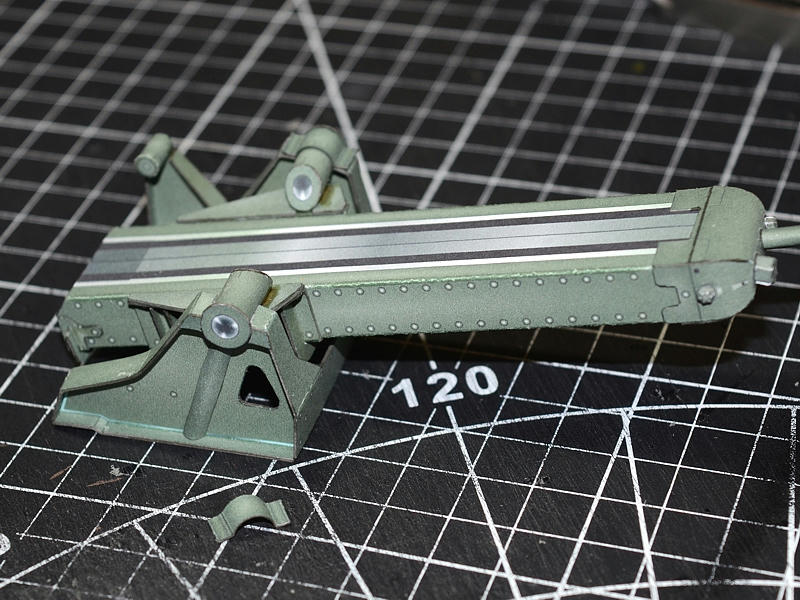
Here are the two completed pivot tubes glued in place.
...
The entire recoil mechanism can be set in place on the Frame Cradle.
To hold it in place, there are two brackets to go over the swivel tubes.
This should allow the Gun to swivel once everything is glued.
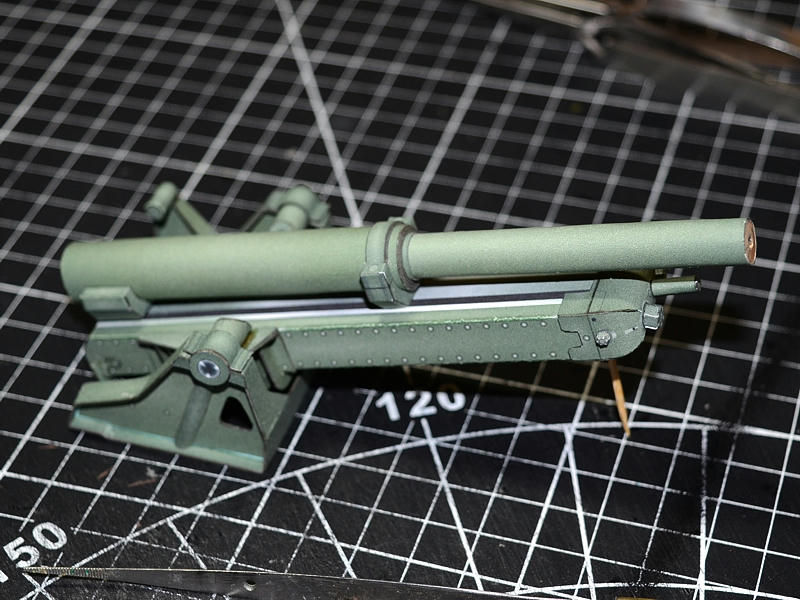
Second photo...with the Gun Barrel in place (not actually glued yet).