Hello everybody,
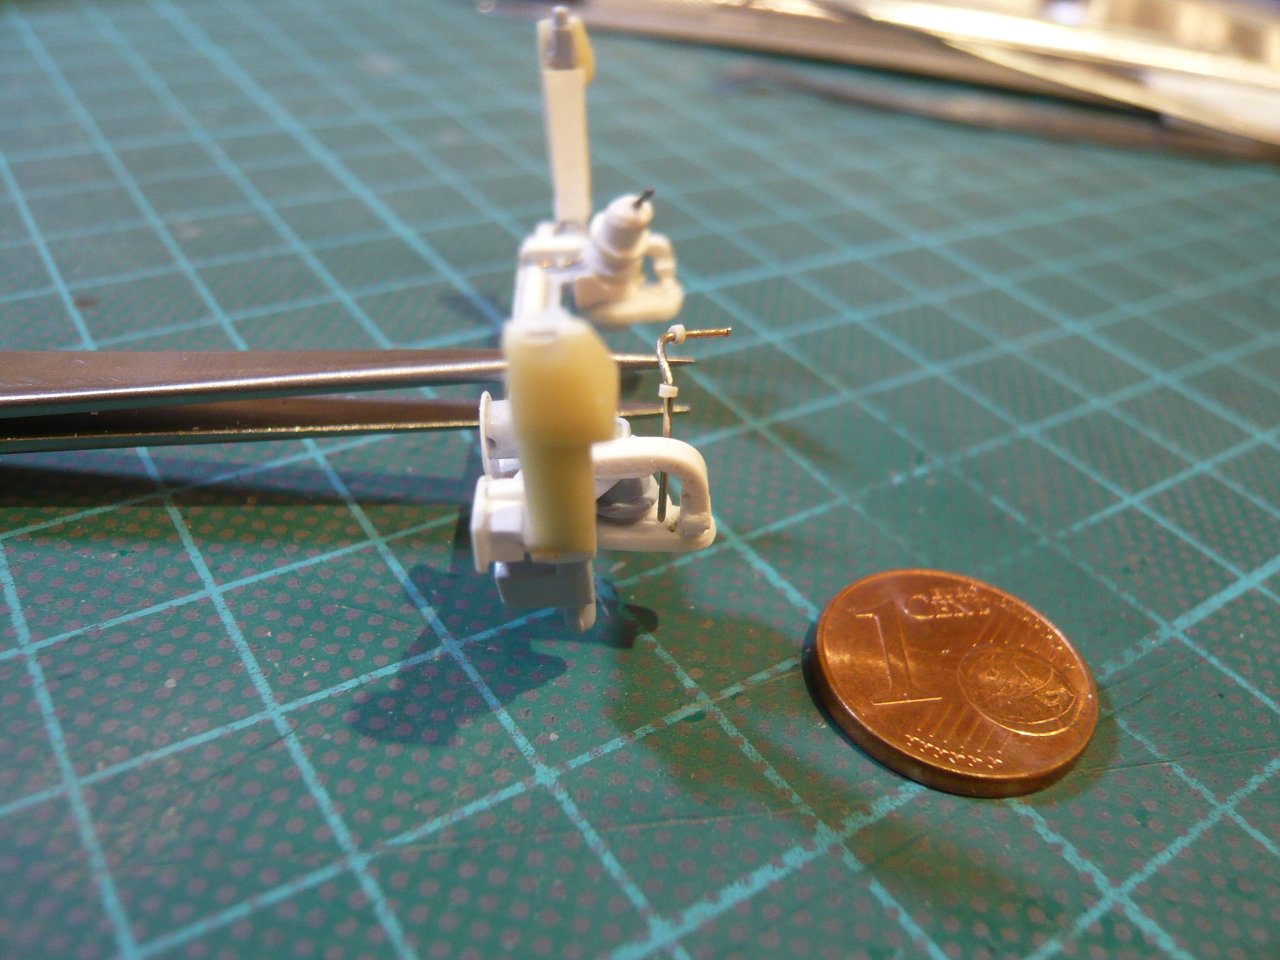
at first, I've imagined of cutting open the tiny ring with the cutter, and then slipping it like a clip over the installed wire at its place close underneath the Umbilical Plate and to glue there.

But the ring is really damn small, approx. Ø 0,7 mm x 0,5 mm, and can hardly be held with the sharpest tweezer.

But then I've thought about the following bold solution.

My previous skepticism regarding the threading of the ring on the
Press. Line was based on my up to now realized
Mounting perspective. But then I came up with the idea to simply reverse the perspective and turn the
Attachment upside down.

With that, the
Umbilical plate lays below, and the ring would not fall down immediately, if one handle it carefully enough to place it over the opening.

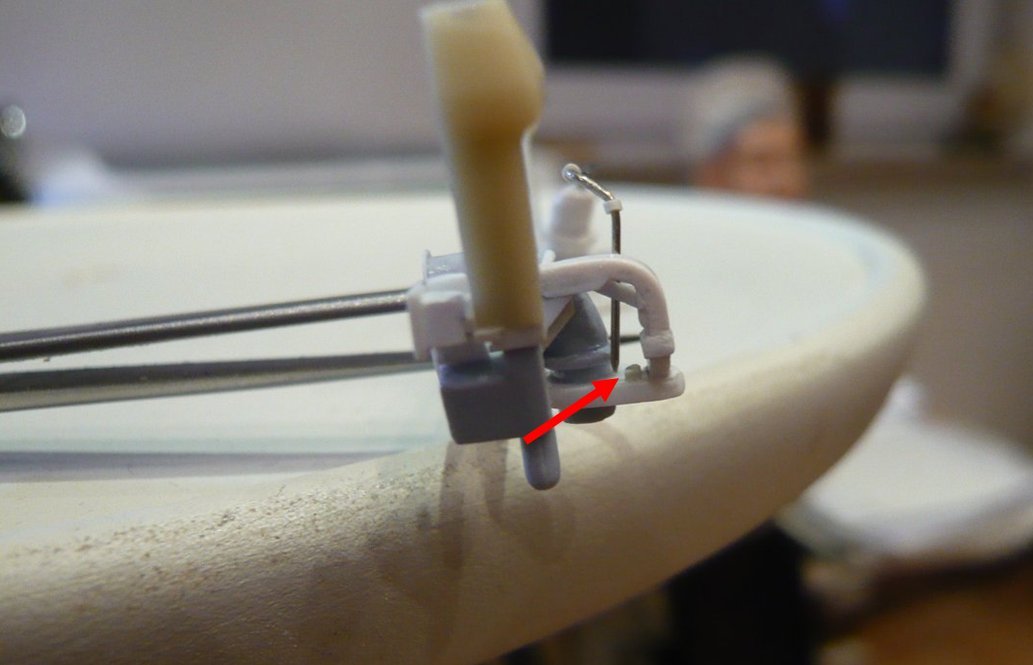
And that's exactly what I did. First, I threaded the two lower rings in front of and behind the bend, and then introduced the line from above through the
Bracket.
Then I threaded the upper ring onto a very thin
Insect needle (Ø 0,25 mm) and inserted it next to the
Bracket into the opening of the [color=blue ]Plate[/color].
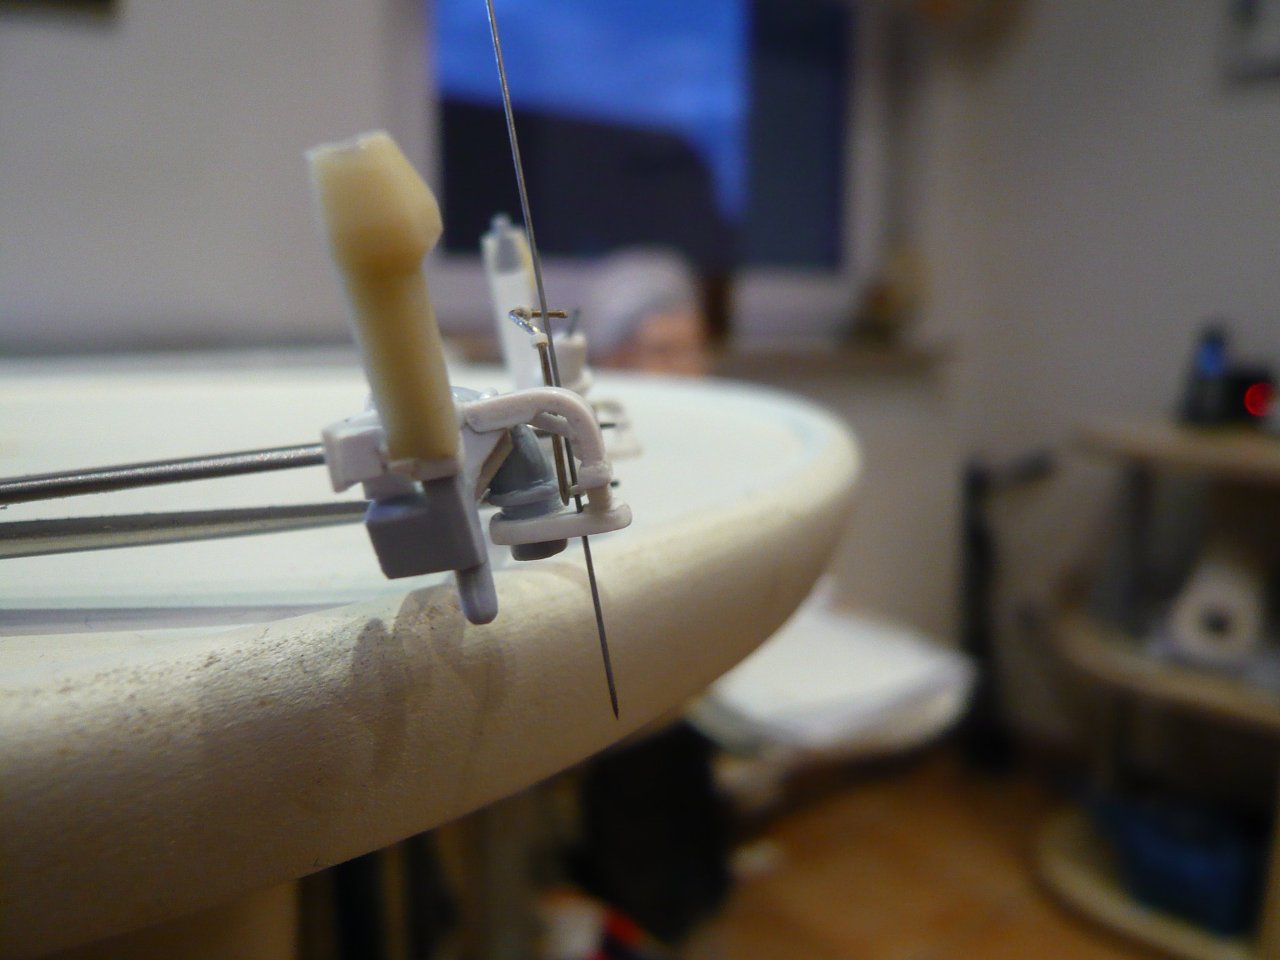
Then I carefully pushed the ring with the cutter tip to the plate and pulled out the needle very slowly, so that the ring came to lie directly on the opening.

And then I held my breath and gently inserted the slightly sharpened line with the tweezer through the ring into the opening until the point under the plate appeared, with which my stunt was indeed successful.

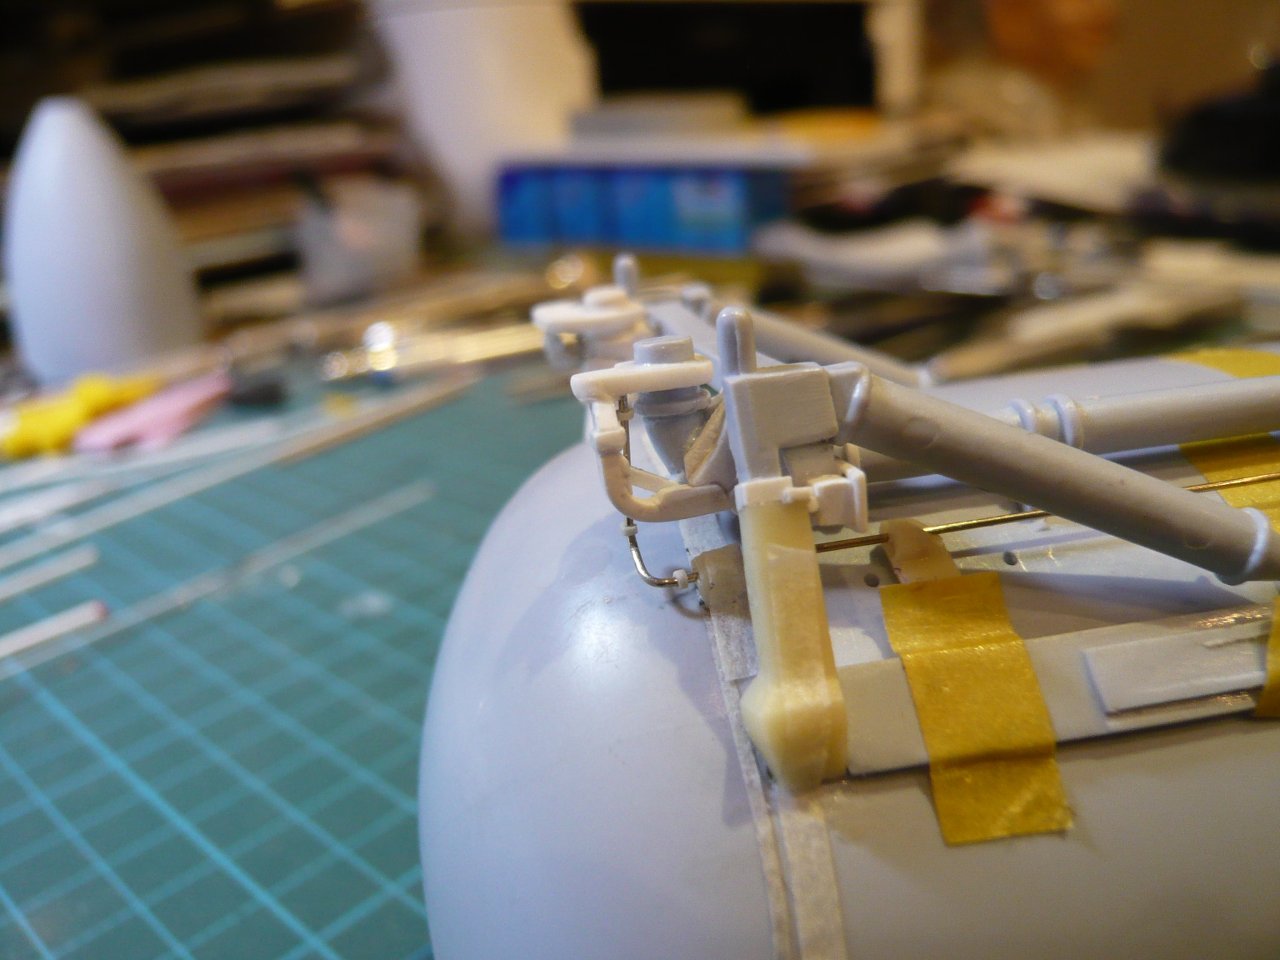
And this is how the
Attachment on the
ET looks from both sides.

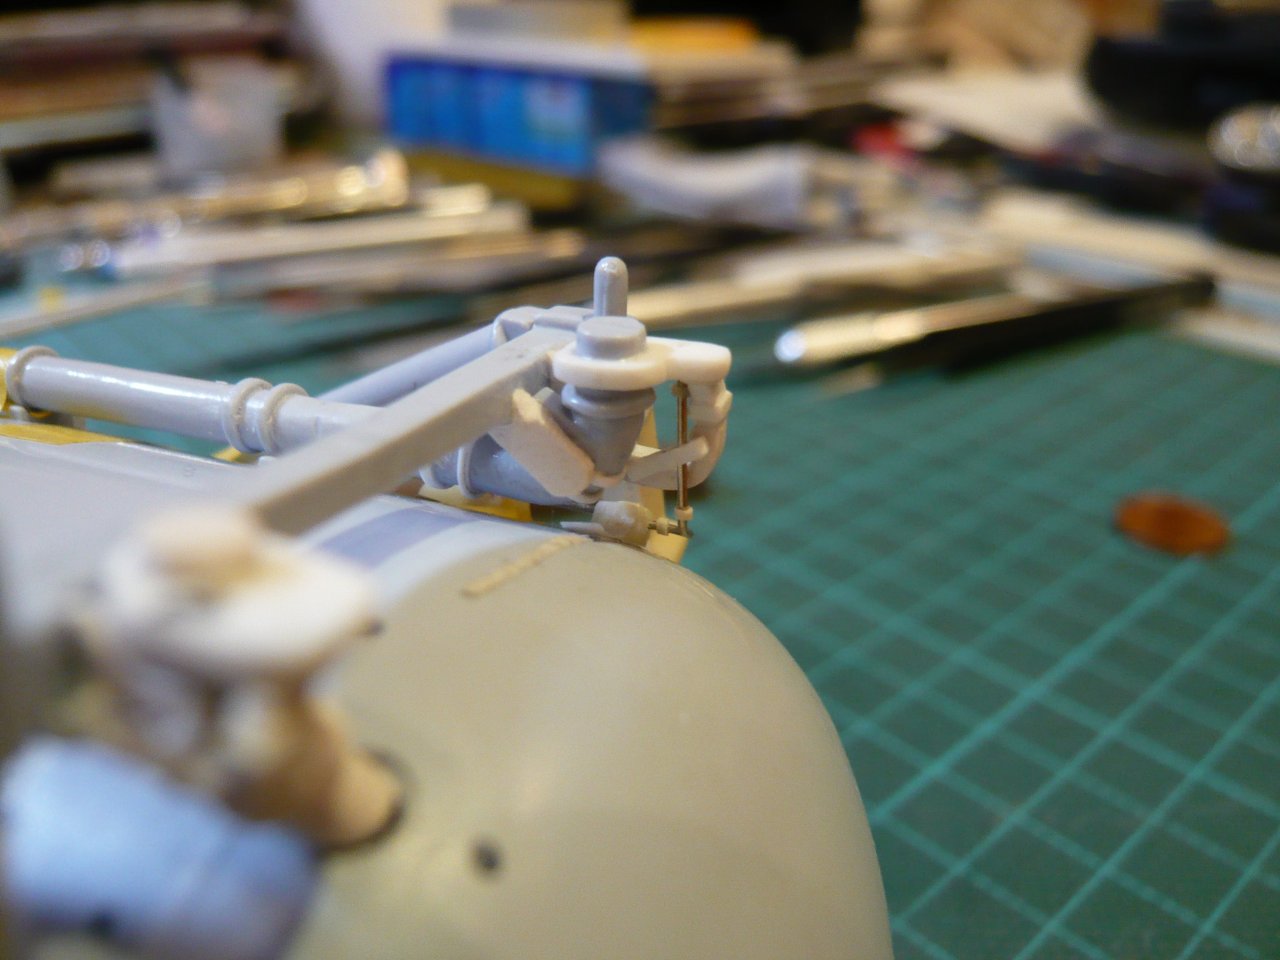
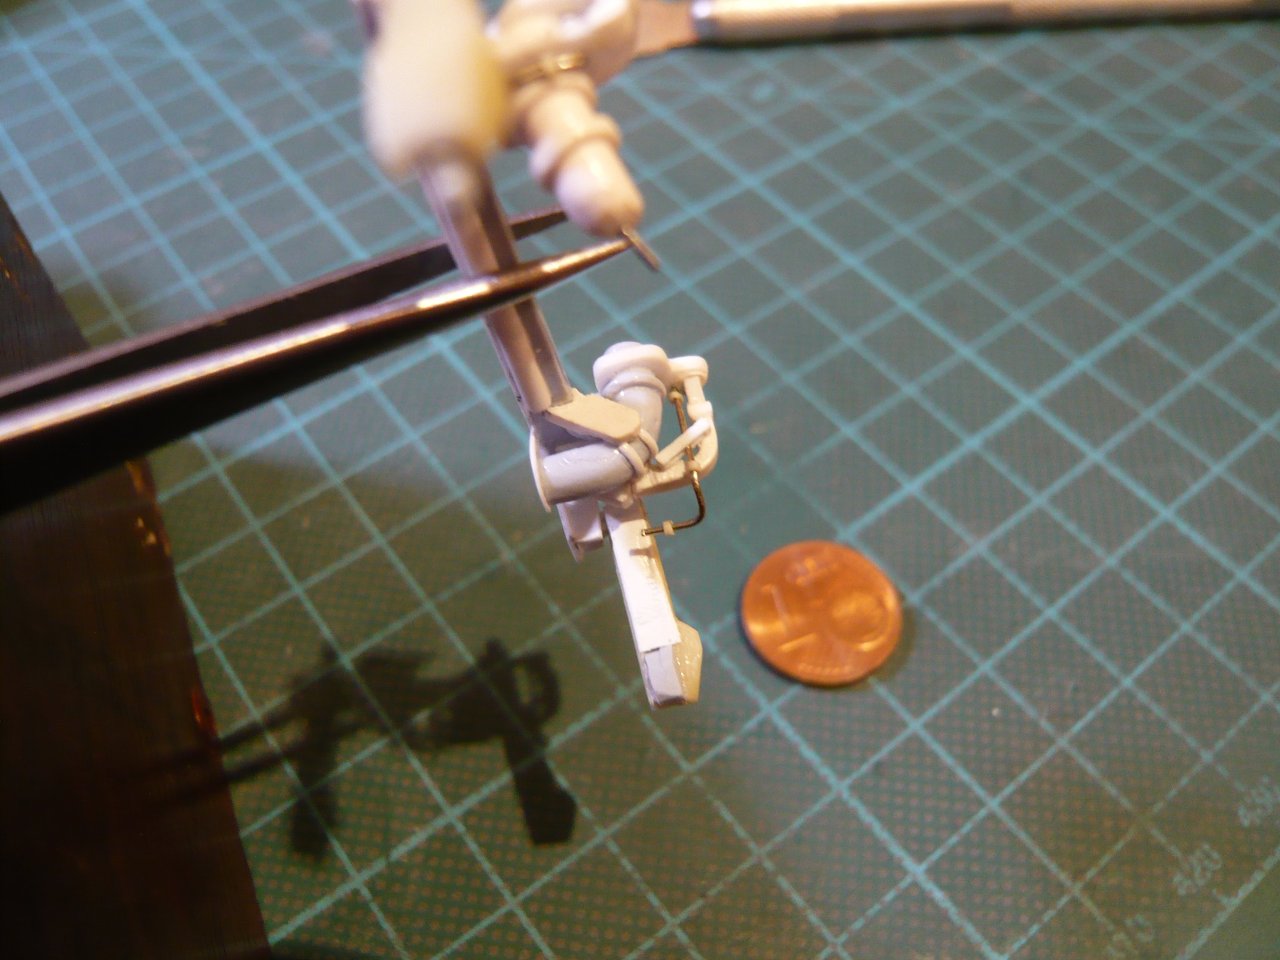
Now the
Press. line can still be aligned a bit and glued in this position in the
Umbilical plate and with the
Bracket, whereby it would then finally fixed.

