


|
|
|
#1
 06-17-2011, 07:13 AM
|
||||
|
||||
|
Thunderbirds Are Go!
Well, I have been whining for some time now about building one of the Thunderbird 2 kits.
I have both Gary Pilsworth's and Takahiro Kojima's models. I like the look of Gary's kit, so thats the one I will try. But then I thought, what about a diorama of some sort? Then I could build other TB models, since I have a few. I'm not sure what kits I will build, but this means display room is an issue once again, so the model will have to be resized. For TB2 I decided to go about half size...maybe a little less. All parts fit on one sheet of cardstock. 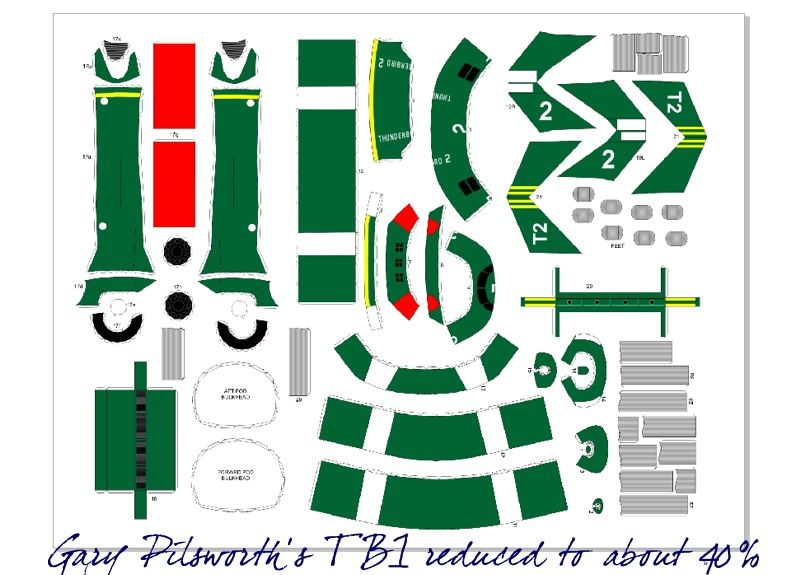 Small scale models and me don't always mix... first problem I encountered was the two smallest nose parts. In fact the smallest part, the little oval nose part, was very difficult to cut out cleanly. But I did it...and I set it aside while cutting the second nose part. And that was the last I saw of it! lol The next one I cut out wasn't quite as cleanly cut and required a little colour touchup which resulted in what you see. 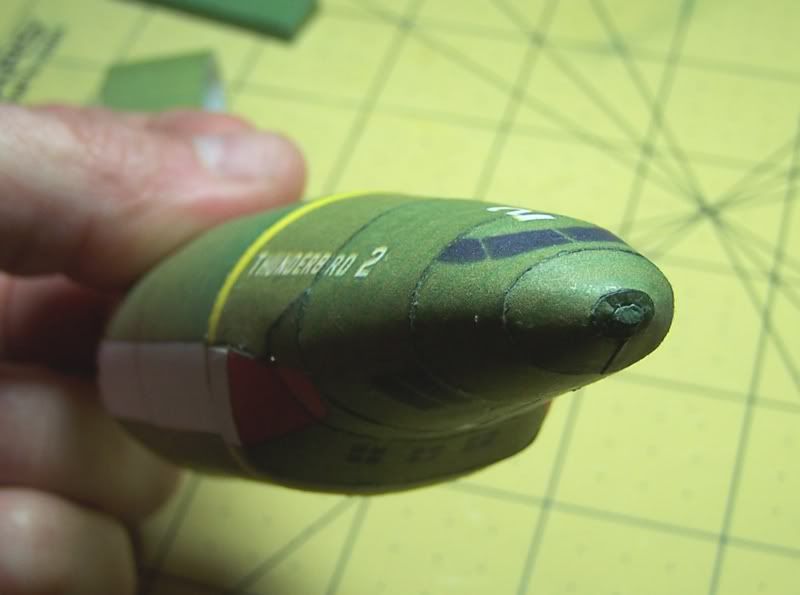
__________________
SUPPORT ME PLEASE: PaperModelShop Or, my models at ecardmodels: Dave'sCardCreations 
|
| Google Adsense |
|
#2
06-17-2011, 07:23 AM
|
||||
|
||||
|
The fuselage went together fairly well using joiner strips that I made.
I cut off all the glue tabs. Until I got to the side pod areas. The shape of the fuselage transitions in a couple of directions and this results in four oddly shaped parts that fit together in a fairly frustrating way. At least at this scale! Eventually, with a lot of cursing and slow gluing, I got the Port side together fairly respectably. 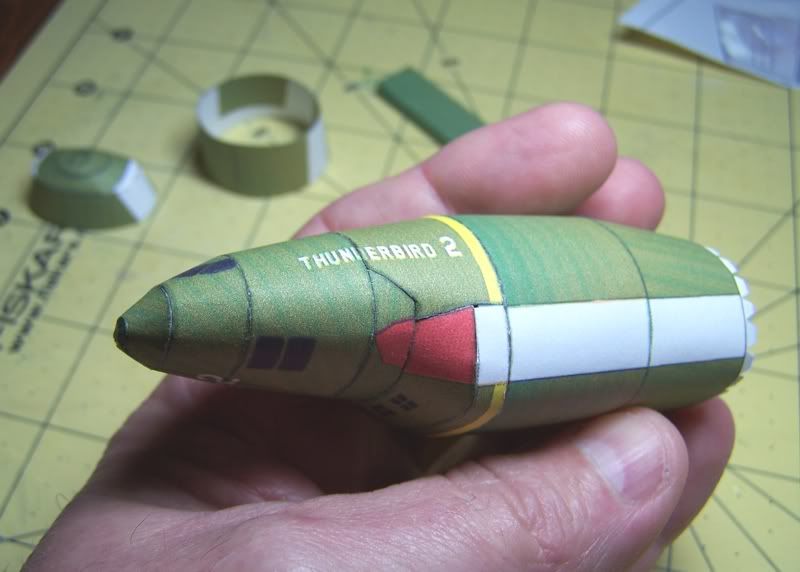 but the Starboard side was not so lucky. No matter how much I tried, it would not fit it together properly. In the end, this is what i settled with, knowing that some of this area is covered by the side pod extensions. 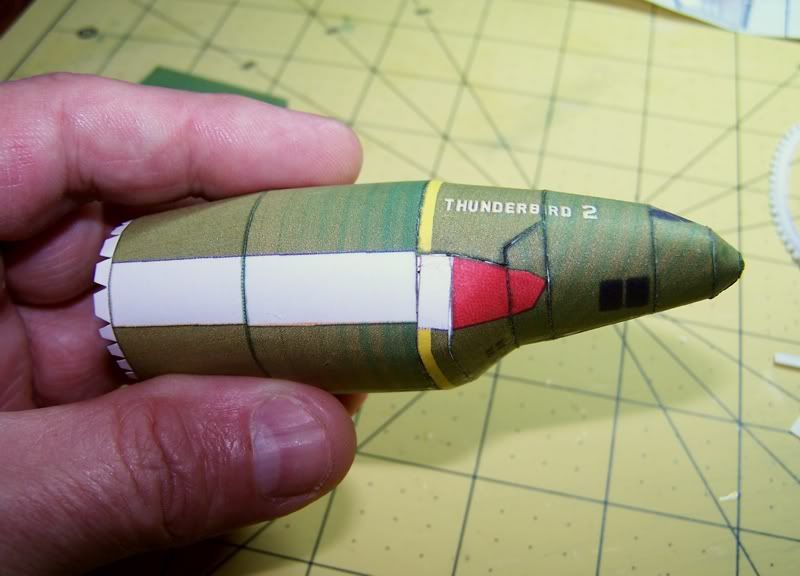 After some burnishing of seams and connections, I continued with the remaining fuselage parts. I had no trouble with those, and once again I used my own joiner strips for connections. 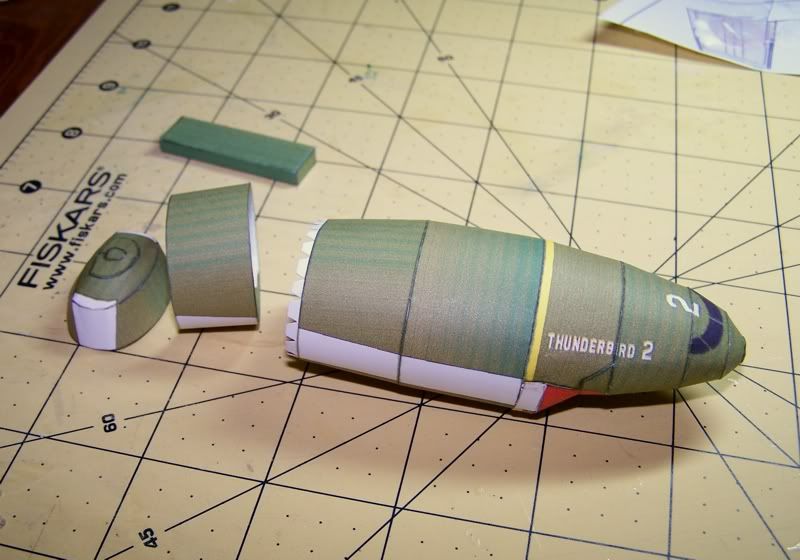
__________________
SUPPORT ME PLEASE: PaperModelShop Or, my models at ecardmodels: Dave'sCardCreations
|
|
#3
06-17-2011, 07:35 AM
|
||||
|
||||
|
Nice one Dave! I look forward to seeing a decent build and diorama of Big G I've been meaning to rebuild it myself so I could make amends for the poor job I did last time.Beautiful job so far in fact my I be the first of I'm sure many to say FAB!.
|
|
#5
06-17-2011, 07:53 AM
|
||||
|
||||
|
Wrapping up the build...
I apologize, as I got closer to the end of the construction, and things were moving along fairly well, I forgot to keep snapping photos. I took a break from the fuselage and assembled the Tail Wing and Booster array. (you can see them in the background of the photos) Then I assembled one side RamJet housing. This time I used two small joiner strips for the front and rear extensions but left the mounting tabs in place. This was a bit of a mistake, because at this scale I would have made a cleaner and tighter connection to the fuselage without them! 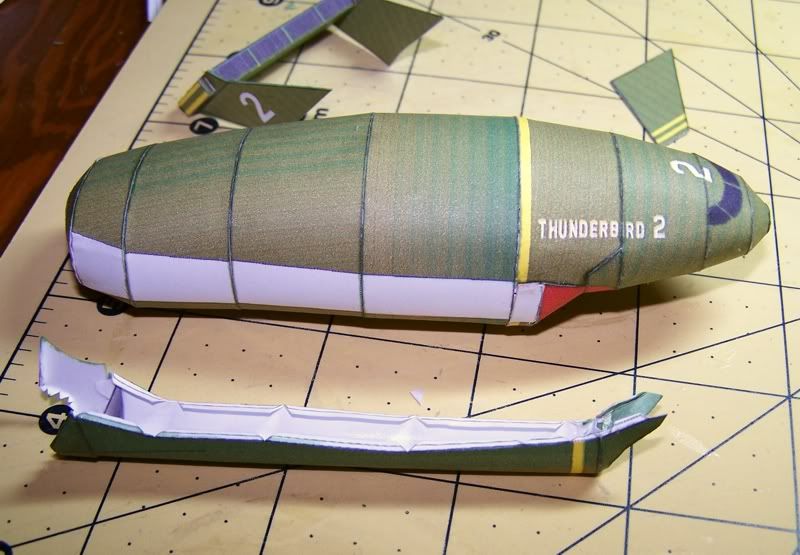 I glued the RamJet housing at the center (to the fuselage) and then slowly worked my way to front and rear, gluing the assembly into place. Everything fit fairly well, so I have no complaints about this area. At full scale, this is probably an easy assembly. As a matter of interest, I did fit the two bulkhead formers, in the fuselage (before fitting the Tail end parts) and even at this scale, it did help the model keep its proper shape. heres the final assembly, with side wings, Booster array and Engines installed. 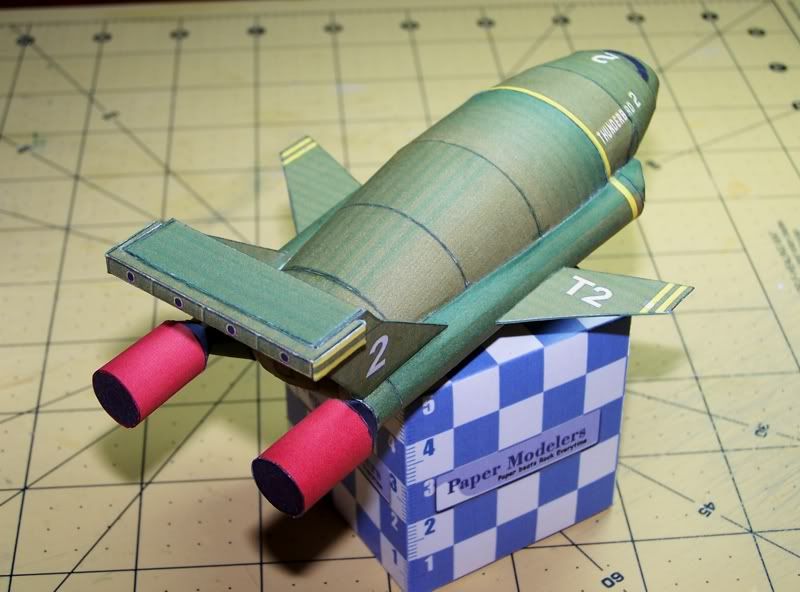 My only complaints are: 1. The lack of details in the Main Engine exhausts, but thats something I could have addressed myself during printing. 2. The aft end of the fuselage does not seem to taper enough which results in the upright supports for the Booster array being more vertical than they should be. The Engine exhausts are further apart than they should be. This diagram illustrates it best: 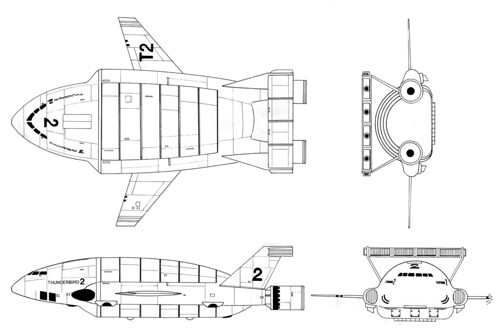 But in the end, I am still very happy I chose Gary's model over Hiros. I really like the look...it has a real Gerry Anderson feel to it! And regardless of my complaints, the assembled model is very impressive! 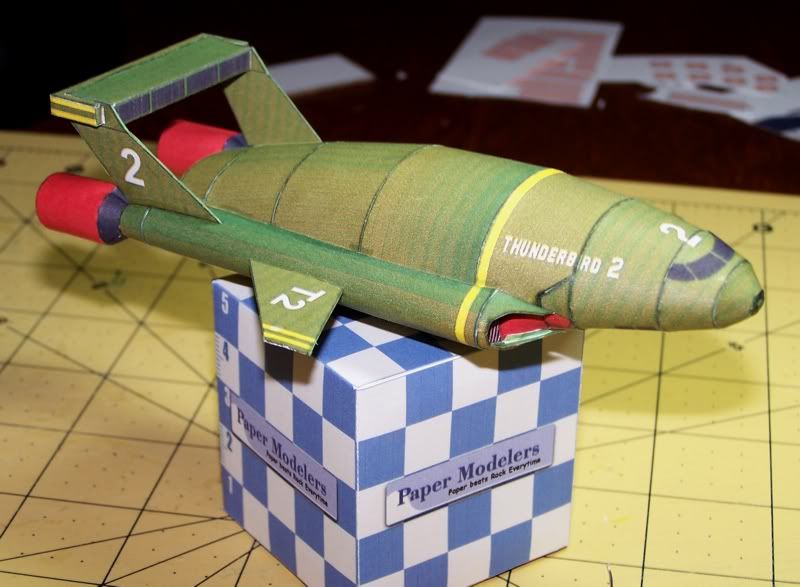
__________________
SUPPORT ME PLEASE: PaperModelShop Or, my models at ecardmodels: Dave'sCardCreations
|
| Google Adsense |
|
#6
06-17-2011, 08:01 AM
|
||||
|
||||
|
Thanks Phil...not sure what the Diorama will be (or if it will ever get to that point! lol)
but it will be FAB getting there! Only Anderson fans can understand the sheer joy and excitement. Sting raaaaaay...Stingray nana na na naaaaa Zathros, the fuselage seams look one hundred times better once burnished. Straight tubular connections like these are pretty easy with glue strips and then burnishing seals the deal! I use 65lb cardstock for EVERYTHING!...no matter what the scale. Tried using 24lb paper on small scale builds...didn't work for me. I occasionally use some 110lb card for larger assemblies.
__________________
SUPPORT ME PLEASE: PaperModelShop Or, my models at ecardmodels: Dave'sCardCreations
|
|
#7
06-17-2011, 08:07 AM
|
||||
|
||||
|
I started last night, on the second model...
after some deliberation, I decided Scott is always there to support Virgil ...TB2 is nothing without TB1 close at hand. But this is where I might have goofed! When reducing TB2 for assembly, I never considered the relative scale of any other Thunderbird craft. And Thunderbird One comes in at less than HALF the length of TB2!!! oh no!! oh well...no turning back now 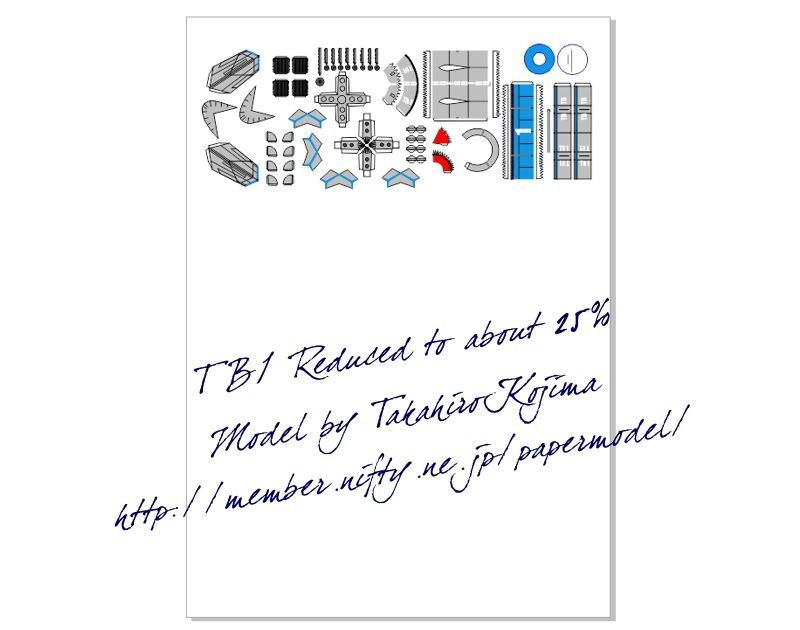
__________________
SUPPORT ME PLEASE: PaperModelShop Or, my models at ecardmodels: Dave'sCardCreations
|
|
#8
06-17-2011, 08:08 AM
|
|||
|
|||
|
You burnish them, that's, again impressive, and a lot of work, but it shows and was worth it!! I have to remember that. I imagine you must burnish after the glue hardens somewhat, not sure, I've never tried that?
|
|
#9
06-17-2011, 08:10 AM
|
||||
|
||||
|
What! airdave! You not making the pod workable!?
 just kidding. just kidding. Nice build, airdave. Think about design your own?
__________________
Allen Tam https://allenctam.blogspot.com/ An artist is not paid for his labor but for his vision. 藝術家不是為他的勞工收支付,而是為他的創意。
|
|
#10
06-17-2011, 08:13 AM
|
|||
|
|||
|
Quote:
|
| Google Adsense |
 |
|
|


 Linear Mode

