
 |
|
#11
|
||||
|
||||
|
Good day.
With the internal frames coloured, it was time to cut them from the card and colour the outside edges. 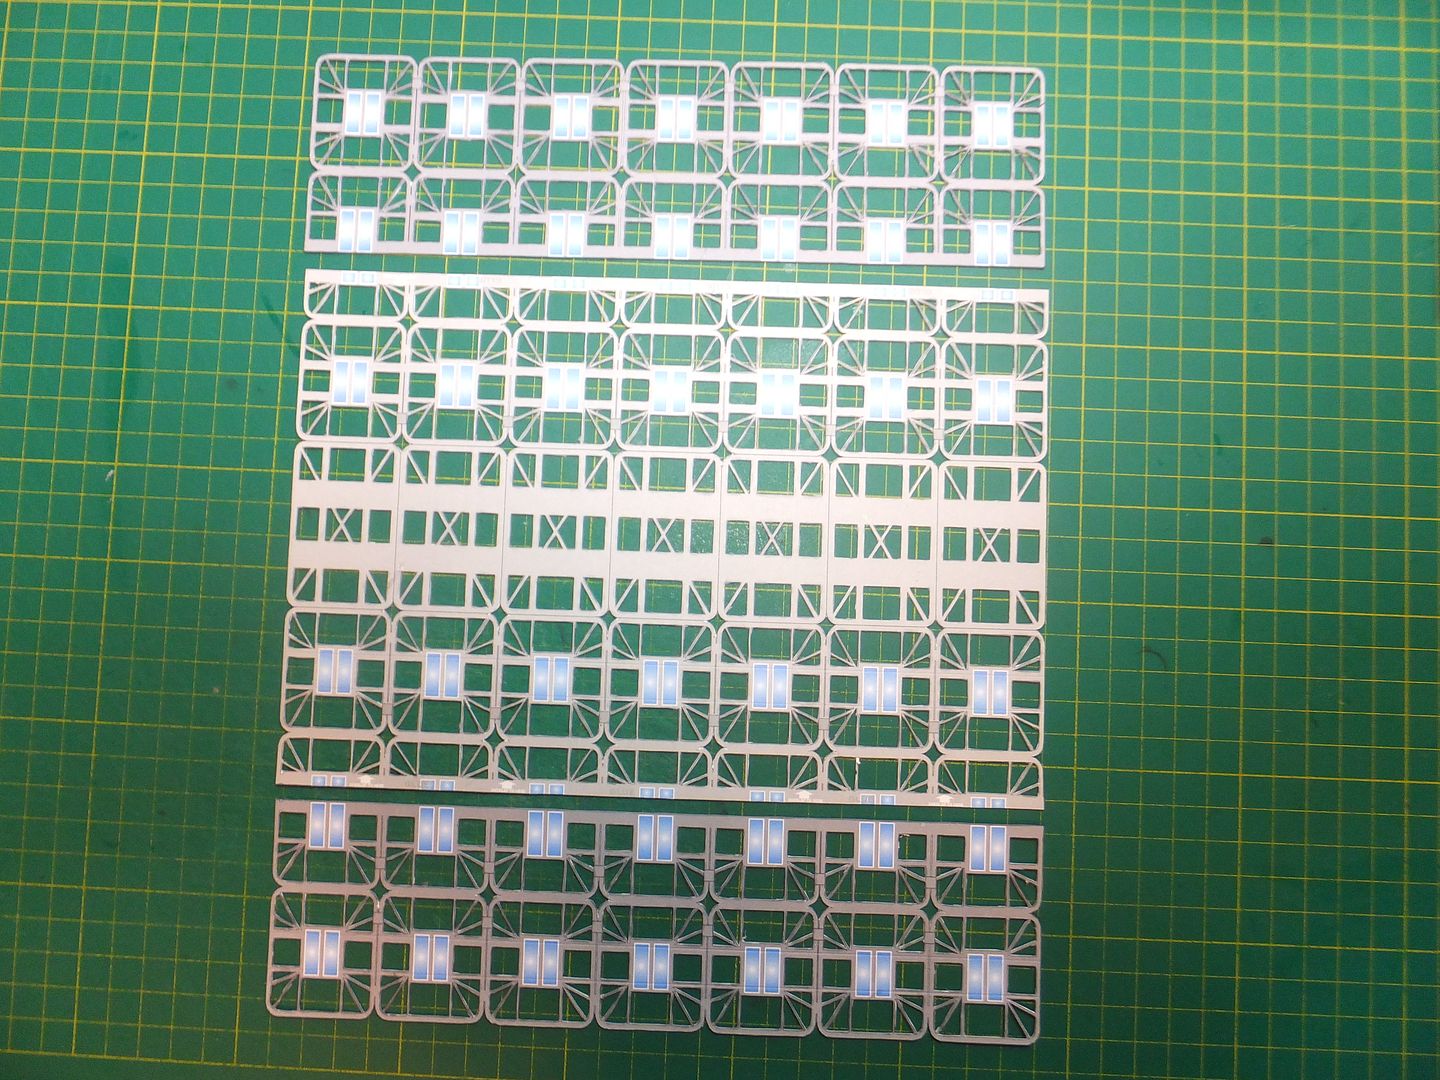 Now comes the job of folding these. Since I used double laminated card, to fold by hand along those thin beams would be very difficult and a high risk of damage. For this purpose I invested in a mini brake to do the folding. Here is a video of the process. https://www.youtube.com/watch?v=og31GFjJ30w Here are some pics of the result. 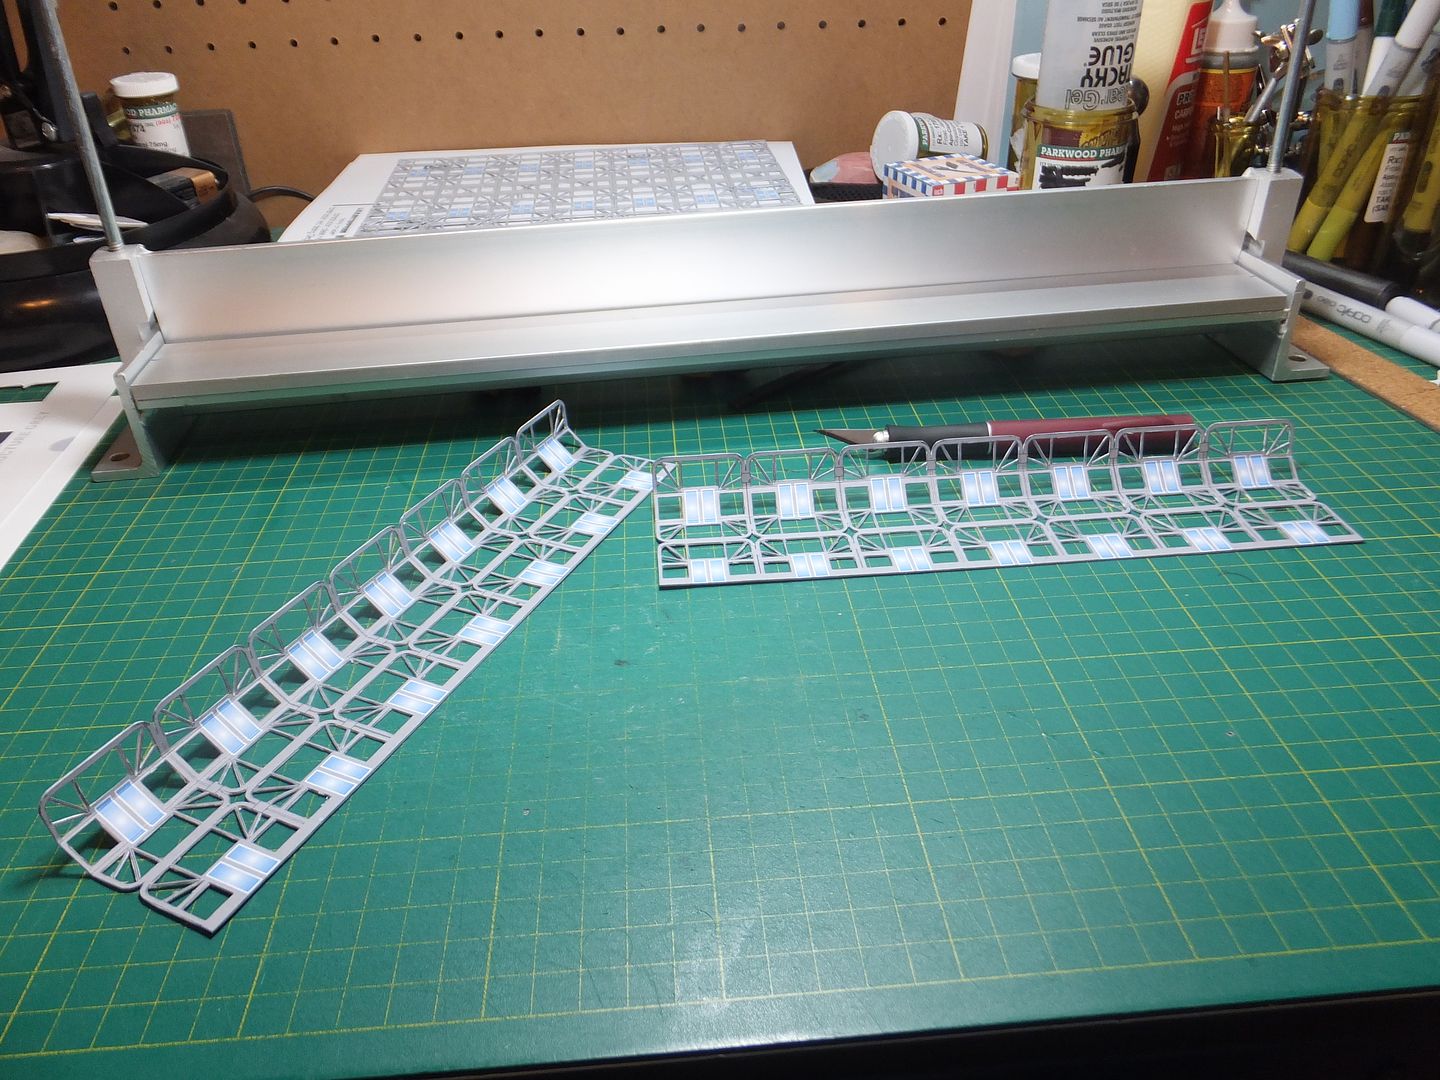 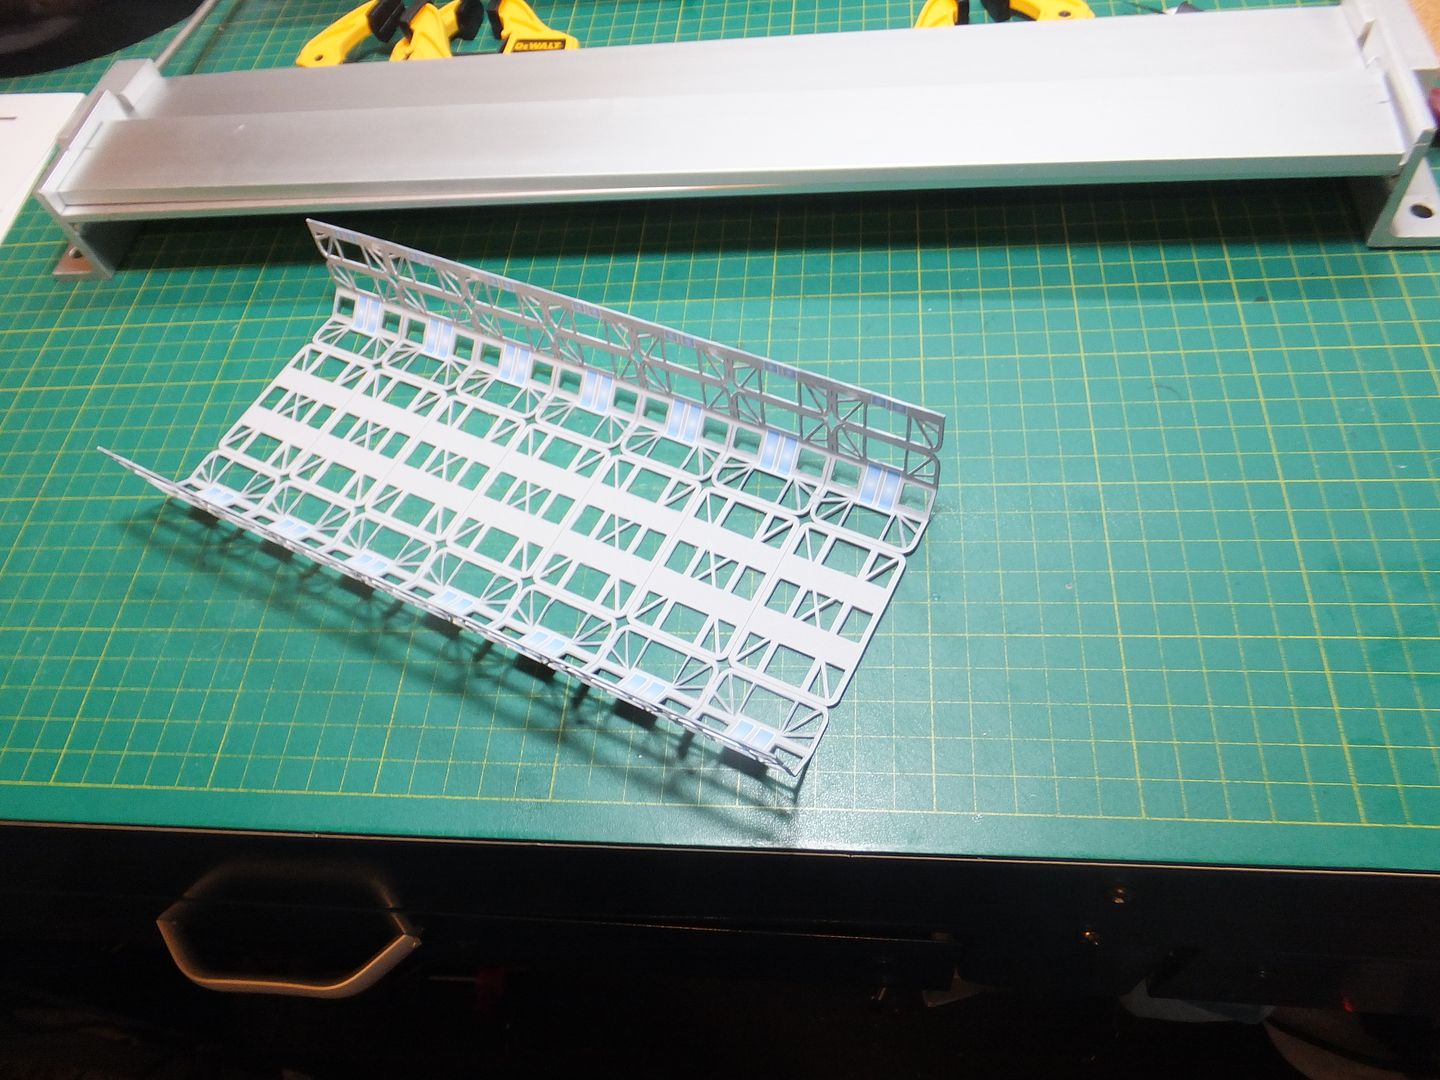 I am quite happy with the result and how easy and fast it was to fold such a delicate piece. Thank you for following. Questions and comments welcome. Jim Last edited by Papermodder; 09-27-2015 at 12:17 PM. |
|
#12
|
|||
|
|||
|
I like your methodology. Never would have thought if using a mini brake.
__________________
This is a great hobby for the retiree - interesting, time-consuming, rewarding - and about as inexpensive a hobby as you can find. Shamelessly stolen from a post by rockpaperscissor 
|
|
#13
|
||||
|
||||
|
Hi Elliott.
I figured early on it was the only way to get a clean fold with these. I was actually in the store to get materials to make a brake, when I found this one there. It was a lot cheaper than making one. Jim |
|
#14
|
||||
|
||||
|
Good evening.
Next up is the assembly of the operations deck for the dock. Upon test folding it, I found it needed internal support. Cut a long strip of card 4mm wide and snaked it around the inside of the piece. Then proceeded to glue it together. Placed it gently in a press for it to dry flat.  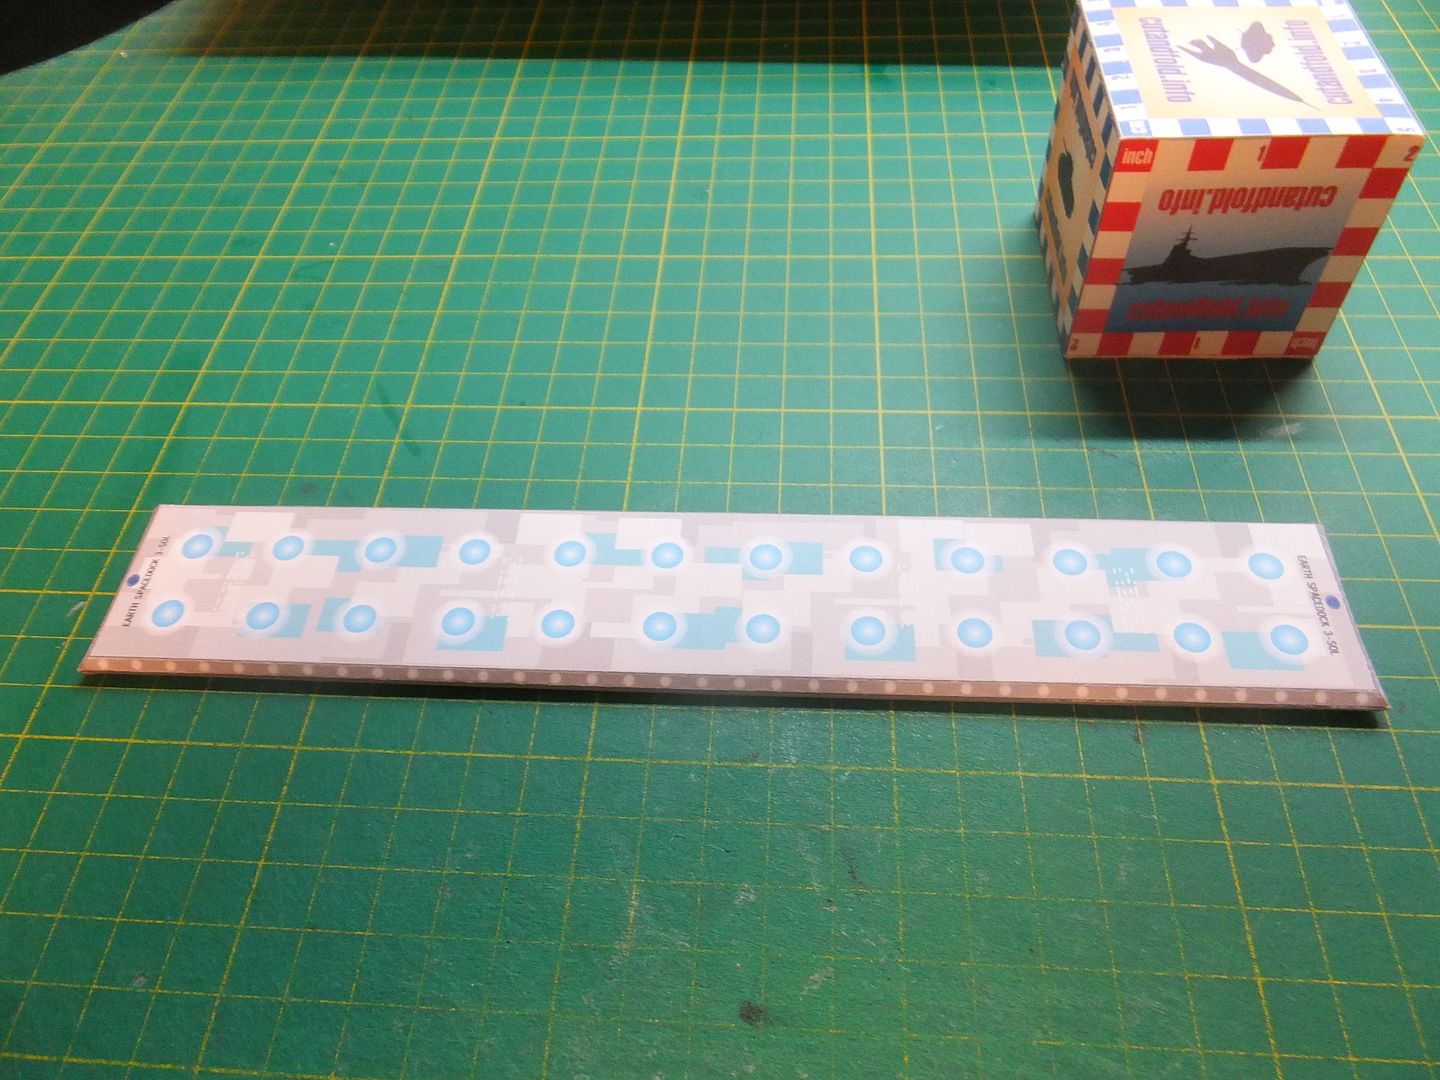 When dry this unit was glued to the inside centre of the main frame. Again left to dry with some weight to keep it flat. 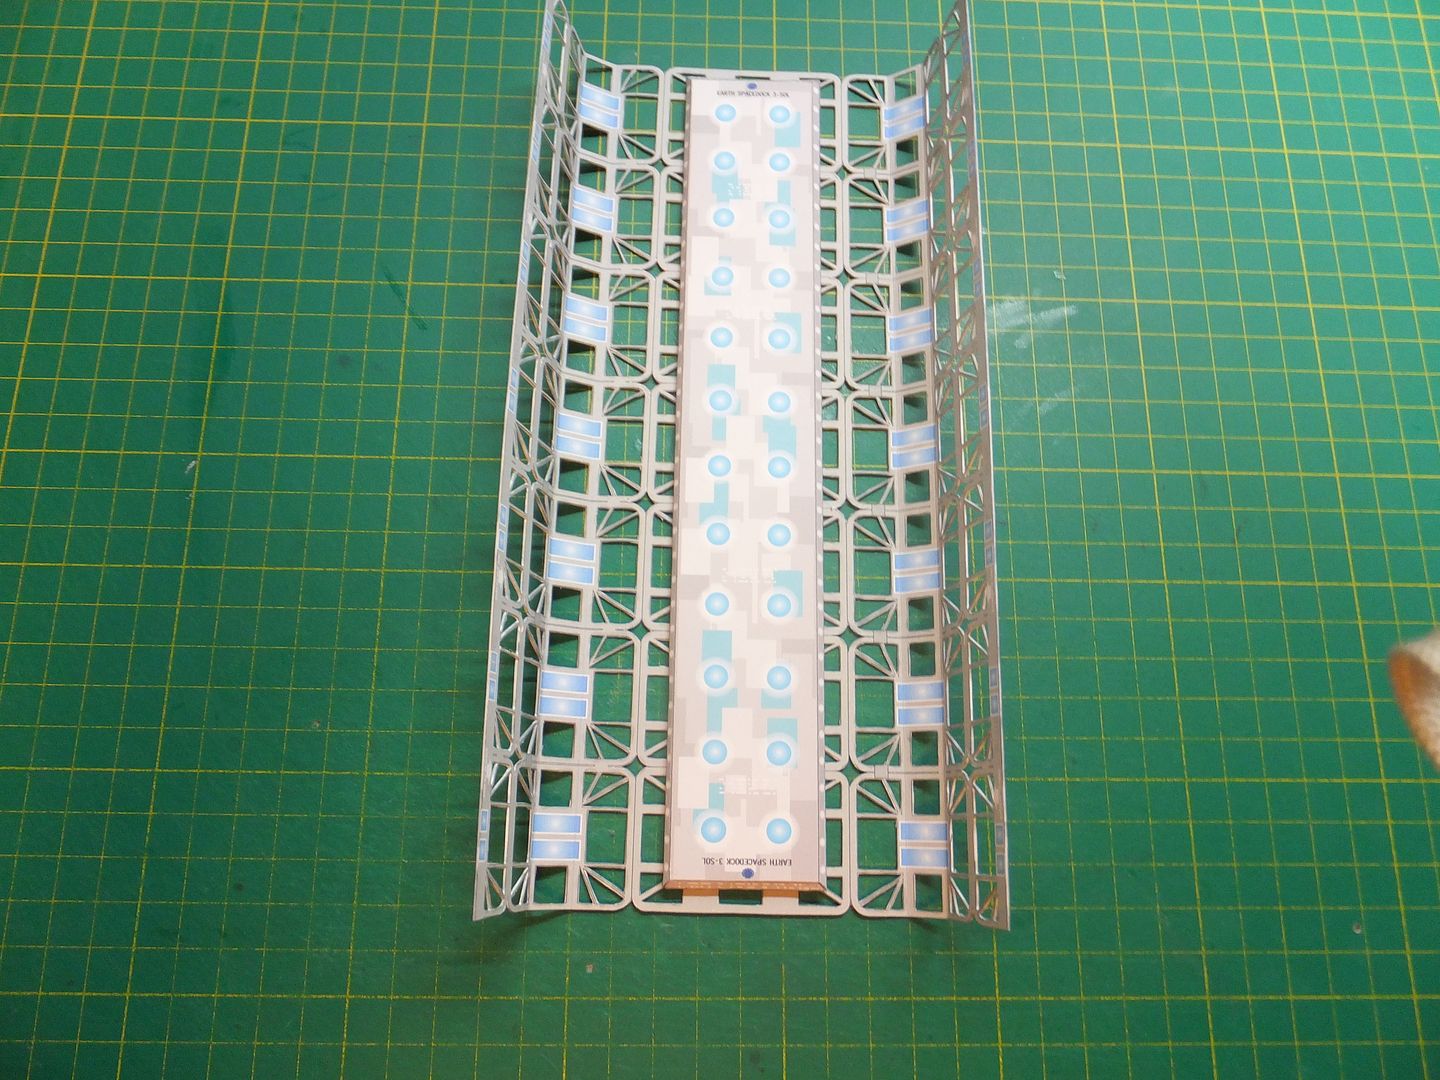 When dry the side panels were then attached to the main frame. One side at a time and under press till dry. The completed Space Dock. 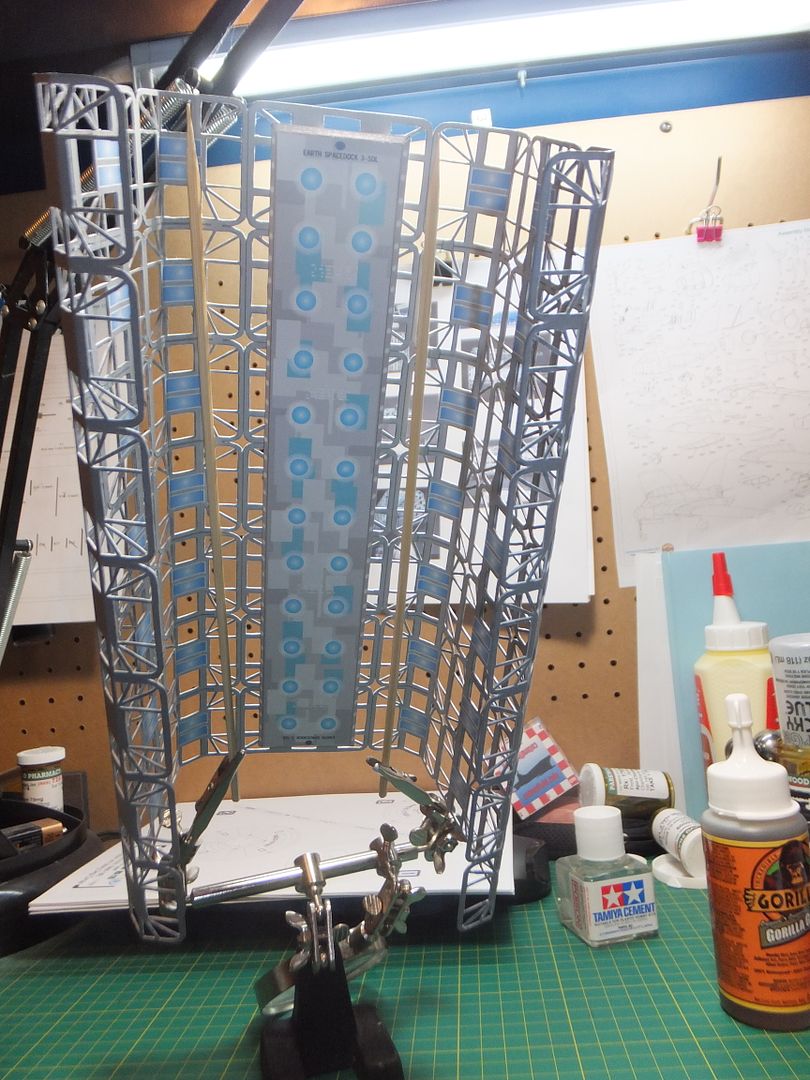 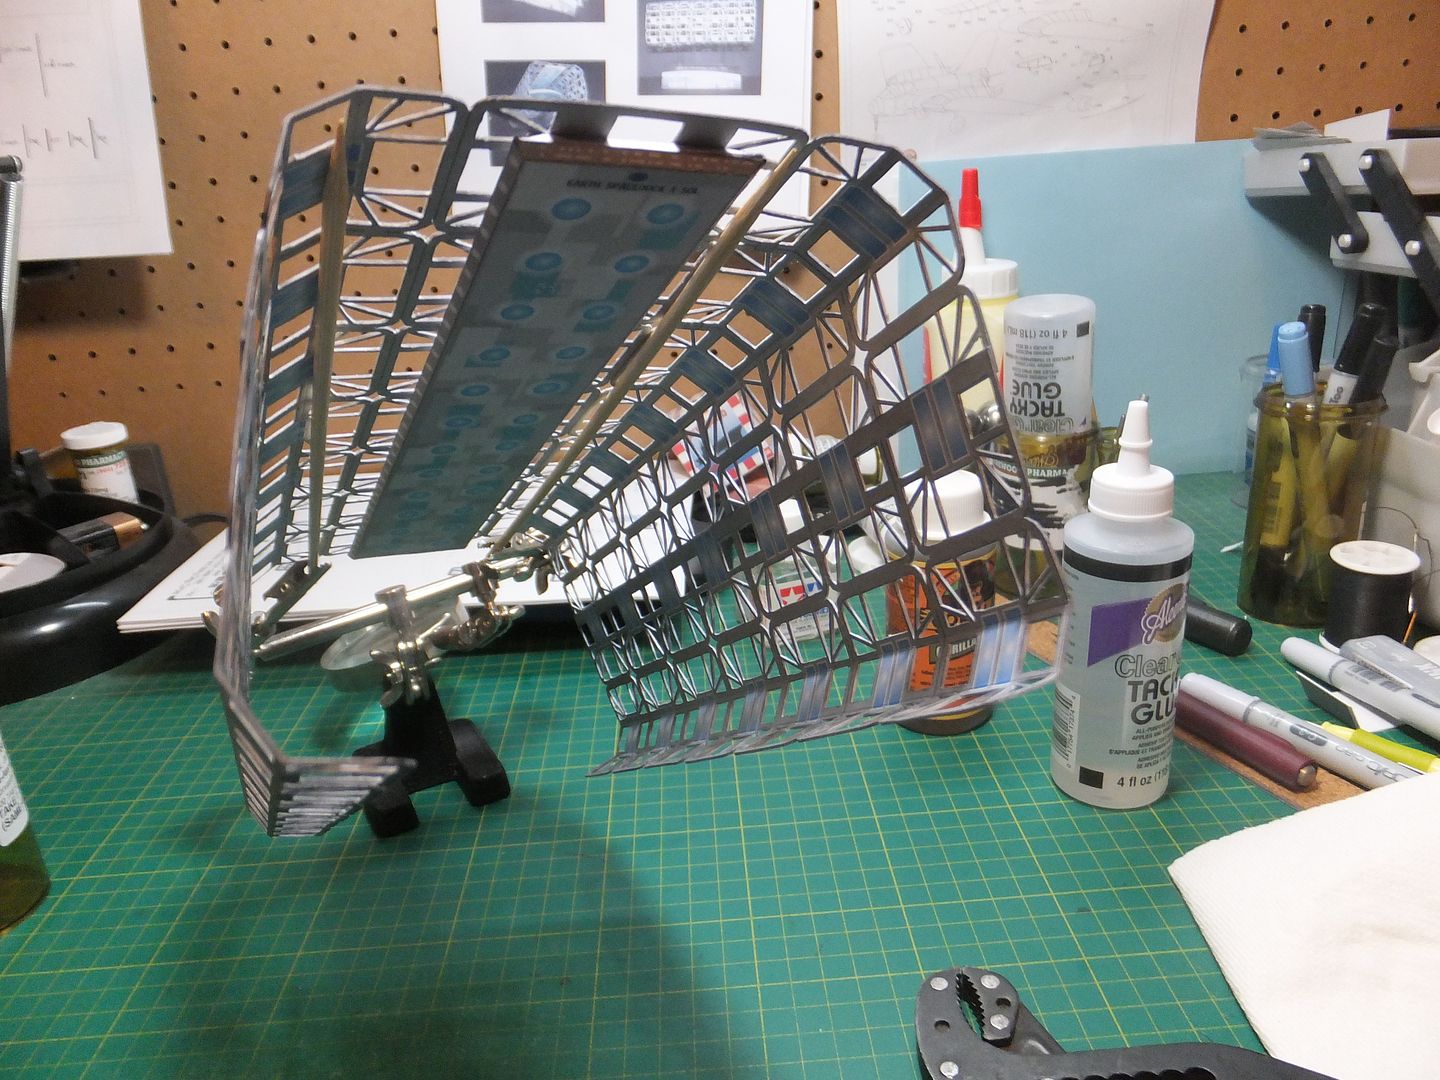 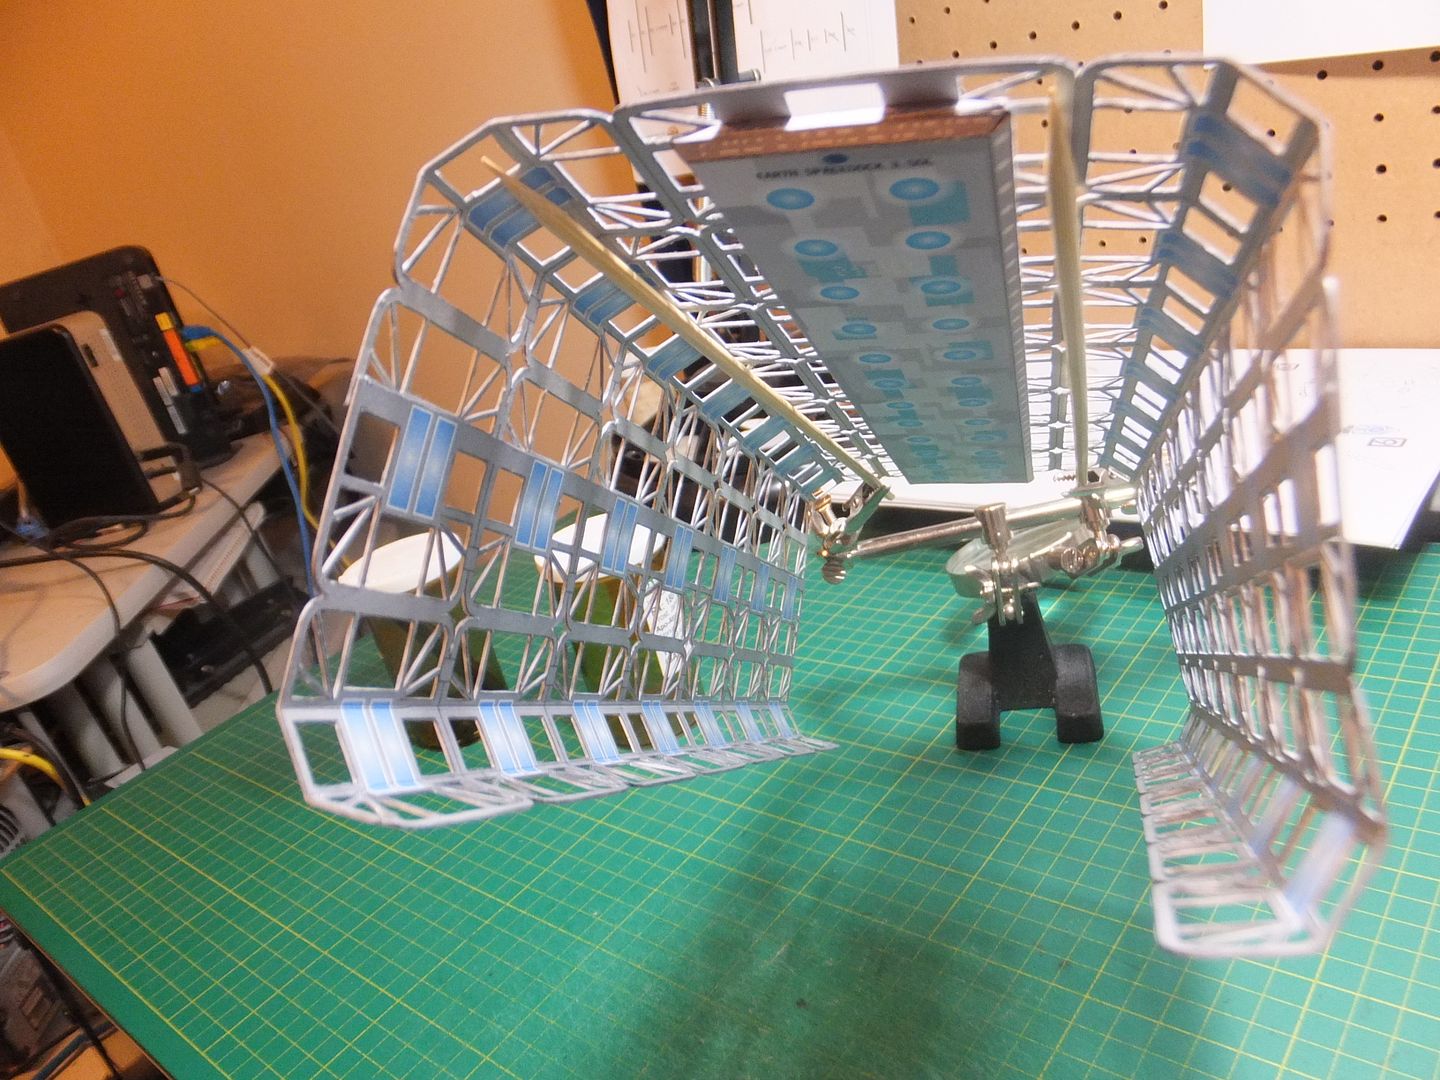 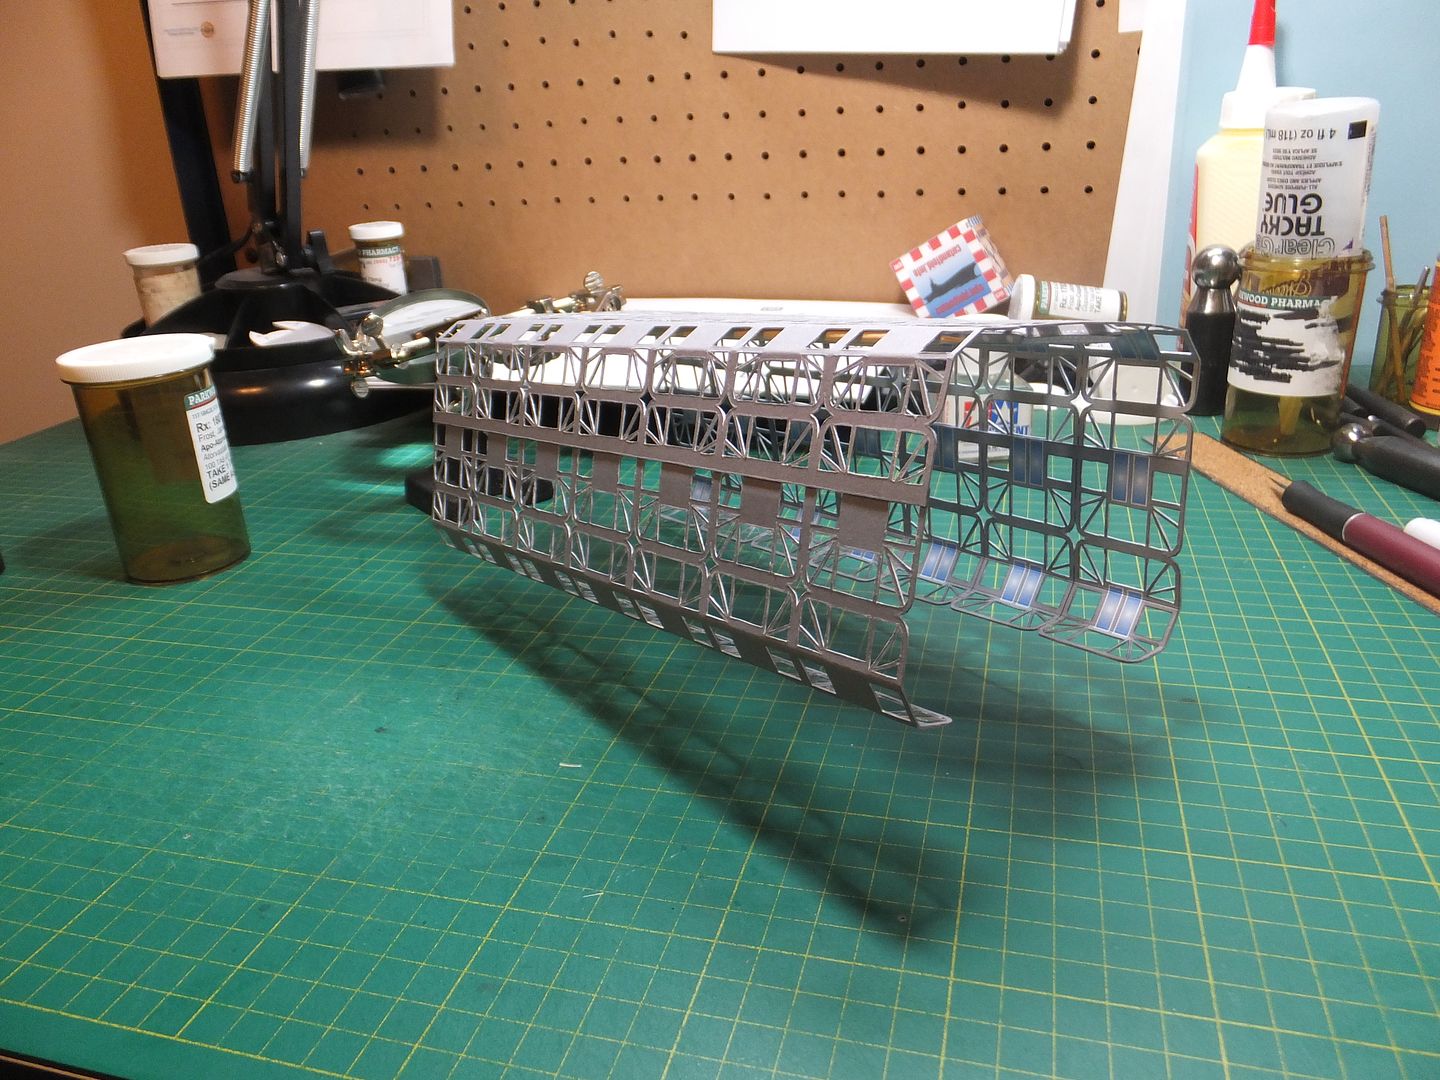 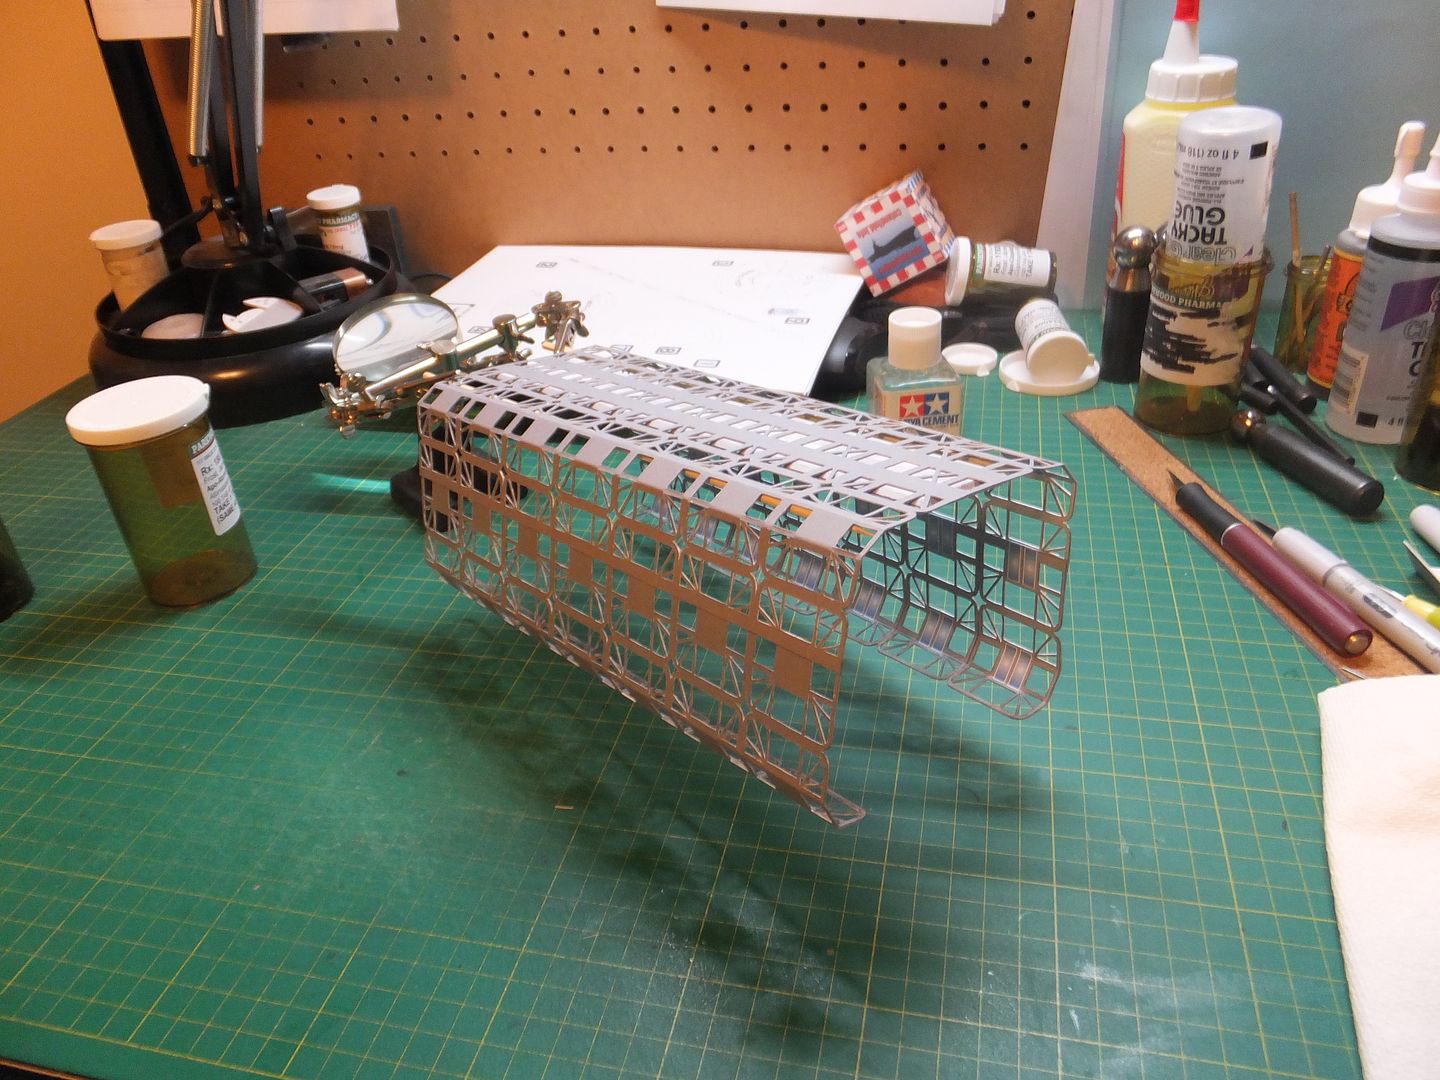 Now I have to place this in a safe place while I start on the Refit. Thank you for following. Questions and comments welcome. Jim |
|
#15
|
|||
|
|||
|
That's quite a piece of work you've done there. I had always thought this would be very difficult to do because of the latticework cutouts and the longitudinal folds that had to be made. You came up with an ingenious solution and the model now looks to be in the doable range. Good luck finding a safe place to store it!
__________________
This is a great hobby for the retiree - interesting, time-consuming, rewarding - and about as inexpensive a hobby as you can find. Shamelessly stolen from a post by rockpaperscissor 
|
| Google Adsense |
|
#16
|
||||
|
||||
|
Put it in a box and keep it very safe - I'd 'loose it' if I had to build another one. Can't wait to see the dock and Enterprise together, it'll make a great display (albeit a delicate one).
__________________
"It's all in the reflexes." |
|
#17
|
||||
|
||||
|
Thank you Elliott and Gotham.
It's going into a storage container till I need it. Jim |
|
#18
|
||||
|
||||
|
That is a great build. Look forward to seeing it with your refit.
|
|
#19
|
||||
|
||||
|
Thank you Bgt01.
The Refit is started. Should have some pics by the weekend. Jim |
|
#20
|
|||
|
|||
|
Wonder if Dave Winfield (Airdave),the designer, knows about this build? I'm sure he'd love to see it. You out there Dave?
__________________
This is a great hobby for the retiree - interesting, time-consuming, rewarding - and about as inexpensive a hobby as you can find. Shamelessly stolen from a post by rockpaperscissor 
|
| Google Adsense |
 |
|
|