
 |
|
#21
|
||||
|
||||
|
WOW! That is some intricate cutting........
Looking at your work, gives me the courage and incentive to tackle UHU02's Station V ...... Nicely done!!
__________________
Once a King, Always a King. But, once a Knight is enough! |
|
#22
|
||||
|
||||
|
What an awesome way to display an Enterprise model. I have often thought about doing something like this for my Enterprise. Maybe someday...
Best Regards,
__________________
Ron Caudillo PM me if you need my email address. |
|
#23
|
||||
|
||||
|
Hi Elliott.
Yes Airdave knows about this build. Thank you Dan and Ron. Jim |
|
#24
|
||||
|
||||
|
Your patience is laudable!
__________________
"One does not plow a field by turning it over in his mind..." |
|
#25
|
||||
|
||||
|
Thank you DC.
Jim |
| Google Adsense |
|
#26
|
||||
|
||||
|
Keep up the work. I look forward to your accomplishment.
__________________
"One does not plow a field by turning it over in his mind..." |
|
#27
|
||||
|
||||
|
Looking great so far. Also its awesome to see someone dredging up the old Diego Cortez model and building it, gotta keep those classic models alive!
__________________
How shall we **** off oh lord? |
|
#28
|
||||
|
||||
|
Thank you Sidewinder.
Jim |
|
#29
|
||||
|
||||
|
Good day.
Well I have started work on the REFIT. Thank you Diego Cortes for the Refit. First thing up is to construct the centre ring of the saucer section. The two support rings needed to be mounted inside the ring with the glue tabs on top. 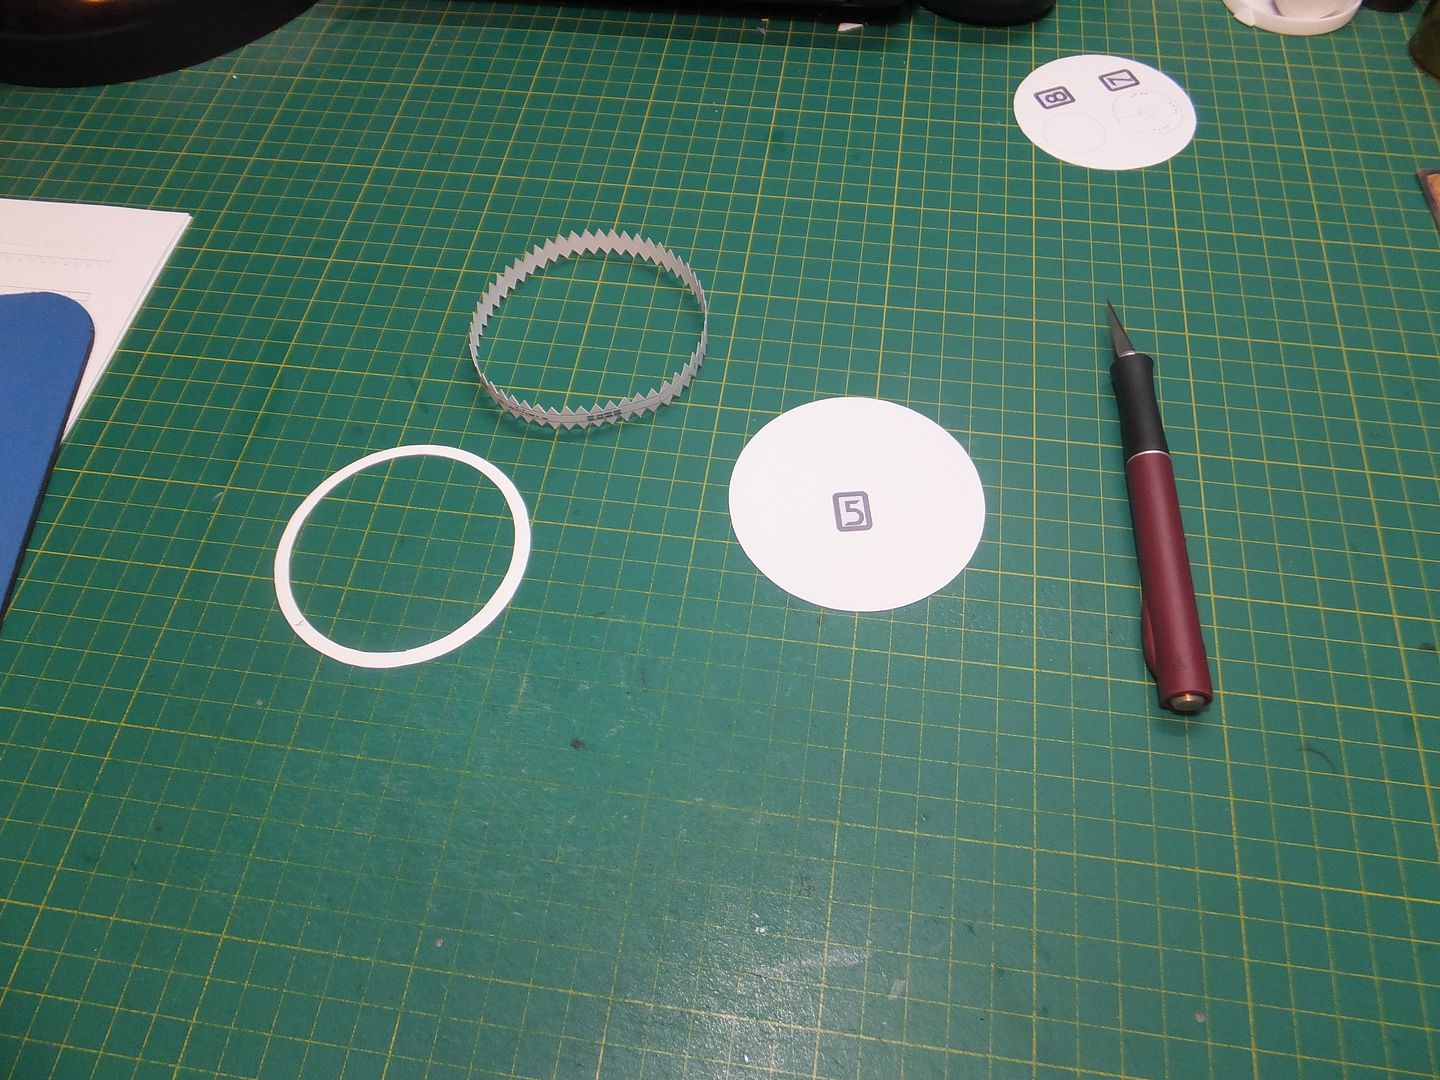 The top and bottom saucers were an interesting puzzle. To figure out the folds with only one seam line. The secret was to score along the horizontal panel lines where the folds are, then to prefold the sections. Glue only one section at a time, from the centre out. 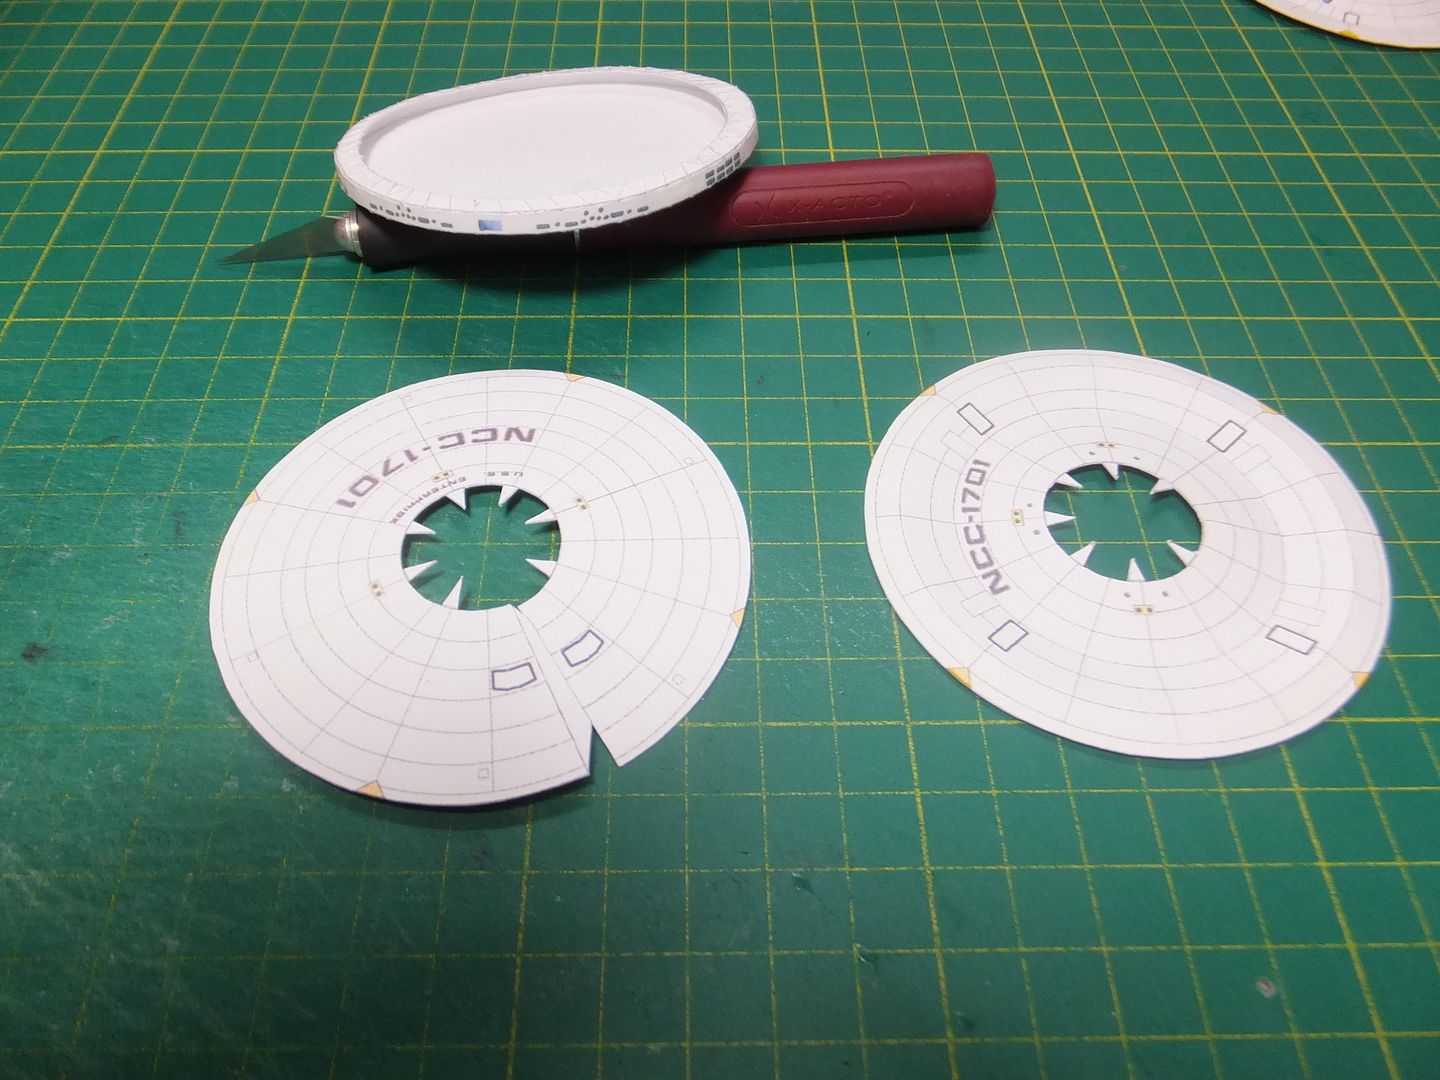 Attach the support ring to the saucer sections then glue the top and bottom to the centre ring. Glue the outside of these first to the ring, then glue the dish support to the ring. 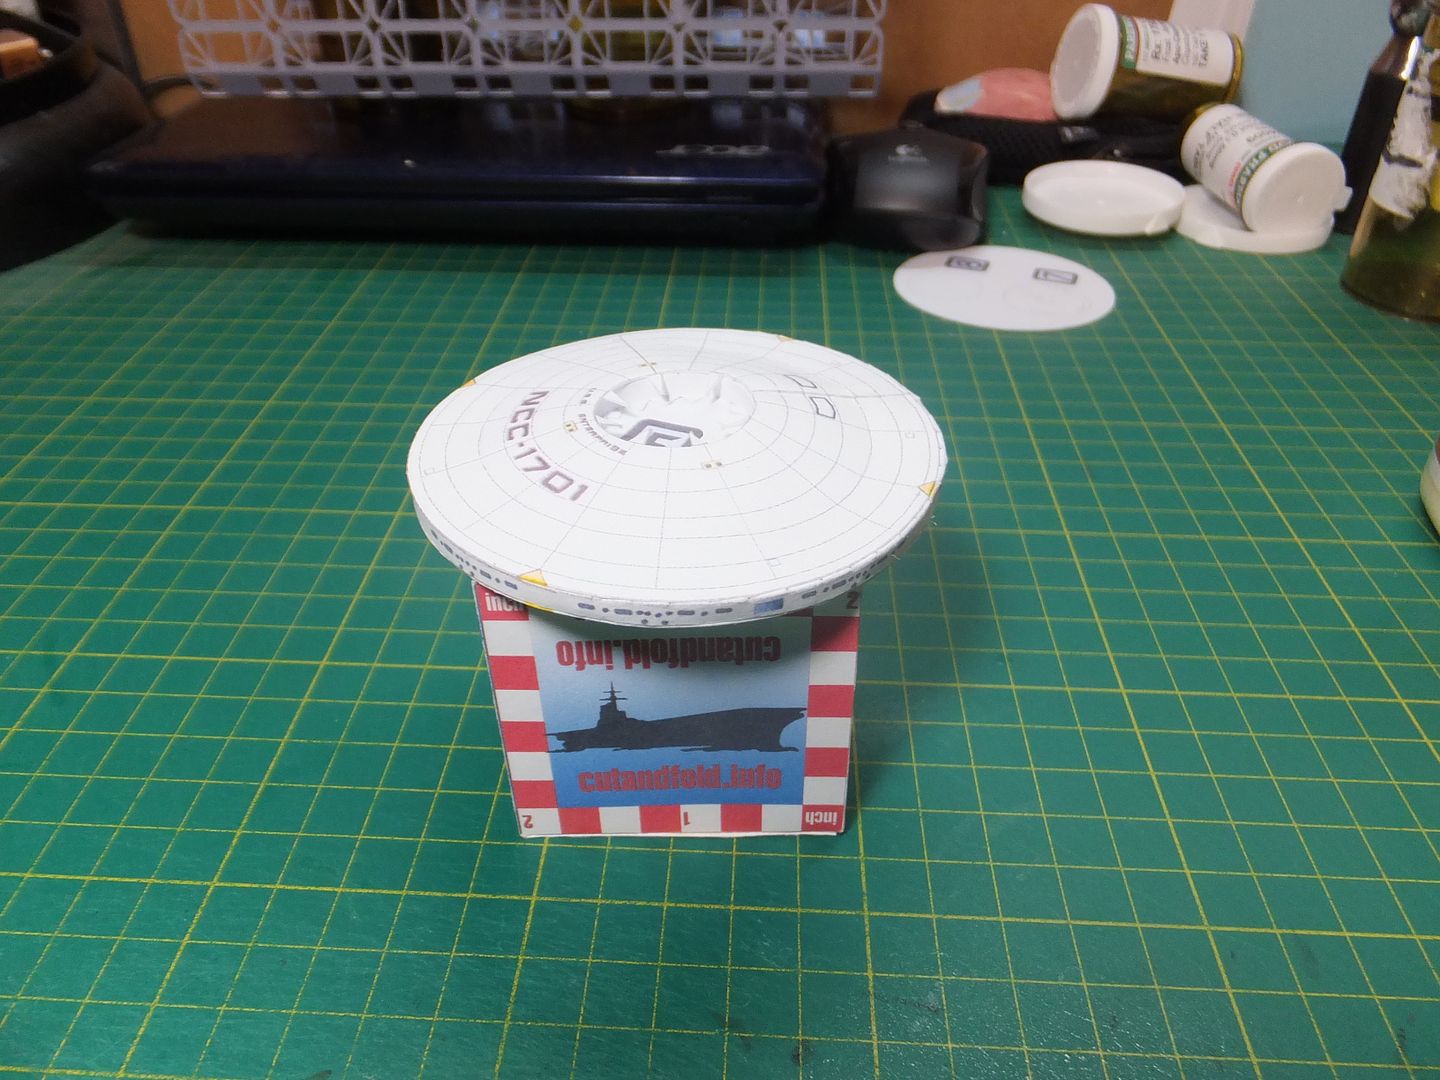 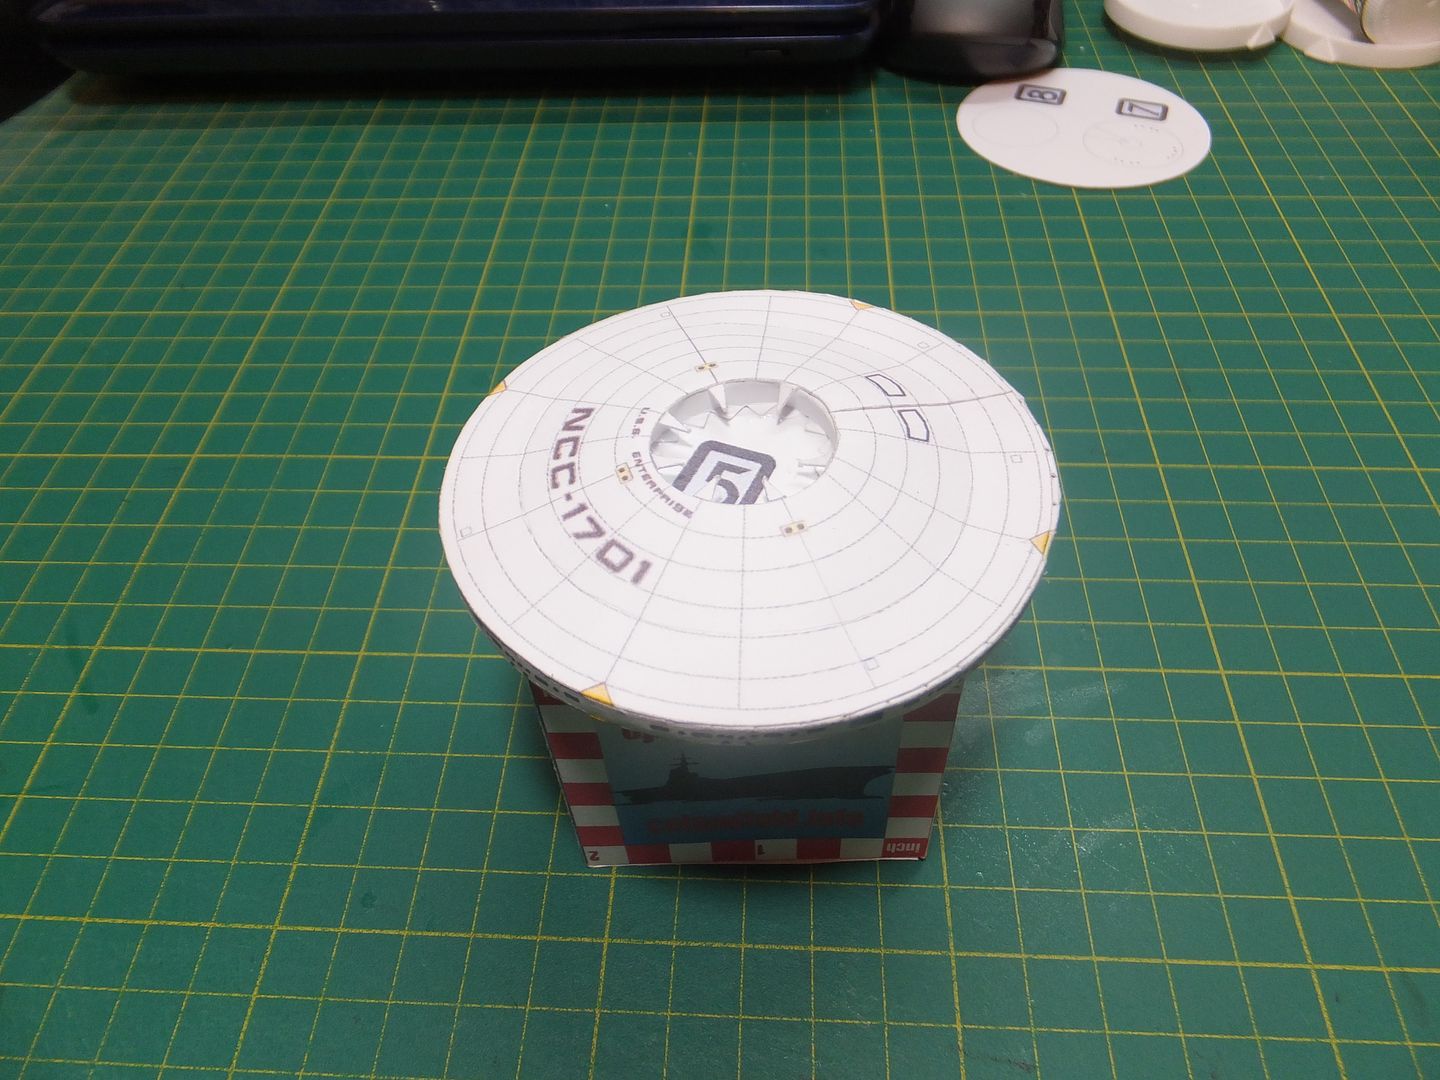 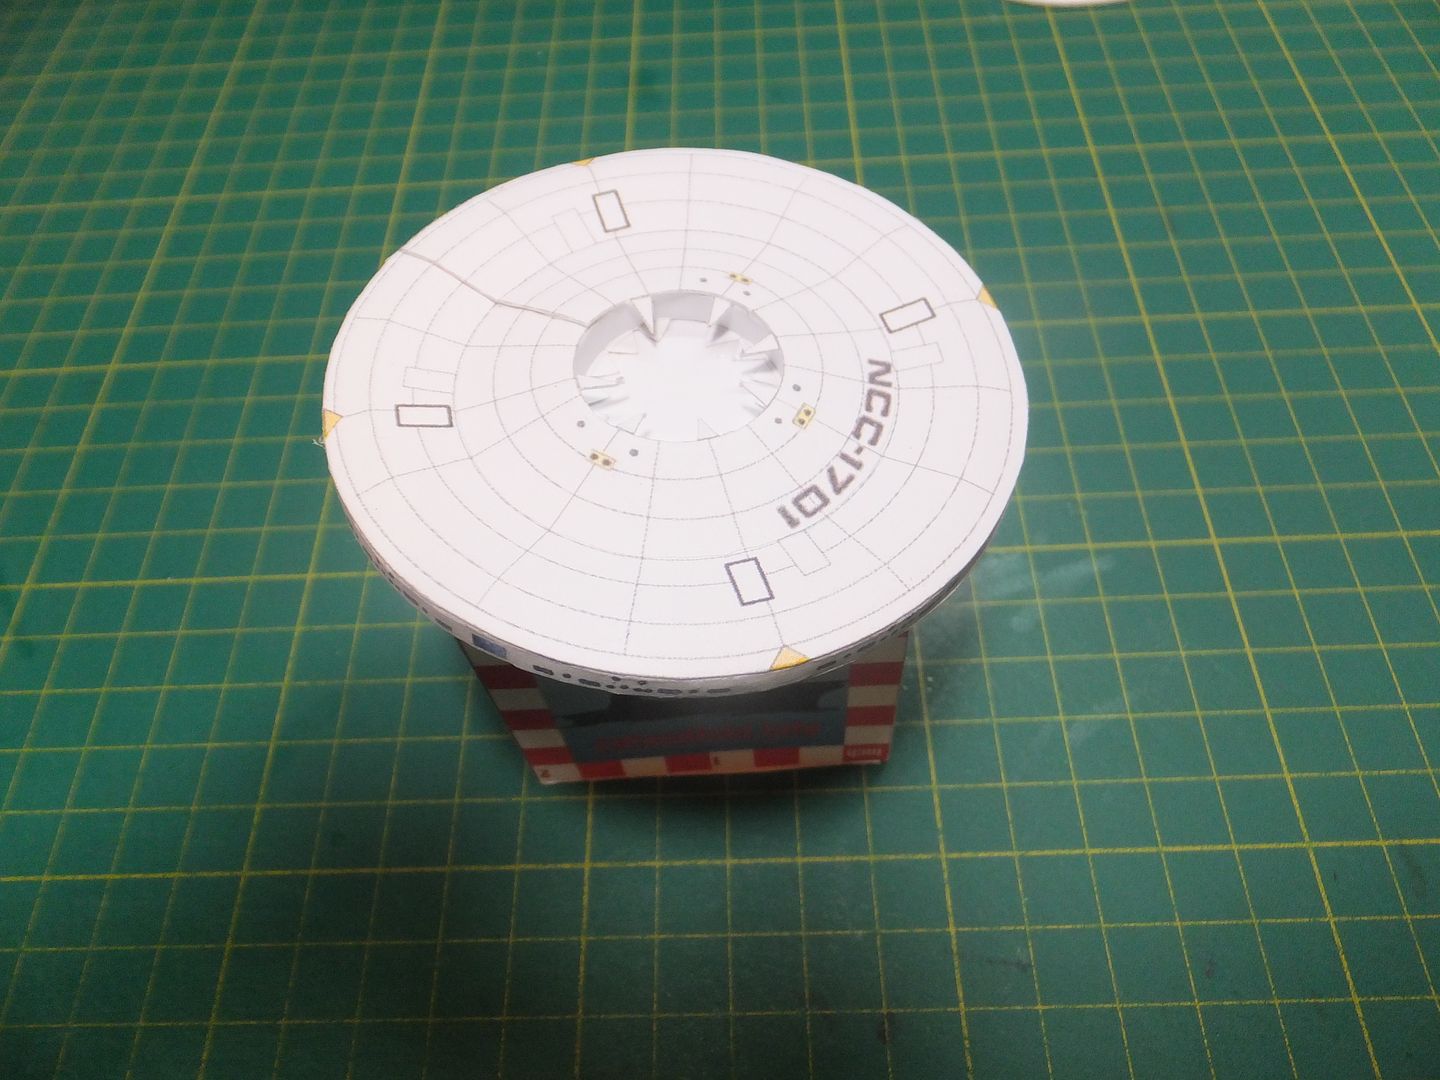 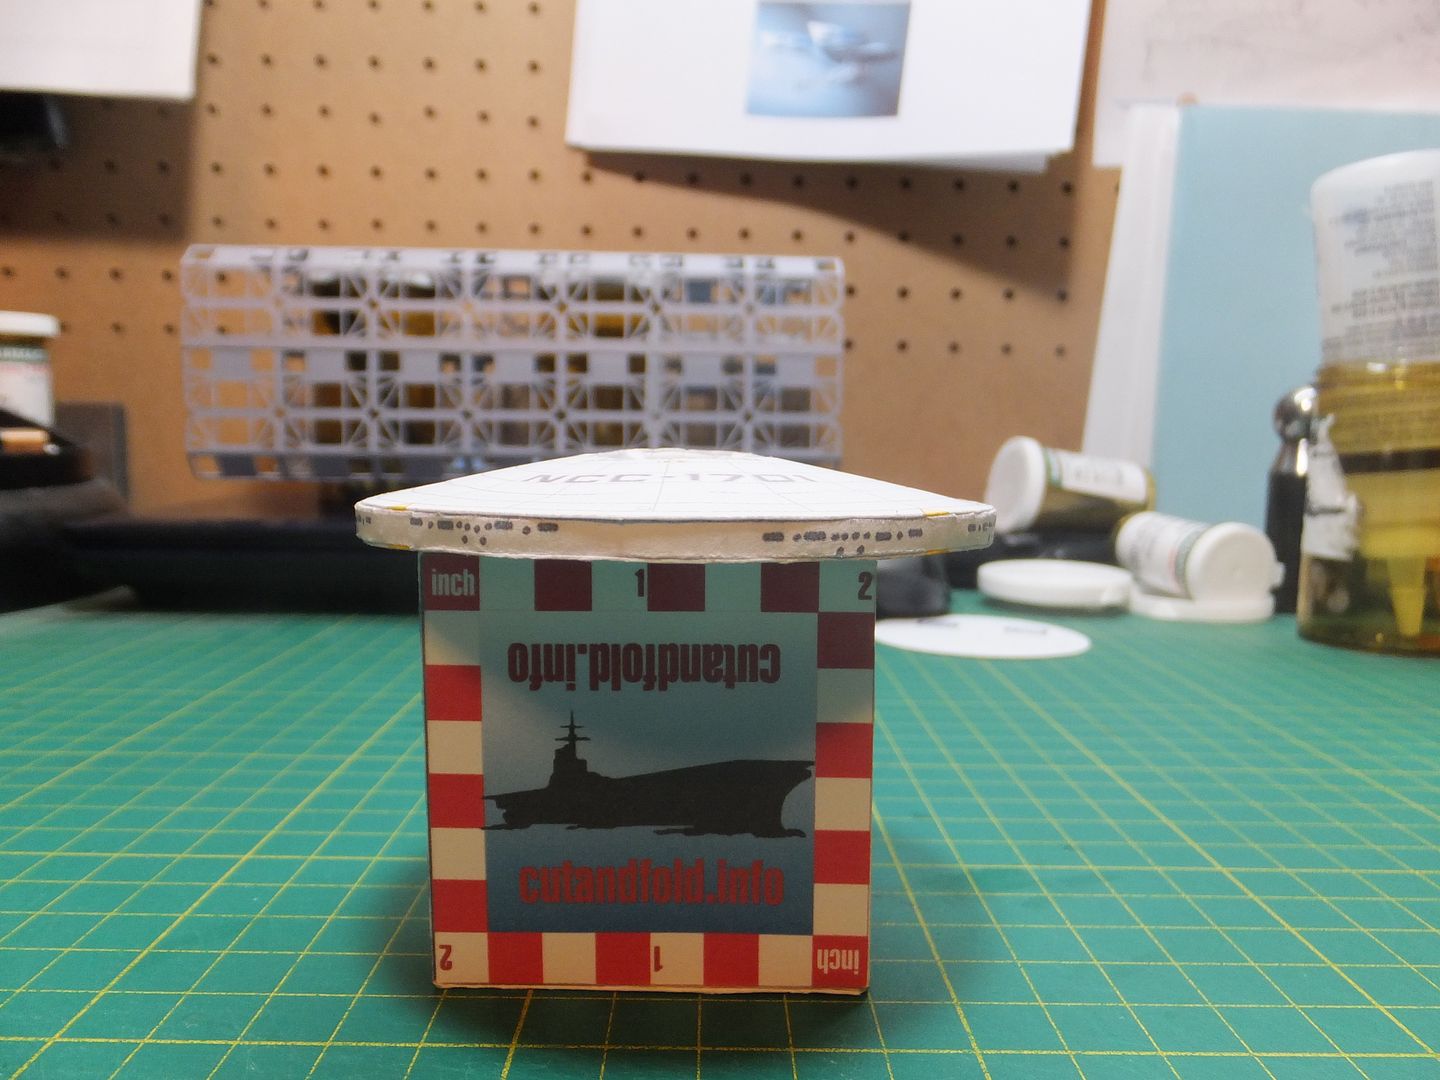 Next was to build and add the centres for the top and bottom of the saucer. The top one I domed a bit rather than leaving it flat. Then added the detail parts, like the sensor array. 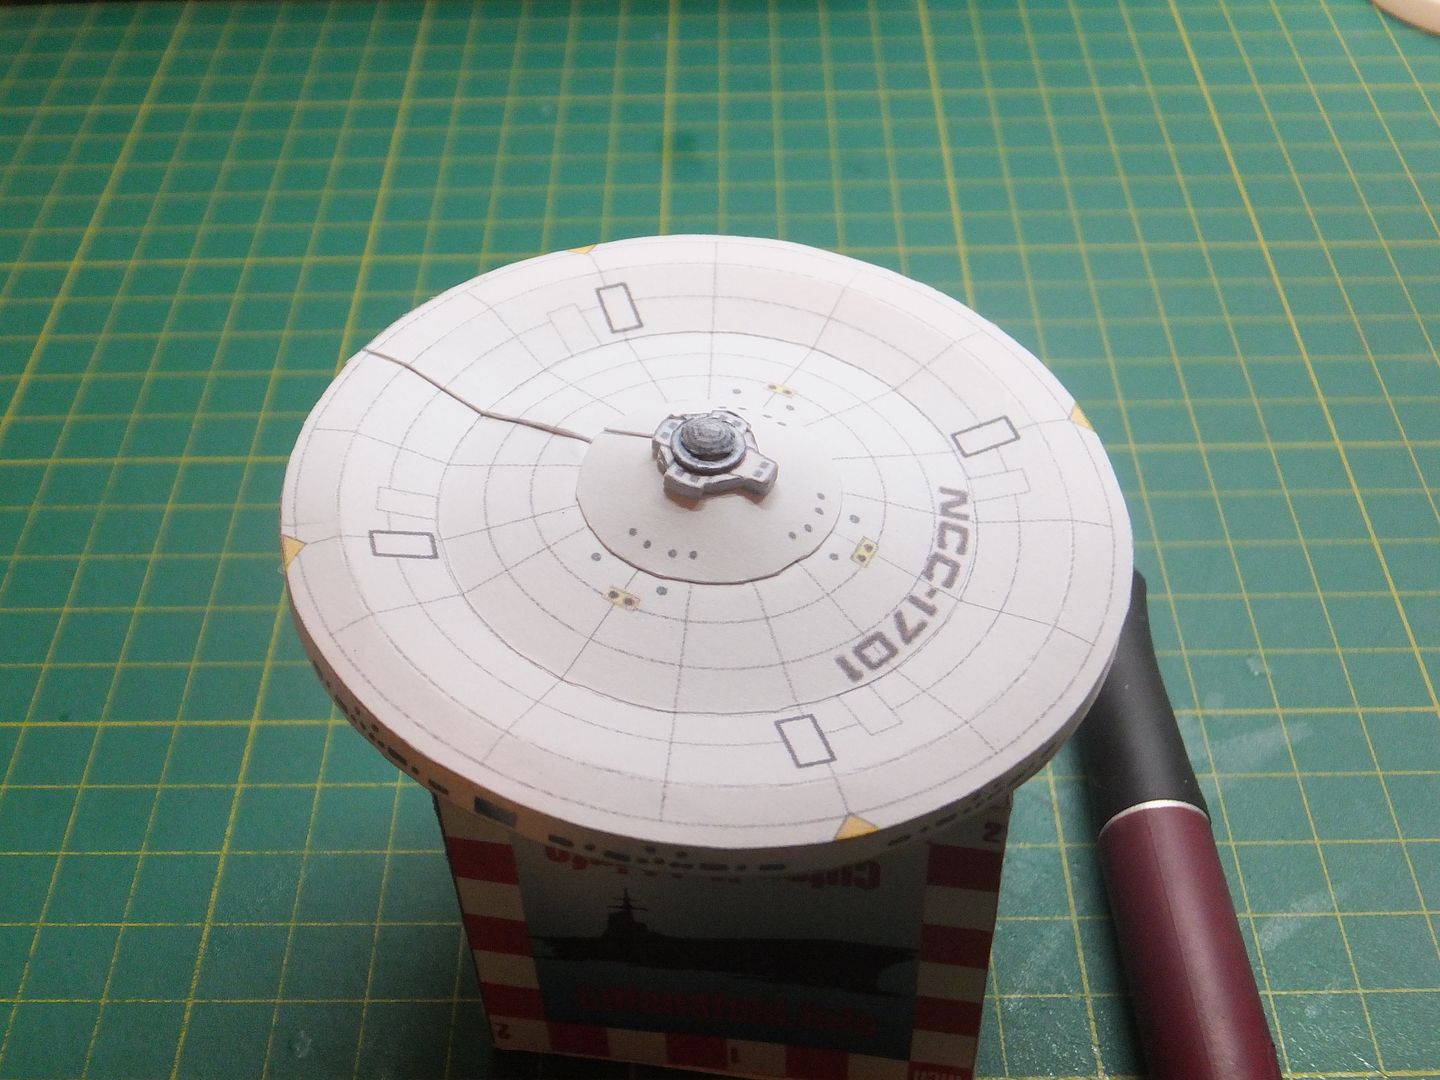 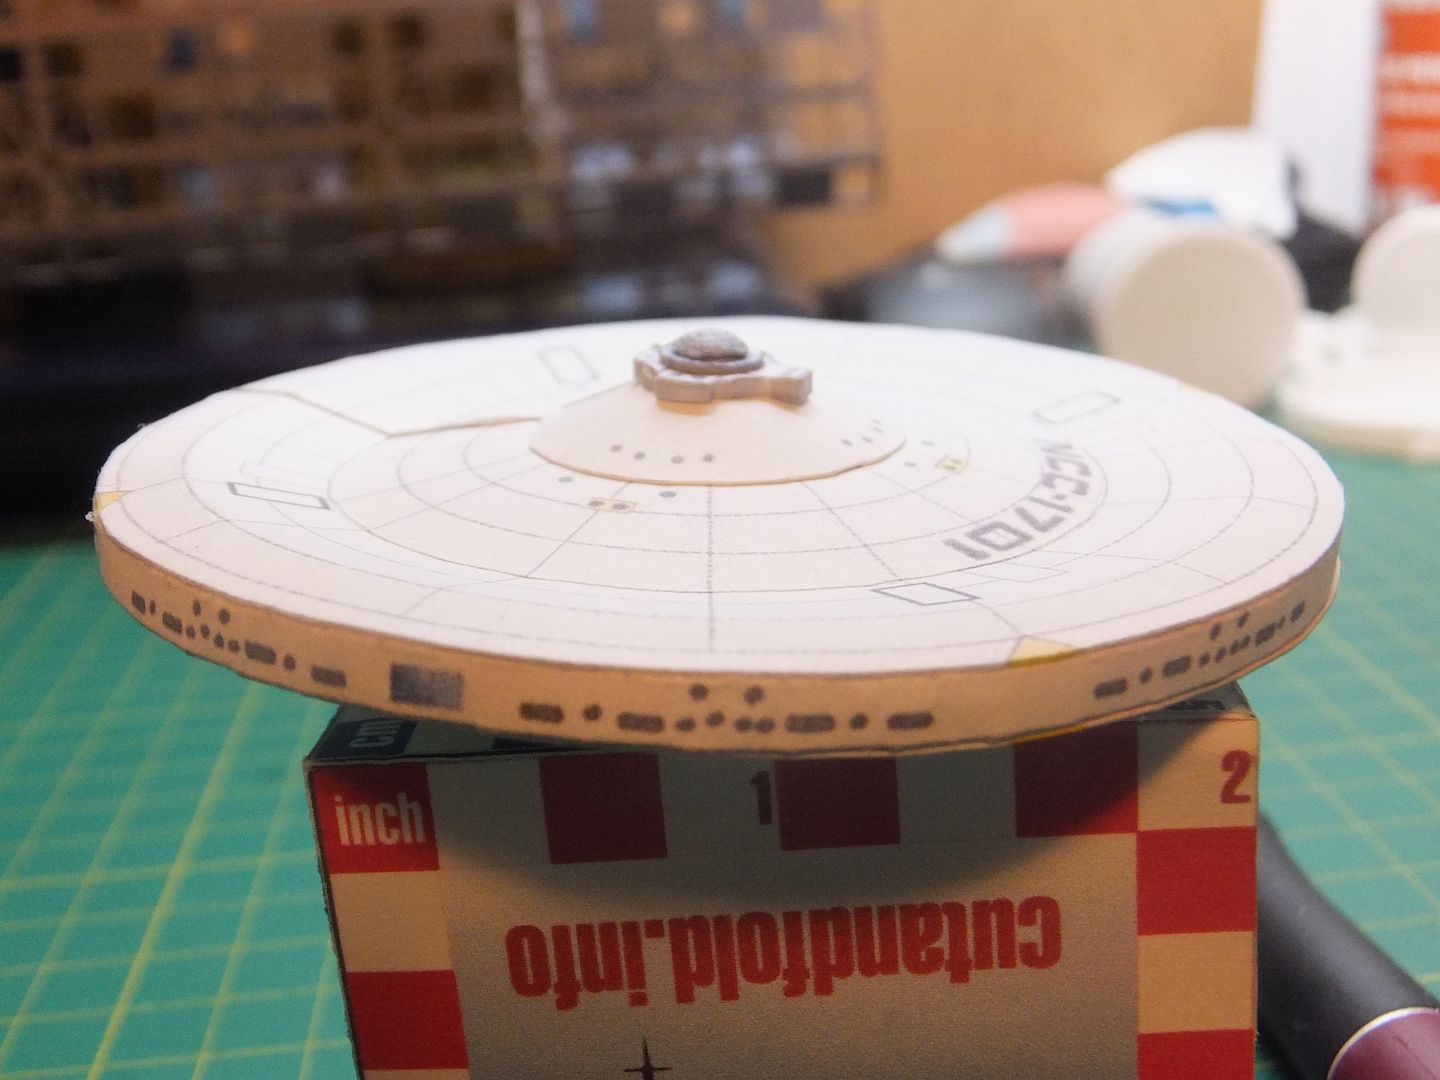 Then to build the bridge section. 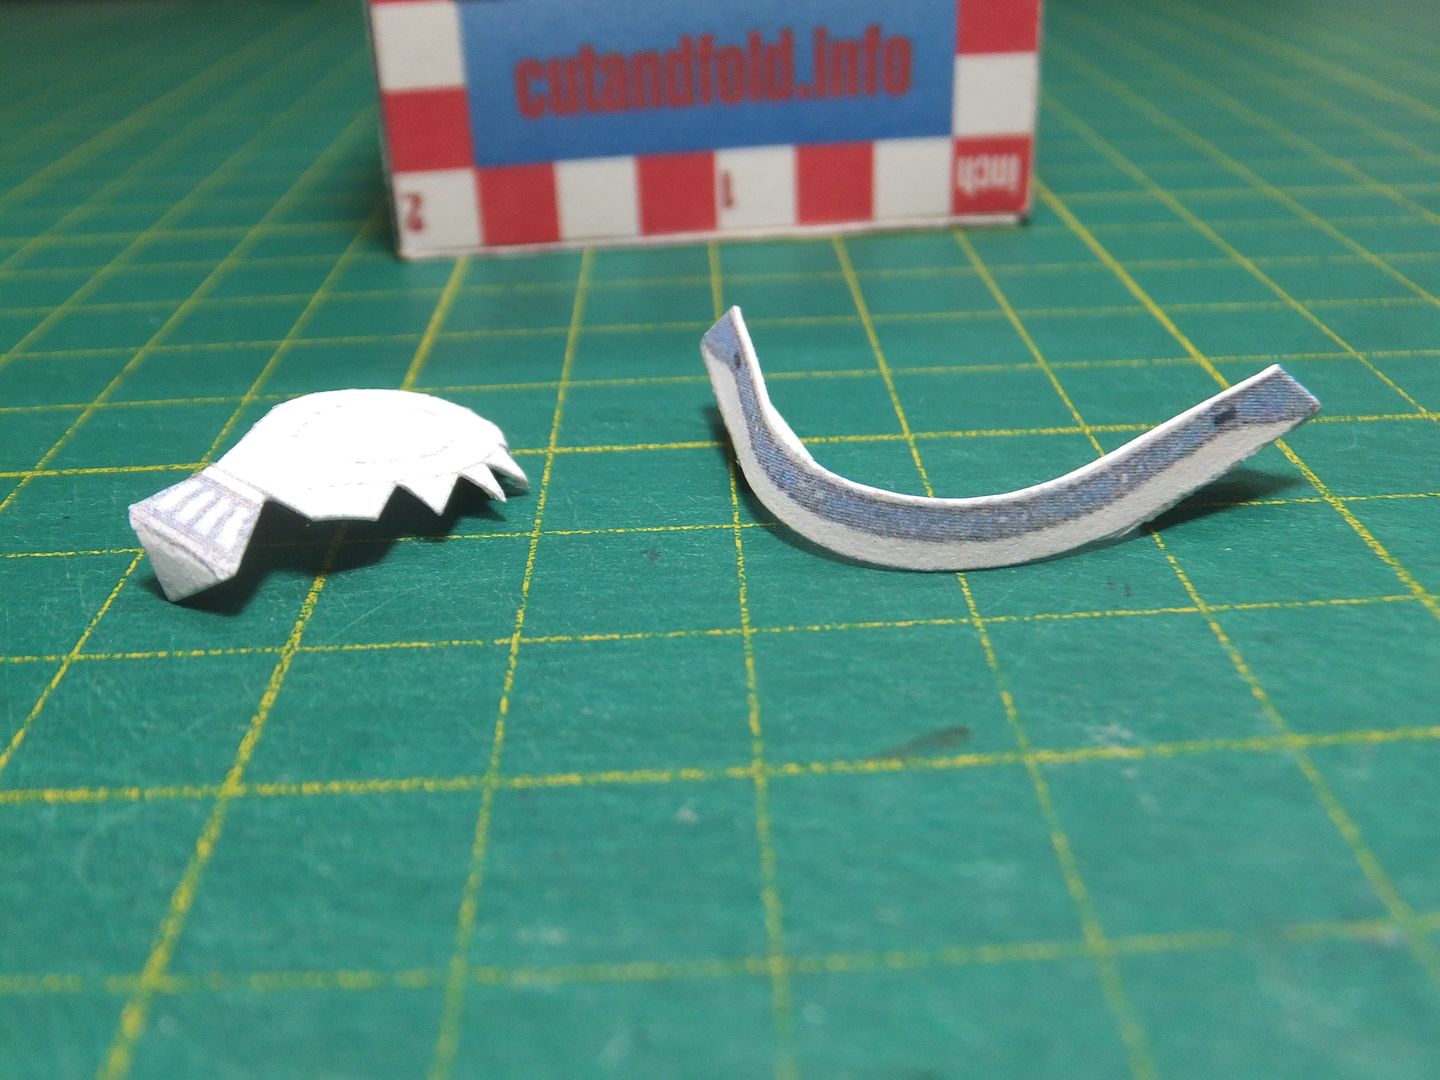 Install the bridge to the top of the saucer, as well as the impulse engine. 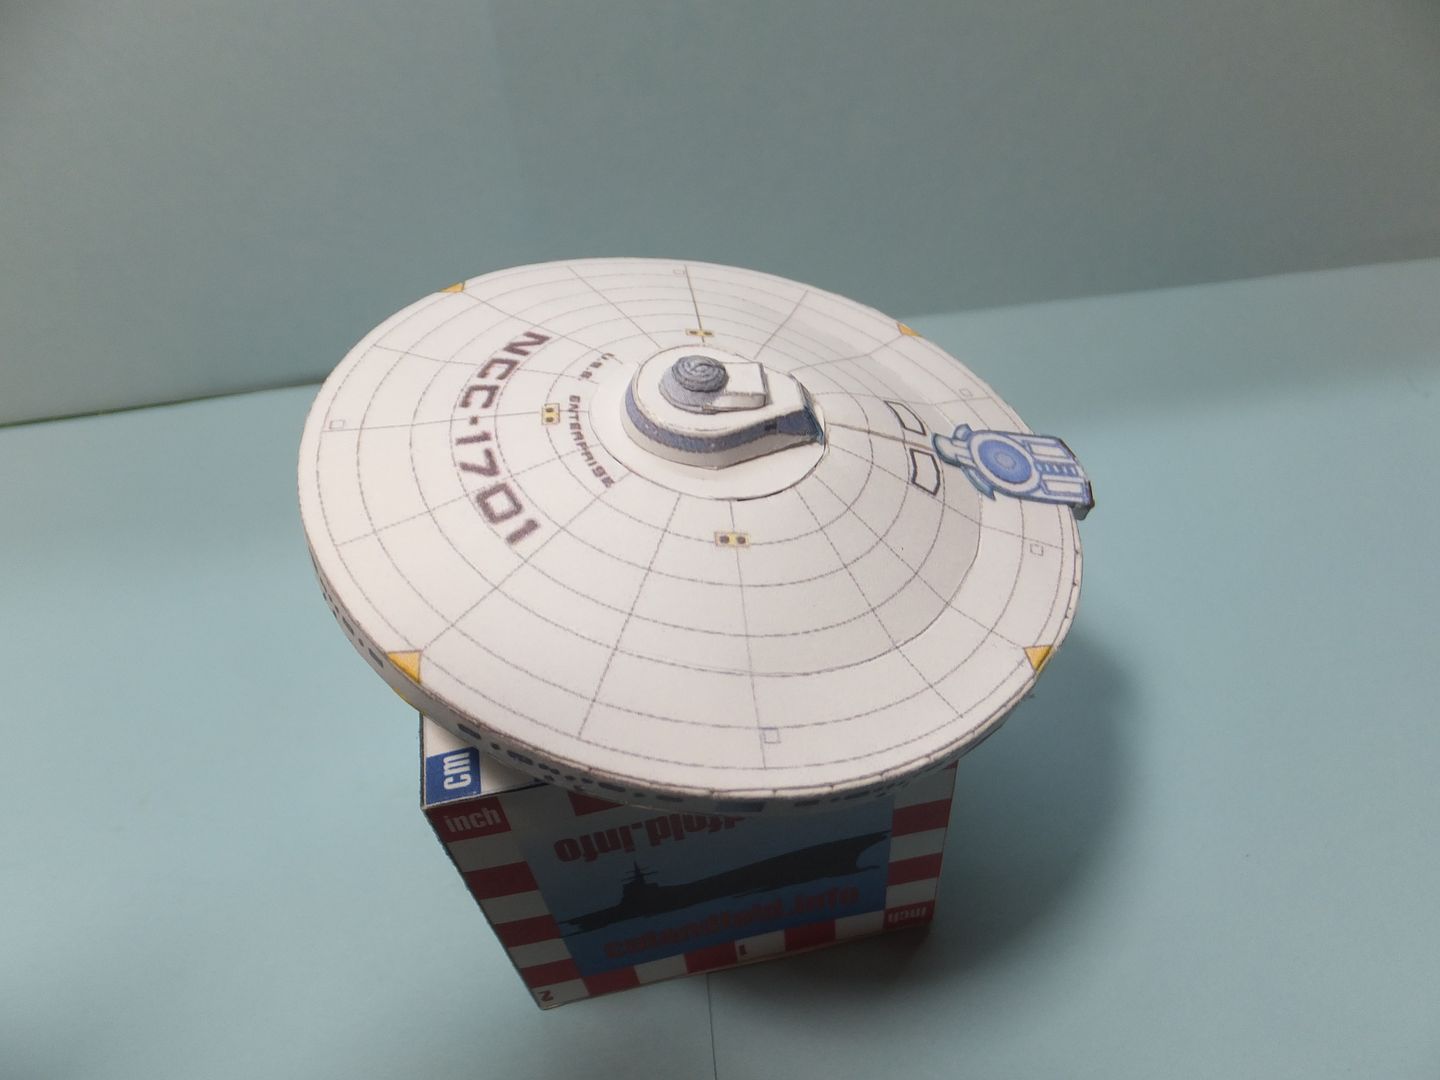 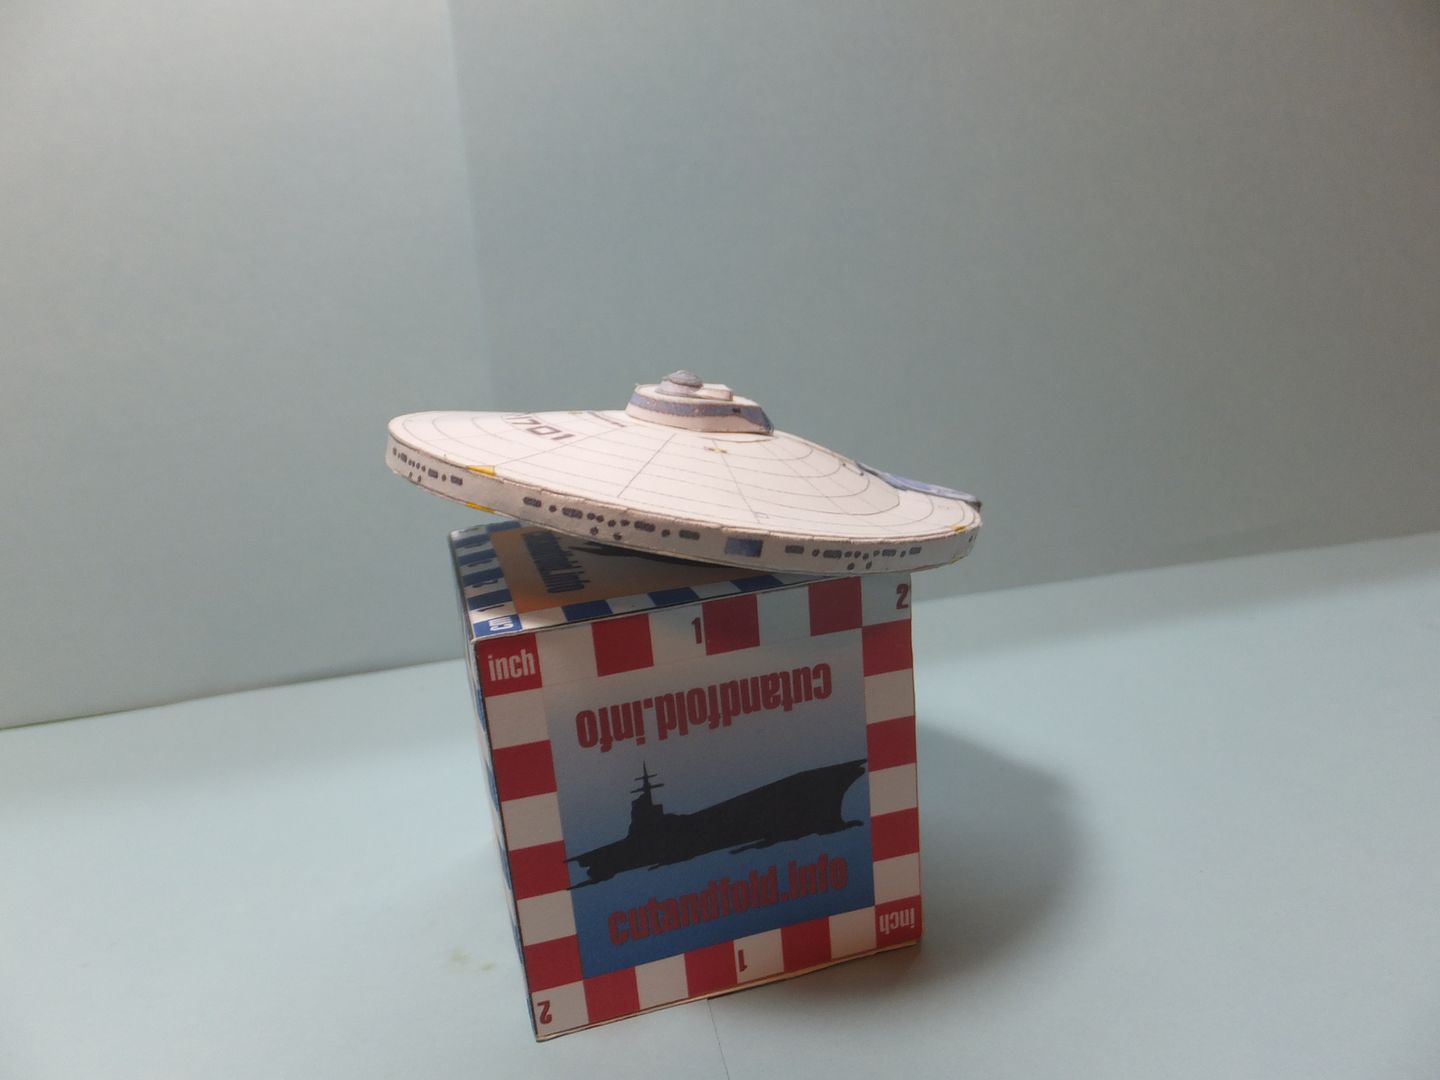 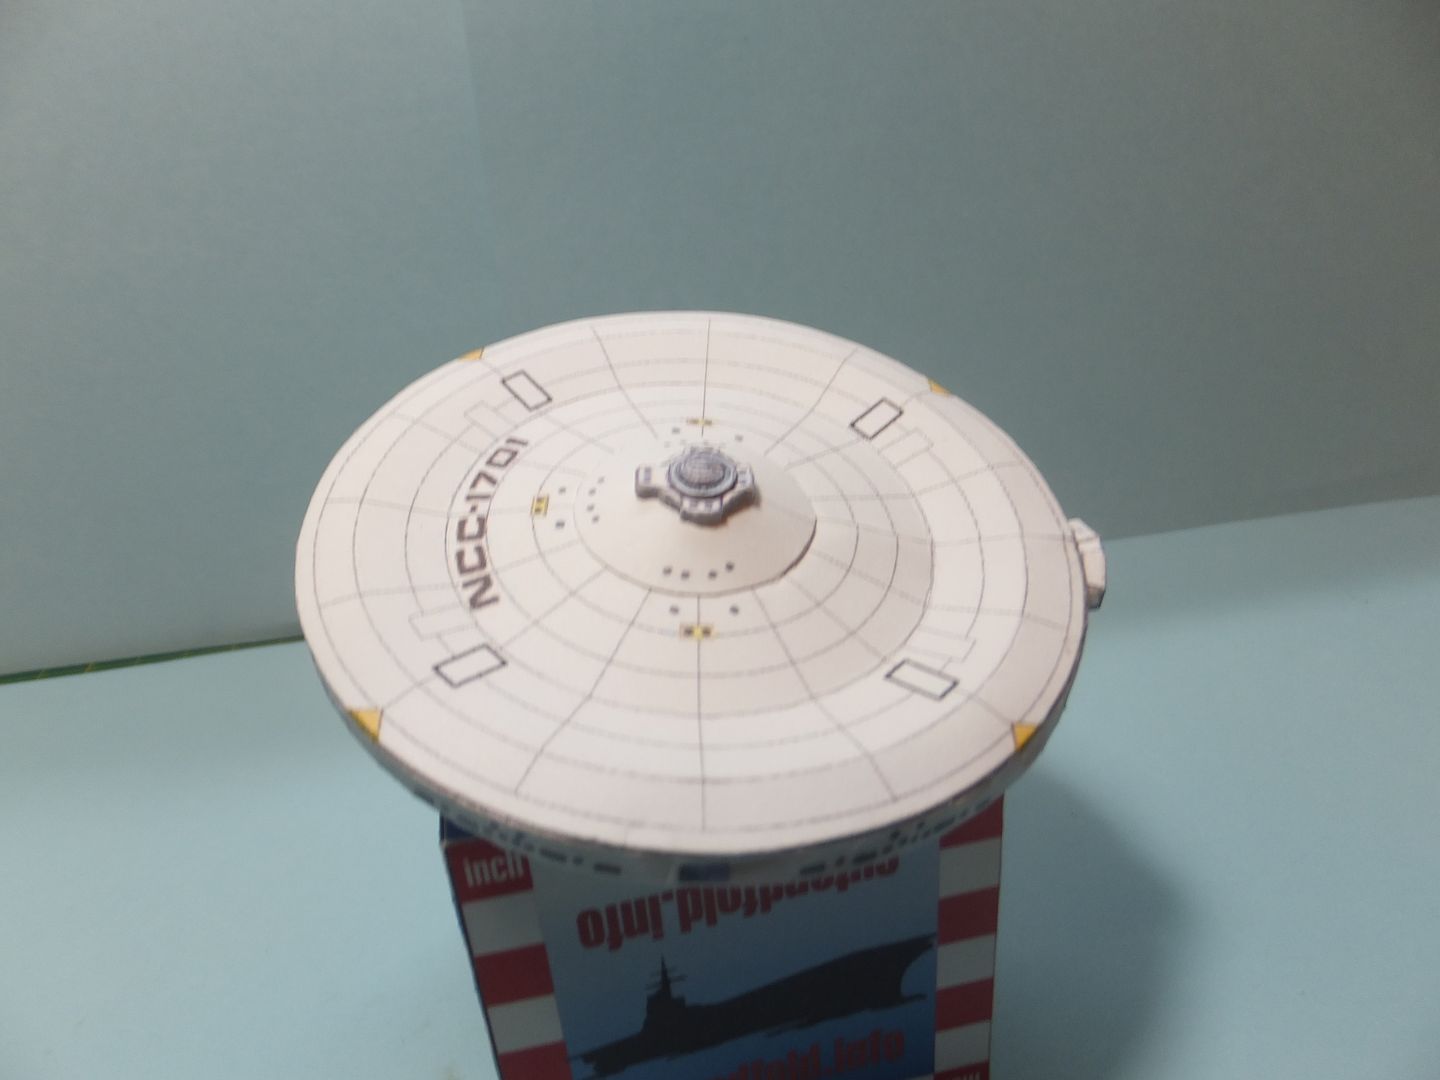 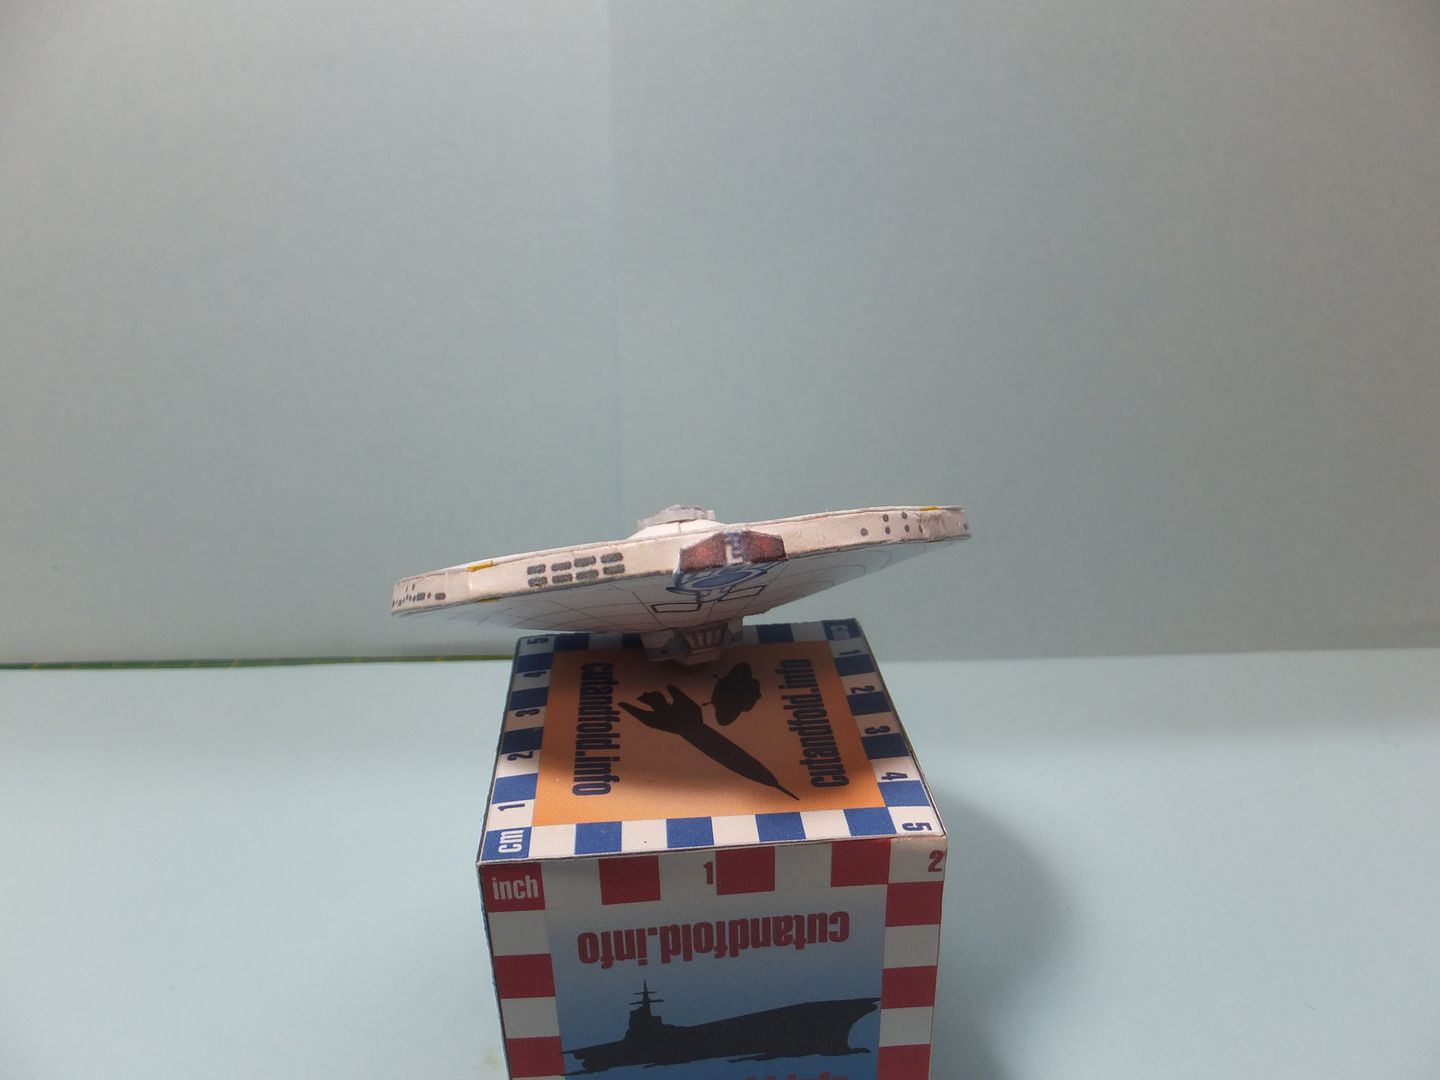 For now this completes the saucer. I am now starting on the Secondary Hull. First with the framework. 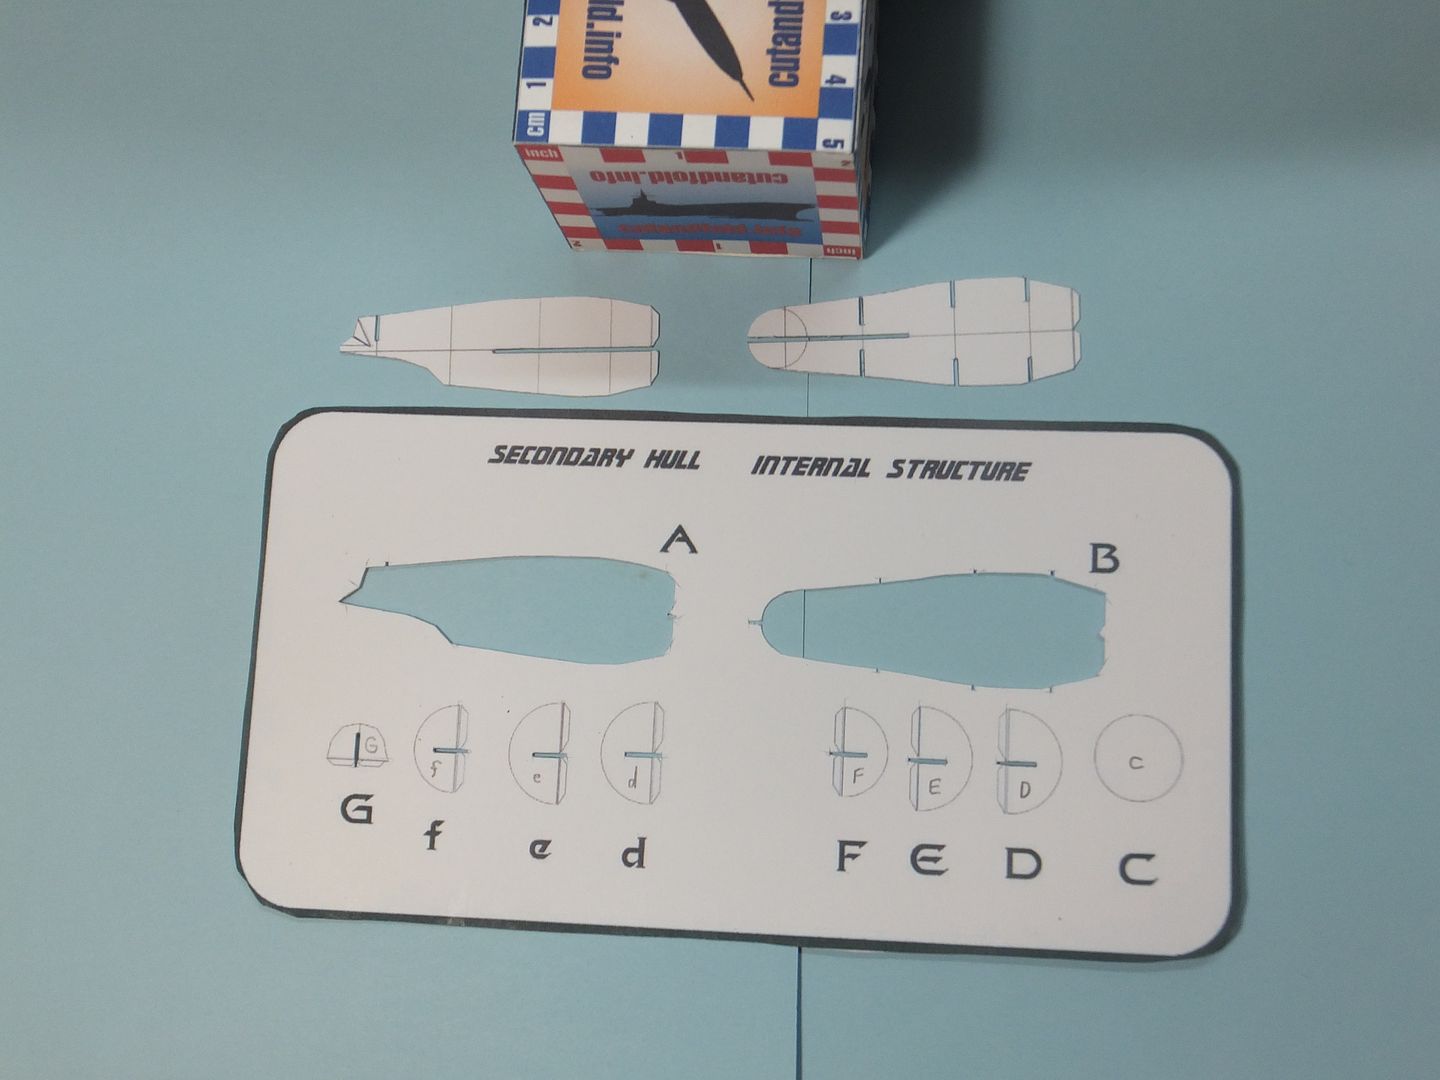 Thank you for following. Questions and comments welcome. Jim |
|
#30
|
||||
|
||||
|
Good evening.
This week I have been working on the secondary hull. The frame is finished. No major issues with the assembly, pretty straight forward. 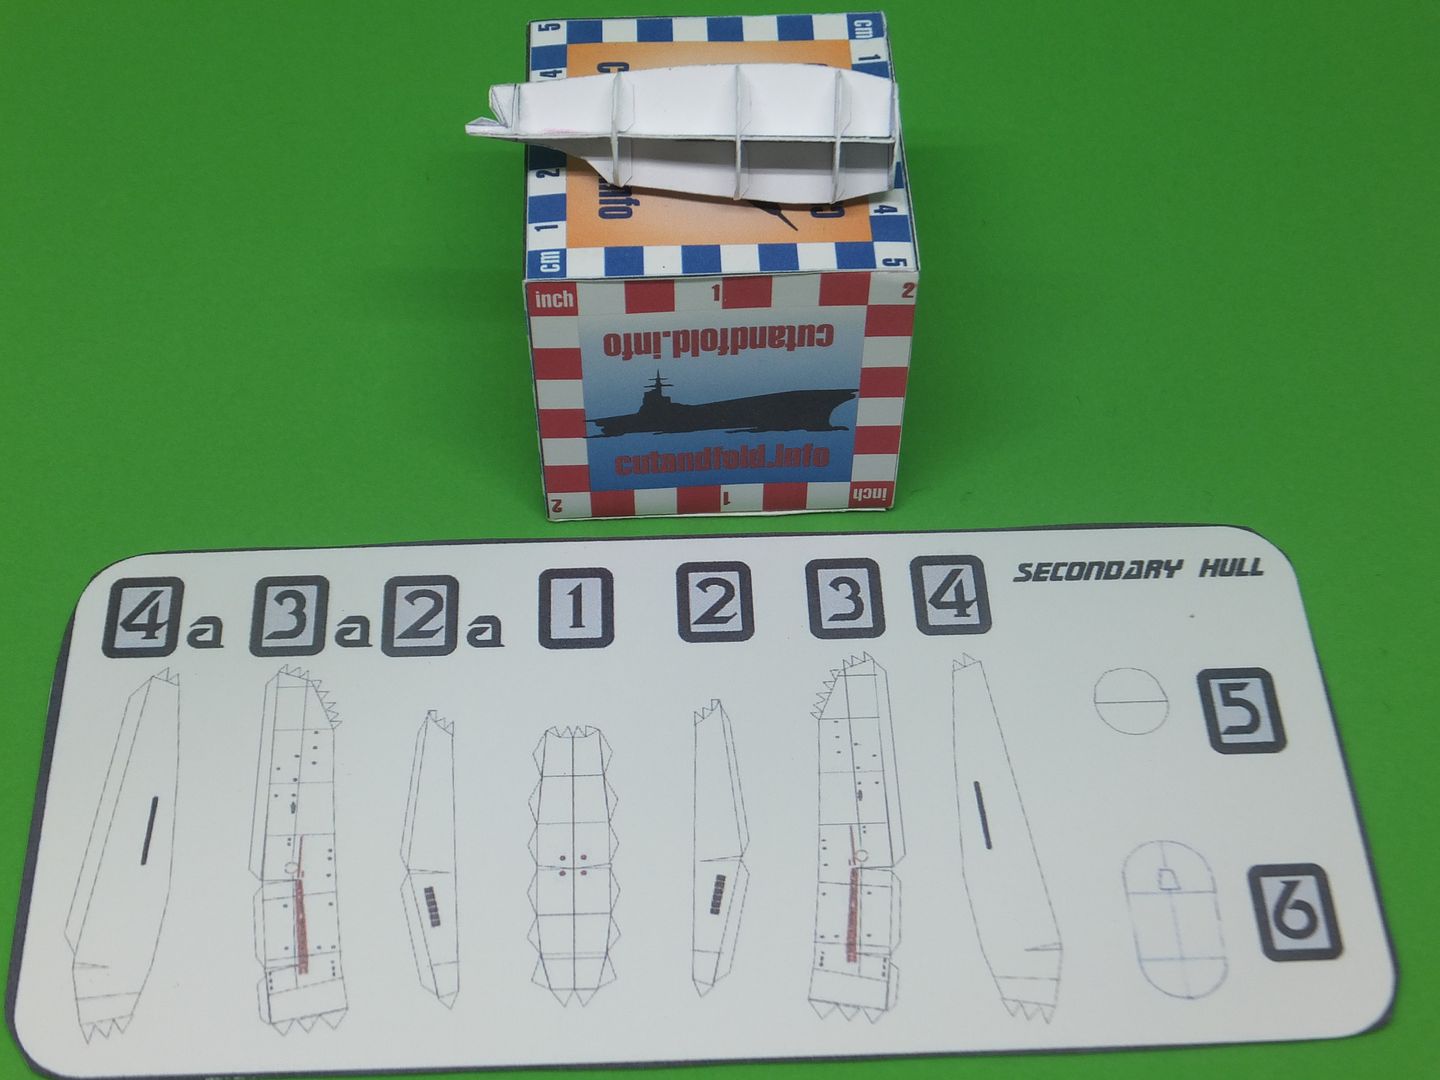 Rather than applying the hull skin to the frame, I decided to assemble the skin off the frame. Then apply it to the frame in one piece. This will give me more control over the fit and it's shape. 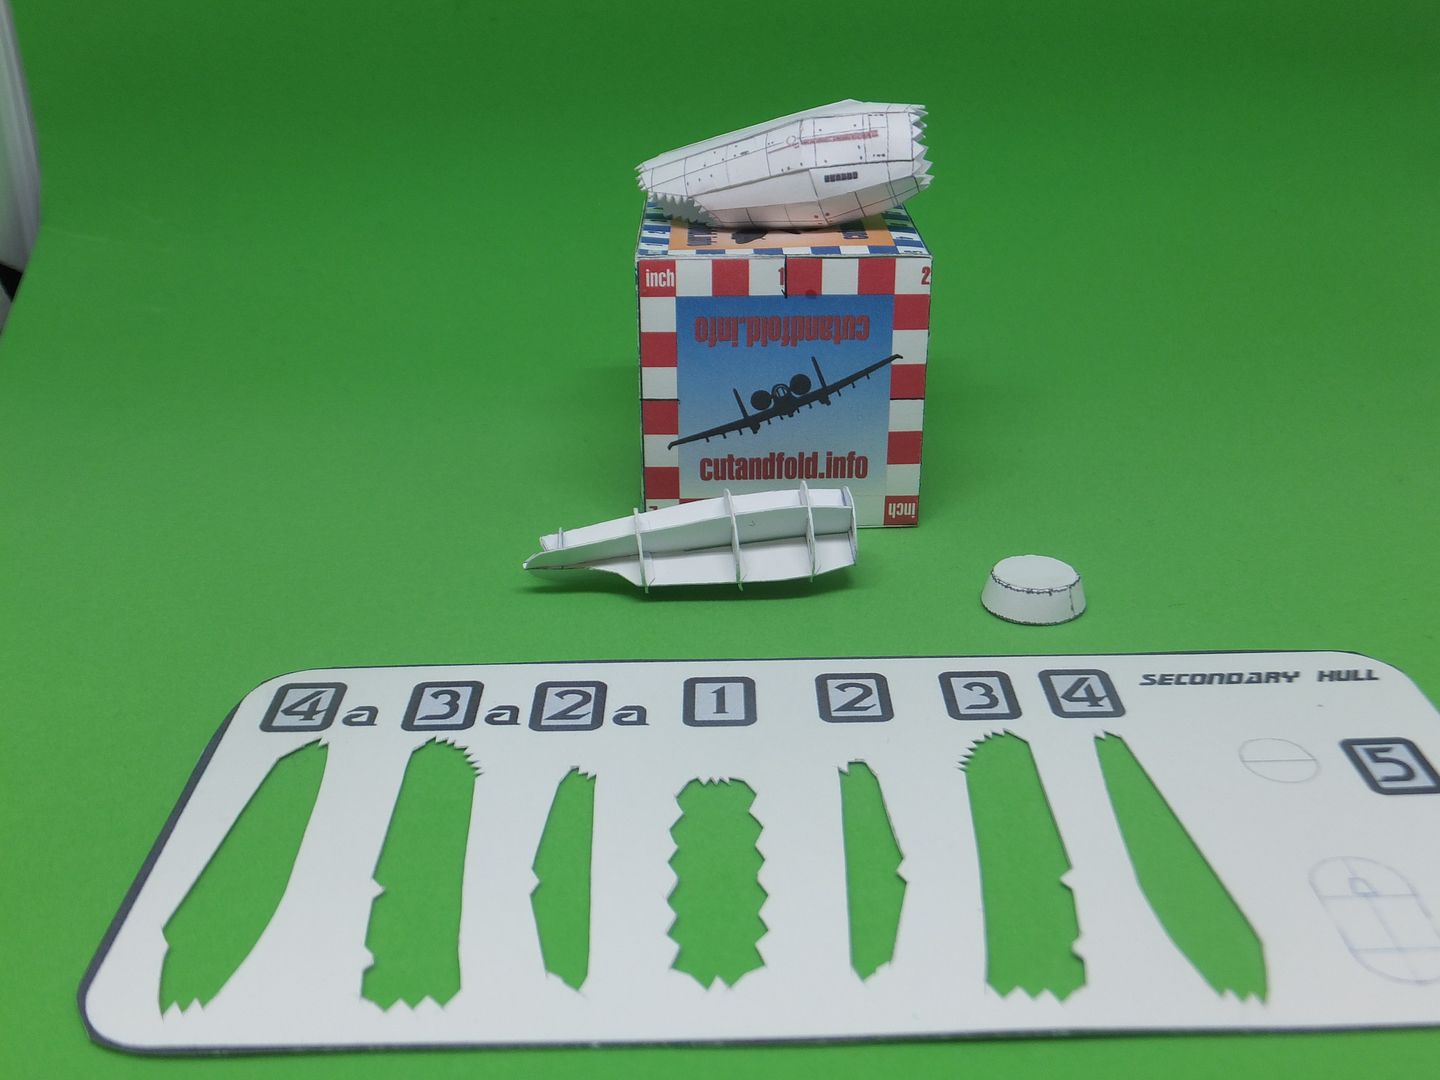 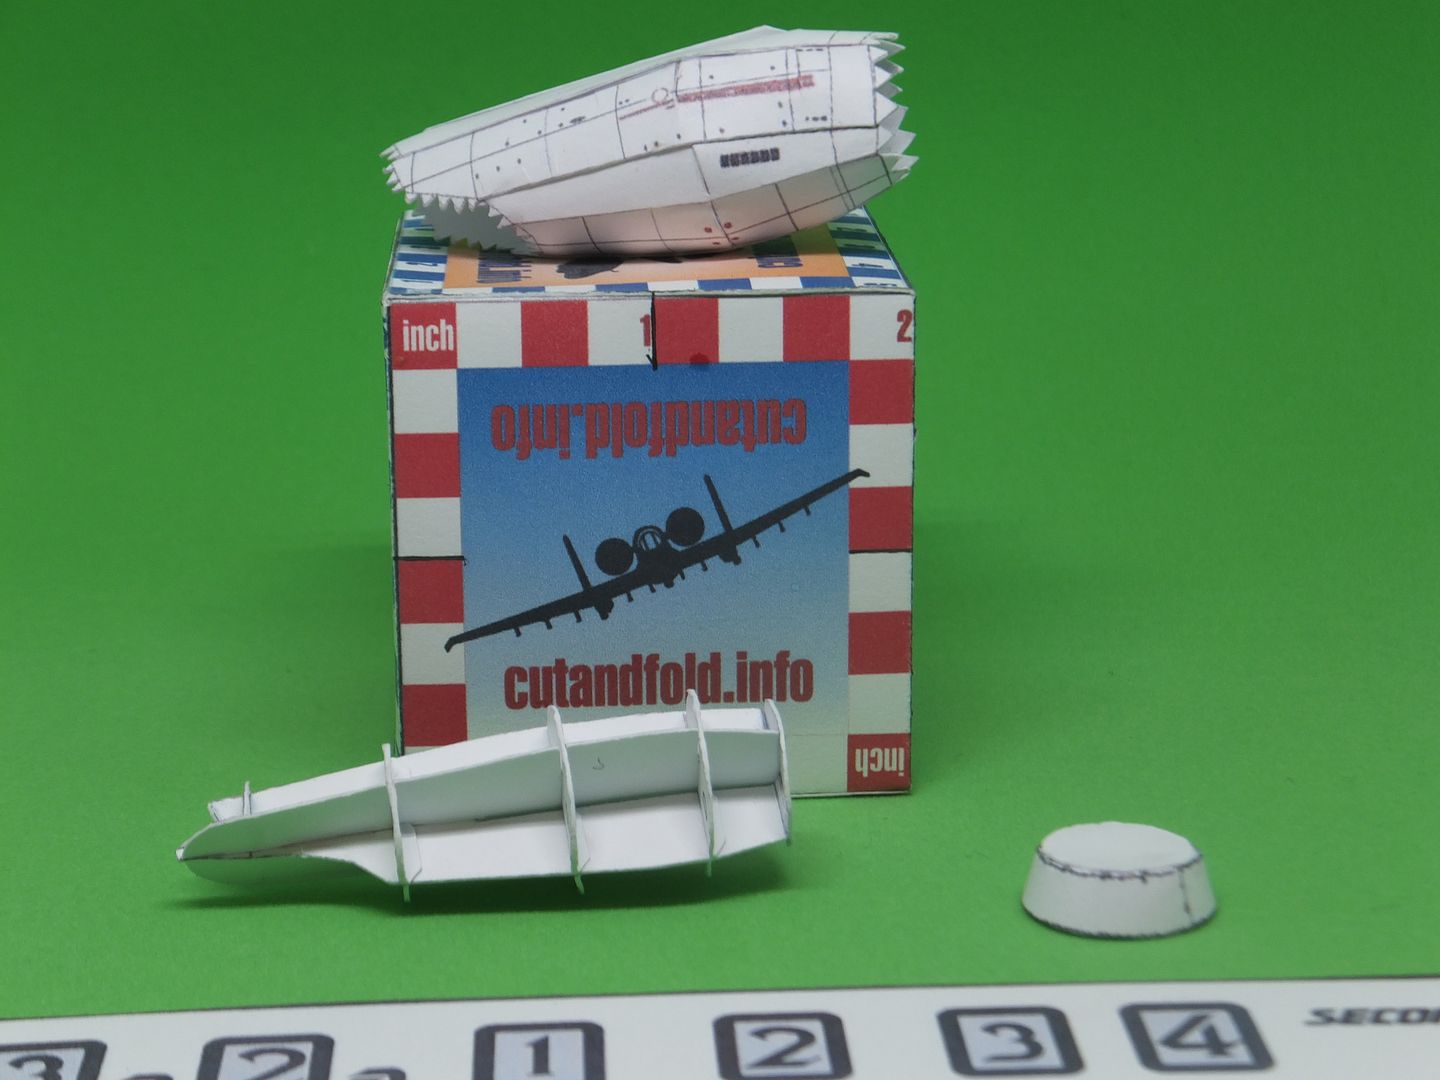 The skin fit on to the frame quite easily, and only glued the seam at the top where the skin joins and the glue tabs to the front of the frame. One issue is that the two top skin pieces are a tad short. Hope the filler piece for the hanger deck will cover. Using this method with the loose frame made it easier to align the skin to the frame. The previously assembled front cap, under hull filler and the hanger deck were also applied. 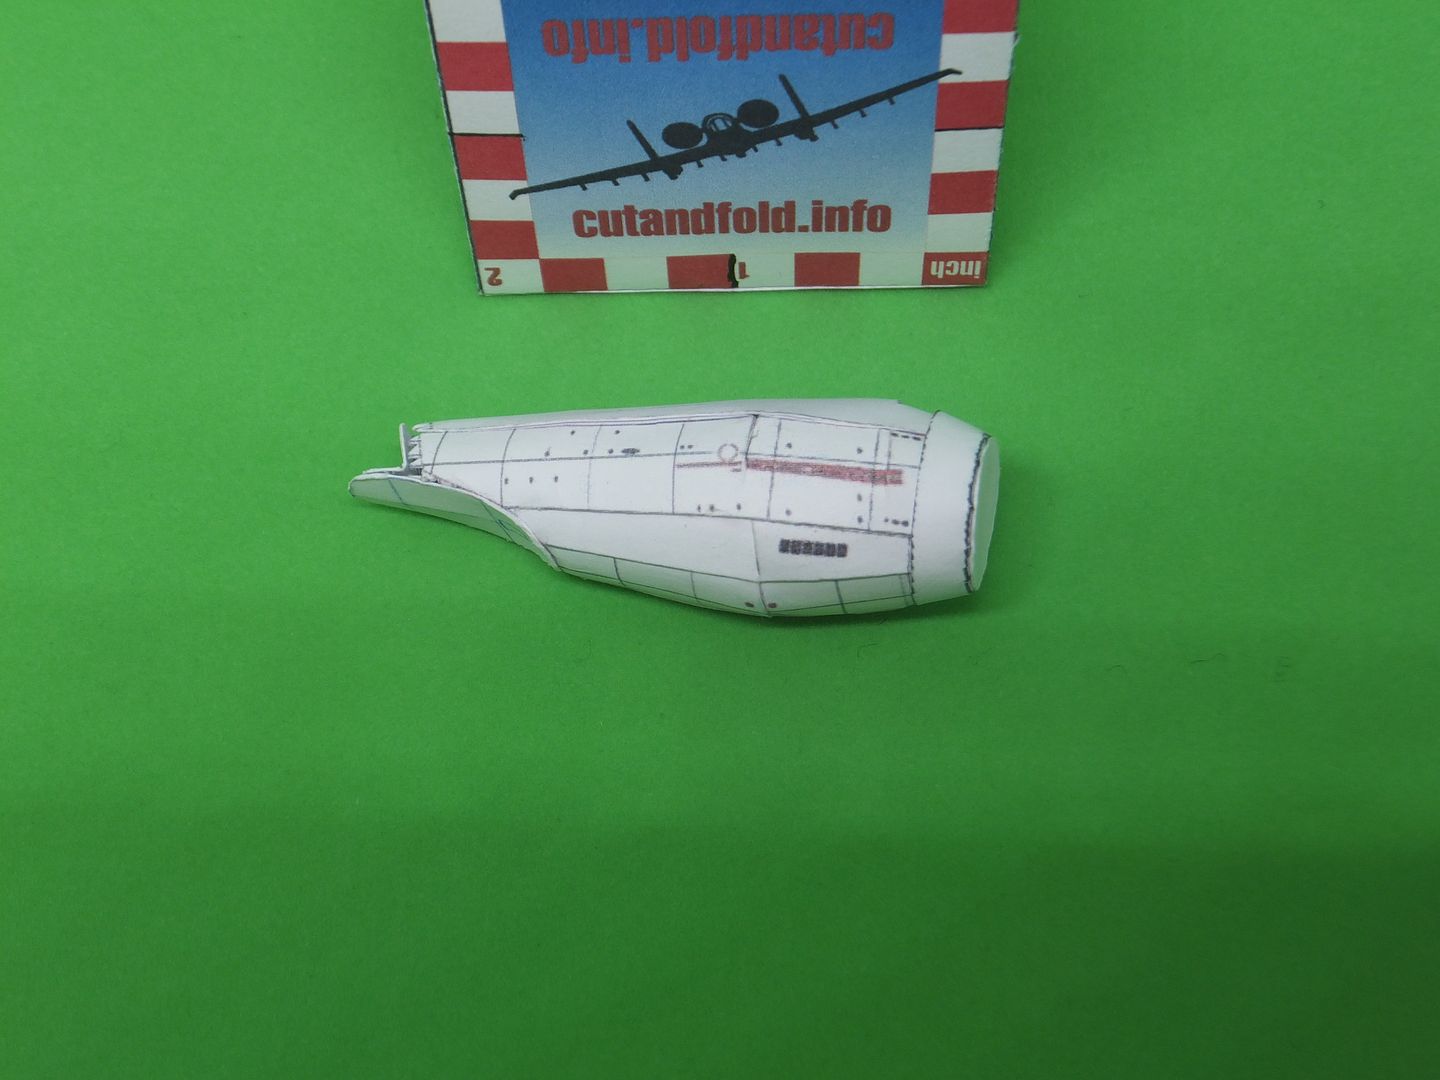 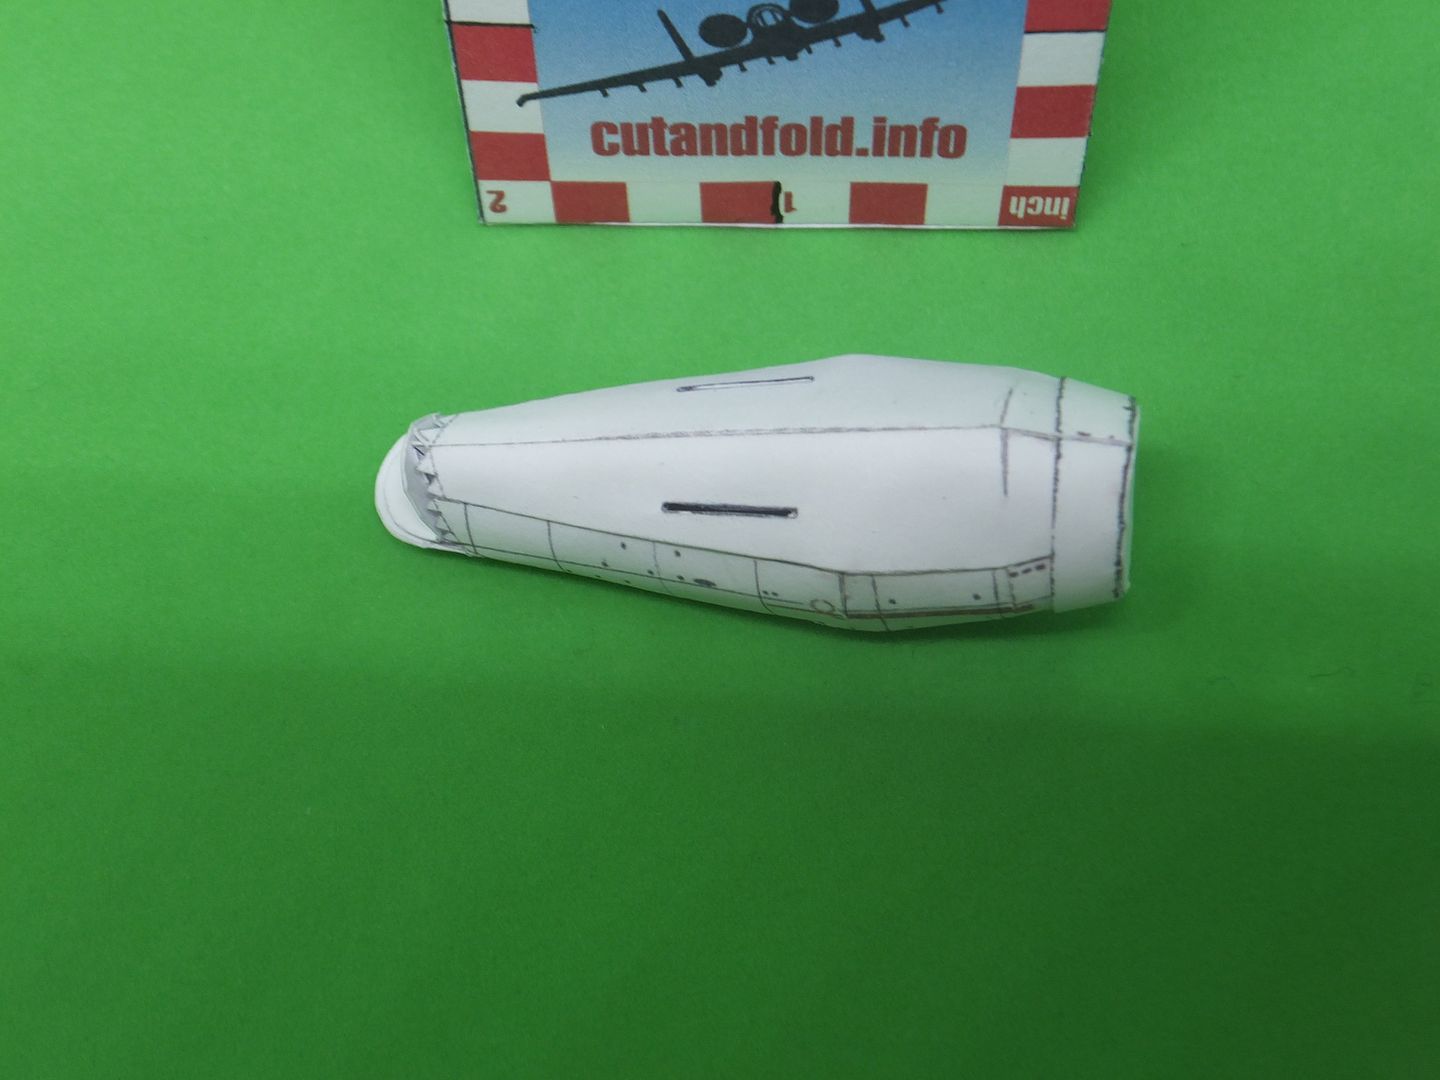 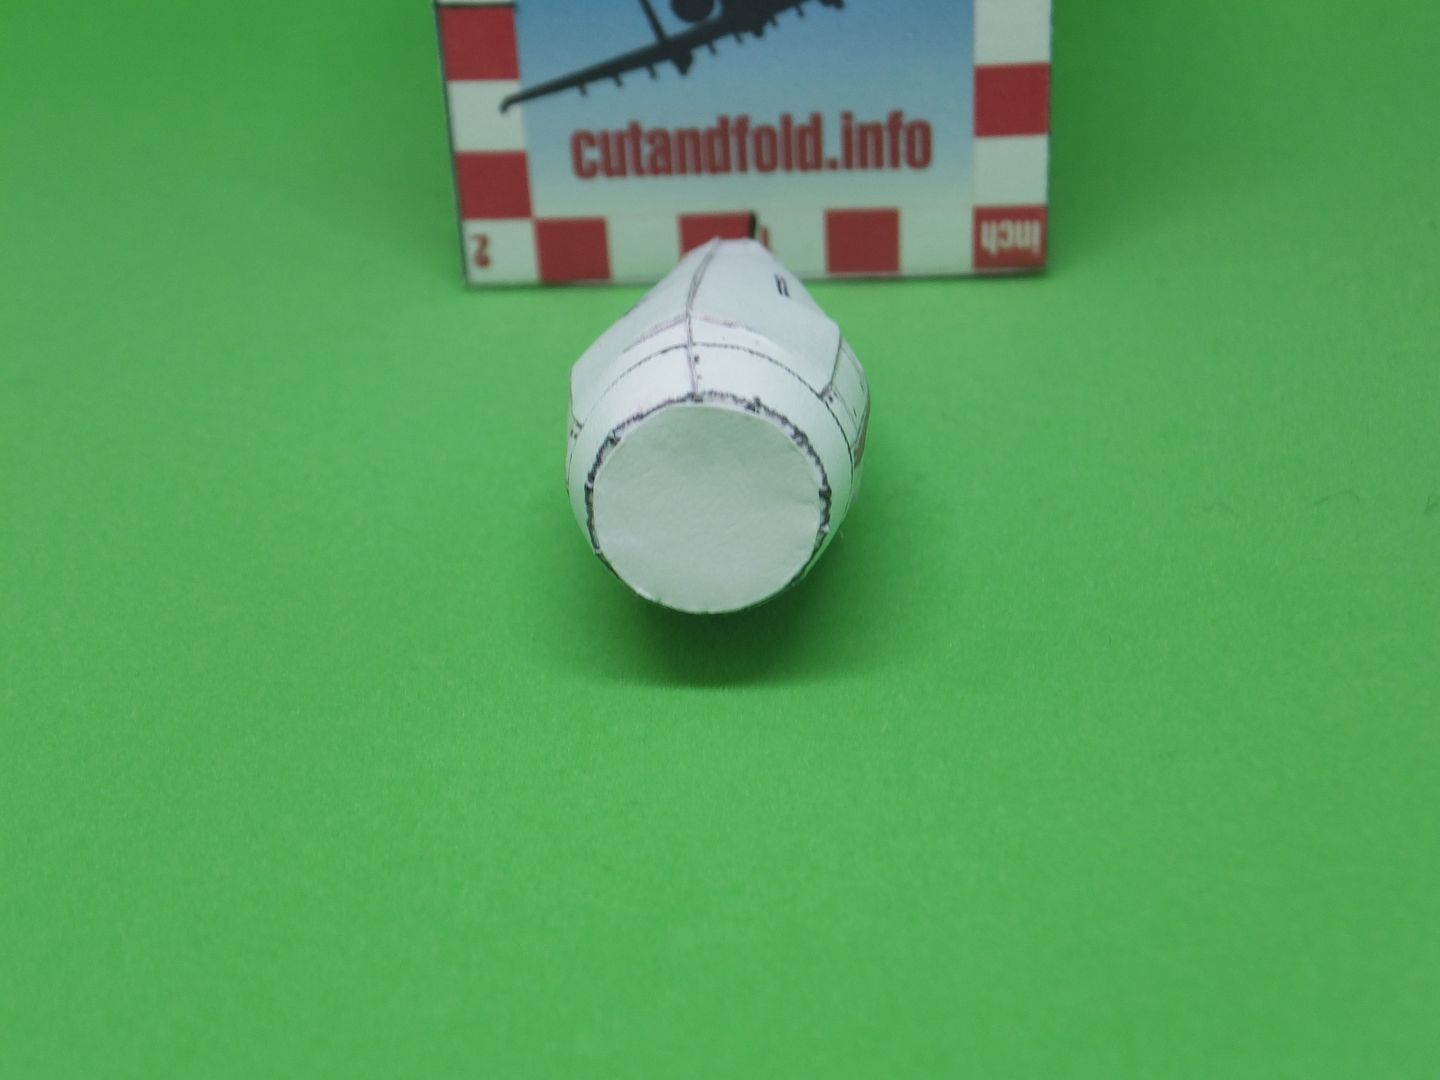 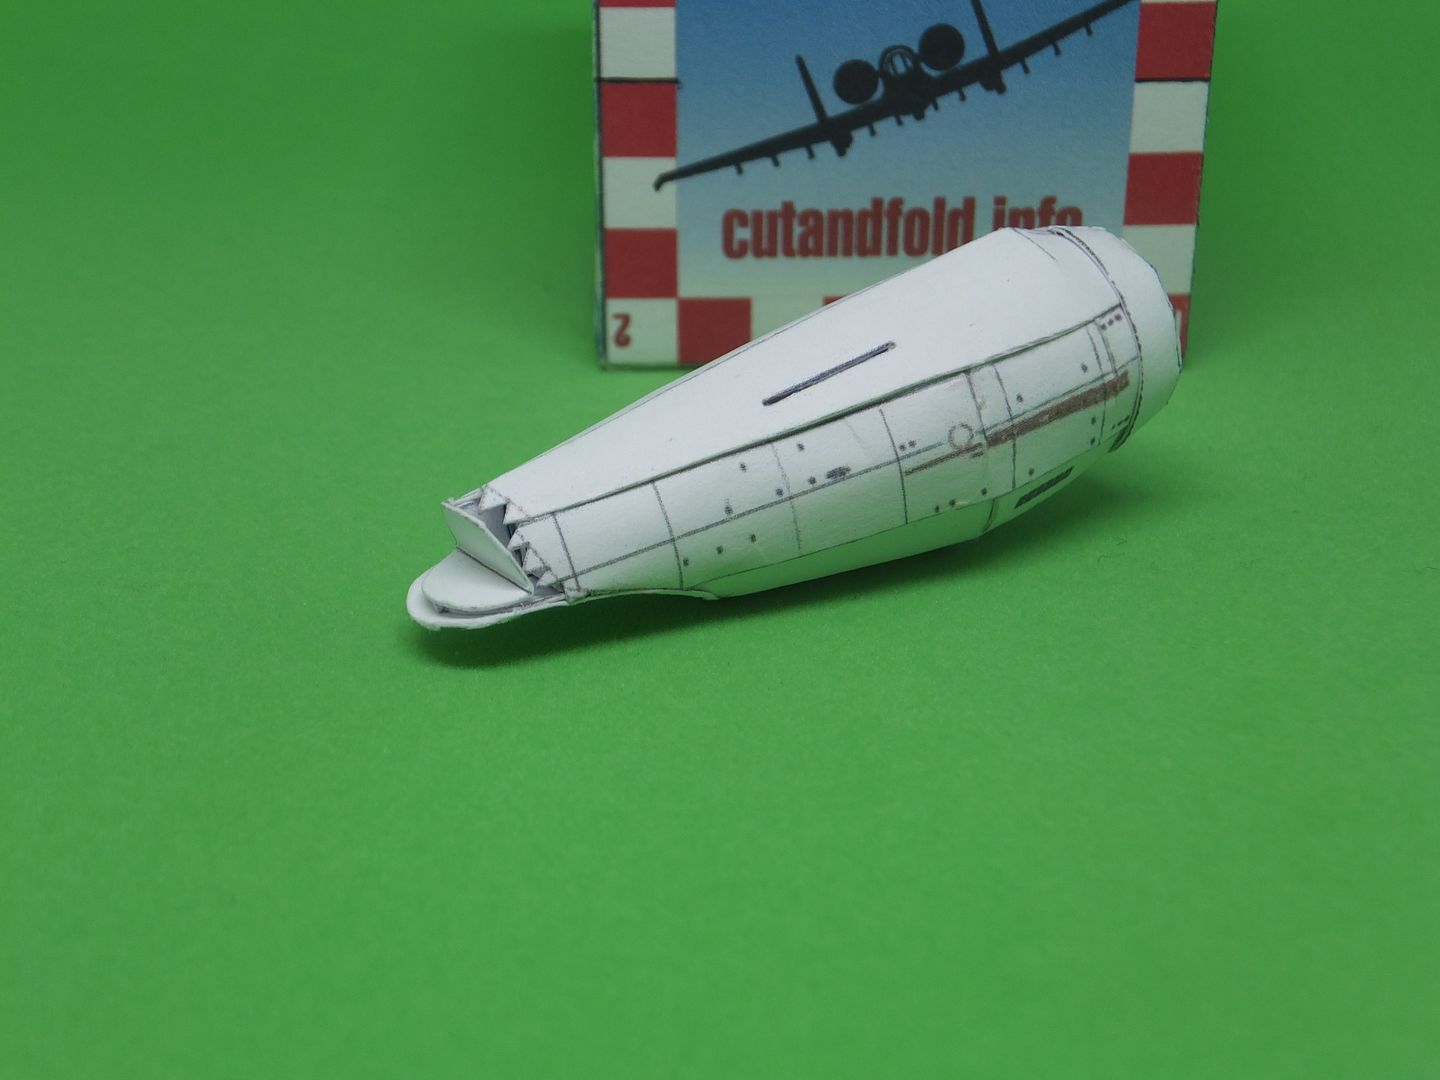 Needs some trimming so that the hanger deck and lower hull match up. Thank you for following. Comments and questions welcome. Jim |
| Google Adsense |
 |
|
|