


|
|
|
#1
 01-16-2016, 11:01 PM
|
||||
|
||||
|
Greeblified Jotun
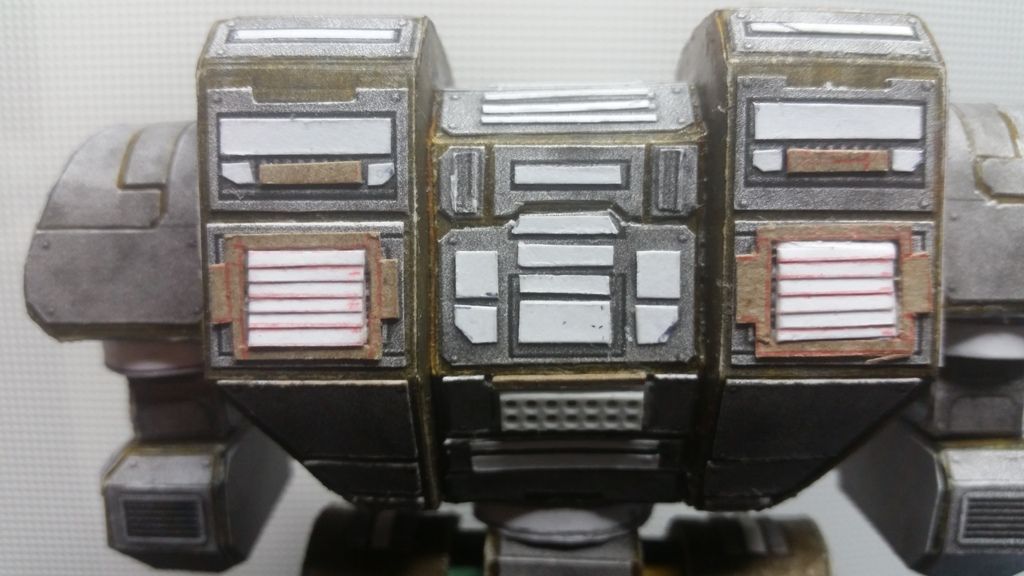
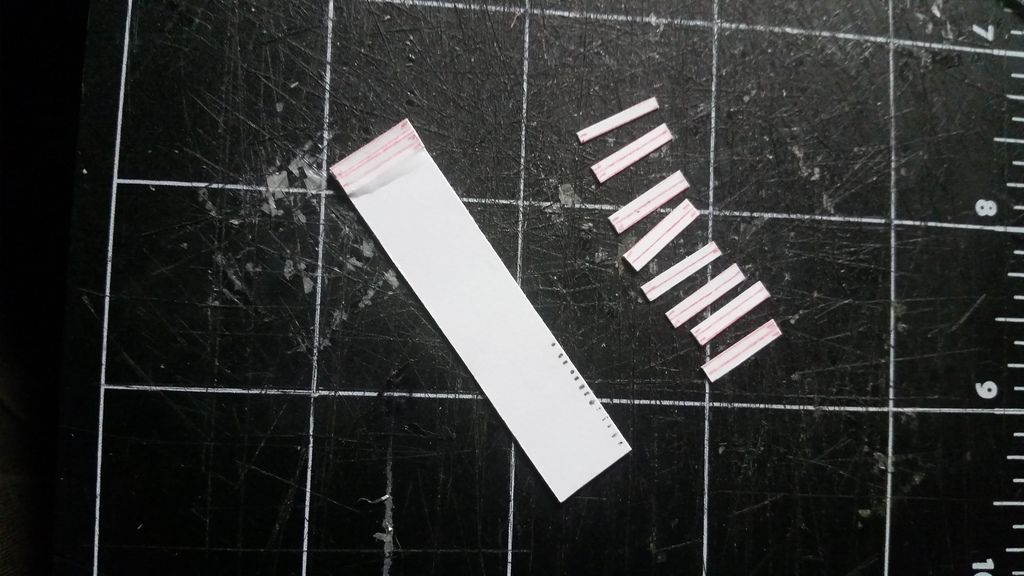
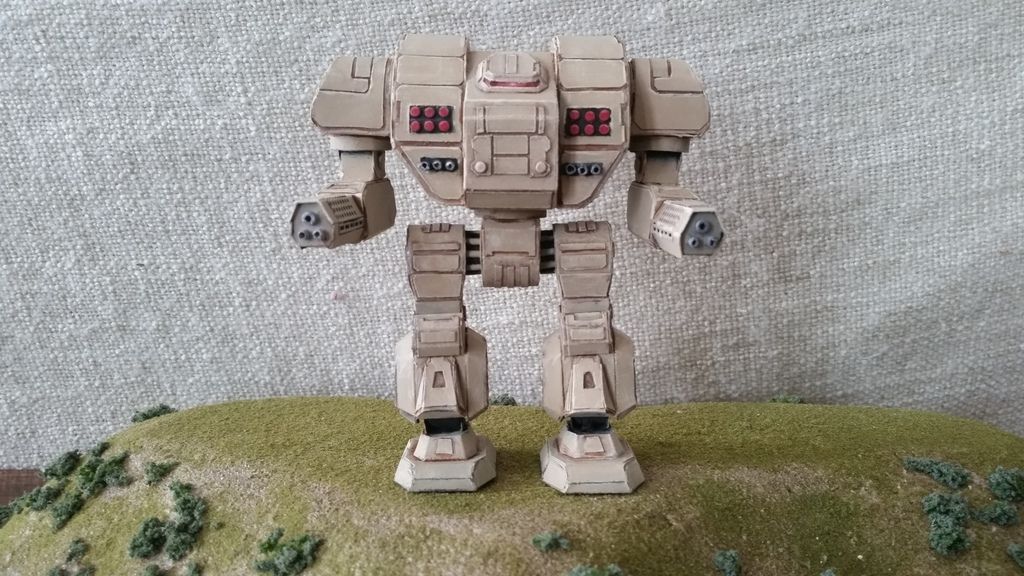 I build one of these straight from the printer a few years ago, but lost it in a fire. When I decided to build it again, I tried to do it on the cheap and print it in black and white then color it. It looked like crap. Not just the color I chose, the whole idea looked like crap. 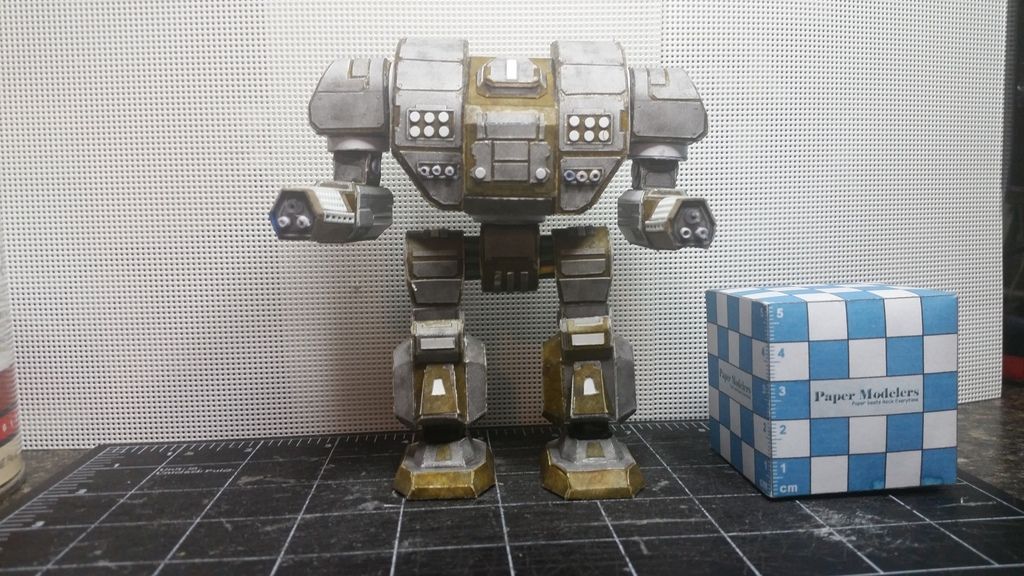 I got disgusted, put it away for a few years, stumbled upon it one day, and decided it wasn't hopeless. I'd detail the outside, and while I was at it, magnetize it as well. I've used magnets before and aligning the polarity was always such a pain in the butt, I went with a magnet-and-washer approach instead. The joins aren't quite as strong, but it made sticking things together much easier. Originally, I just had the magnetized parts sitting flush against each other, but when I rotated the arms, they slid all over the sides of the torso, and the torso slid all over the hips when he was rotated at the waist. I ended up making some "sockets" out of skinny strips of paper wrapped around my magnets and then glued into place. It's a great technique, because you can get a nice fit, but take care: everything shrinks a little when it dries, and now his joints are pretty tight. 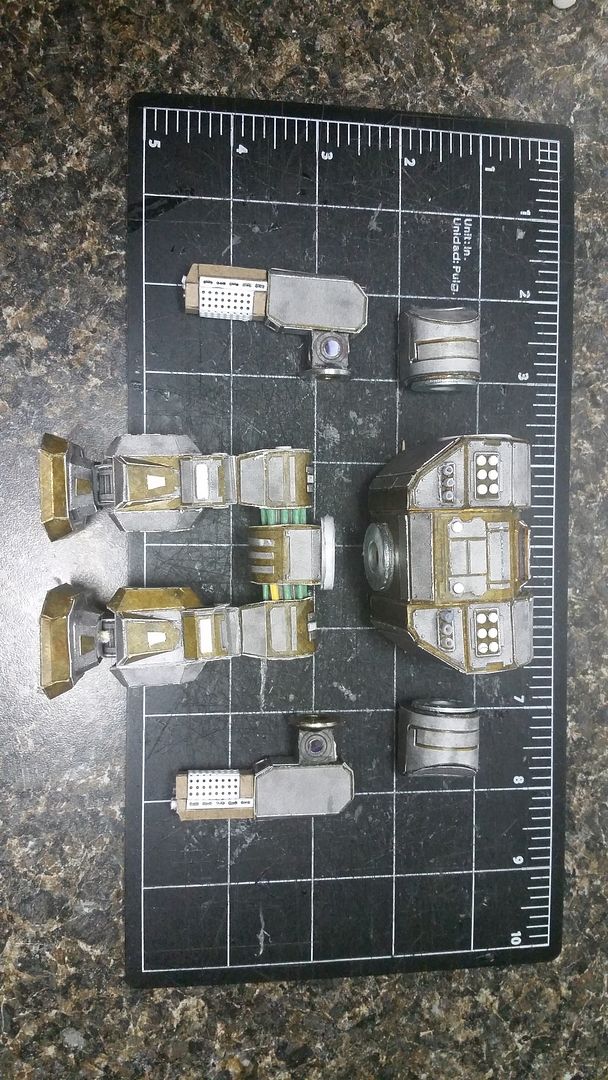 On the plus side, he's pretty flexible. 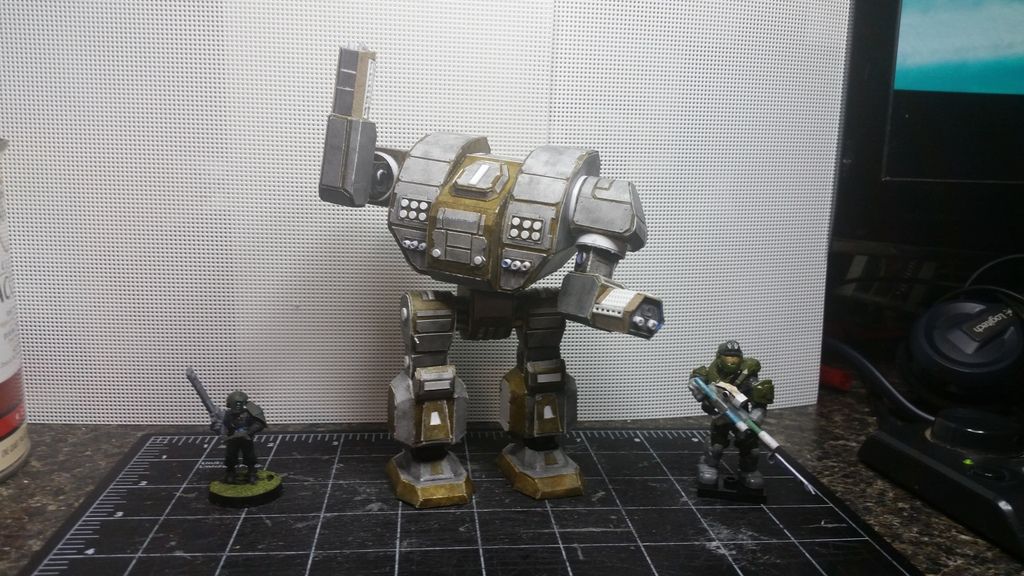 I also had to rack my brain to come up with a way to make the louvered vents in the rear. I tried cutting out the small slits, and they never came out right. So here's my solution:
 For the guns, again, I couldn't cut skinny strips out of the printouts to save my life, so I cheated, and got some fine mesh screen at the local craft store. I think it's originally used for cross-stitching or embroidery or somesuch. Whatever, it's easy to cut, and it works.  As a side note, I used plastic to make the various disks at the elbow and knee joints, and the missile warheads (the red thingies) in the torso. My technique is pretty easy (and it works with paper as well). I have a hole punch for working leather. The business end has a rotating wheel with several different sized punches on it. It's great for making teeny rivets as well as pieces a little over 1/8" across. I usually make a bunch at a time and store the extras for later (and I usually lose a bunch on the floor, too). 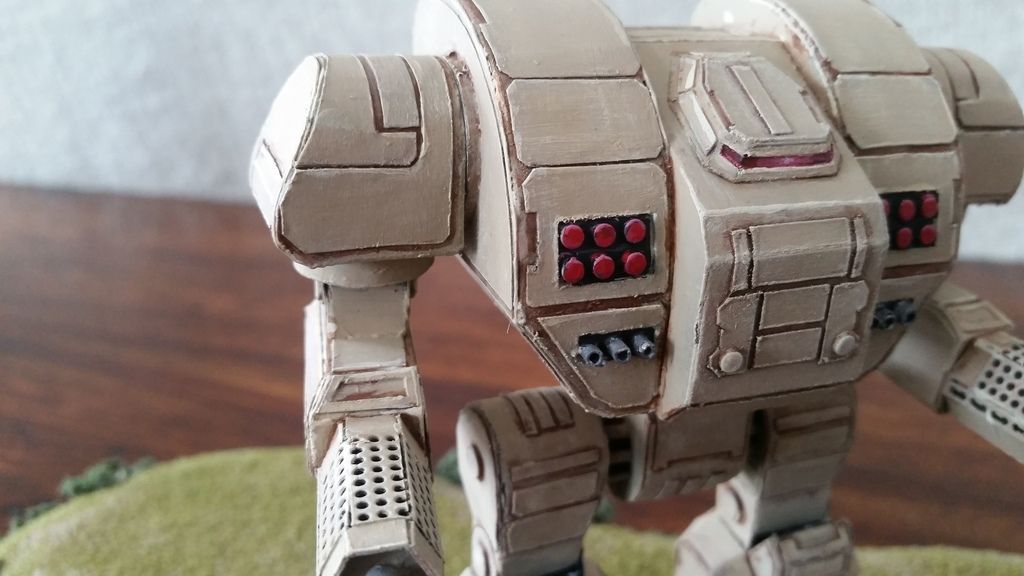 I lacquered this along with the test box and another project, and the magnets came in really handy when everything was drying: 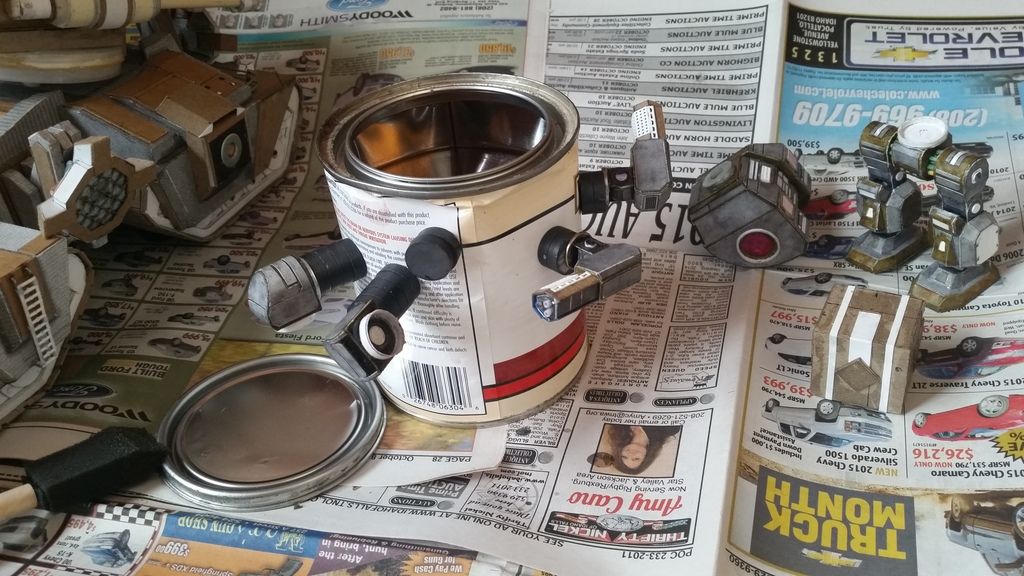 Painting was pretty easy. I primed it with cheapo black primer from Walmart, and then finished it up with acrylics. If I was to do this again, I'd change a few things:
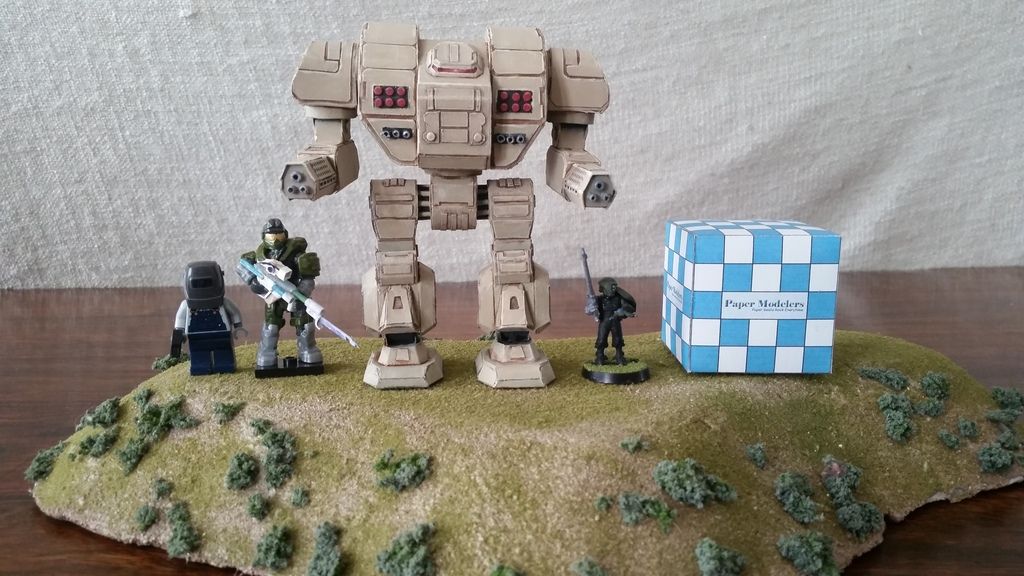 Cannon Fodder's Eye View: 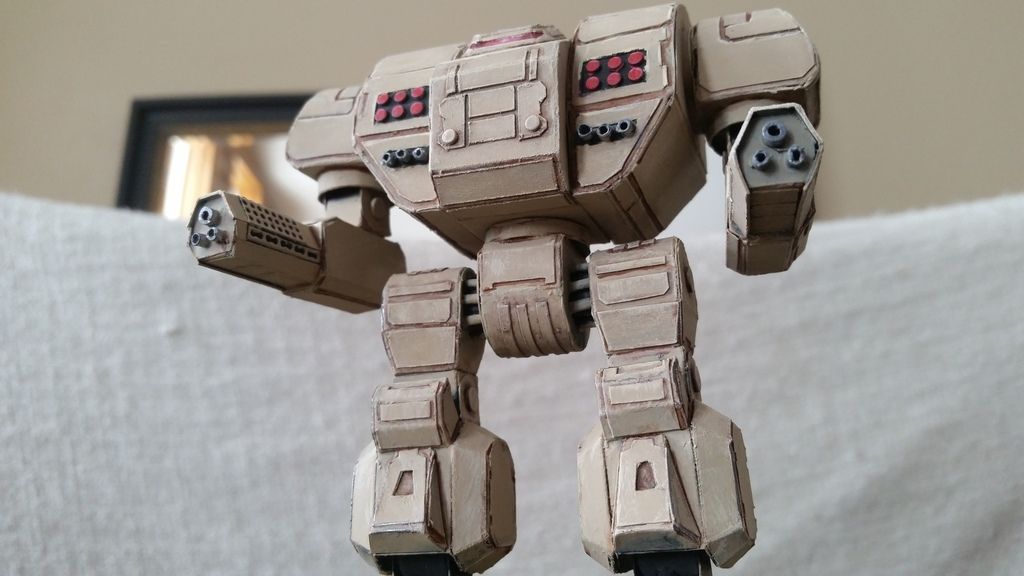 Extreme Closeup: (I really like how the viewport turned out. It was a combination of red, black, and silver, with a teeny dot of white) 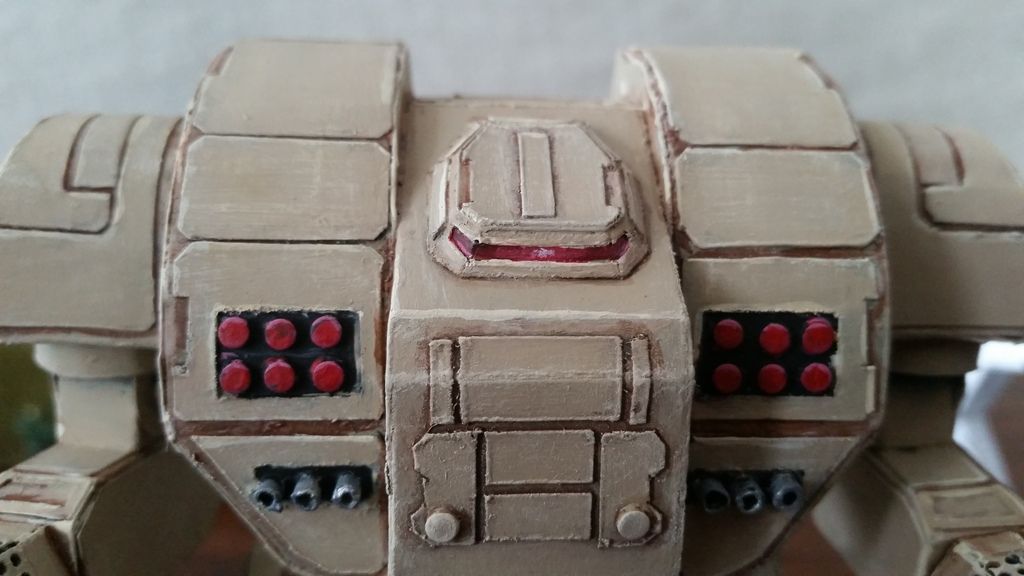 Jotun and the Kirchner out to play: 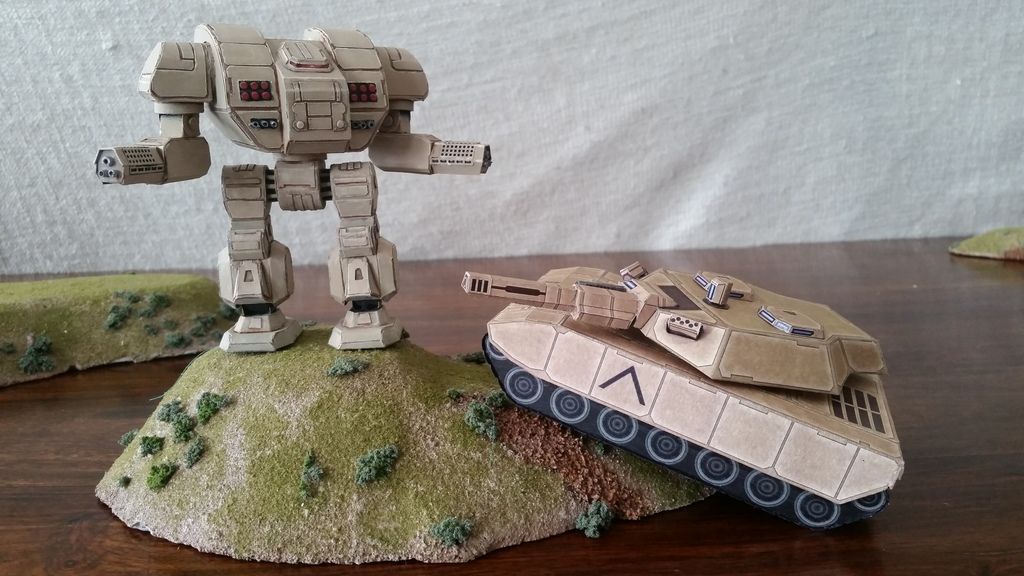 AUTHENTIC BATTLE DAMAGE! (You have to sound like Kung Fu Panda when you say that) My oldest boy loved the smoke effect. 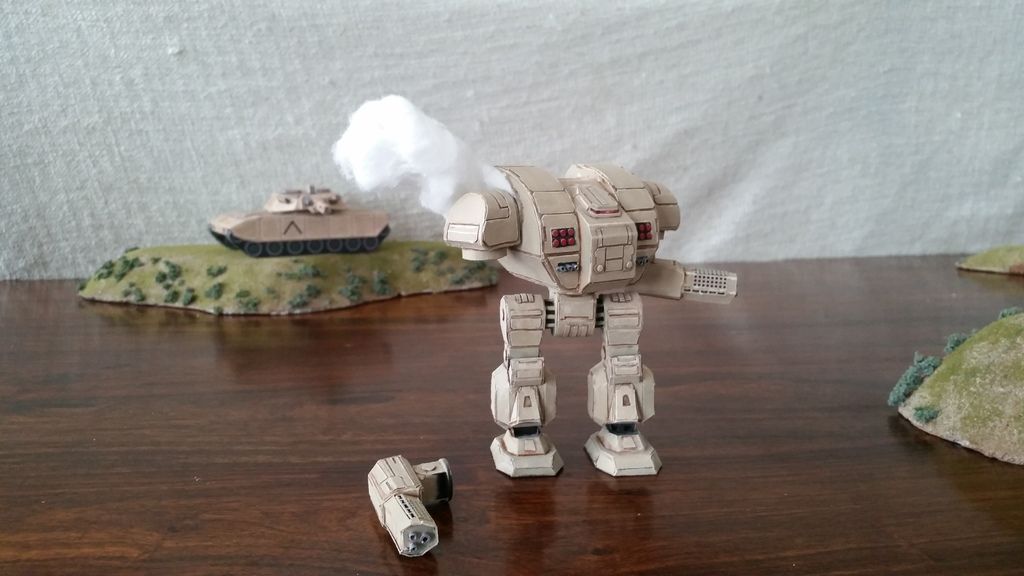 A Lego Welder and an astromech. They can fix darn near anything. 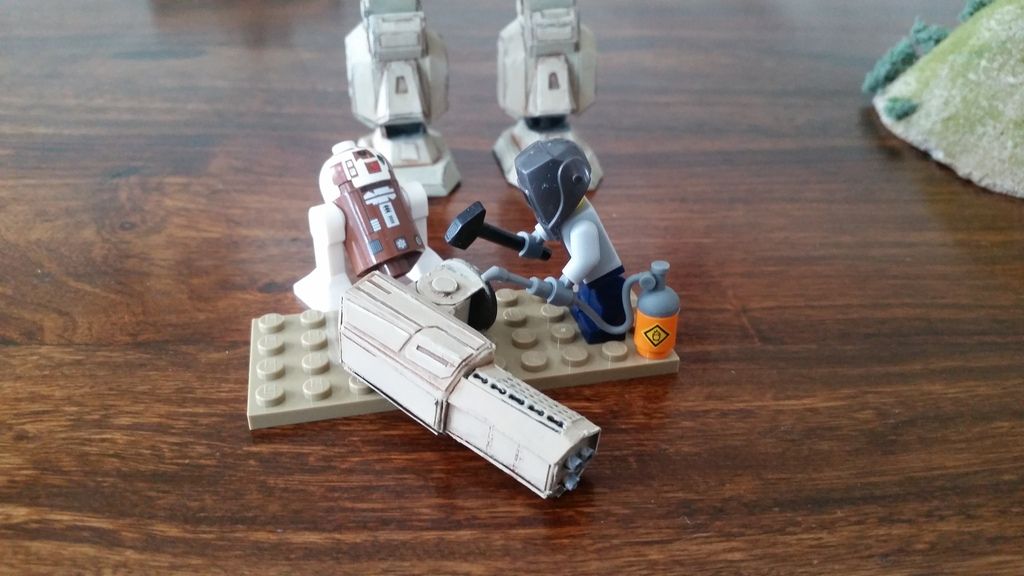 "I'll fix that #$& *$ @ &*(%# one way or another!" 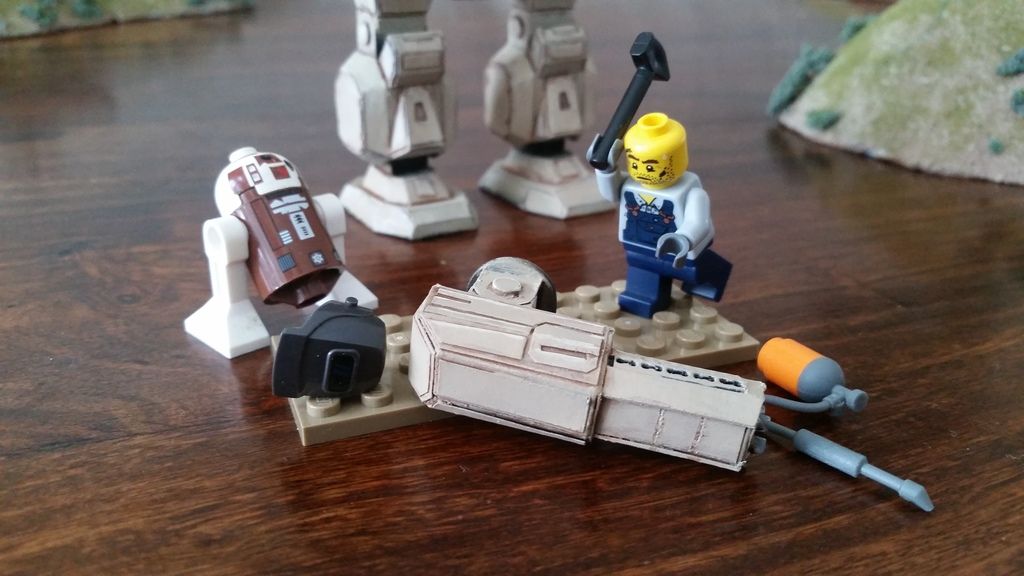 At any rate, thanks for looking. As always, comments and critiques are appreciated.Here's my photobucket album with even more pictures, if you're interested: http://s441.photobucket.com/user/Stormsforge/library/Jotun-geeeblified?sort=3&page=1
__________________
 K'Jev K'Jev"Truth simply is. Whether you like it or not is irrelevant." Last edited by kjev; 01-16-2016 at 11:05 PM. Reason: Because I'm a freaking perfectionist! 
|
| Google Adsense |
|
#3
01-17-2016, 04:20 PM
|
|||
|
|||
|
Great mini-tutorial! This actually shows something being done, not just the end result. Most helpful.
__________________
This is a great hobby for the retiree - interesting, time-consuming, rewarding - and about as inexpensive a hobby as you can find. Shamelessly stolen from a post by rockpaperscissor 
|
|
#4
01-17-2016, 08:38 PM
|
||||
|
||||
|
Aw, shucks! I just tried a few new and different things on this model, like the louvered vents, so I thought I'd share. And if anyone had any insights into what I could have done better, I'd be happy to hear them.
But I'm glad I could help. For starting out as a cluster-goat-...whatever, it didn't turn out too bad.
__________________
K'Jev"Truth simply is. Whether you like it or not is irrelevant."
|
 |
| Tags |
| cut, piece, vent, hole, strips, pretty, make, paper, magnets, width, glue, black, build, easy, torso, sockets, fit, hips, skinny, technique, closeup, making, great, edge, step |
|
|


 Linear Mode

