


|
|
|
#11
 01-26-2016, 08:10 AM
|
||||
|
||||
|
That is correct, they go on the bottom of the cones that attach to the heels.
__________________
On the prowl to tinker!!!!!! Be Warned 
|
|
#13
01-27-2016, 09:16 PM
|
||||
|
||||
|
Feet!
Tonight we put shoes on the wee beastie. I'm not sure if you'd call them feet, or not, but clown shoes seems to work. Compared to other mechs I've built, I think this one has to rank near the top as far as leg strength and stability. But we'll see when we start adding body parts...
This is the clown shoes seen from the inside, with the ankle greeblies next to them. (Incidentally, these greeblies are what I broke off my own leg before Thanksgiving, which helped me get back into paper modeling  ) You can see where I put cardboard inserts in to help strengthen the toes. Getting the shapes cut was an experience. I ended up resorting to a misprinted copy and using it as a pattern. ) You can see where I put cardboard inserts in to help strengthen the toes. Getting the shapes cut was an experience. I ended up resorting to a misprinted copy and using it as a pattern.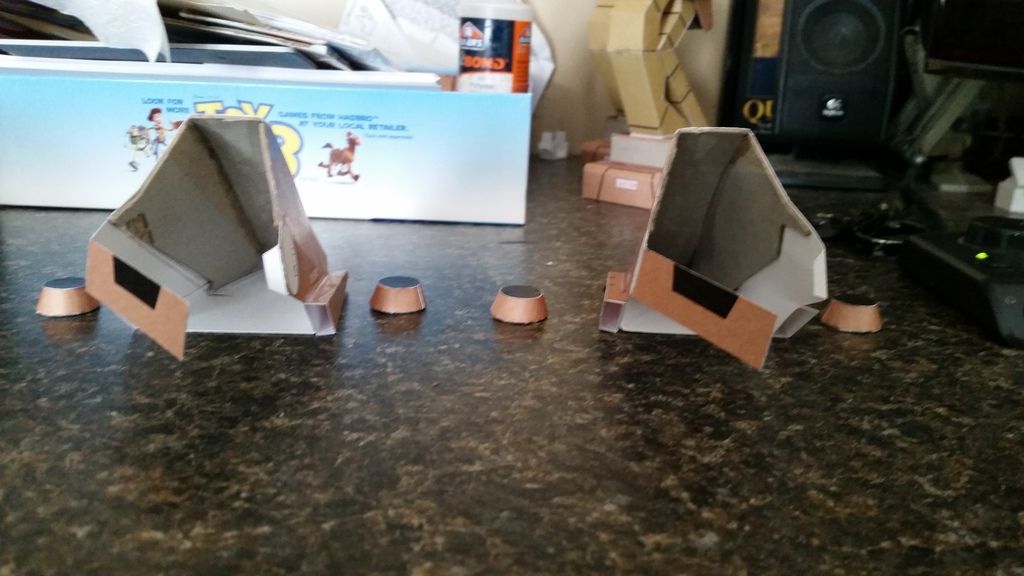 Front view of the clown shoes. 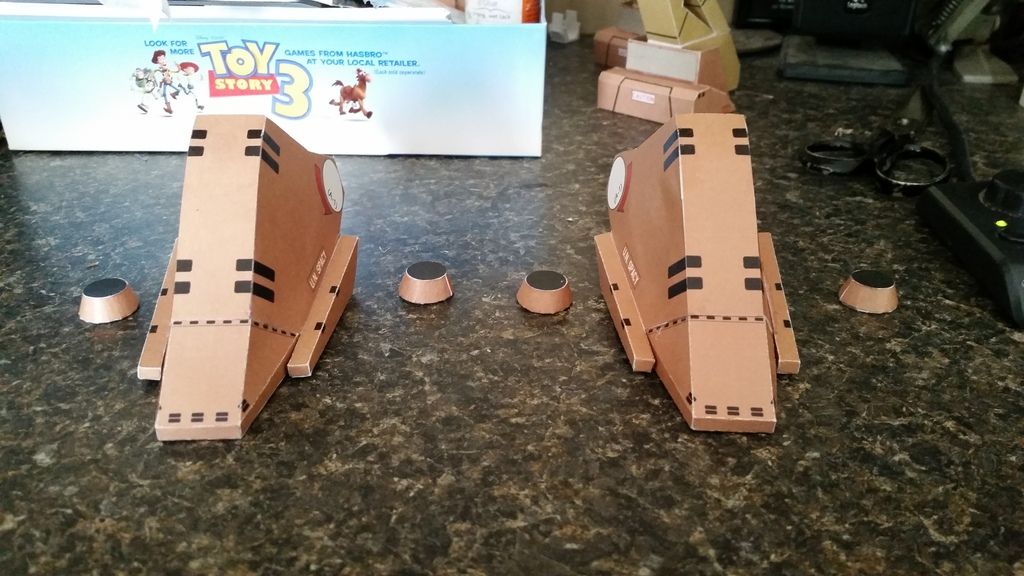 Side view: 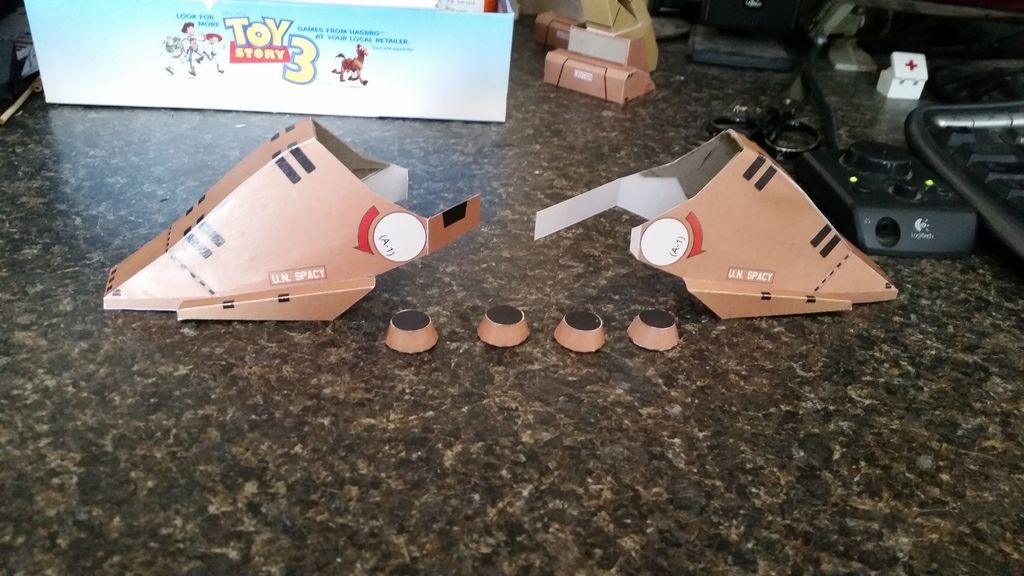 The boy and I finally managed to get some time to put the parts together. 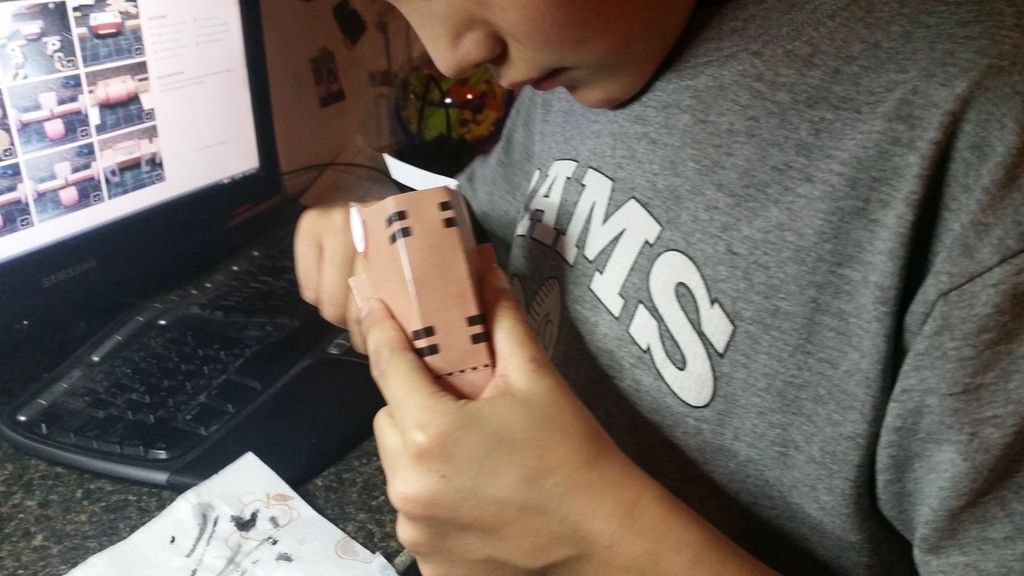 Afterwards, he wanted to take some pictures. First up, the cannon fodder view: 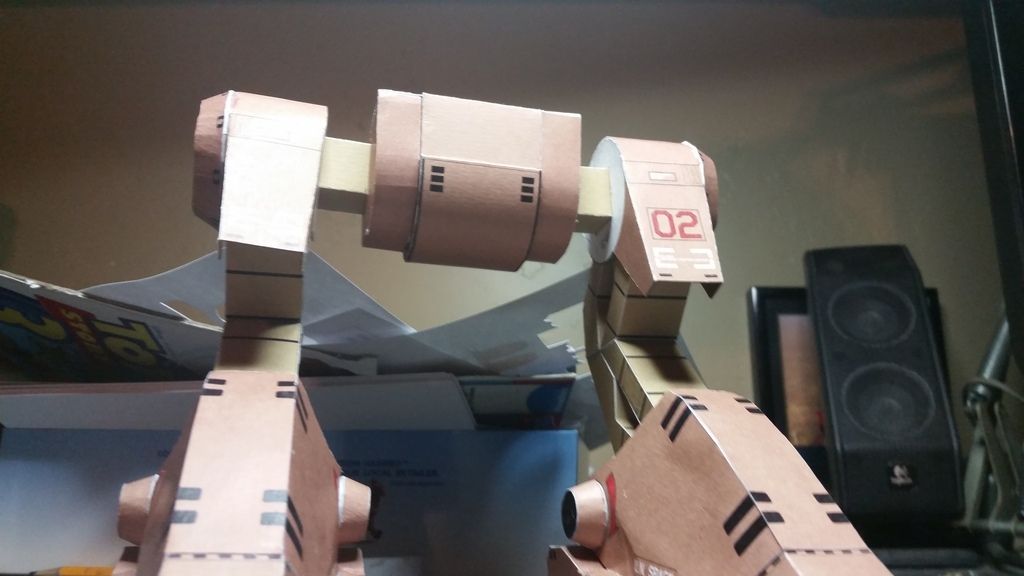 It didn't come out real clear, due to Dad "helping," but this is an above view of the hips. We took this one so you can see how the hip shafts go together. 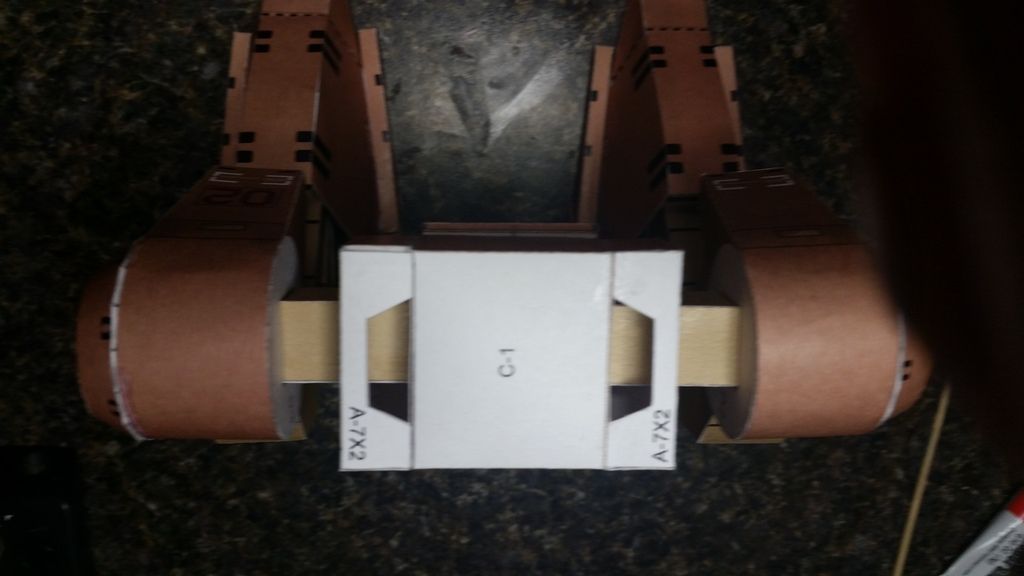 And a view of the bottom of the toes, so you can see somewhat how they should go together. 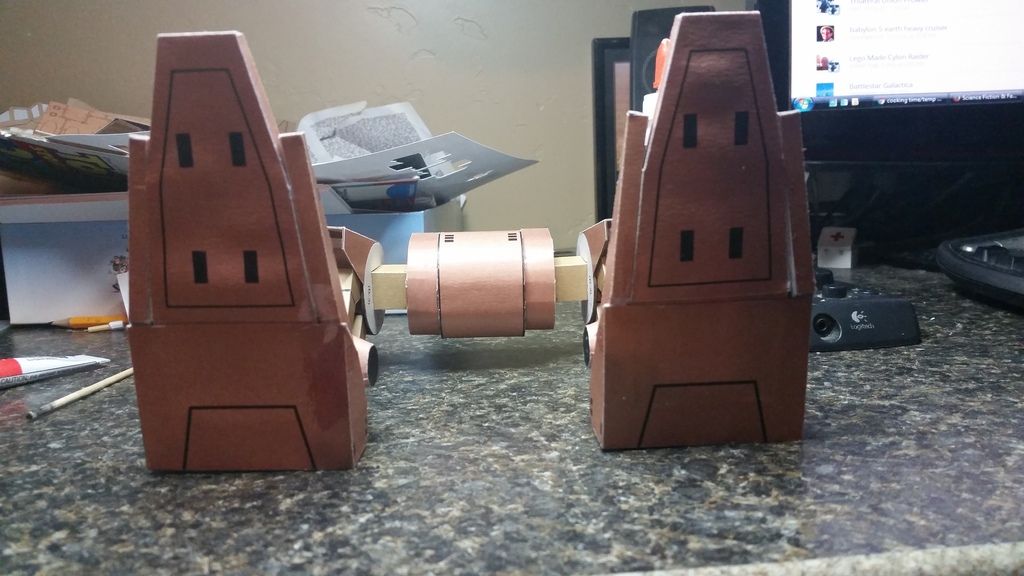 Rear view. Trying to show how the legs go into the clown shoes. 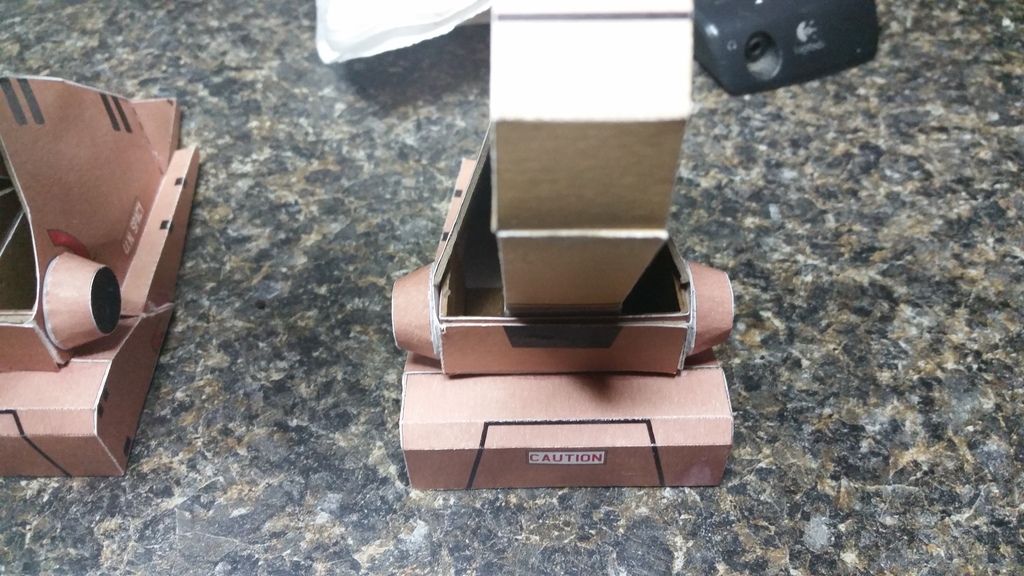 Closeup side view (the boy wanted to be thorough. )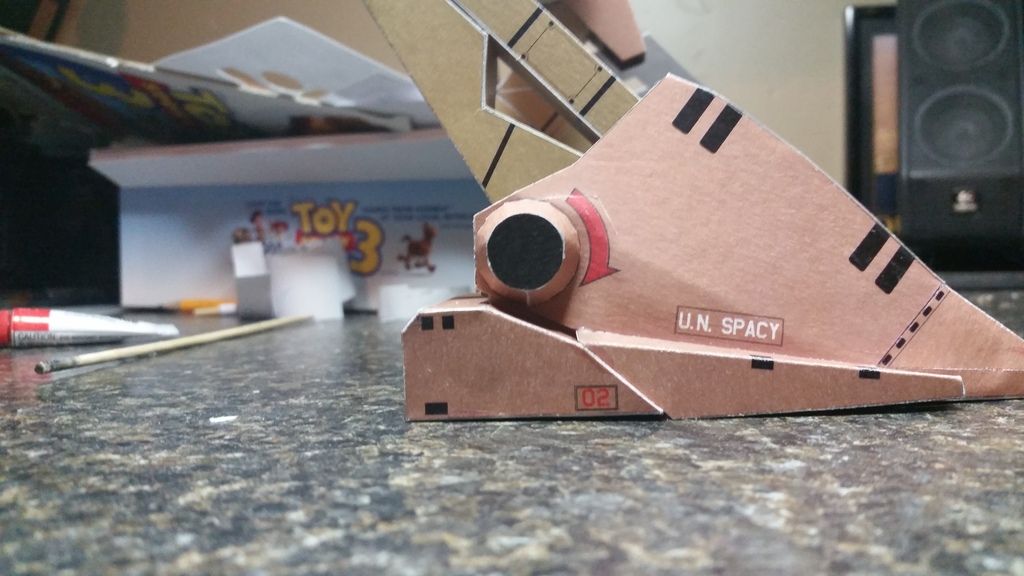 Side view of the whole leg 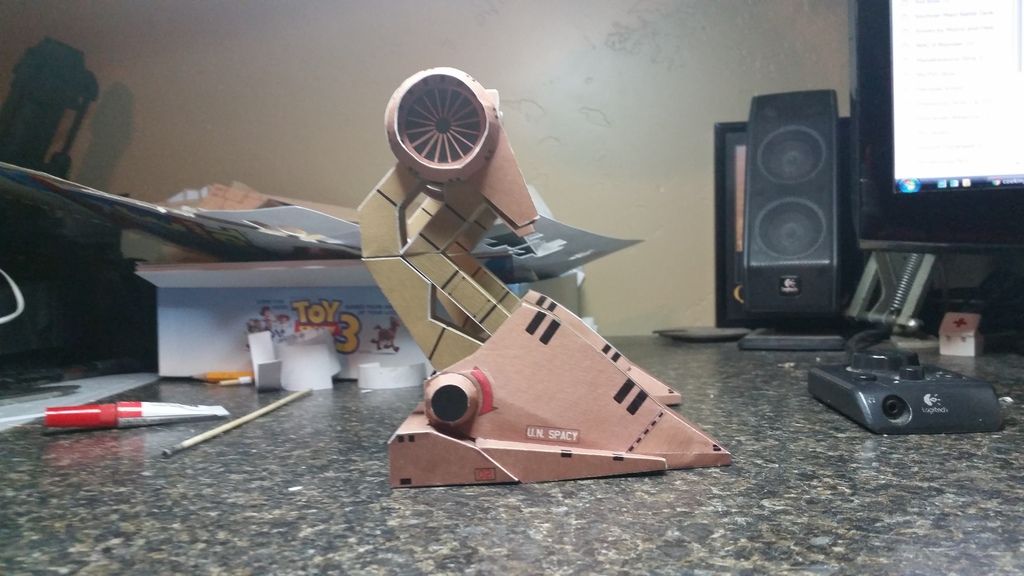 Rear view: 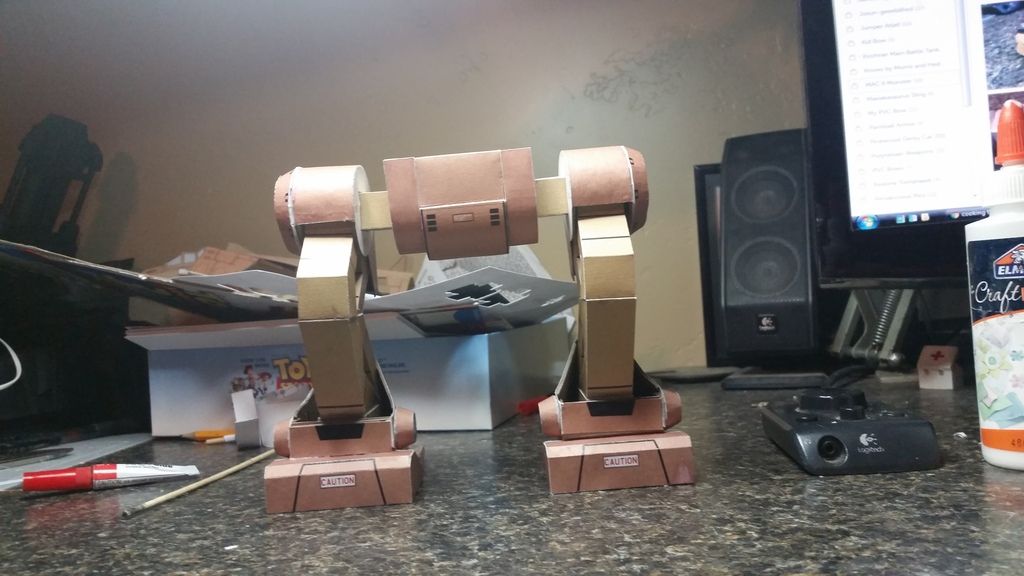 Left side view 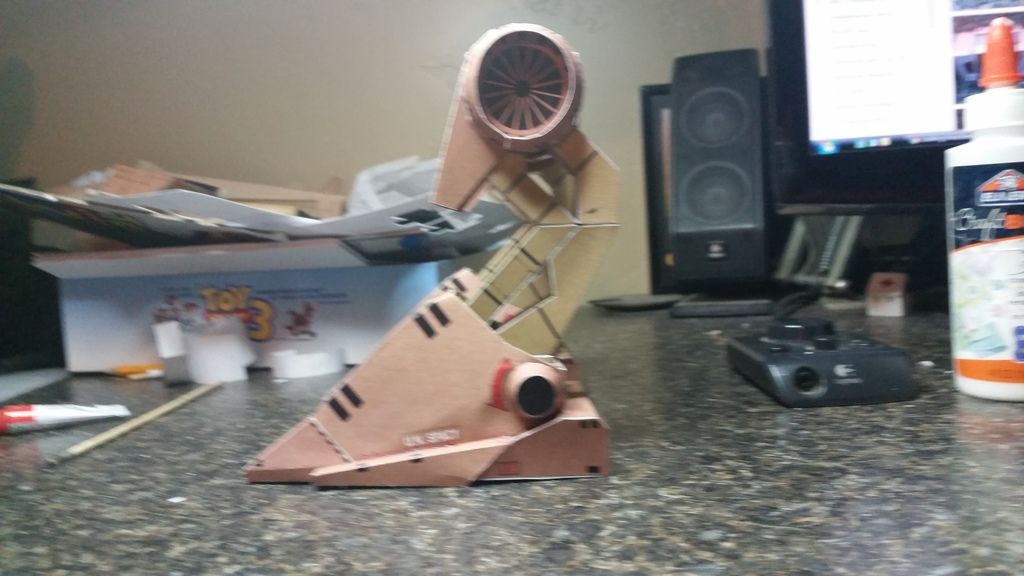 Now it's back to more midnight cut and paste! I do have one question for Legal01: Looking at the inside of the hips, I can't figure out if I'm missing something. It doesn't seem like the white with the part numbers should show, but I have no idea what should go there. Unless for some reason the hip shafts are too long. Did we do that section right?
__________________
 K'Jev K'Jev"Truth simply is. Whether you like it or not is irrelevant." Last edited by kjev; 01-27-2016 at 09:44 PM.
|
|
#14
01-27-2016, 11:55 PM
|
||||
|
||||
|
You are missing the part B-3x4 on the inside of the hip joins, there is a cone either side of the leg joint but this side has no insert. Just add the part same as the outside of the joint then you are good to go.
__________________
On the prowl to tinker!!!!!! Be Warned
|
|
#15
01-28-2016, 08:37 AM
|
||||
|
||||
|
good friend and good color, you're going to share this model?
|
| Google Adsense |
|
#16
01-28-2016, 03:07 PM
|
||||
|
||||
|
Quote:
 SLIGHTLY LATER... Nope, they're not missing...I glued them on the inside of the cones on the outside of the hips [sigh].  Guess I'm hitting Kinko's tomorrow for a couple of reprints. Sheesh. Quote:
__________________
K'Jev"Truth simply is. Whether you like it or not is irrelevant."
|
|
#18
01-31-2016, 01:34 PM
|
||||
|
||||
|
Quote:
__________________
K'Jev"Truth simply is. Whether you like it or not is irrelevant."
|
|
#19
02-03-2016, 04:09 PM
|
||||
|
||||
|
Legs Finished, Torso Started
After screwing up the hips, I had another set of parts printed to do the cones on the inside of the hips.Unfortunately, I did not get the usual guy who does my printing at Kinko's. I got some gum-chewing coed who was more interested in talking to that totally hunky guy who came in after me, and in the process, the BIQ (Bimbo In Question), printed them (and the next model) the wrong size. I asked her about the size, and she assured me it was the same (She was in a bit of a rush, because she was involved in a deep conversation about something with her man-candy, like how his frat party selfies turned out or something).
Nope. Too small, and I didn't realize it until later when I got home. Definitely going to avoid her in the future. At any rate, here's the new sheet for the inside cones: the circles were my own addition, just for added strength, and they were actually a little large. 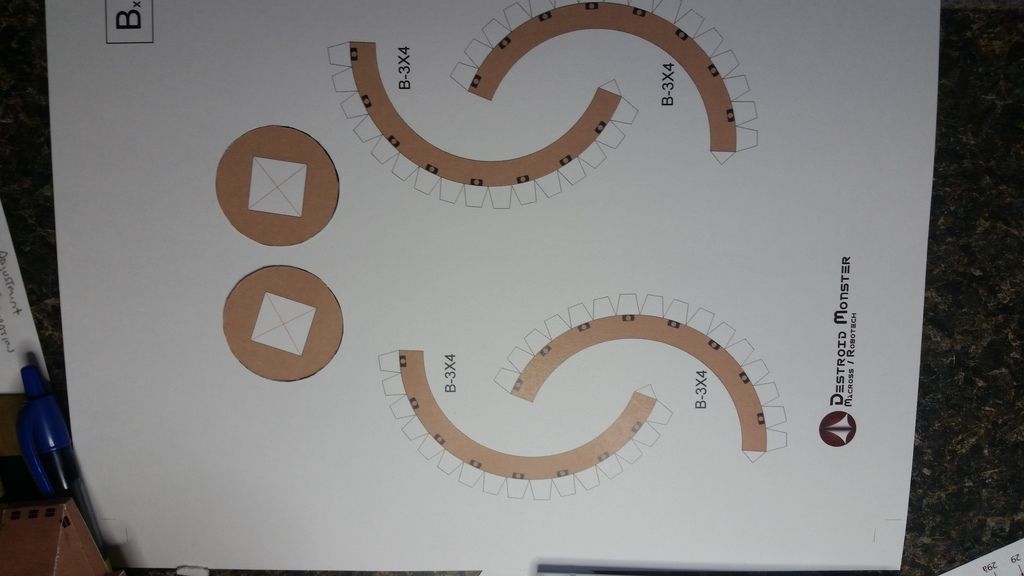 For now, close enough. We finally got the legs complete. The rear armor pieces were a bit confusing at first, but we managed to figure it out. 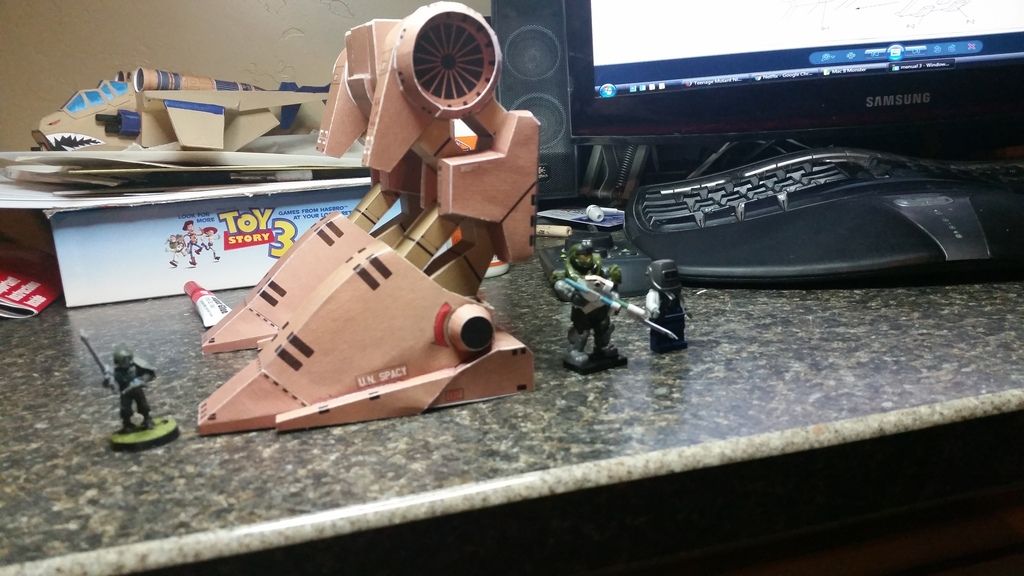 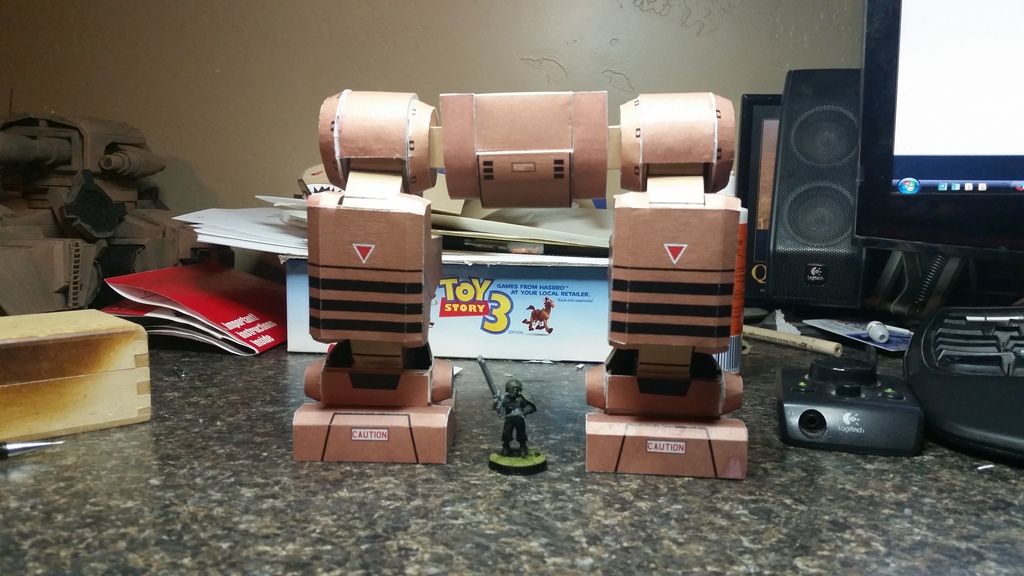 And then I started cutting assembling, and beefing up the torso. I know the manual calls for the arms to be done next, but I didn't want them knocking around while we did the torso. To be honest, the torso turned out to be a lot more complex than it first looked. I'm not sure if it was broken into so many sections to fit on the paper, increase strength, or what, but there's a lot to it. Most of the parts are more or less angular shapes, so they're easy to cut out and put cardboard inserts in, there's just a lot of them. And they fit together oddly as well. This is just me, but I prefer my pieces to be solid shapes when assembled, without open sides. To me, they're just stronger that way. But again, that's just me. 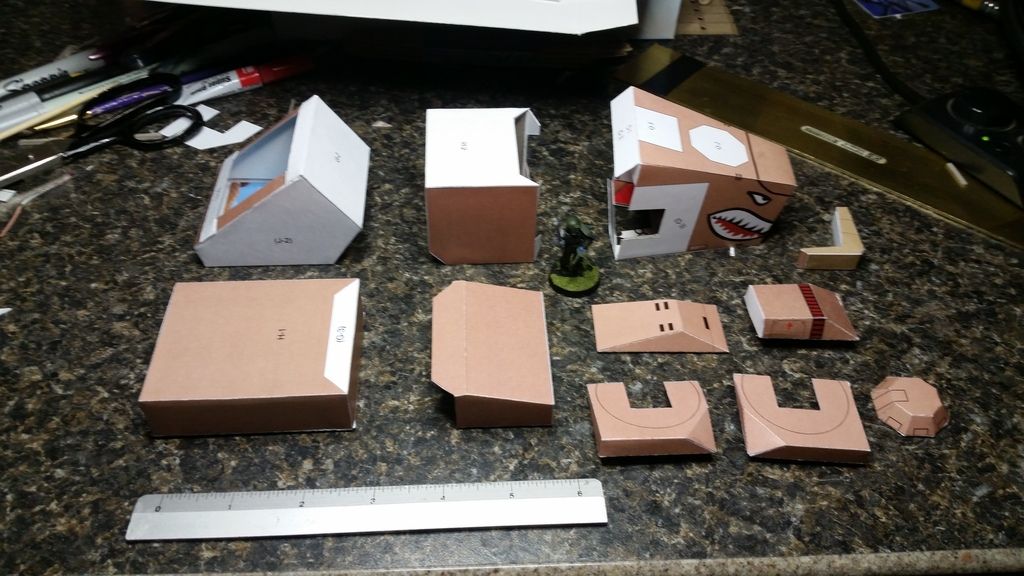 Here's what they look like more or less together: 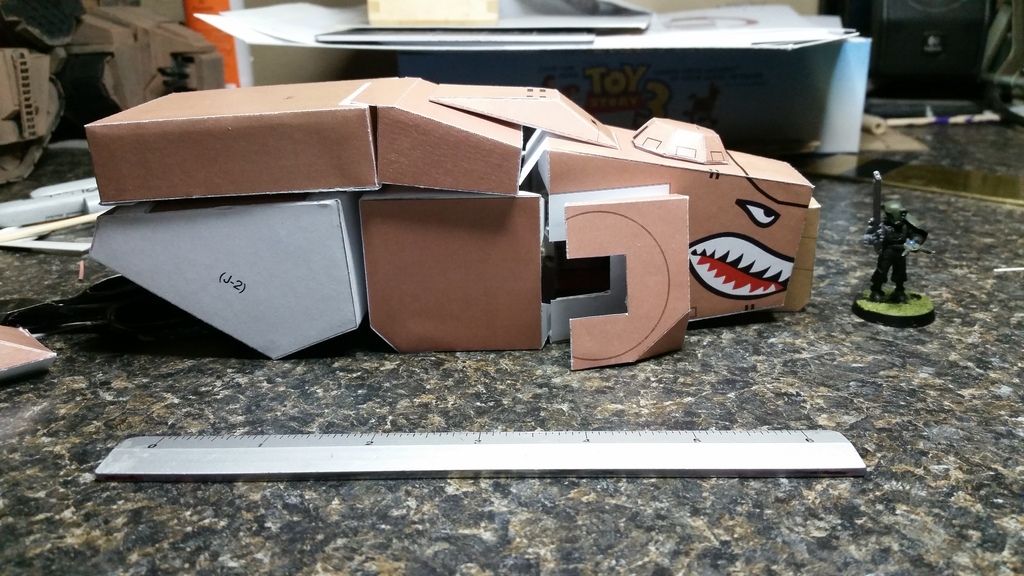 And here's a closeup of the shark's teeth. I'm really tickled with how they came out. Great job on adding them, Legal01! Just look at those pearly whites! 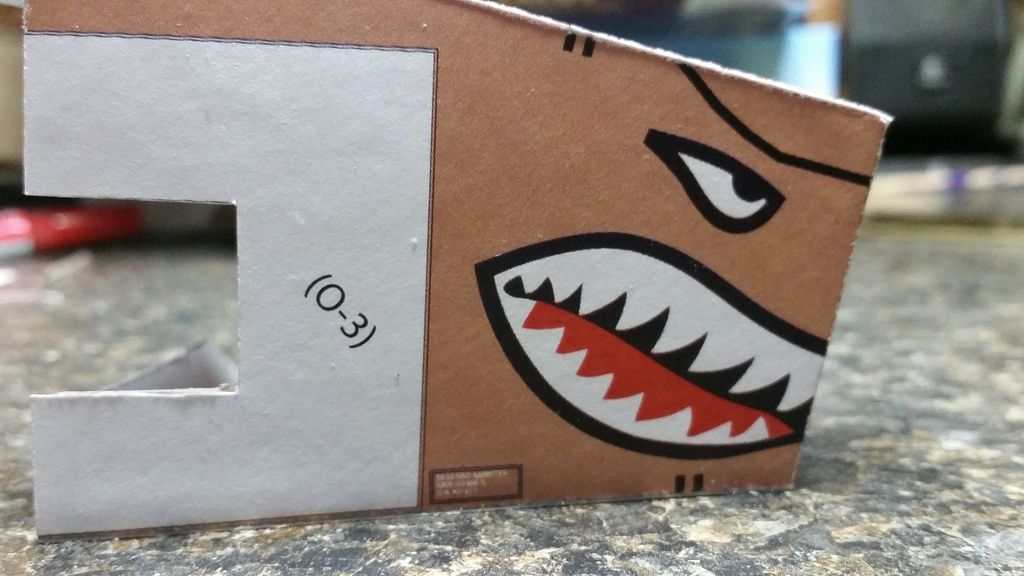 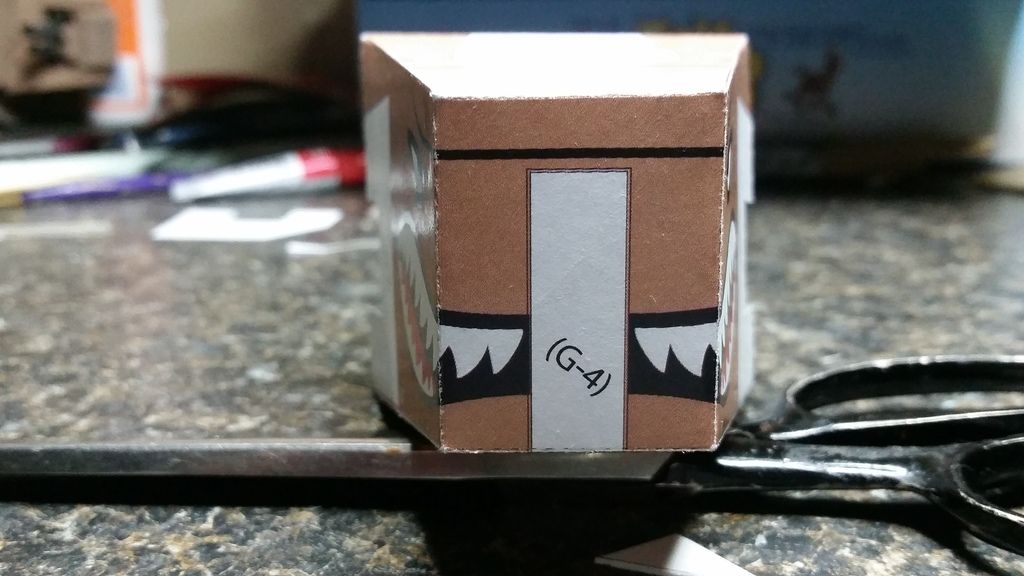 The best part was when my son, right before he went to bed, said, "Daddy, please don't put it all together without me." I cheered inside. I really wanted him to get involved, to learn to create, use his imagination, and learn things like how to work from plans and designs, and it's working! Legal01, you mentioned in an email that you made your arms movable. Would you be willing to share how you did it? I haven't really looked at them yet to see how they go together, but I think it would be neat if they did.
__________________
K'Jev"Truth simply is. Whether you like it or not is irrelevant." Last edited by kjev; 02-03-2016 at 04:29 PM.
|
|
#20
02-10-2016, 07:27 PM
|
||||
|
||||
|
Quote:
__________________
K'Jev"Truth simply is. Whether you like it or not is irrelevant."
|
| Google Adsense |
 |
| Tags |
| legs, shaft, thingie, eyes, time, mac, parts, japanese, end, mecha, advice, upper, understand, tan, hole, thingies, term, technical, apparently, rounded, square, middle, notched, terms, order |
|
|


 Linear Mode

