


|
|
|
#1
 01-22-2016, 01:14 PM
|
||||
|
||||
|
Macross MAC II Monster Build-Along
About the time the paint was drying on the Prowler's wheels, my oldest reminded me that I promised him we'd start his MAC II. JP was nice enough to send me his recolored version in tan, along with integrating a shark's teeth and eyes instead of the cutesie ones on the original. (It's the eyelashes people. Those eyes just aren't ferocious enough!)
Unlike my other threads, I'm going to attempt to do this one as we go along, rather than the "Ta-DA!" at the end. I've never seen a thread for one of these before, so maybe this will help the next enterprising mecha junkie. And NO. I simply cannot just BUILD a model. MUST TWEAK EVERYTHING! Stay tuned... We figured out the easiest way to do this as a father-son project is if I assemble the parts, and he then puts those together. So after he went to bed last night, I spent some time assembling parts. 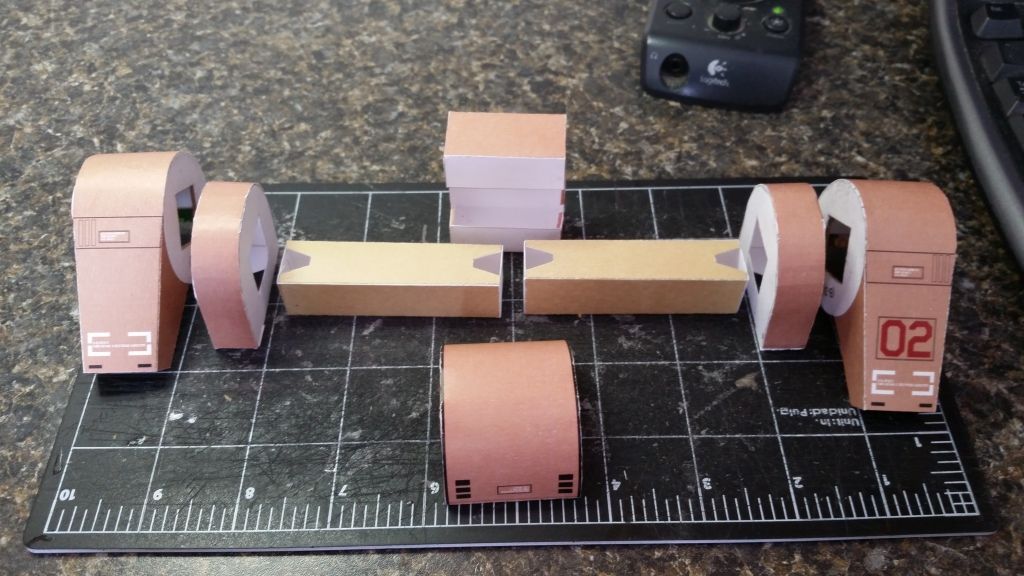 It took an email or two to understand how they go together. The instructions are in Japanese. The diagrams aren't too detailed, and since I can speak a little Japanese (a few martial arts terms and enough to order all-you-can-eat sushi), I'm functionally illiterate. But if I understand it right...
 You can see where I added a few layers of cereal box to the inside of the upper legs. I've noticed on all my mecha models that the hips seem to get the most stress. And since this is probably going to be the centerpiece of my son's miniature/Lego/Star Wars Guy army...well, I don't believe there's such a thing as overkill. I have it on very sound advice, however, that the shaft should NOT be attached to ANYTHING until after the legs are complete. Sounds good to me. If anyone has any advice, we're willing to listen.
__________________
 K'Jev K'Jev"Truth simply is. Whether you like it or not is irrelevant." 
|
| Google Adsense |
|
#2
01-22-2016, 01:53 PM
|
||||
|
||||
|
I'm not familiar with this model. I'm assuming JP is the designer, but I'm not sure who that would be. I doubt it is Jimmy Page, but that certainly would be cool.
__________________
A fine is a tax when you do wrong. A tax is a fine when you do well.
|
|
#3
01-22-2016, 06:55 PM
|
||||
|
||||
|
As I understand it, the original was sold/given out at an event in Japan. I have no idea where I downloaded mine from, but I remember it was a hunt to find it. When I started to recolor my version, I figured out it was something someone had cut and pasted from somewhere else. That led me to believe it had been pirated somewhere along the line.
This is from my hunt for the original designer: Quote:
Just for kicks, I threw my original files into Photoshop and measured them. the pages were a mere....32 inches across....I have no idea how big model would be, but I'm guessing it would look like a true 1:60 scale MAC II, like this (one of these days  ): ):
__________________
K'Jev"Truth simply is. Whether you like it or not is irrelevant."
|
|
#5
01-23-2016, 10:27 AM
|
||||
|
||||
|
Thanks JP/legal01! And thanks for responding to the constant pestering emails! One leg's interior is done so far. (Photos to come) It's going great!
__________________
K'Jev"Truth simply is. Whether you like it or not is irrelevant."
|
| Google Adsense |
|
#6
01-24-2016, 08:15 AM
|
||||
|
||||
|
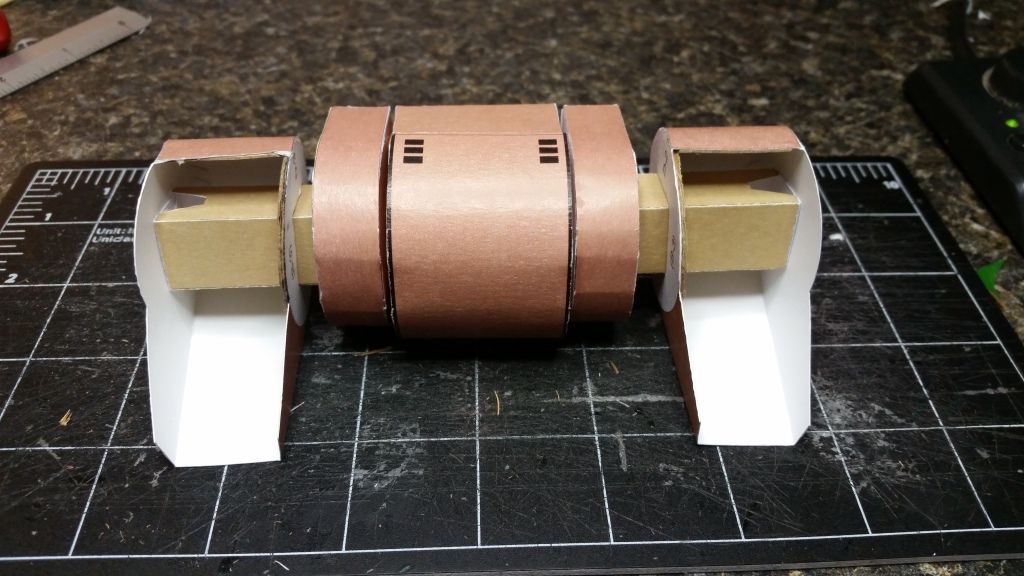
SO here's what we've accomplished in the last couple of days. It seemed like I cut out parts for hours, glued them into blocks, and he glued them together in about 5 minutes.
All the inner leg parts and hips: 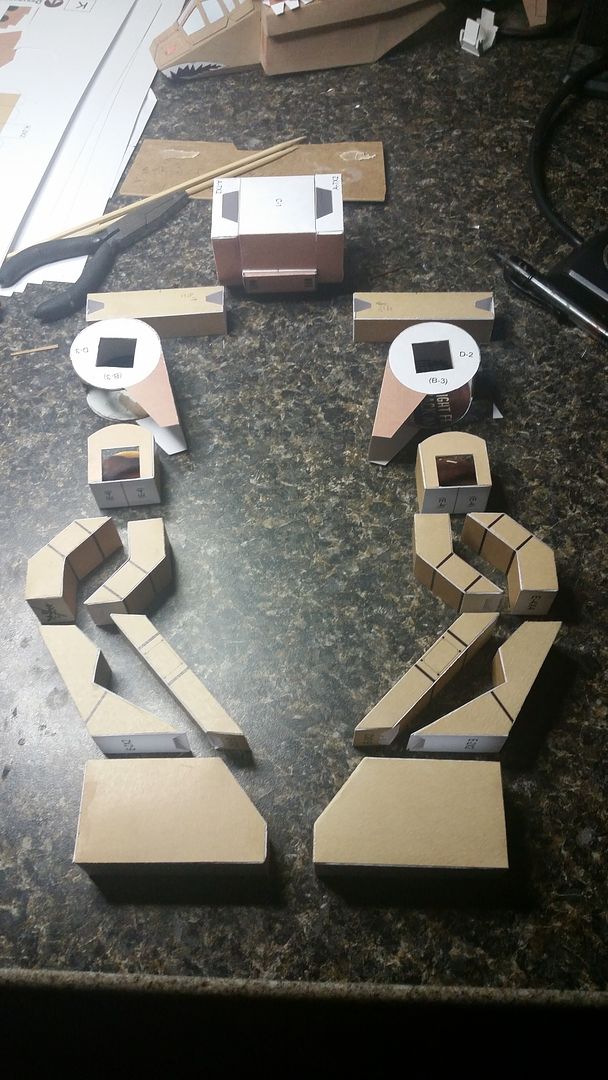 And all the inner legs glued together. The hip shafts are pushed into place at the moment, but not glued, so we can adjust the feet when they're done and make sure they are flat on the ground. Also, the shafts are so well set, that if this was just a display piece, I wouldn't bother to glue them at all. That way the legs removable if need be. 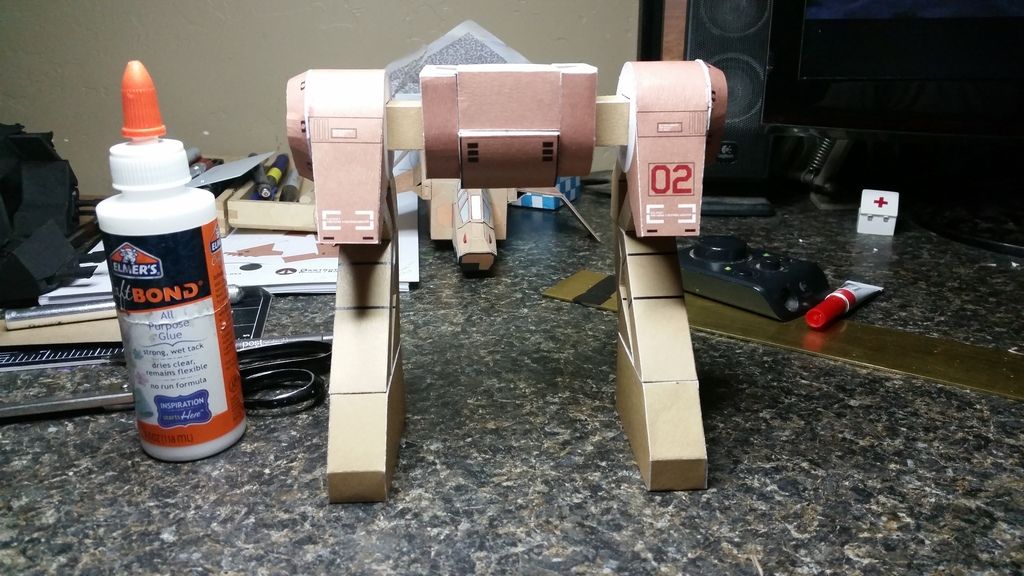 The diagrams in the instructions took a little puzzling out at this point, and in the pictures I'm using for references the legs are almost always blocked from view by the arms, so here's a side shot of the legs, minus the big stompy shoes: 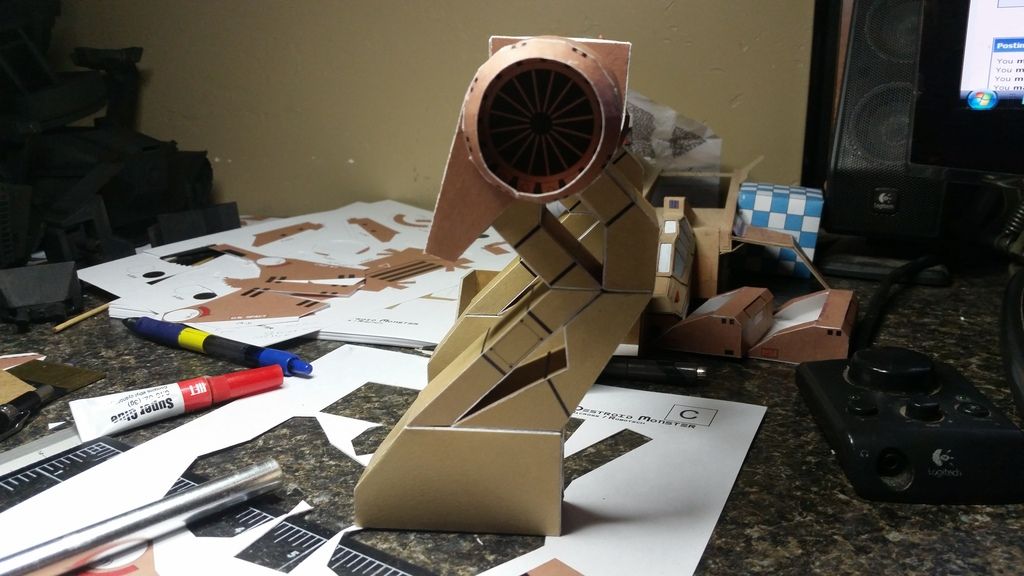 And here's my handy-dandy non-patented magnetic anti-warp system in action. I've actually considered getting a metal plate to keep at my desk for this. I've tried simply sticking the parts to the front of the refrigerator with magnets while they dried, and found out the our refrigerator is non-magnetic. Yup, no kid's pictures, shopping lists, cute quotes, or anything. It's just not right! 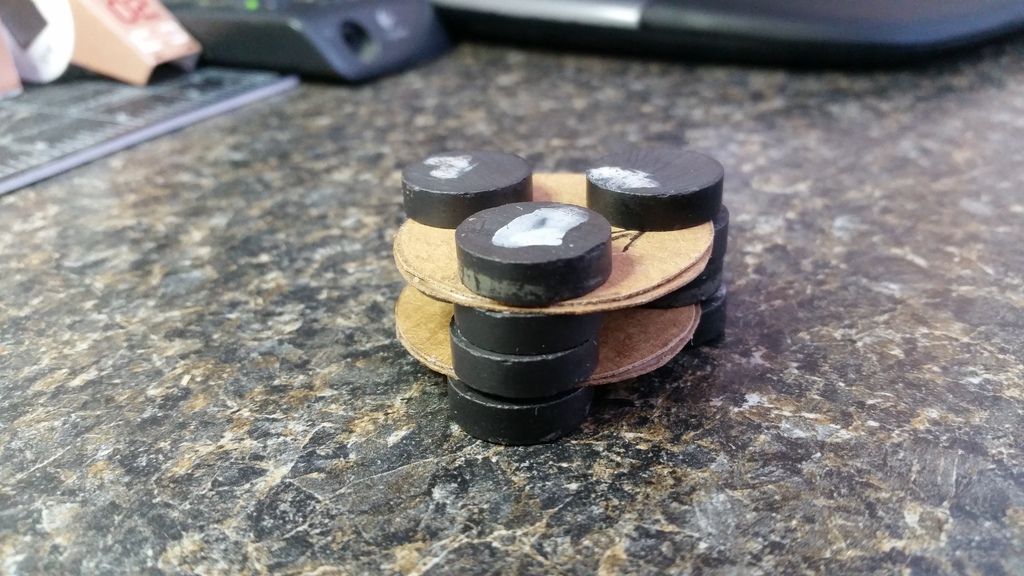 Now, it's on to some feet! (Credit where credit is due, it was Legal01 who did the recoloring and told me not to glue the hip shafts--Thanks!)
__________________
K'Jev"Truth simply is. Whether you like it or not is irrelevant."
|
|
#7
01-24-2016, 03:02 PM
|
||||
|
||||
|
Legal01, I have a question on the ankles. Part A1 sticks out the sides. Looking at the pictures I pulled off the net, I've seen it done 2 ways. The first is like the way the cones were done on the hips, with the circle inside the cone. The second is where the circle caps the cone, making it a flat-topped cone sticking out each side of the ankle.
Which is right?
__________________
K'Jev"Truth simply is. Whether you like it or not is irrelevant."
|
|
#8
01-24-2016, 03:32 PM
|
||||
|
||||
|
The cone should be capped and the cover should NOT be on the inside for the feet.
__________________
On the prowl to tinker!!!!!! Be Warned
|
|
#10
01-24-2016, 06:05 PM
|
||||
|
||||
|
Part A-8x4, what is the white circle for? Does it go on the bottom of the cone?
__________________
K'Jev"Truth simply is. Whether you like it or not is irrelevant."
|
| Google Adsense |
 |
| Tags |
| legs, shaft, thingie, eyes, time, mac, parts, japanese, end, mecha, advice, upper, understand, tan, hole, thingies, term, technical, apparently, rounded, square, middle, notched, terms, order |
|
|


 Linear Mode

