


|
|
|
#11
 06-04-2018, 11:15 AM
|
|||
|
|||
 Doors No.35 and Frames No.36 are taped and glued 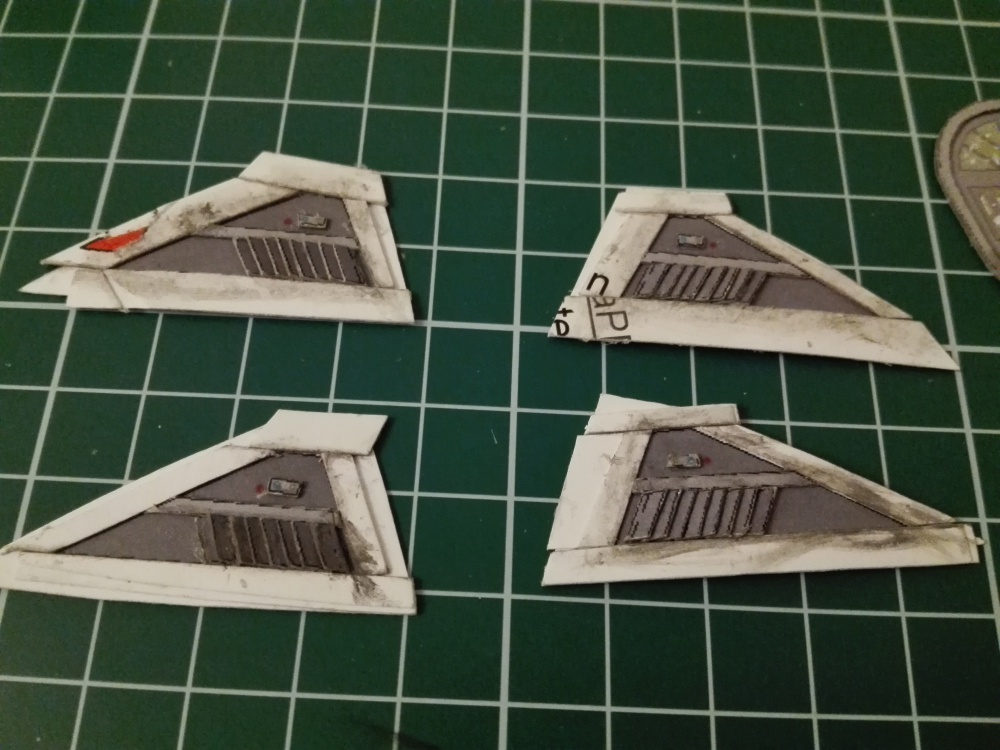 The other part of the shuttle is completed with triangular shapes with a number of blinds No.42 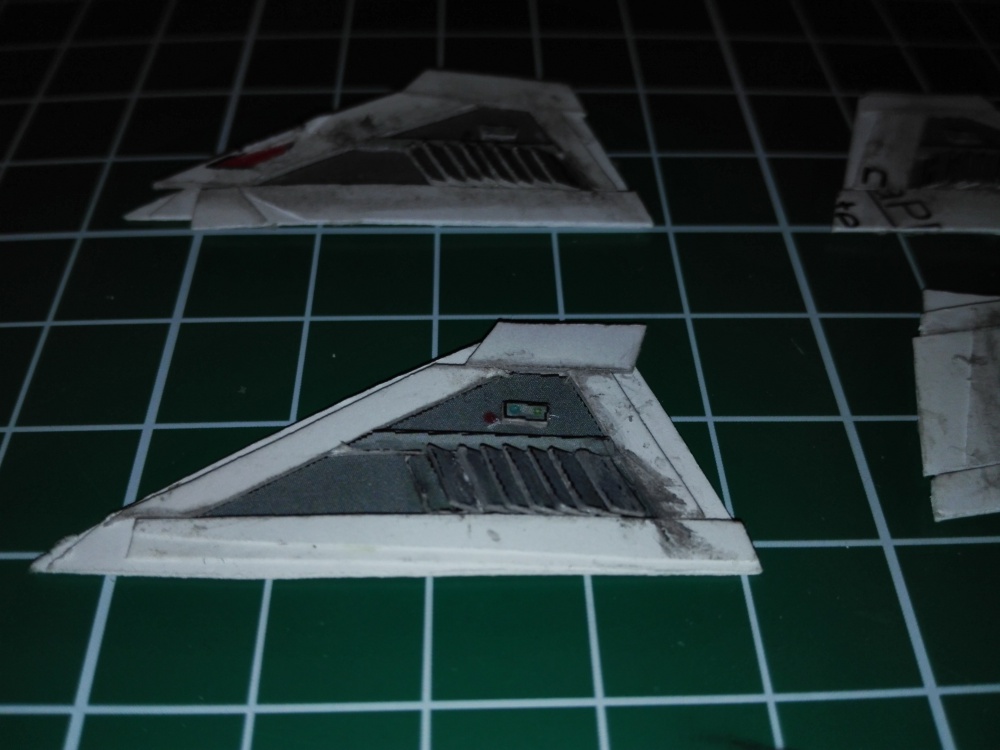 I recommend enclosing the triangle edge around the thick cardboard as it is in the picture. It will be better suited to the hull on the other side of the shuttle with the details 
|
|
#12
06-04-2018, 02:09 PM
|
||||
|
||||
|
Hmm, that reminds me... when was the last day I made any progress on the textures? February? I should take a break from building bikes and planning LARPs and finish this kit already, gorramit!

|
|
#13
06-09-2018, 06:34 AM
|
|||
|
|||
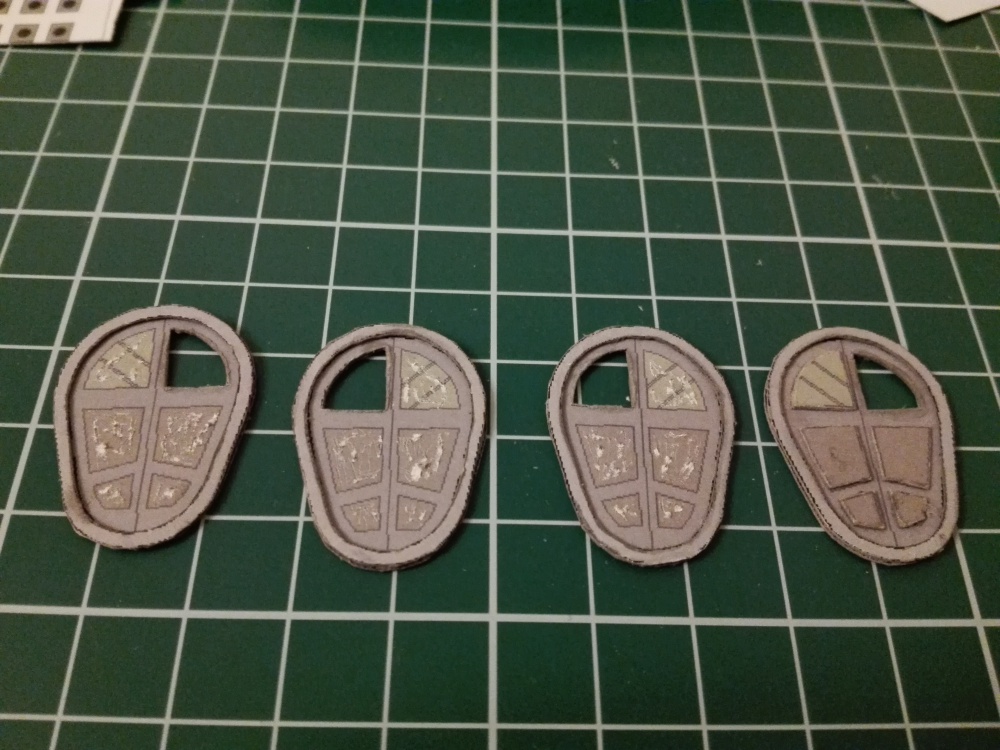
  The door completely finished and glued to the No. 35-36l + 36p is still glazing and it will be 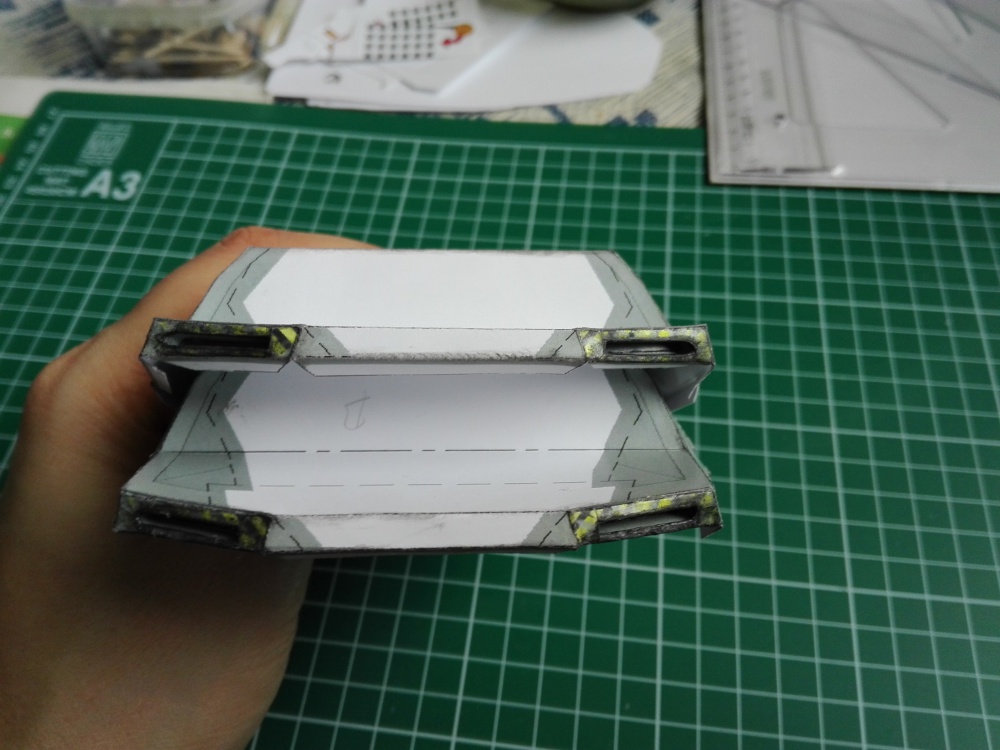 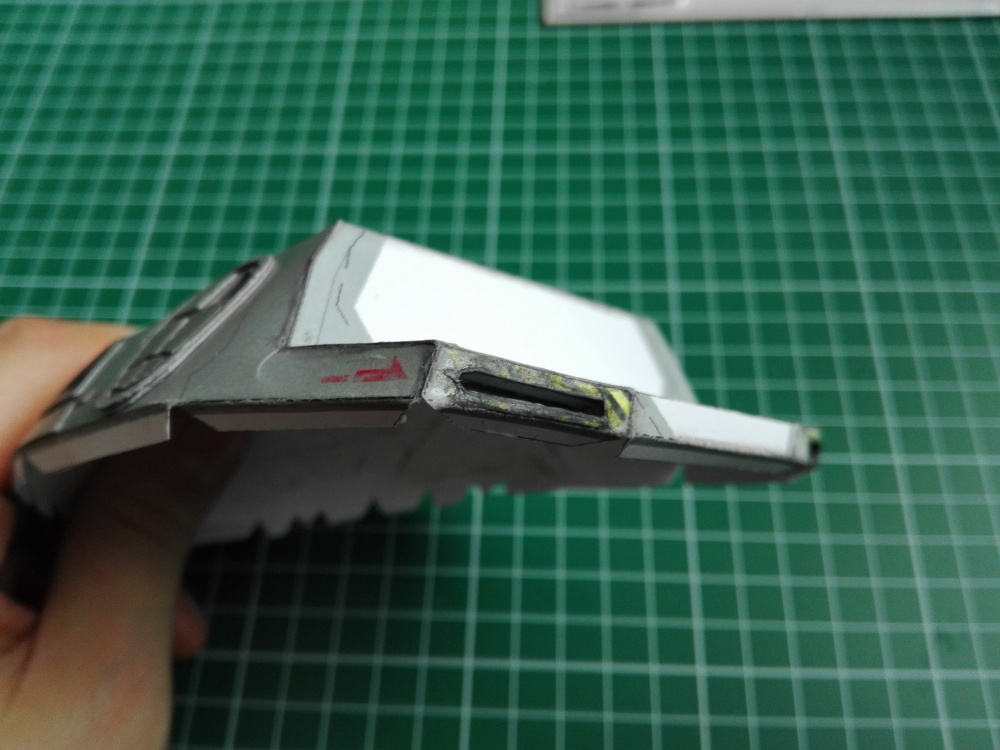 The suction openings No.41l-41p are glued in two parts of the shuttle
|
|
#14
06-09-2018, 08:33 AM
|
||||
|
||||
|
You are making great progress! I really like the added detail that you are putting into these models!
__________________
If it can be thought of, it can be done.
|
|
#15
06-16-2018, 03:19 PM
|
|||
|
|||
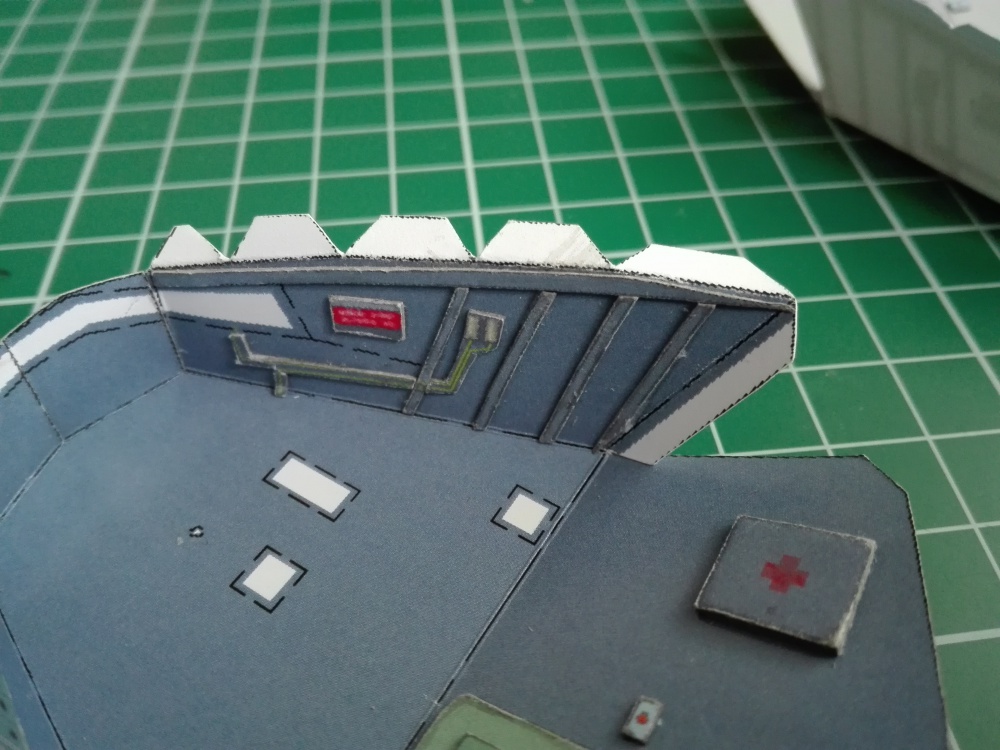
 Completely glazed all 4 door windows no.35l + p and the glued lower part of the shuttle no.28 to part no.2 in total it was good 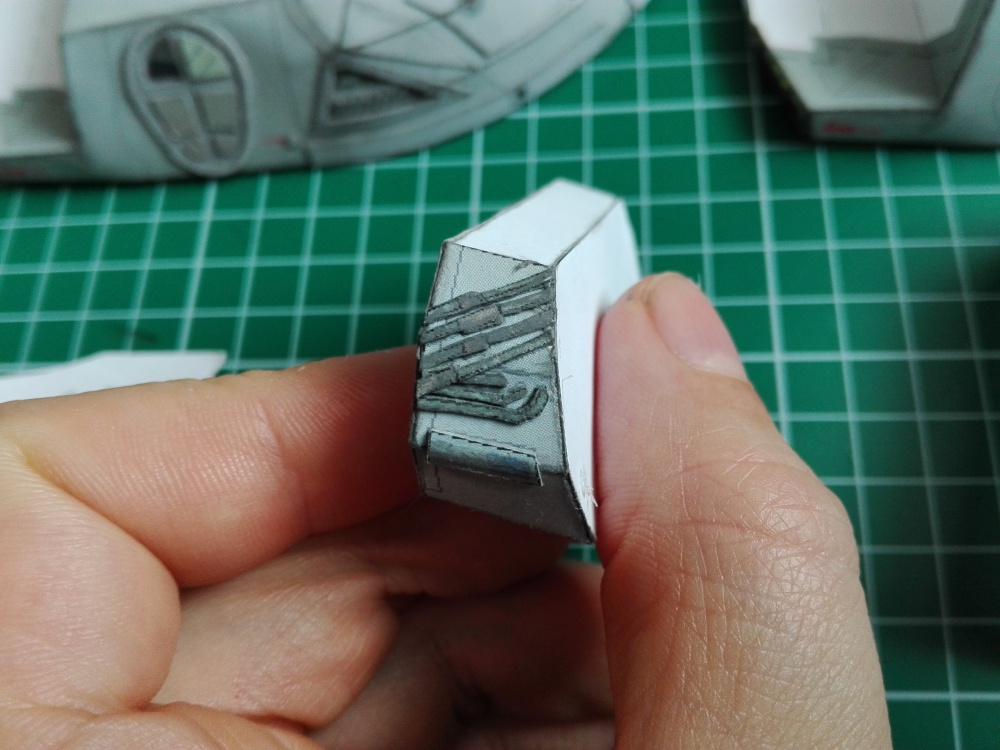 Connection No. 9 2x piped pipe on both sides of part No. 52l + p 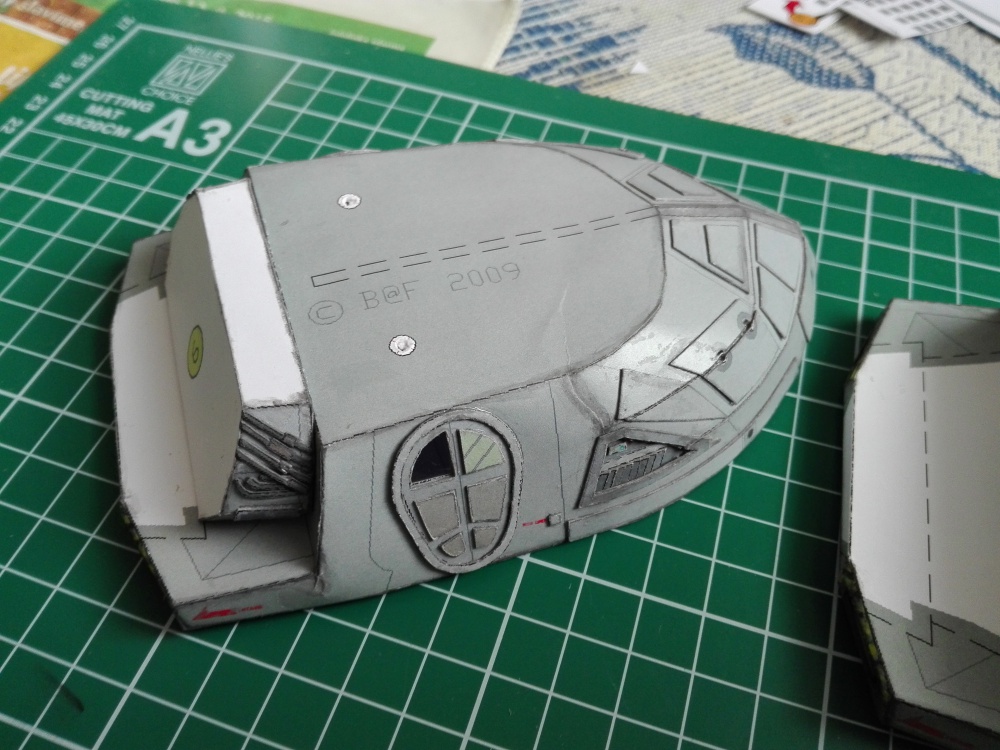 This will be seen on that part of the shuttle
|
| Google Adsense |
|
#16
06-29-2018, 03:14 AM
|
|||
|
|||
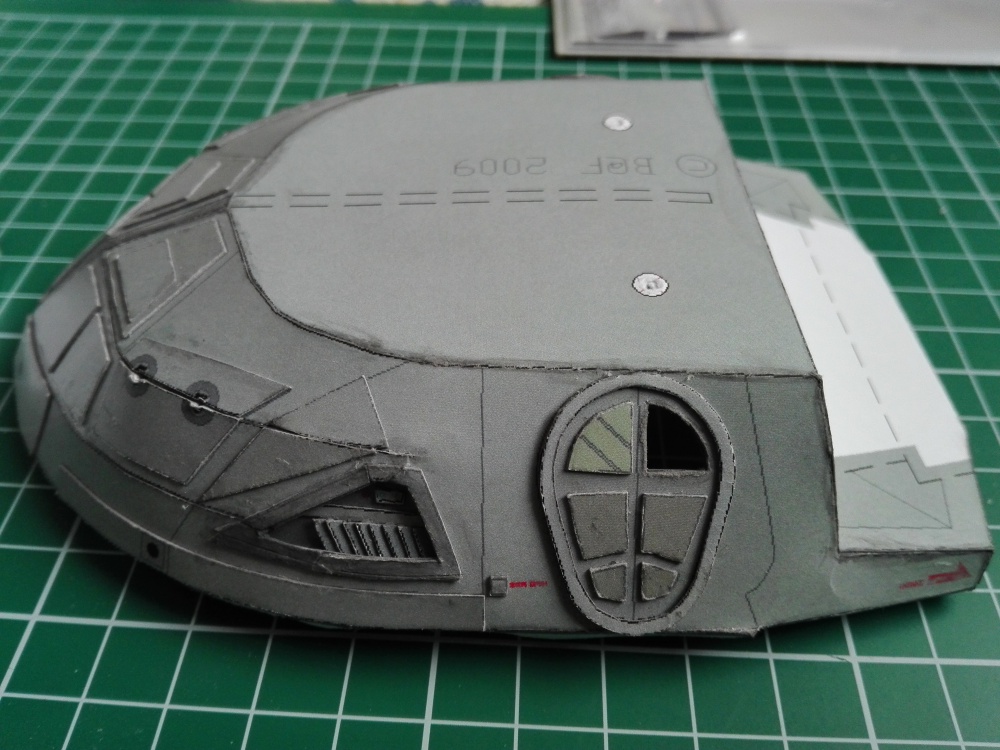
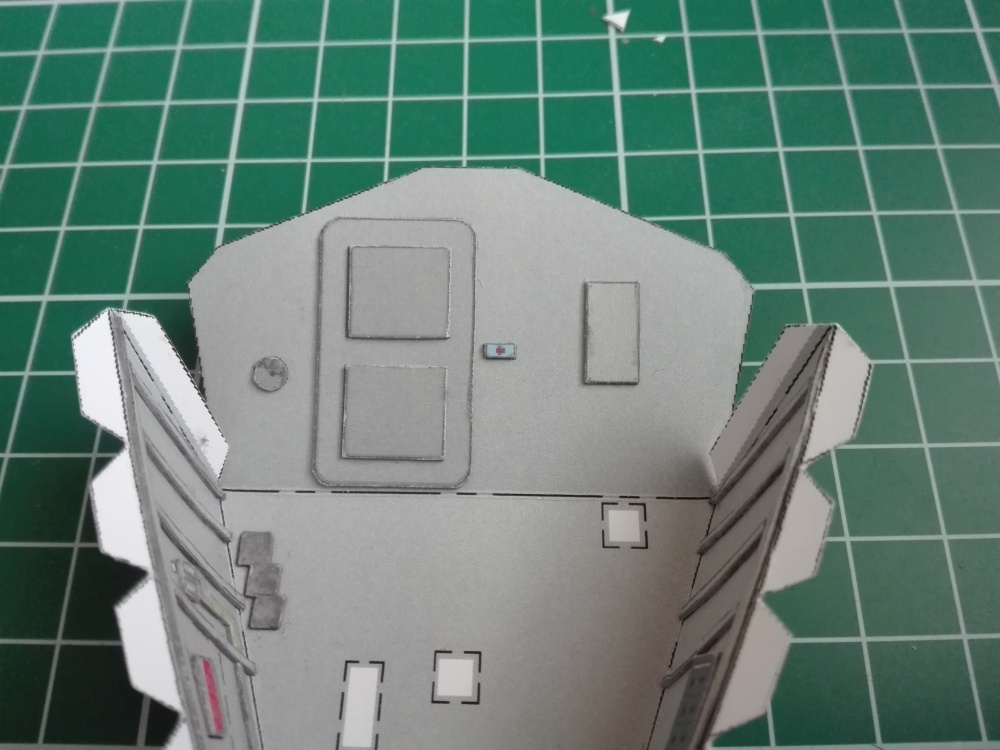
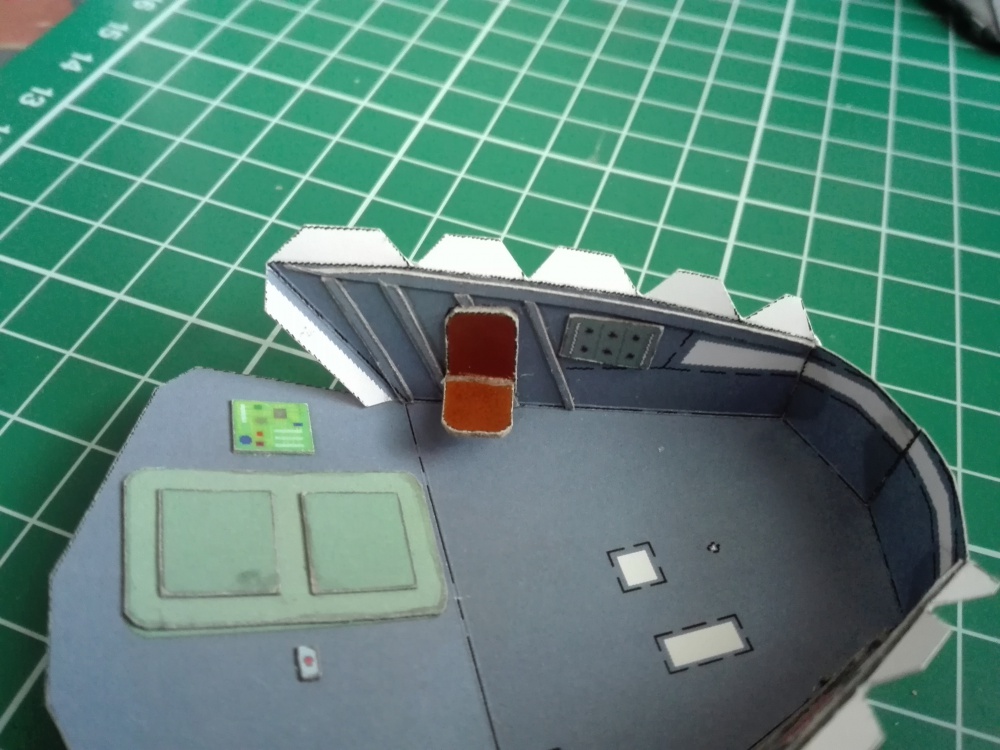
 So after a long time, little progress is being made to continue with the other part of the shuttle named Cabin No.10. The cabin is partially covered with details, and some of them will be added there 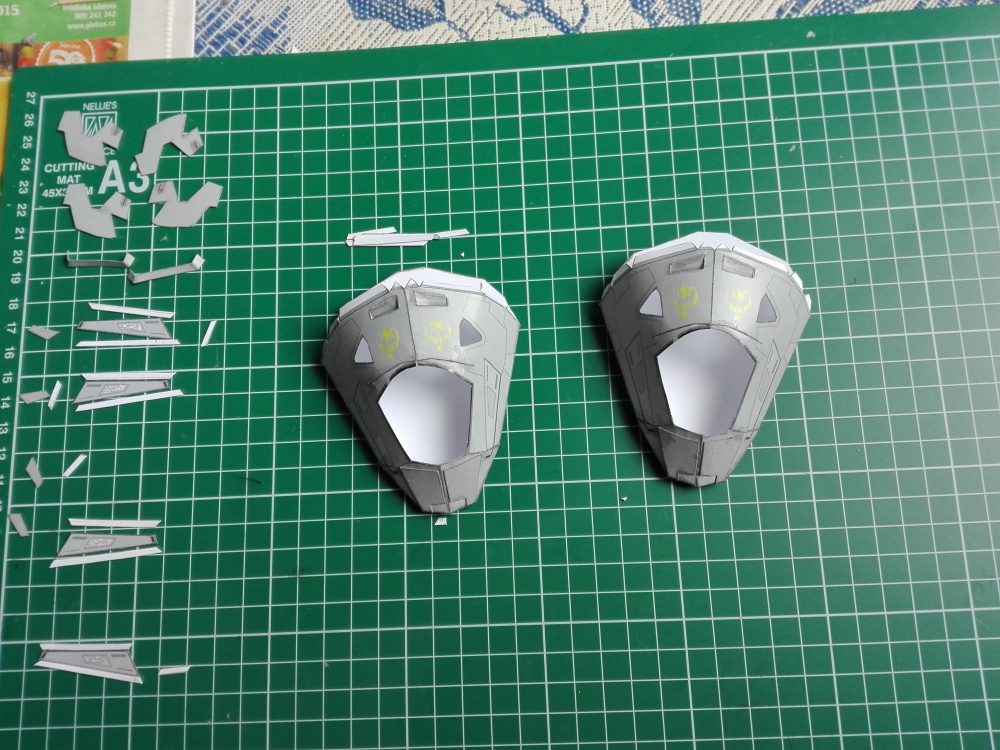 The cab is quite good when the couplings 11,14P + L, 15P + L, 13 are well formed. And I do not use cabin no. 10 of clutch 12 because I'm going to make a glass window cabin So if I'm going to make a window good stick the foil I have carved windows and exhaust slots at the back of the cab
|
|
#17
07-15-2018, 02:47 AM
|
|||
|
|||
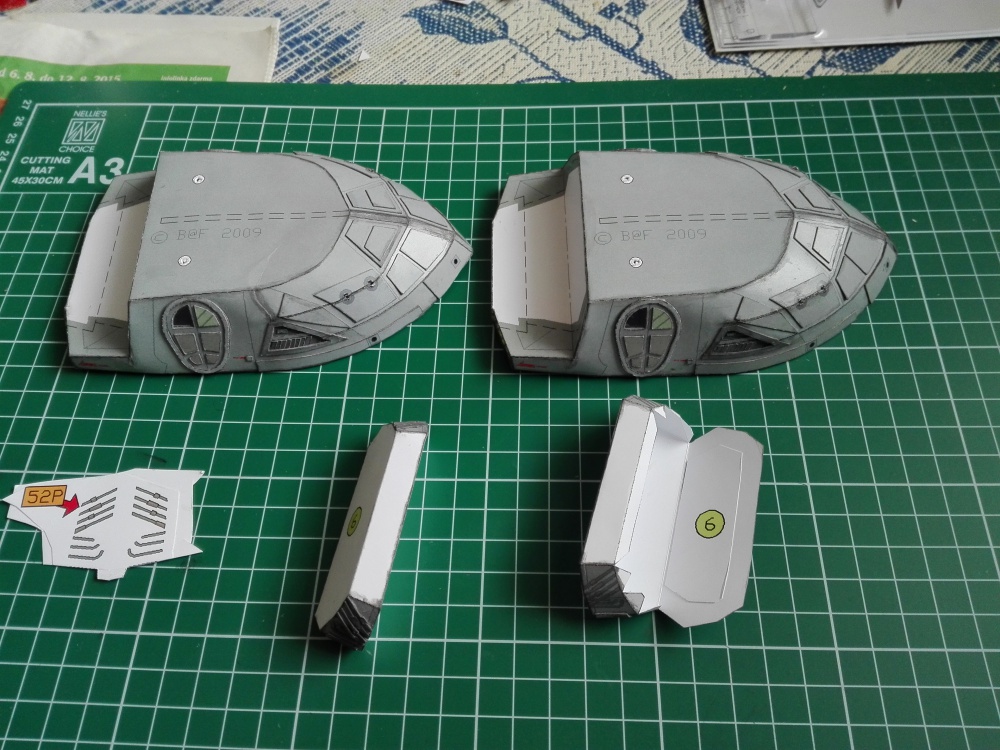
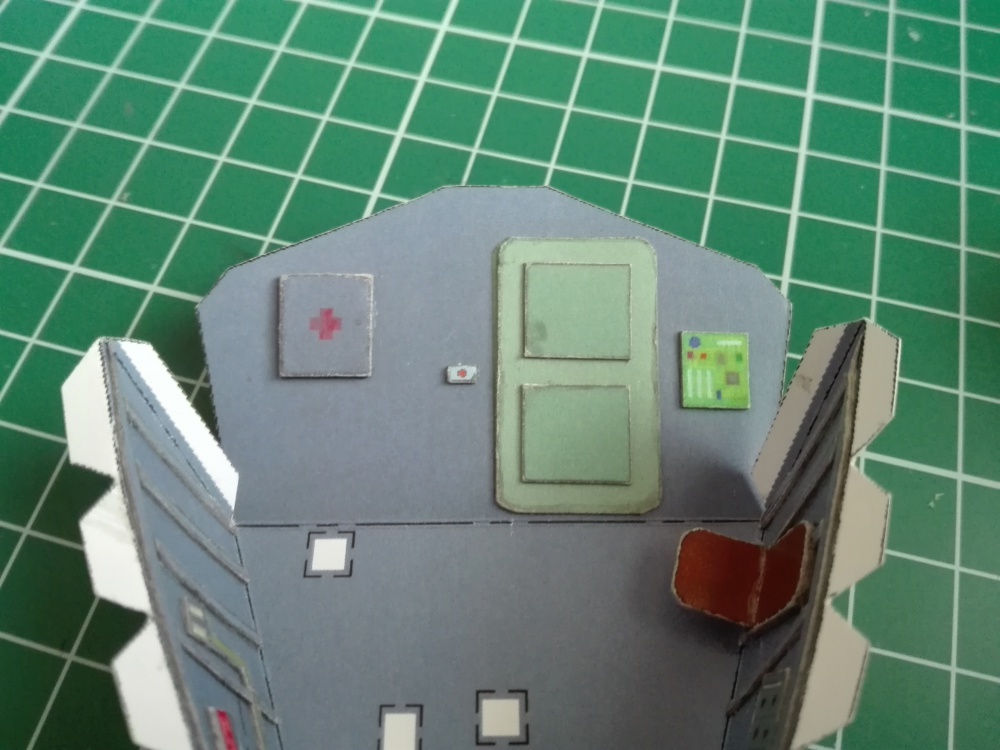
 I slowly advance to the front completely glazed and both pilot booths. Triangular windows at the sides of the shuttle and the front and carved frame of the cockpit 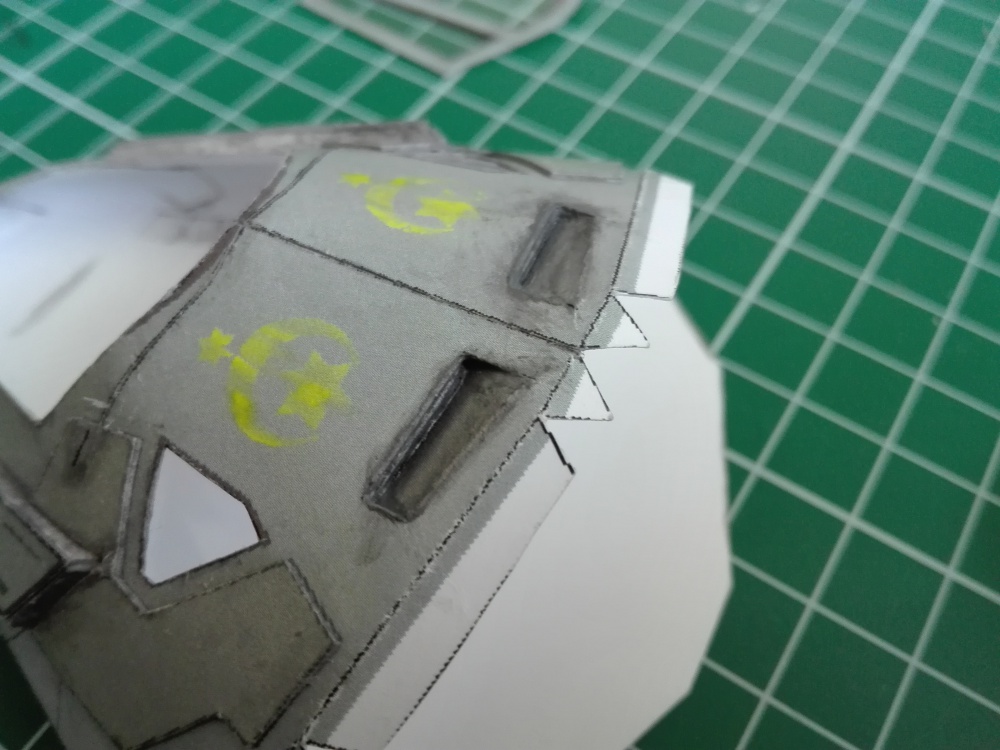 The exhaust slots are glued and other details are there too 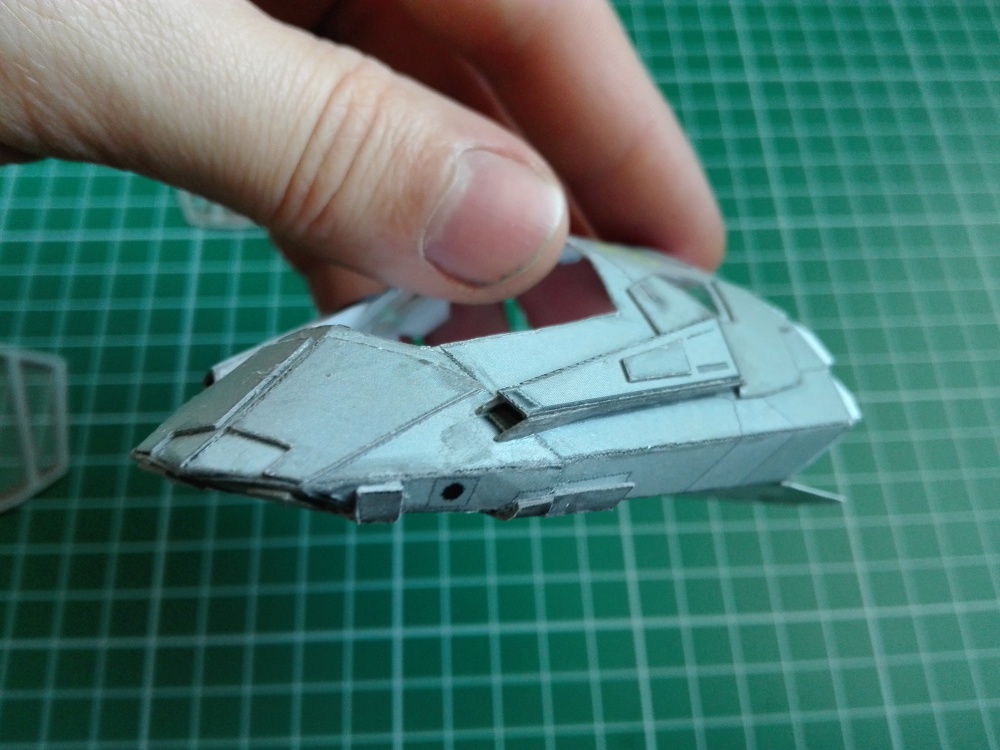 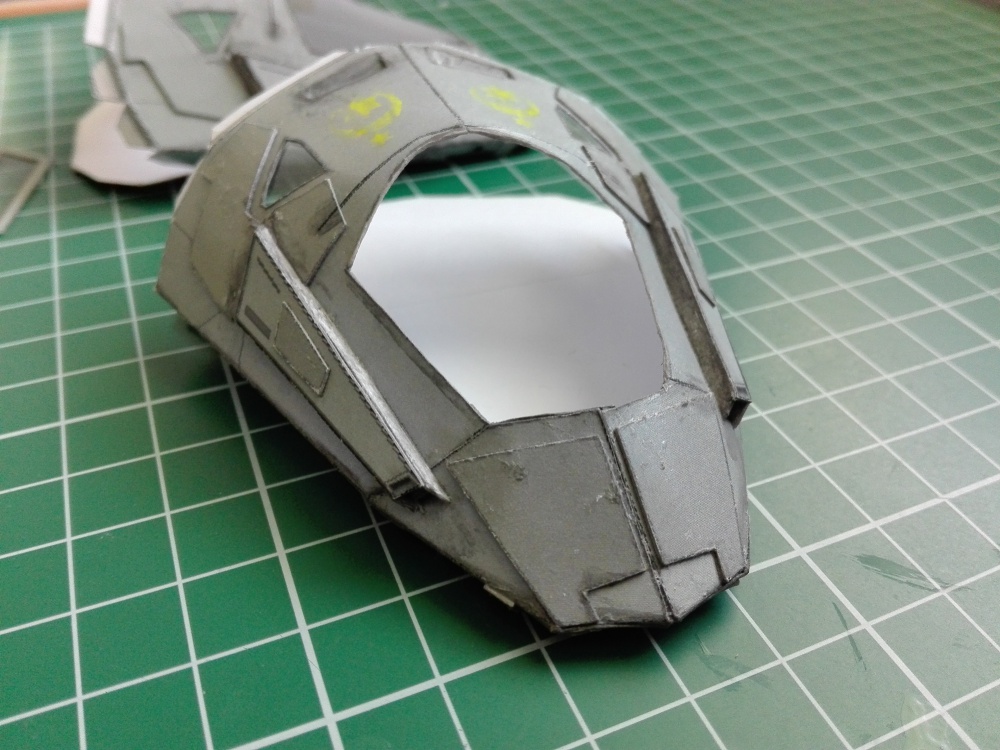 On the front of the shuttle I created two suction holes, I made them a bit realistic
|
|
#18
08-05-2018, 02:10 AM
|
|||
|
|||
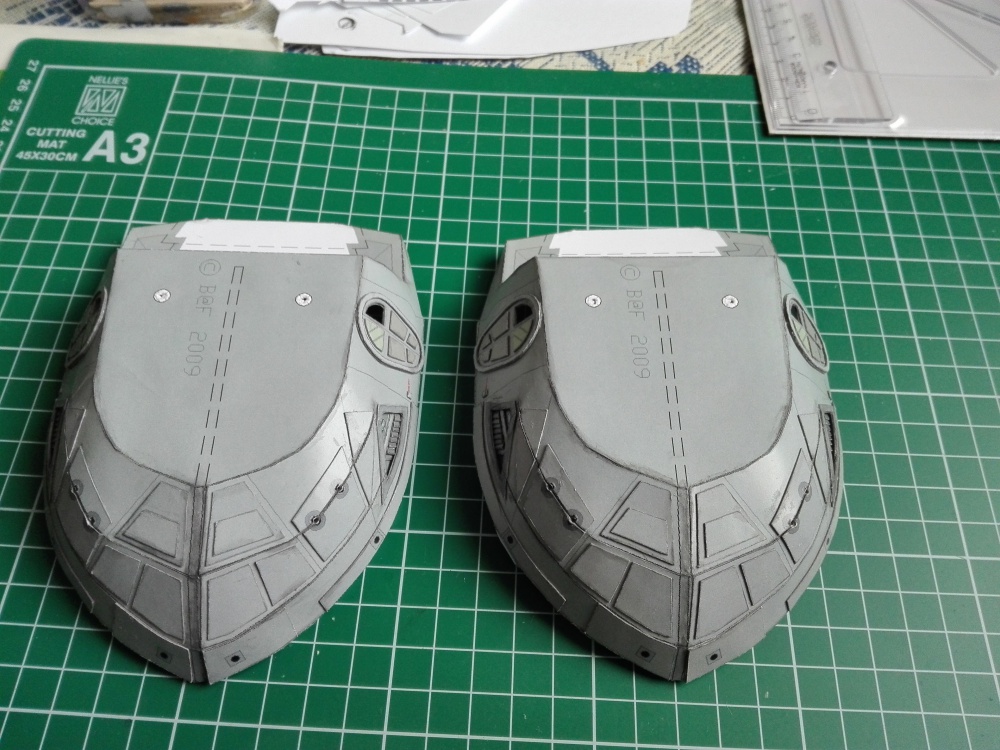
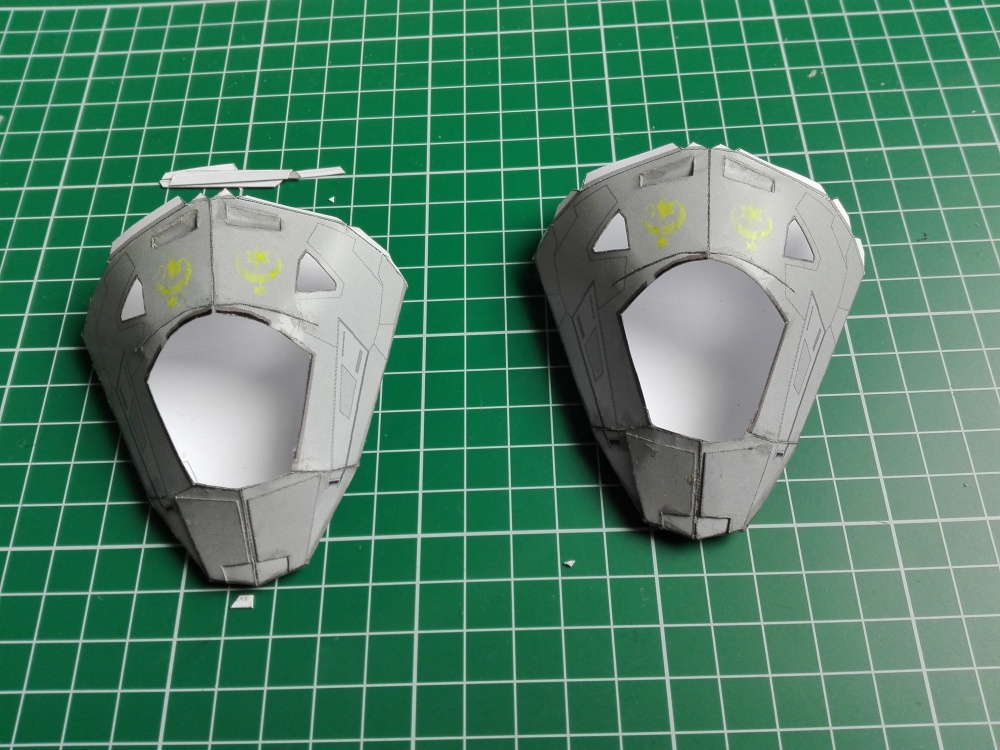
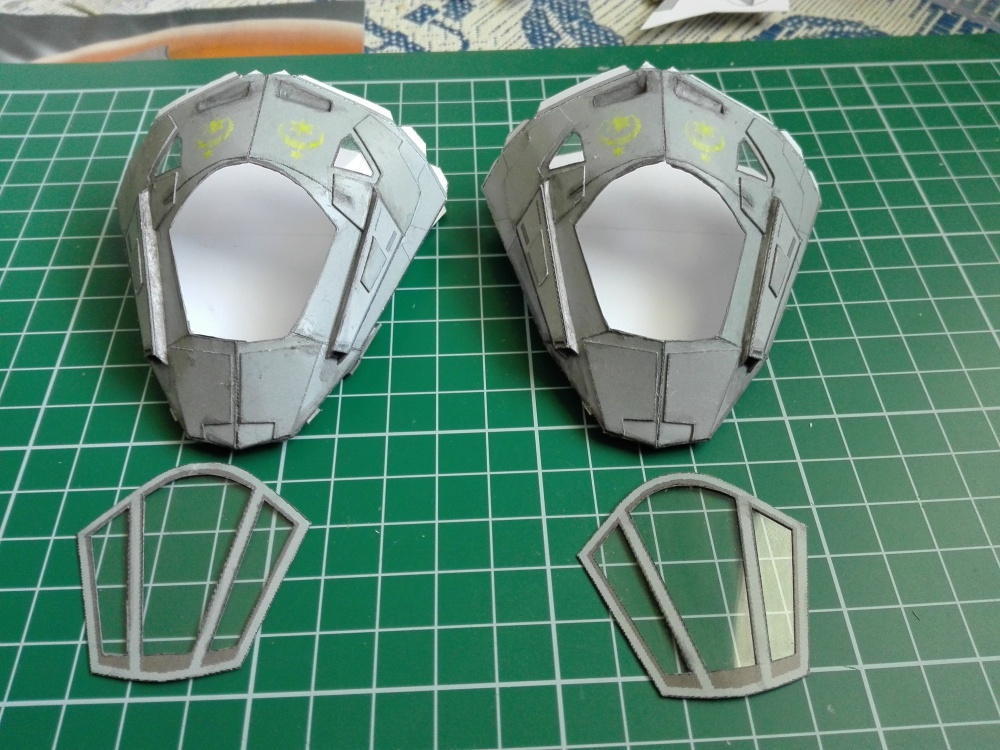
       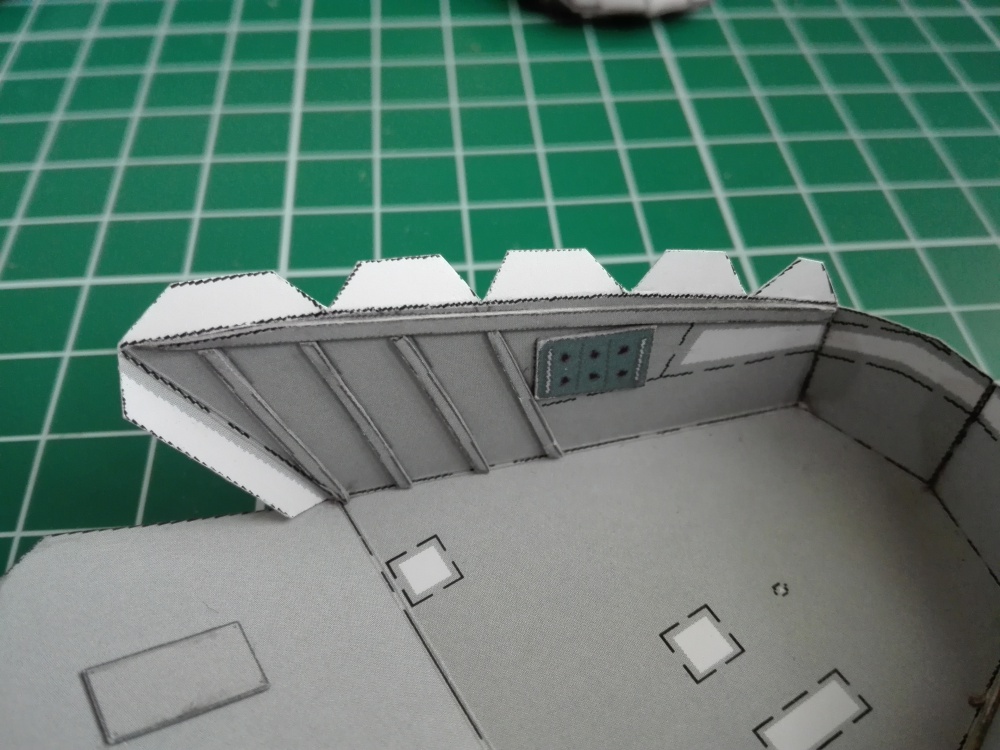 Cockpits for the first and second shuttles are partly equipped with details
|
|
#19
08-29-2018, 01:01 AM
|
|||
|
|||
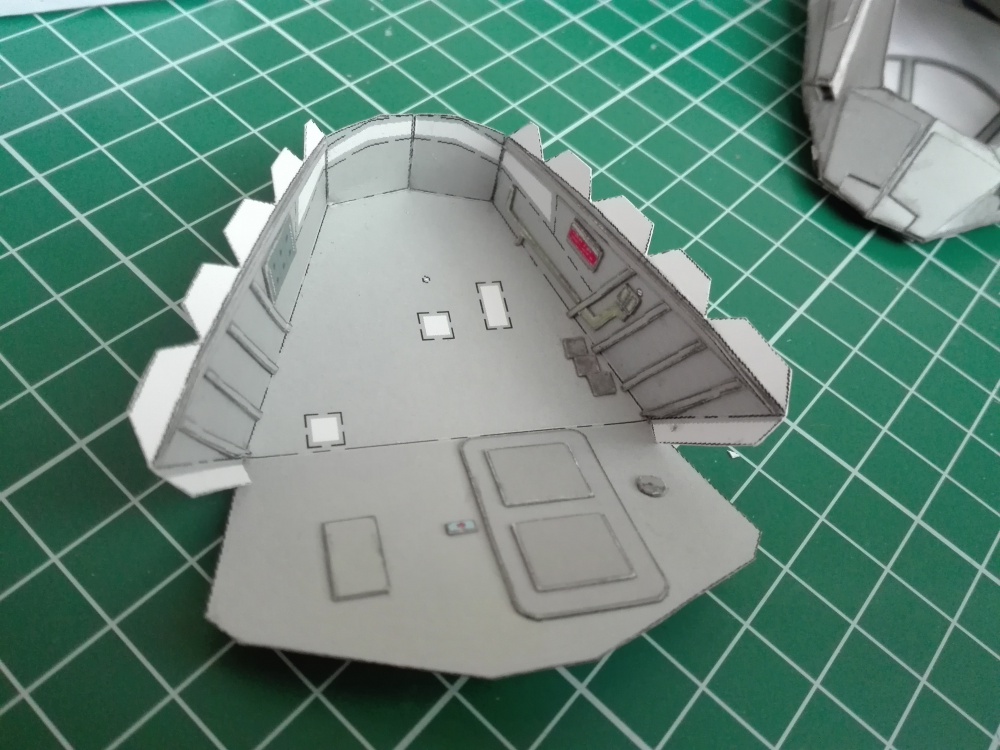
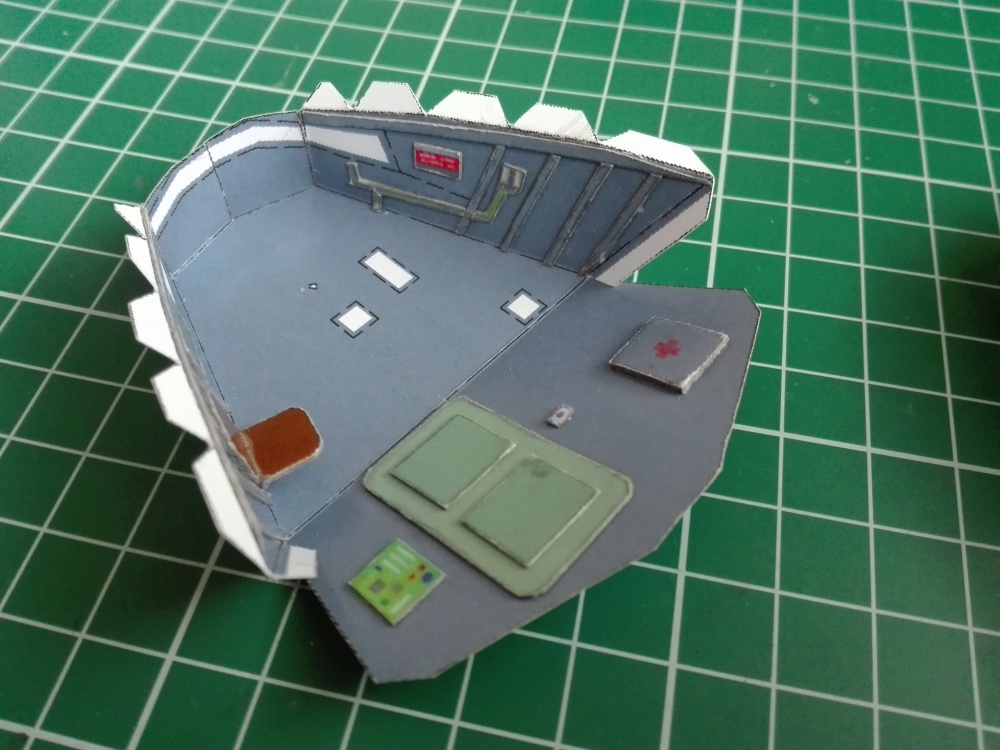
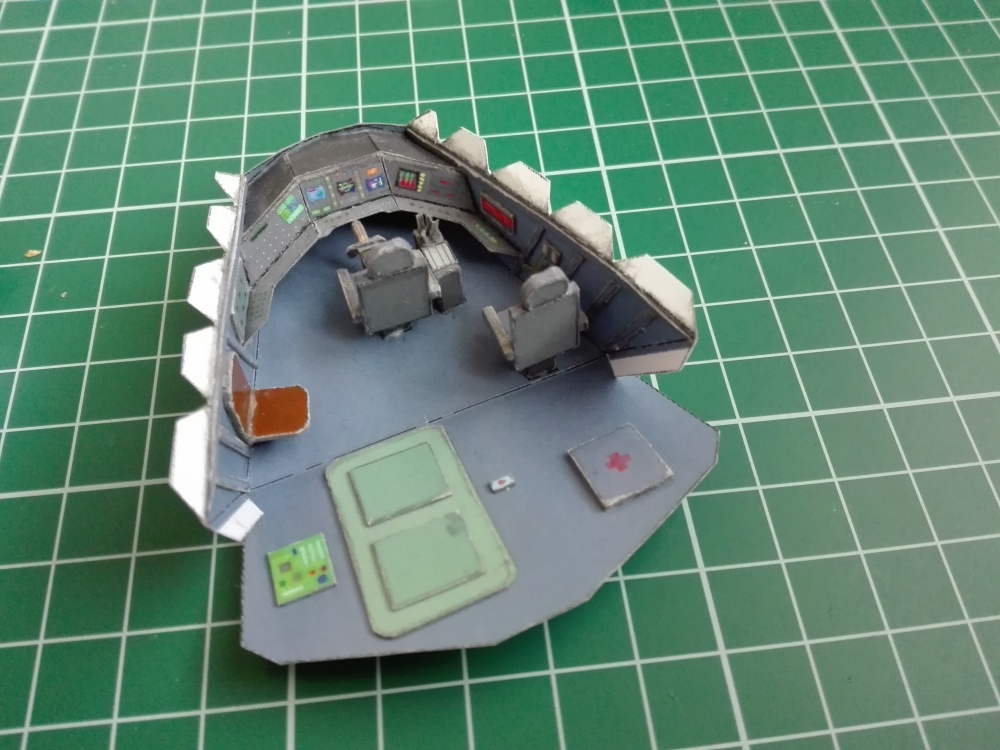  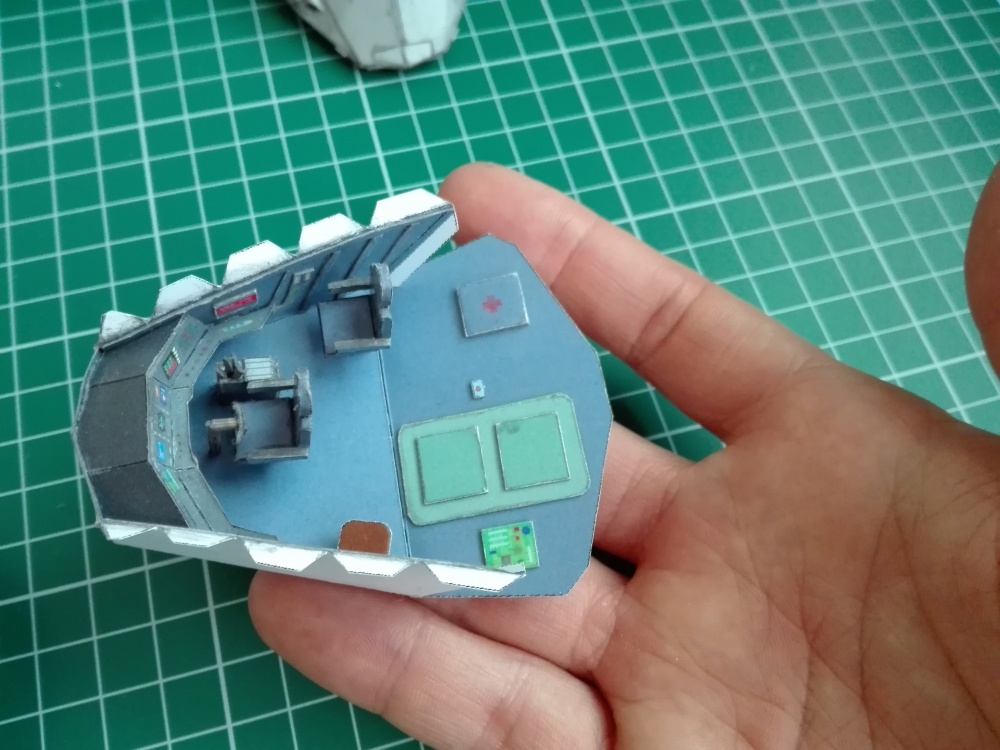 The interior for the first and second shuttles is completed
|
|
#20
08-29-2018, 09:53 AM
|
||||
|
||||
|
Very nice work, sir. Glad to see that things are still progressing
__________________
A fine is a tax when you do wrong. A tax is a fine when you do well.
|
| Google Adsense |
 |
|
|


 Linear Mode

