
 |
|
#1
|
||||
|
||||
|
LeFH 18/40 1:16 DrafModel
Hello guys!!
After half an hours rest....it's time to start the next big project! Since my first model from Draf was IMHO 100% perfectly designed, I just had to make the next model from Rafal as well! This time the LeFh 18/40 (leichte Feldhaubitze 18/40) kal.105mm I will start with the wheels. Here is the drawing. 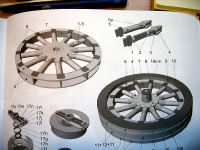 And the parts for ONE wheel ready.....157 parts just for the rim and spokes.. 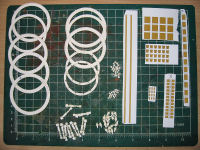 First out are the spokes.Each spoke contains 9 parts. 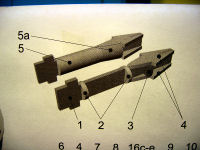 First I assembled the inner structure. 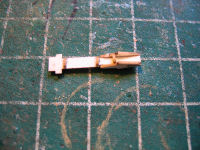 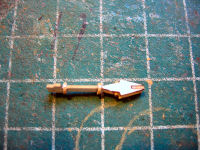 Then I started to put the 3 covers on. 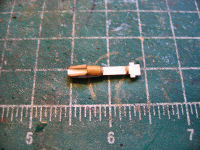 Here are the parts for the front part of the spoke 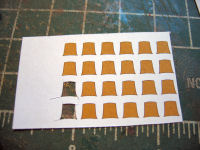 The part is cutted out and I will shape it half tubed 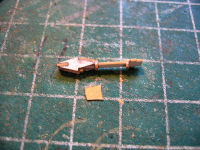 When the two front parts are in place,the tube that will cover the rest of the spoke is shaped 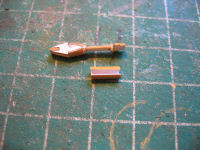 And the spoke is done....11 to go... 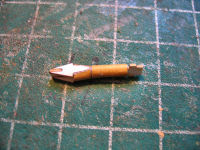
|
| Google Adsense |
|
#2
|
||||
|
||||
|
Good. Another excellent Johnnybuild!
Don |
|
#3
|
||||
|
||||
|
Great job on the spoke!
I appreciate your detailed build pics and steps, they are very helpful. The directions page posted shows nice instruction drawings. The shaded ones offer so much more than the plain drawings. Looking for more! |
|
#4
|
||||
|
||||
|
With all 12 spokes done it was time to put things together.
The spokes are placed into slots in the ring 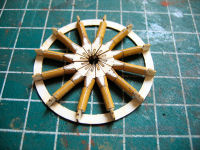 Then the other ring is placed 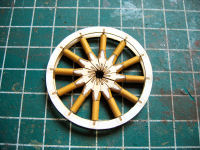 Then it was the inside cover 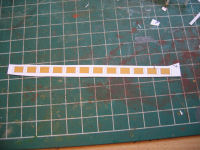 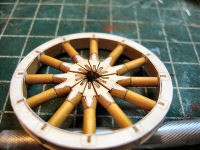 Some parts was to be placed around the root of the spokes. 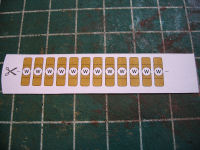 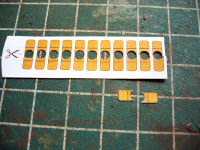 All parts glued in place 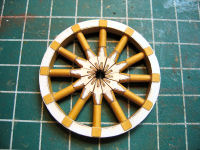 With the center plate in place all got painted and the inner part of the wheel is done. 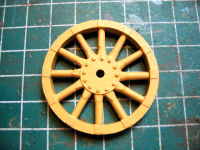
|
|
#5
|
||||
|
||||
|
Incredible!
|
| Google Adsense |
|
#6
|
||||
|
||||
|
Wow, and I was worried about the Bugatti T35 wheel I'm trying to design is looking like it might be 10 or 12 parts. That is just amazing detail and a beautiful job of getting it together and looking great.
|
|
#7
|
|||
|
|||
|
Johnny, I didn't realize that you had a build thread going. Your work is always top notch and worth seeing. And this is an interesting subject. Those spoked wheels are amazing.
Carl |
|
#8
|
||||
|
||||
|
Thanks guys! I'm happy you find this build worth following.
The fit of the parts are so far 100% Continuing with making the outer part of the tyre. First the inside of the rim. 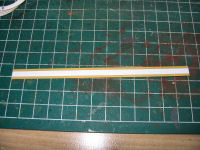 When the inside was on....and it fitted 100% I'm amazed that I didn't have to trim that part,but I glued it butt to butt!! I made the first section of the tyre 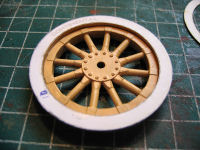 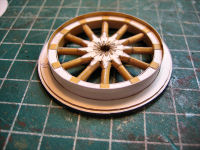 I make one section at the time since I think it's easier to have the roadside of the tyre aligned with it's proper segment....did that make any sence? 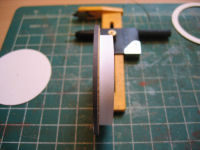 Here is the road part of the tyre.Two smaller strips on each end and one bigger in the middle 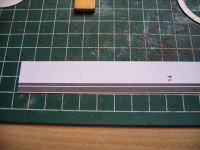 When the roadside was done it was time to strt cutting letters 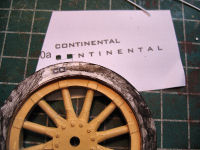 They make a really good 3d effect on the tyreside 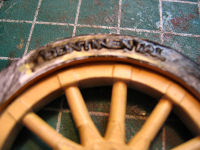 With all letters in place,the tyre was painted again with a new color I got mixed today,and it's finished on this side. 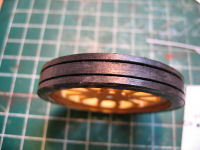 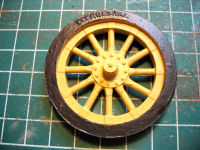 Next will be the brake system. |
|
#9
|
||||
|
||||
|
Very nice! I recently picked up the first Draf gun model from Oldtroll and it's even nice in print that what I saw looking at your build thread for that one! I look forward to seeing yours come together (as with all of your models)

__________________
-Dan |
|
#10
|
||||
|
||||
|
Beautiful work -- and infinite patience and skill of hand, Johnny.
Don |
| Google Adsense |
 |
|
|