


|
|
|
#1
 11-06-2008, 11:52 PM
|
||||
|
||||
|
GPM M4A3 Sherman
After a few weeks trying to decide what to build next, I finally made a choice, GPM's M4A3 Sherman. When I found this model at the IPMC I just had to have it.
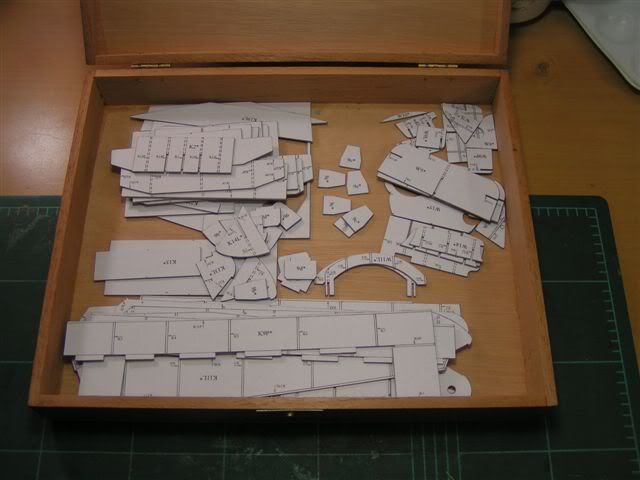
Earlier this week I had to report for Jury Duty. Knowing that I would need something to pass the time, I took this model along with me. As I sat there in the Jury room with about 90 other people, who also had nothing to do but wait for their number to be called, I read over the instruction page (yes, there is an English translation printed in this one), studied the illustrations and part sheets inside and out, flipping back and forth from front to back then again from back to front, over and over again, all day long. I think I built the whole thing in my head about 5 times that day. As luck would have it I was not chosen as one of the fourteen for this trial and was released later that night not having to return. My civic duty was done! So here we go.... 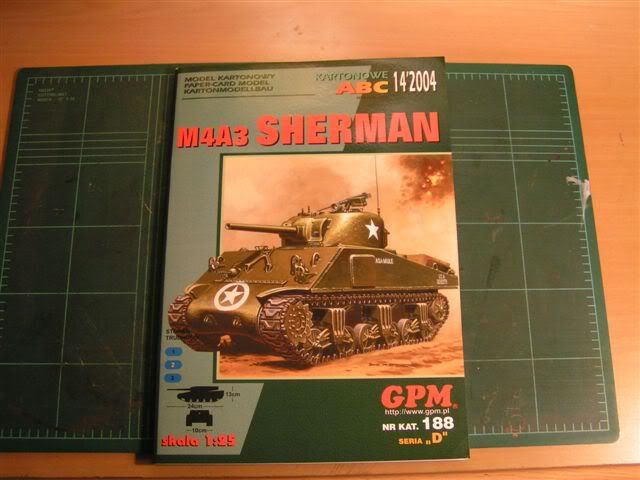 I mounted all of the internal formers onto the chipboard backer from my desk calendar at work, I figured the year is almost over now and I'll be getting a new one an a few weeks anyway so I tore it off and took it home with me. This grey chipboard appears to be just the right thickness for the job. 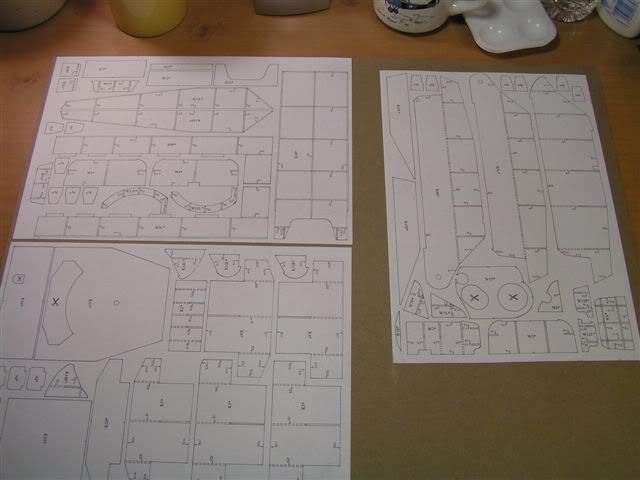 The three part sheets were mounted to the backer board using 3M Super 77 spray adhesive. I don't trust any other brand for this type of work. This stuff will not delaminate, once it's stuck, it's stuck, I don't think it will ever come apart. 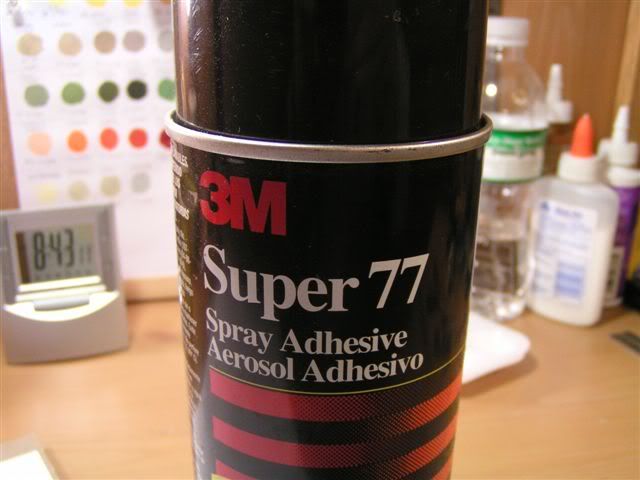 Just make sure you use this spray in a room that has good ventilation, it has a pretty strong odor and can stink up the house pretty quickly. Also, when using this, I place the sheet that I'm spraying in the lid from an old paper carton, that way it keeps the overspray from going all over the place and sticking to everything. 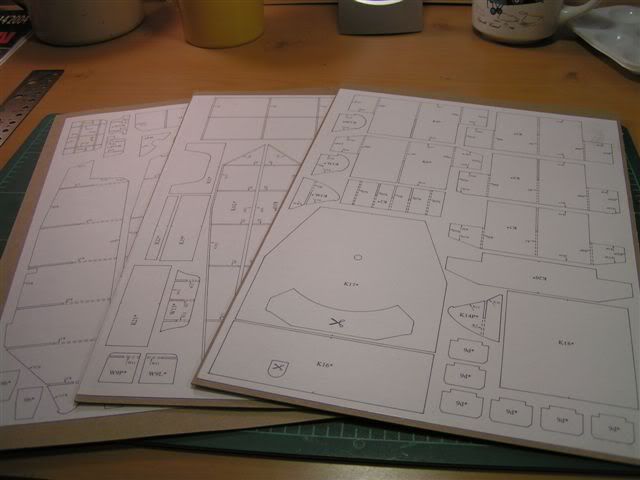 Sheets are cut down and ready to begin cutting out individual parts. 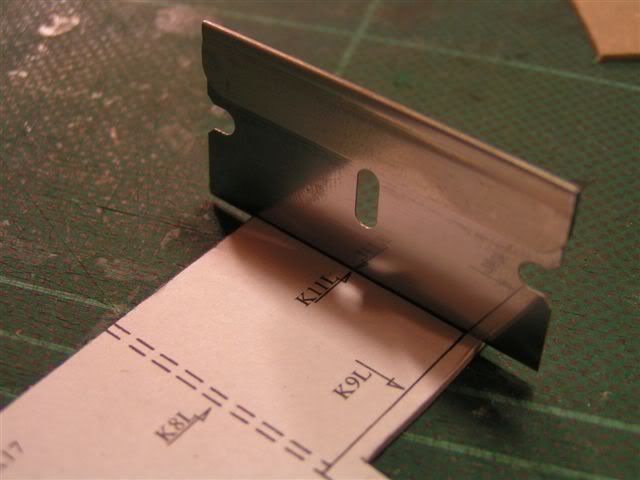 Here I employ the use of a single edge razor, as I have done many times in the past, to cut out the internal frame work of the Sherman. Tapping the top of the razor blade with a small tack hammer makes quick clean cuts through the heavy laminated sheets. 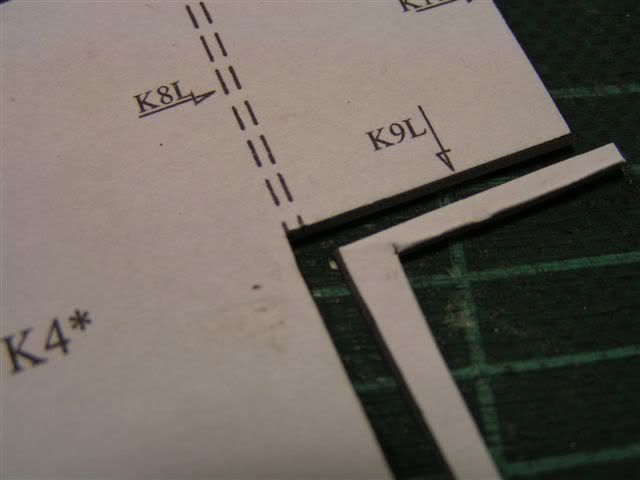 Here you can see the result of using this technique. By holding the razor at 90 degrees to the cutting surface you end up with perfect perpendicular cuts. 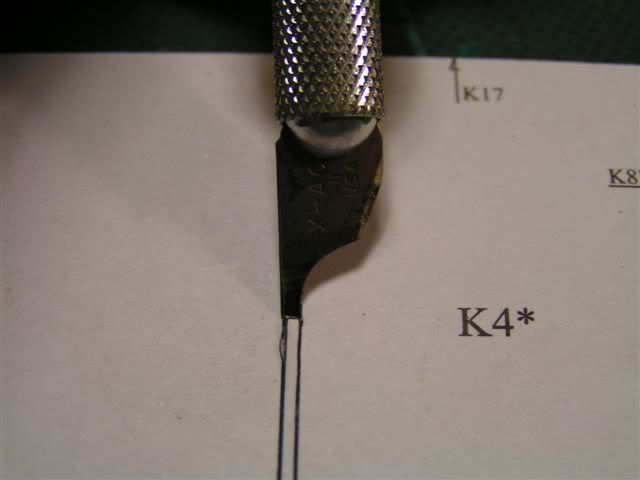 Here is a little homemade chisel blade that I am using to remove the slots from the formers. These blades can be ground to any width by using a rotary tool. That's it for now, one parts sheet down, two to go. Hopefully I can begin gluing the parts together before too long. 
|
| Google Adsense |
|
#2
11-07-2008, 01:18 AM
|
||||
|
||||
|
Looking forward to your build of this one Kevin!!
|
|
#3
11-07-2008, 06:10 AM
|
||||
|
||||
|
I saw you walk out the door with this one, Kevin, and I'm glad to see it under construction. With your excellent step-by-step photos of your techniques, I plan to learn a lot while I watch this Sherman take shape.
After you left the convention last Saturday, Rick found another GPM model for you in Pete's pile -- a Dragon Wagon. I can see the diorama now! Don
|
|
#5
11-15-2008, 07:05 PM
|
||||
|
||||
|
Hull goes together
Finally finished cutting out all of the laminated pieces for the hull
 Made up a sheet of gussets that I used to make sure ribs are glued square and also help to add some extra stiffness. 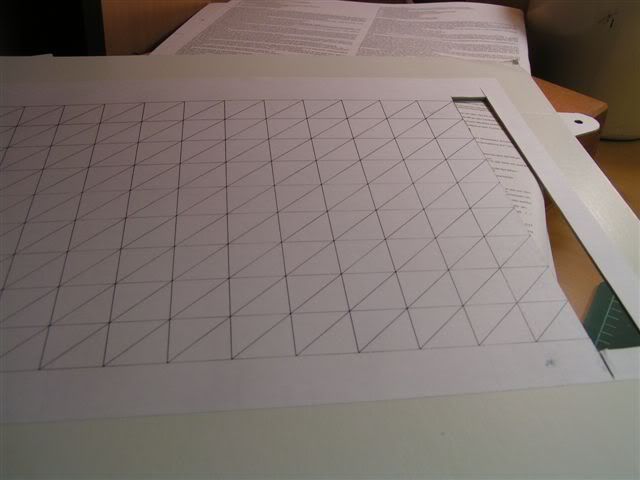 Hull is beginning to take shape... you can see I added the gussets along the center 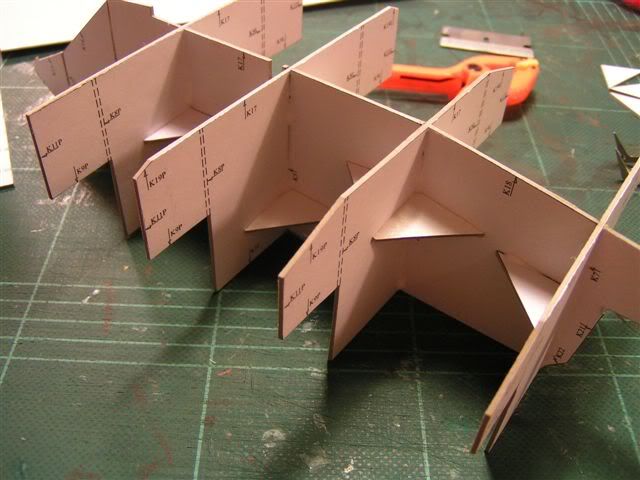 Internal structure is complete, now I just have to add the outside pieces. 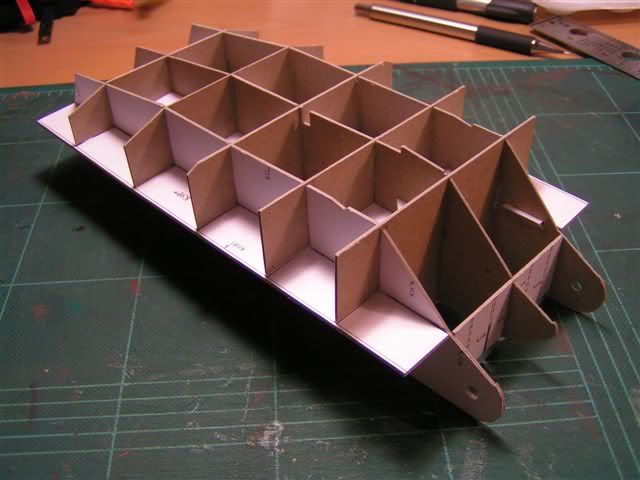 Hull with the outside panels glued in place. Top and Bottom   Used some latex wood filler to fill the gaps along the joints 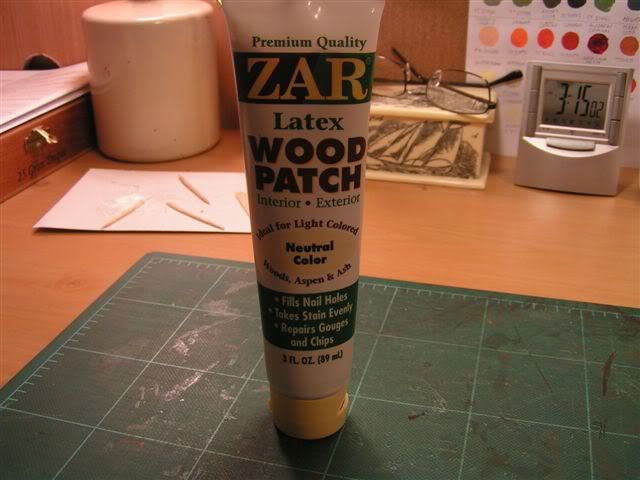 Applied filler to the gaps using a paint knife. 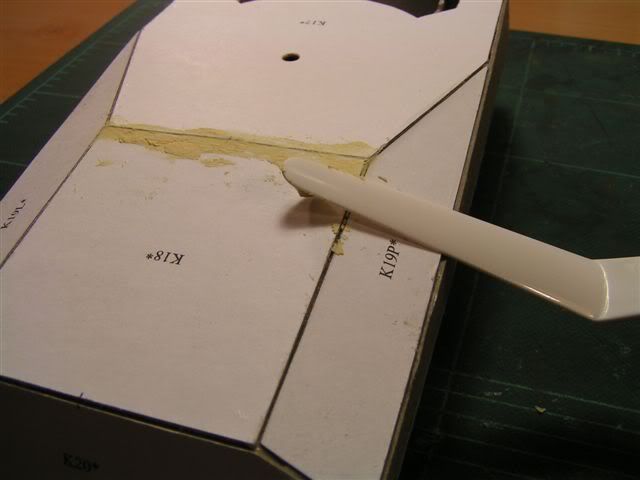 Ready to be sanded down... 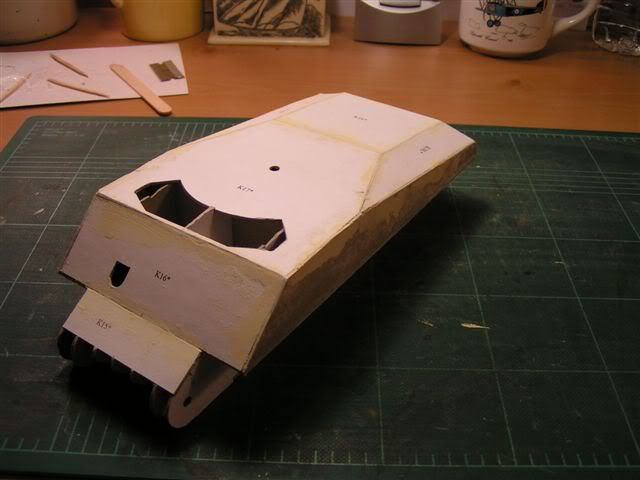 After sanding, I painted the entire hull using a custom mix from my local hardware store (I took Johnny's advice here) It may be a bit of over kill, but I have a lot of paint and I figured it would help seal the surface of the paper. 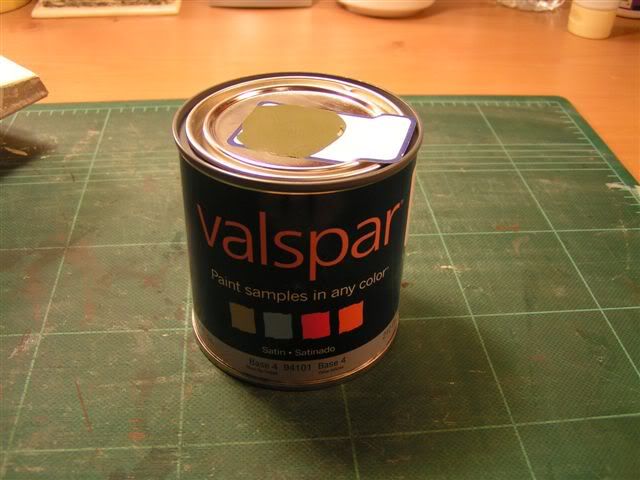 Finished hull assembly ready to be skinned. 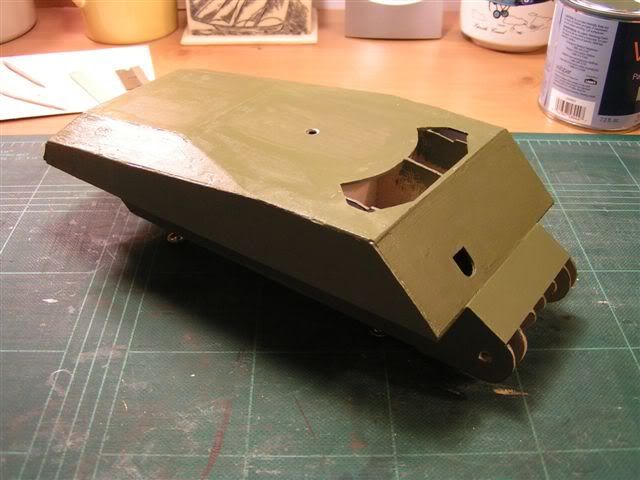 Thats it for now. Next I have to cover the hull and then start building the running gear.
|
| Google Adsense |
|
#6
11-15-2008, 08:11 PM
|
|||
|
|||
|
Looks like this will be one really armored Sherman
 I'm guessing that the painted framework should help avoid white areas between skin joints, if they occur?
__________________
Constructive criticism of my builds is welcome - if I messed up and allowed others to see it, I certainly deserve it Michael Krol
|
|
#9
11-16-2008, 05:29 AM
|
||||
|
||||
|
Nice!! The hull sure looks good!!
|
|
#10
11-16-2008, 06:11 AM
|
||||
|
||||
|
I too have begun to mount this model but do not quite understand the instructions in English. I will sure your mount to help me.
__________________
Pardon by my English, I use the translator on line.
|
| Google Adsense |
 |
|
|


 Linear Mode

