


|
|
|
#21
 12-28-2012, 06:12 PM
|
||||
|
||||
|
Quote:
Coloring the white tabs with acrylic paint has made a great improvement in the appearance of the first turret. Since it would be nice to have more than one French tank for gaming, the second turret will be used for a second tank. The cannon part looks like it has a green tab on top. Was that tab supposed to be white ? 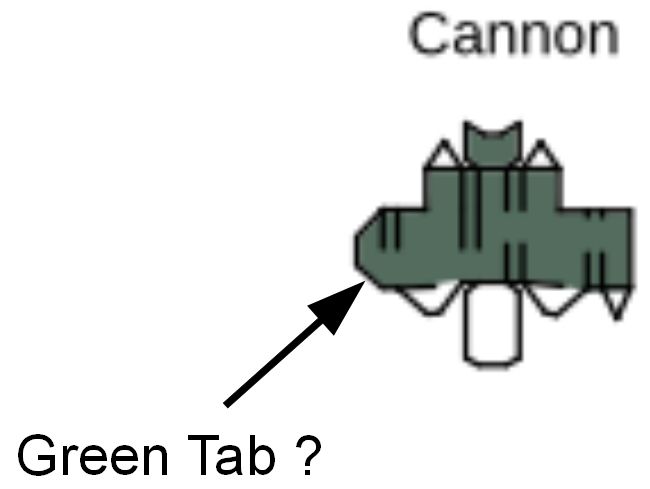

|
|
#22
12-28-2012, 11:26 PM
|
||||
|
||||
|
Here we have a side view of the nearly finished tank.
A small tool box and a (muffler ?) have been attached on the left fender. A piece of grass stem was used for the cannon. Before the machine gun box was glued together, a pinhole was placed at the location of the MG muzzle. The pinhole was a mistake. It weakened the cardstock which made construction more difficult and glue filled the pinhole making the effort worthless. The MG muzzle will be drilled out with a tiny drill. The second turret cupola now has a nice round top. Many white edges need to be touched up with acrylic paint. 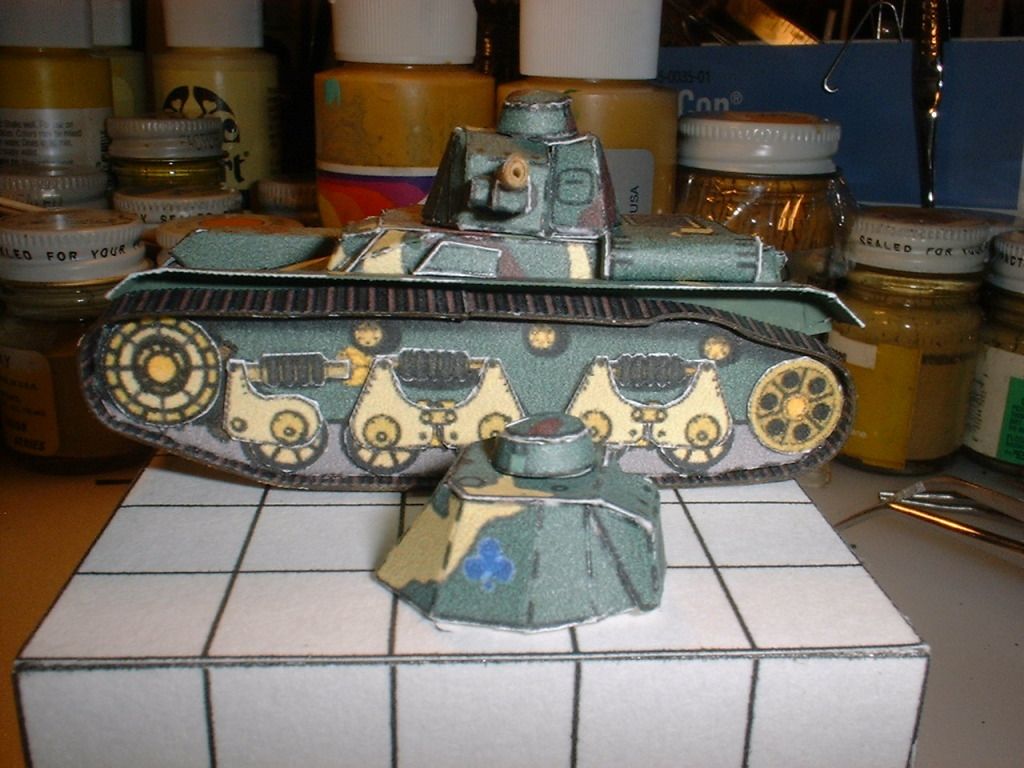
|
|
#23
12-28-2012, 11:37 PM
|
||||
|
||||
|
This is the rear view.
The rear axle covers, spare wheel and small exhaust port have been attached to the rear. It can be seen that the cannon is too long and needs to be cut off flush with the end of the cannon mount. If that dry brittle grass stem splinters when I cut it, the cannon will be ruined. 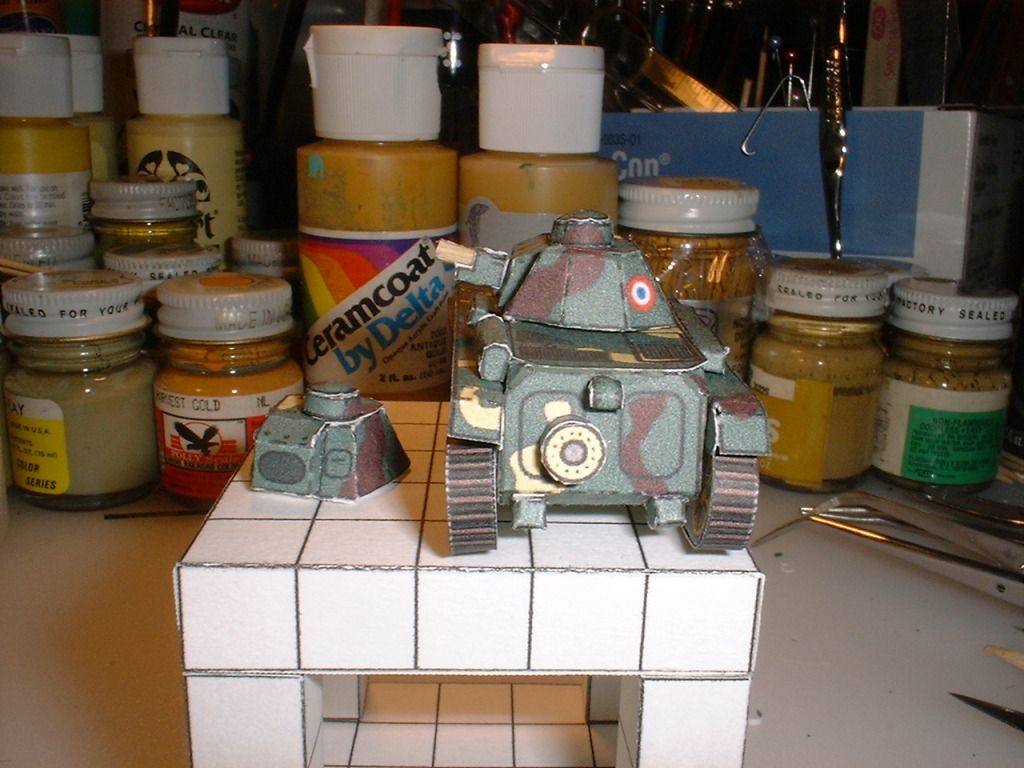
|
|
#24
12-28-2012, 11:49 PM
|
||||
|
||||
|
Top View.
The green tab on the cannon mount was folded over the straight edge. This should appear to be rounded after touch up. A long tool box has been attached on top of the right fender. I am considering using a piece of paper clip for the exhaust pipe between the exhaust port on the rear and the muffler on the right fender. The black line on the first cupola top was slit; the black line on the second cupola top was cut out. Did not seem to make much difference, they both came out round. 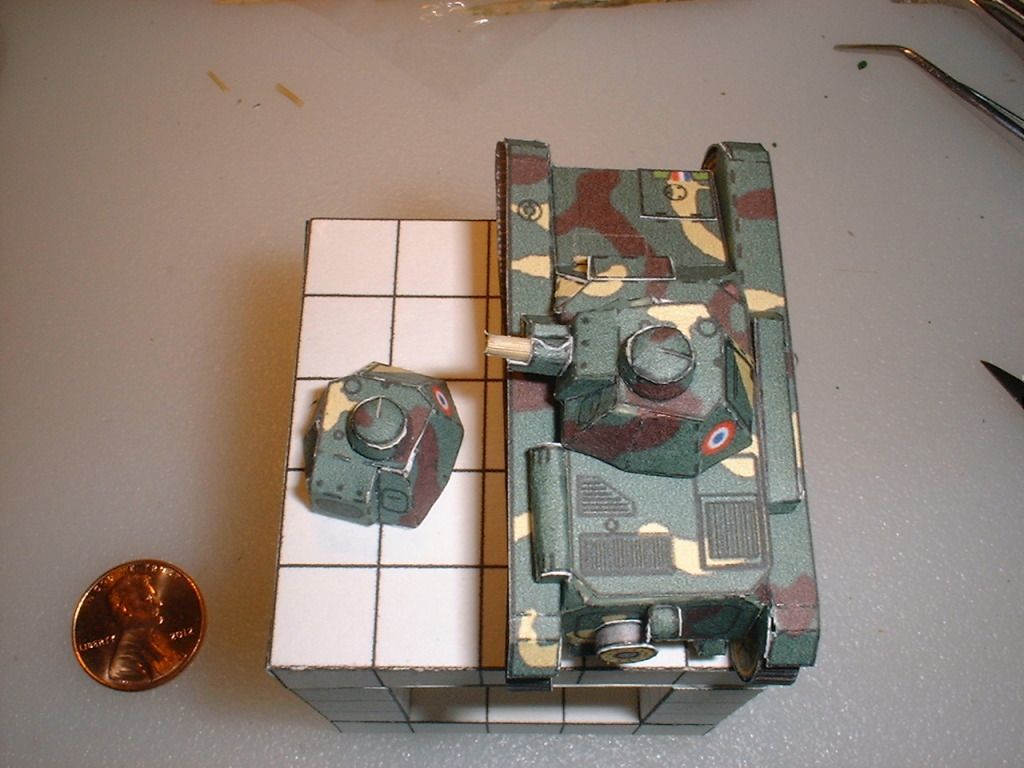
|
|
#25
12-31-2012, 10:42 PM
|
||||
|
||||
|
Here is the finished Renault R-35 compared with my only other French vehicle, a Panhard AMD 178 by Satoshi Yoshioka.
Seems strange that an armored car would be taller and longer than a tank, but it was. The exhaust pipes were formed from a paper clip and painted boxcar red to simulate a rusty exhaust pipe. Yellow touch up was done with a mixture of Lemonade by FolkArt and Manticora Tan by Polly S. The mixture was not perfect but close enough to make the white tabs disappear. The hull of a second tank has started to take shape on the scale cube. 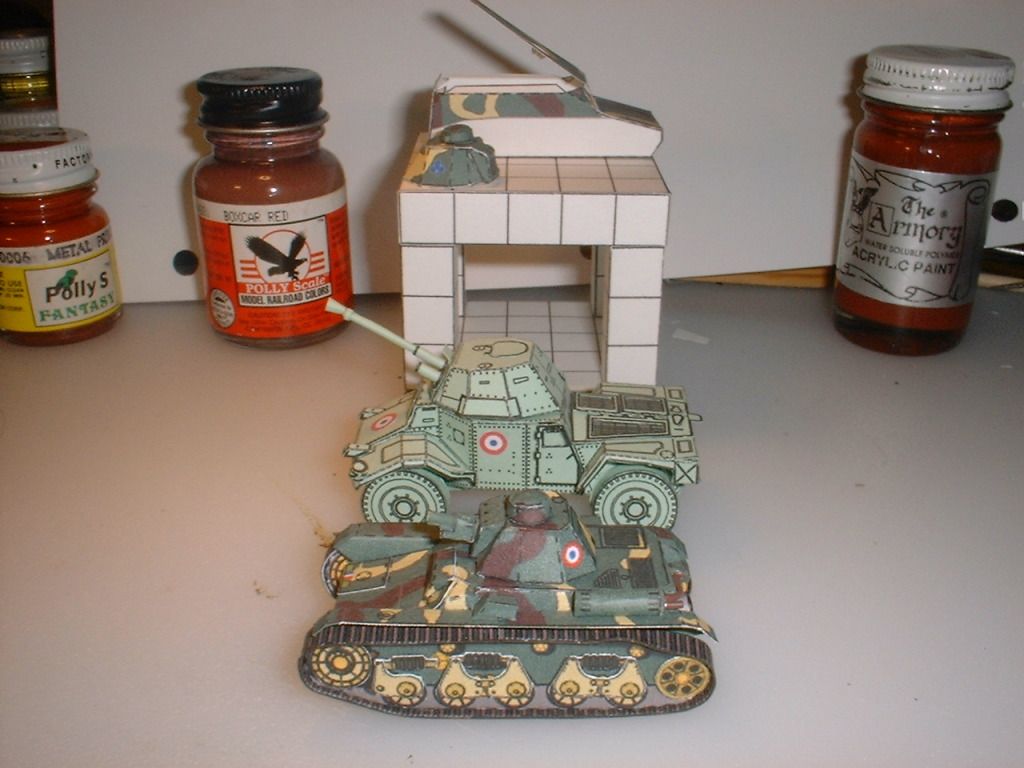
|
| Google Adsense |
|
#26
12-31-2012, 10:47 PM
|
||||
|
||||
|
The rear view shows better detail of the exhaust system.
Had trouble with the tracks toeing in. Will try to correct that in the second build. Still need to try to cut the barrel to the correct length. Had to order a special saw blade for my Dremel tool and will wait for several days before it arrives. 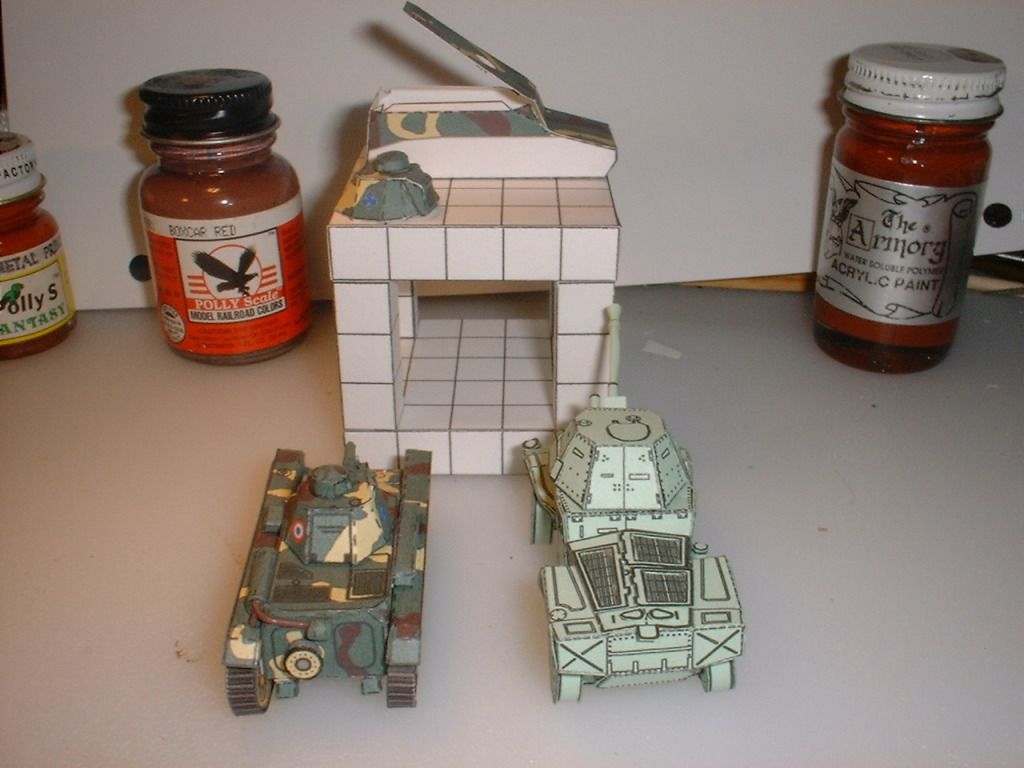
|
|
#28
01-01-2013, 11:24 AM
|
||||
|
||||
|
Final Summary:
The model by Jmodule is well designed and does not need any major changes. It would be nice to have locations of valley folds and no folds on the parts sheet. Perhaps, "Renault R-35" and "Designed by Jakim Friant" could be printed on the bottom of the hull. I thank Jmodule for allowing me to build his Renault R35 model. It is a rare treat to build French armor in 1/72 scale. The Renault R-35 is a valuable addition to my collection of 1/72 scale AFV's used to game WW II using the Battleground rules by Easy Eights. This is a view of the bottom and shows a green label added so that I will know which tank it is when I look at it in a couple of years. 
|
|
#29
01-06-2013, 03:54 PM
|
||||
|
||||
|
The saw blade for the Dremel arrived and I cut the grass-stem barrel on the first turret.
It worked well, sliced through the grass-stem like a hot knife through butter. The brittle grass stem did not shatter or splinter. Also tried rolling three gun barrels for the second turret out of paper and cardstock. Was not satisfied with any of them and used a second grass stem instead. 
|
|
#30
01-10-2013, 04:20 PM
|
||||
|
||||
|
I have built a second tank which is a simplified version of the first tank.
Tool boxes, spare wheel and exhaust system were omitted to speed up the build. While doing the second tank, I realized that the camouflage on the fenders should match the camouflage on the hull. It was too late to fix the 1st and 2nd tanks but I will keep that in mind for the 3rd and 4th tanks.  With this tank, make sure that the camoflage on different parts lines up. If it does not line up, the part is probably on wrong. Last edited by Zakopious; 01-10-2013 at 04:56 PM.
|
| Google Adsense |
 |
|
|


 Linear Mode

