


|
|
|
#1
 07-13-2009, 12:59 PM
|
||||
|
||||
|
PzKpfw VI Tiger I 1:25 Kartonowy Arsenal 6-7/98
Hello all. This is my first post on this forum. I'm currently building Halinski Tiger I and here's my progress so far. I hope you'll like it.
  Torsion bars 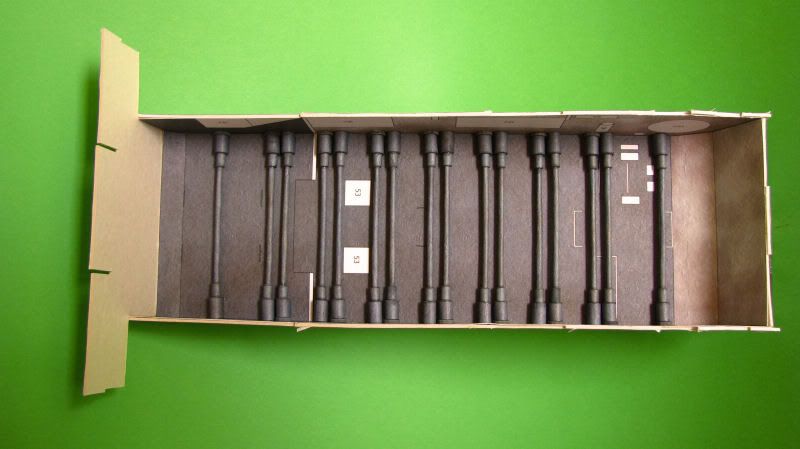 Driver compartment 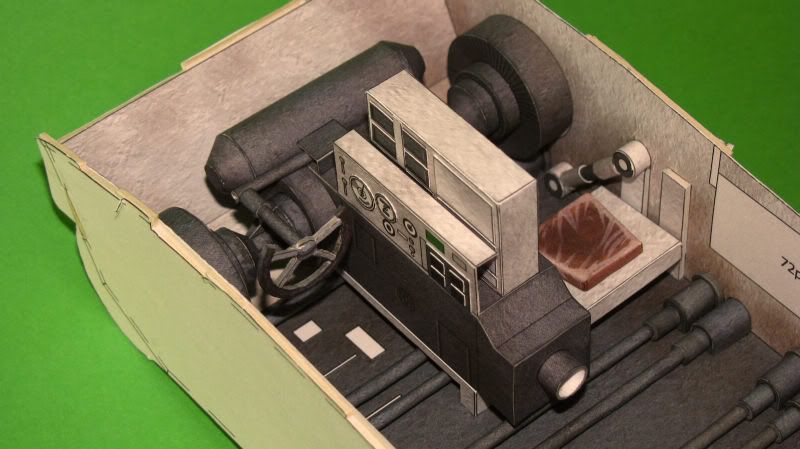 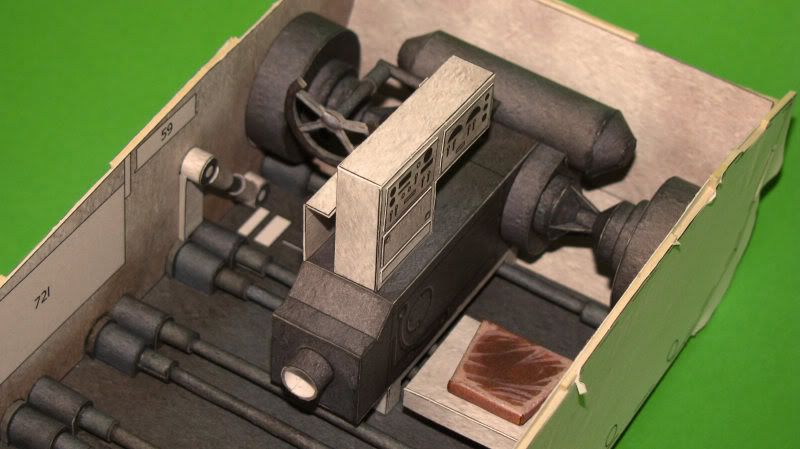 I noticed at this time that parts that should be grouped are scattered through different pages, which makes searching for required parts a bit difficult. It's so probably because the model was published 11 years ago. Engine with some mistakes I couldn't avoid 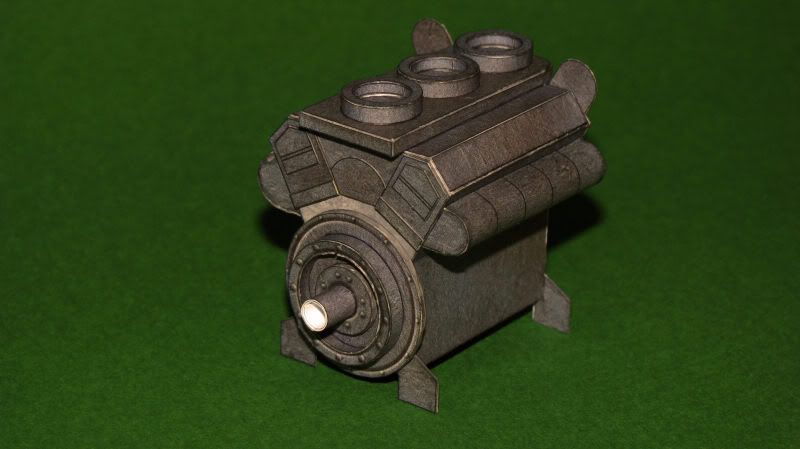 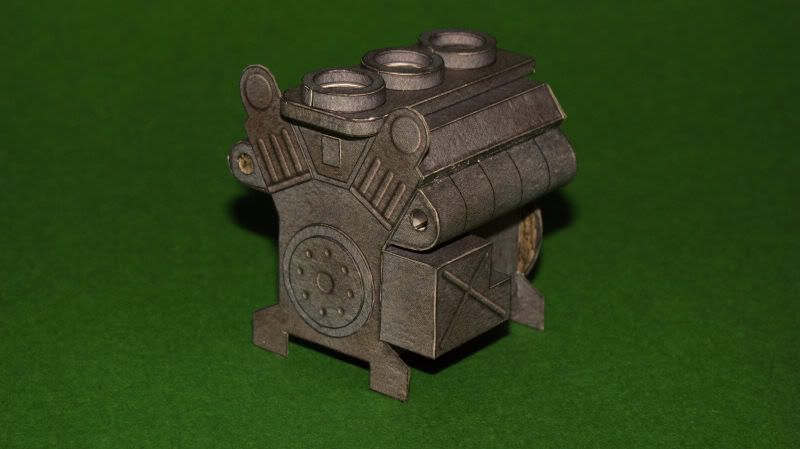 Finished engine compartment. Some parts have mistakes, like white areas that other parts do not cover. 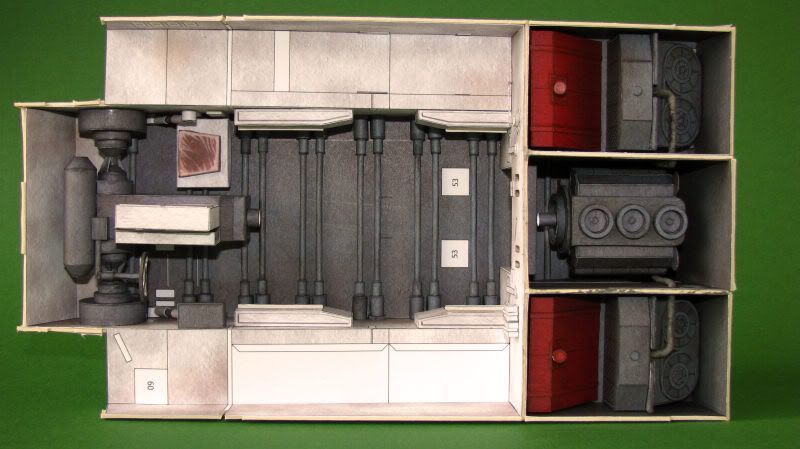 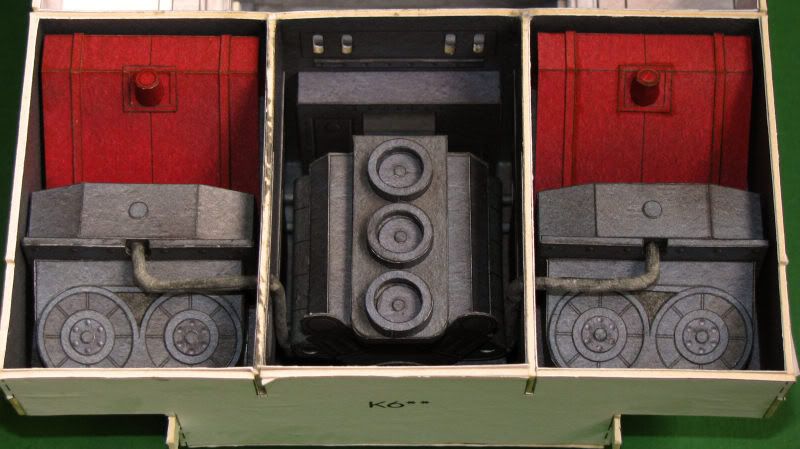 Firewall, batteries, driveshaft 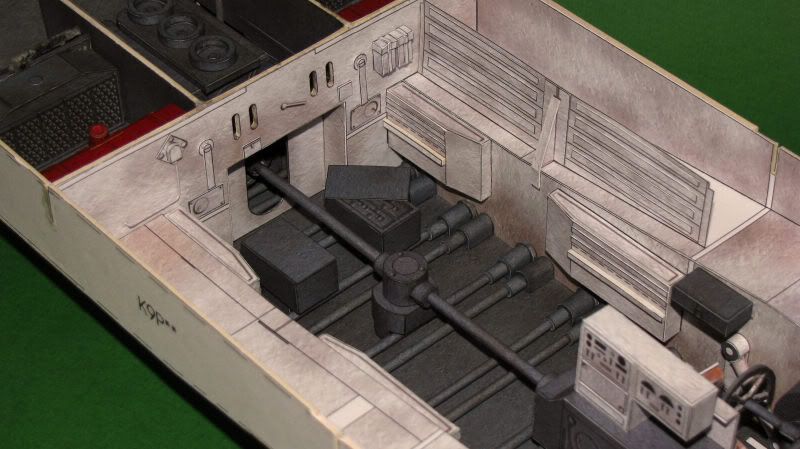 Ammunition storage, bulkhead 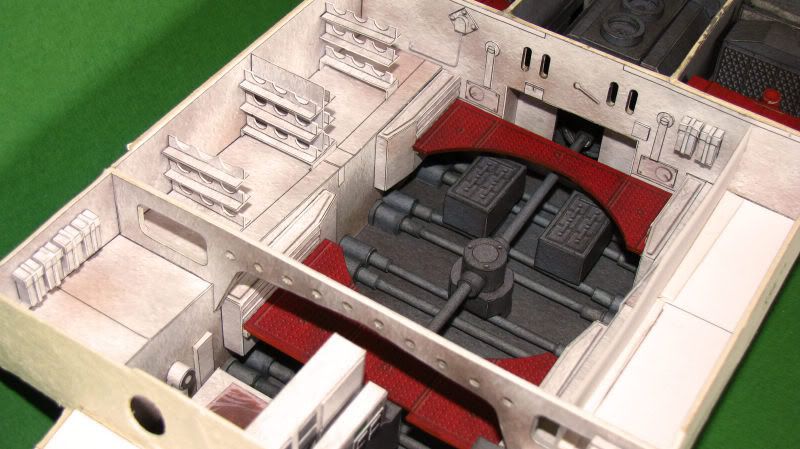 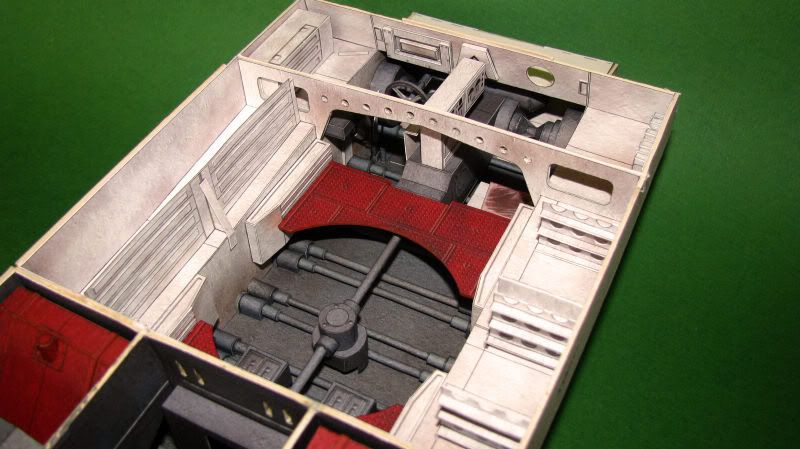 Some shells. There should be 18 of them in the model, but there are 2 copper shells missing, so I could make only 16 complete shells. 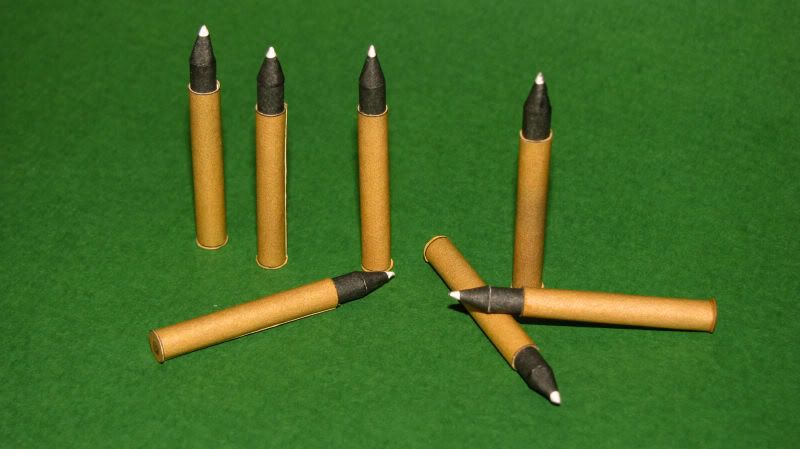 Completed the front part. 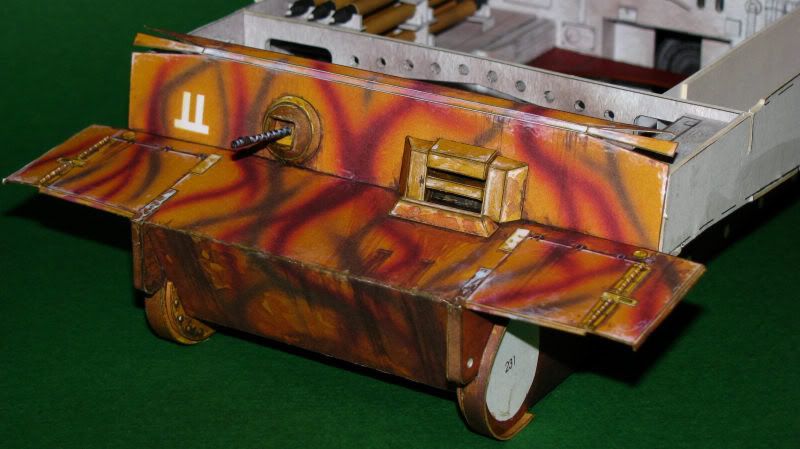 And started working on the rear. I decided to make the top plate removable for easier display of the interior. 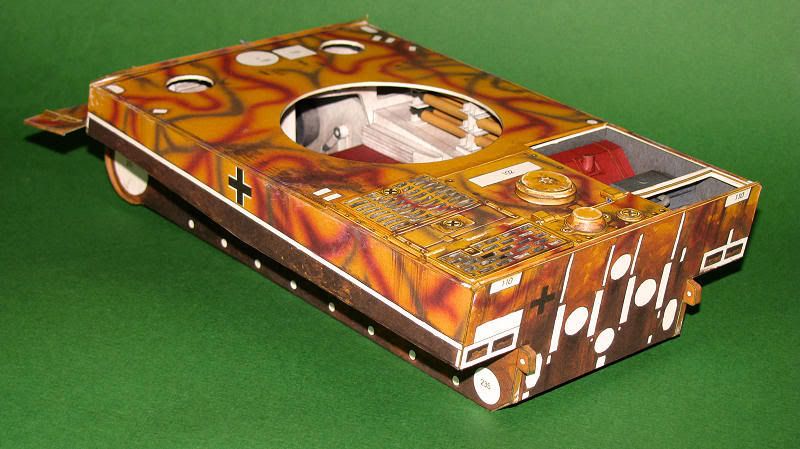 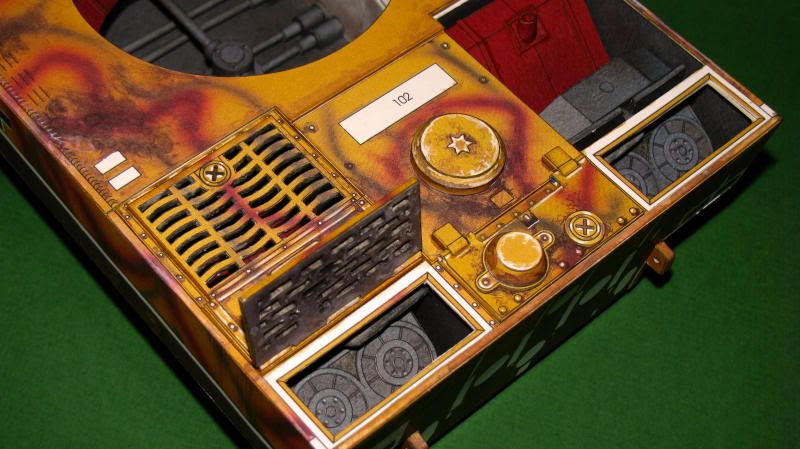

|
| Google Adsense |
|
#2
07-13-2009, 03:31 PM
|
||||
|
||||
|
awesome job so far! I saw the kit on kartonbau.de - Kartonmodellbau, Kartonmodelle, Cardmodels, Cardmodeling and it doesn't look easy
|
|
#3
07-13-2009, 03:37 PM
|
||||
|
||||
|
Wow! Looking awesome! Love the interior.
Are you the same Daimyo that made that Steyr RSO at Zealot? If so, you did a magnificent job on it, especially the canvas!
|
|
#7
07-13-2009, 06:43 PM
|
||||
|
||||
|
nicely done, can't wait for the next installment.
Greg
|
|
#9
07-13-2009, 07:33 PM
|
||||
|
||||
|
Looks great! As far as bits being scattered and not grouped, I've found the same on most of my Halinski airplane kits as well - I think they just focus on fitting everything on a less paper to keep the cost down

__________________
-Dan
|
|
#10
07-18-2009, 08:56 AM
|
||||
|
||||
|
Wow, I didn't expect so many replies just after one post. Great to see such a strong community here and thanks to you all for your kind comments.
The Orange, yes I've built the RSO and it's coloured version is waiting it's turn after this little cat is complete. Zathros, as I mentioned the top hull plate is removable, so it's going to be easy to show the interior when there's a need. I had a bit of a problem keeping the cardboard close to the vertical walls, but then I used a double adhesive tape and now it looks quite nice, almost no gaps anywhere - just as it would be glued to the rest of the tank. A little update. I glued almost all the parts on the rear plate, only Feifel air filters and jack remain to be made and some parts made from wire. 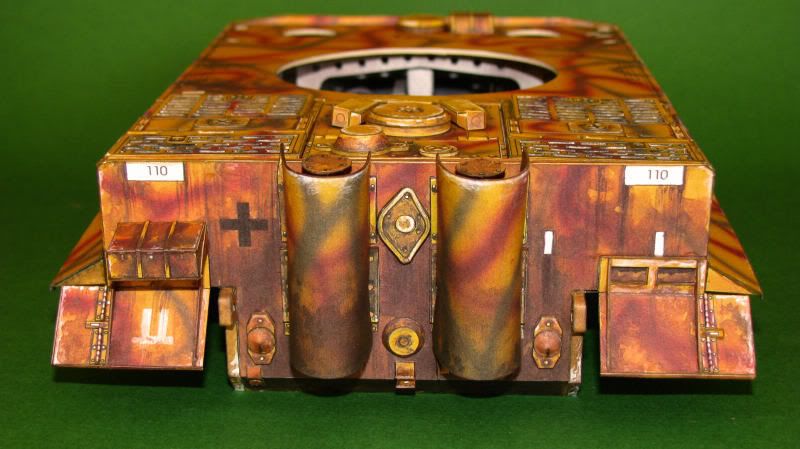
|
| Google Adsense |
 |
| Thread Tools | |
| Display Modes | |
|
|


 Linear Mode

