


|
|
|
#61
 09-21-2019, 06:58 AM
|
||||
|
||||
|
good work on the spark plug leads they whare a pain to do.
__________________
David........... Paper modelling gives you a happy high. currently building. c GAZ 51 ALG 17, wagon 111a. unex DH411 excavator and spitfire Mk 9 
|
|
#65
09-28-2019, 12:18 PM
|
||||
|
||||
|
Thank you Mike!
Slowly, I am finishing all the details on the first page of the engine drawings. Supports: two at the back and one at the front 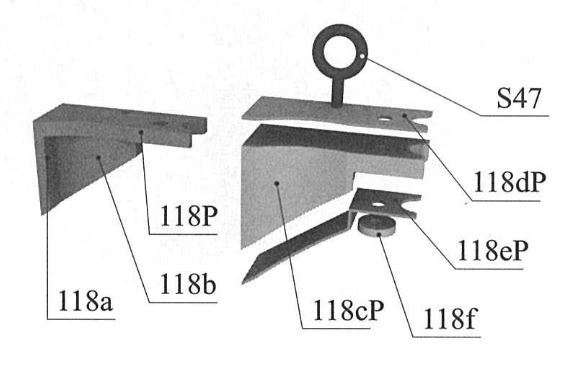  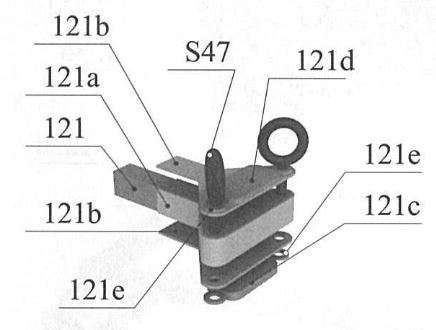 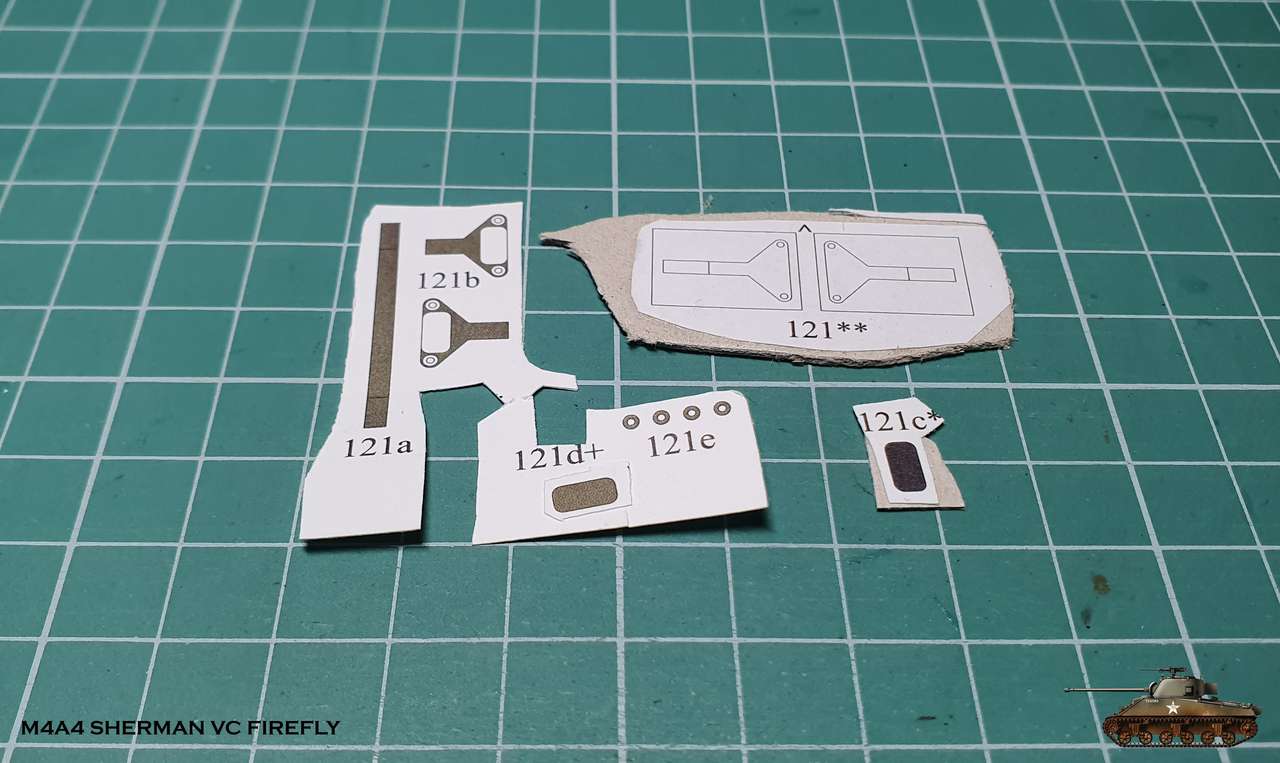 Lifting rings I, as usual, made with solder wire. Maybe I will paint them later in the color of the engine, when the paint comes  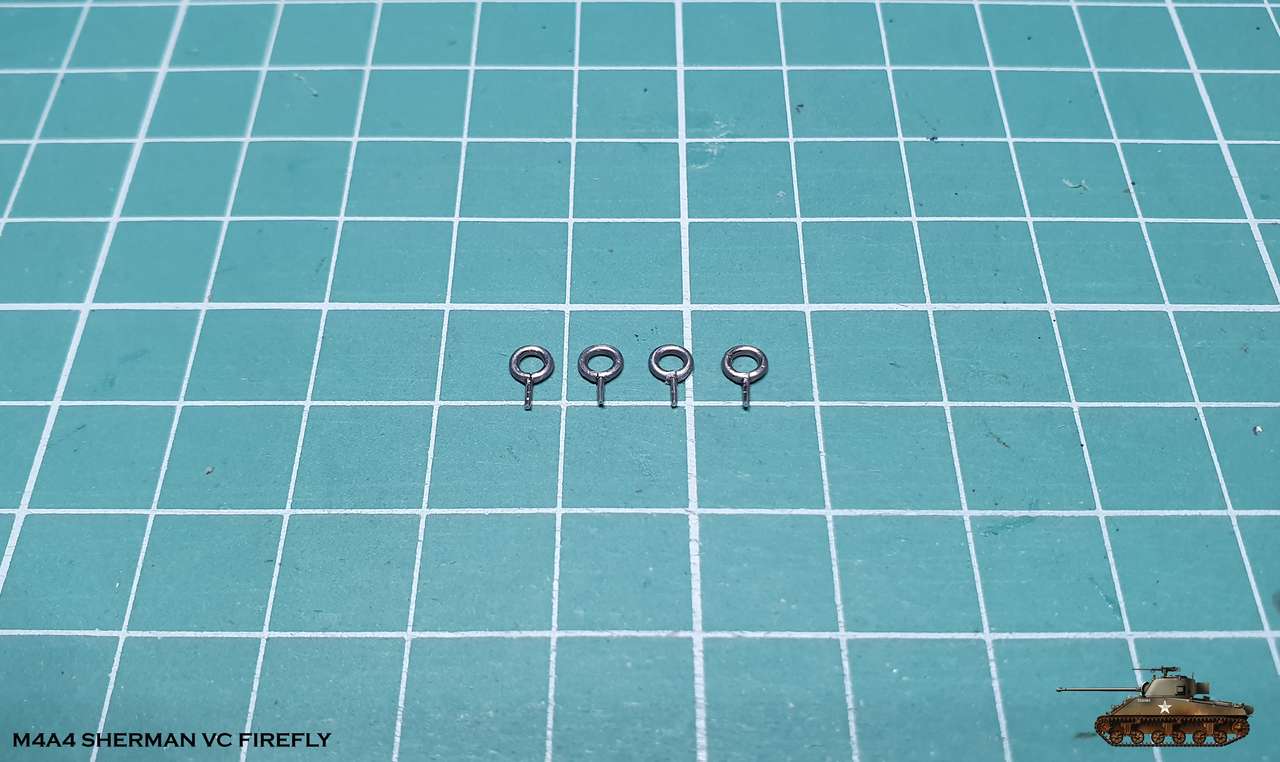 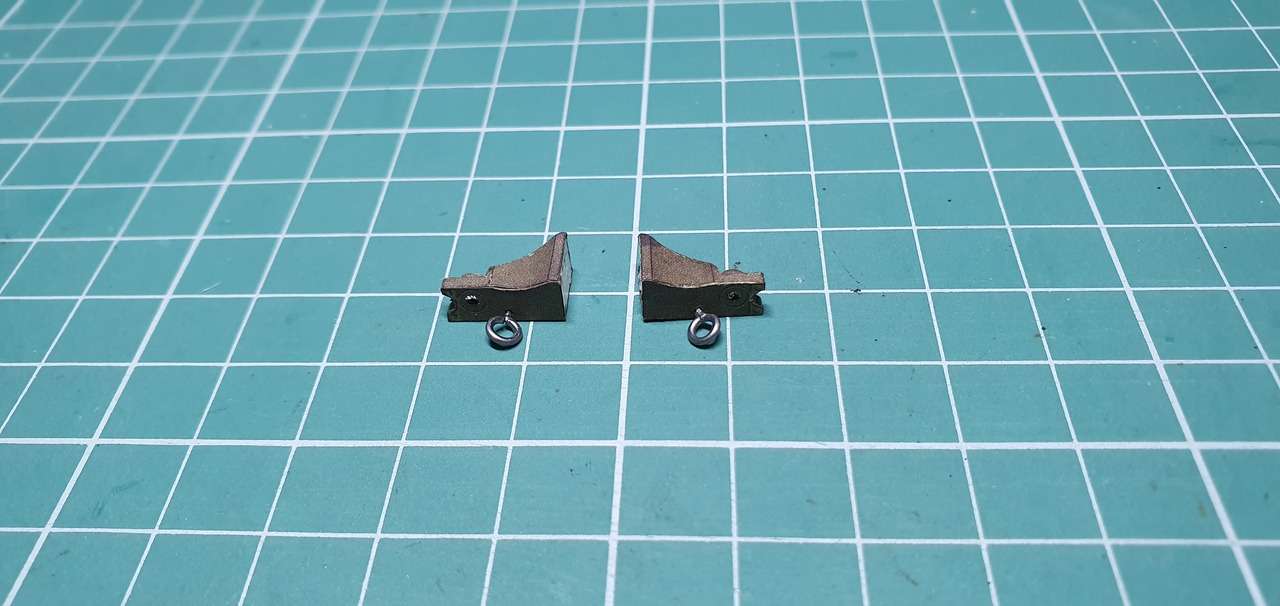  Assembled, glued to the engine and for the first time tried to put it in its place... To remind you that eventually I am building a tank :-D The engine entered well at the right points. It was only necessary to adjust the rear supports a little to firmly sit on the pillows. 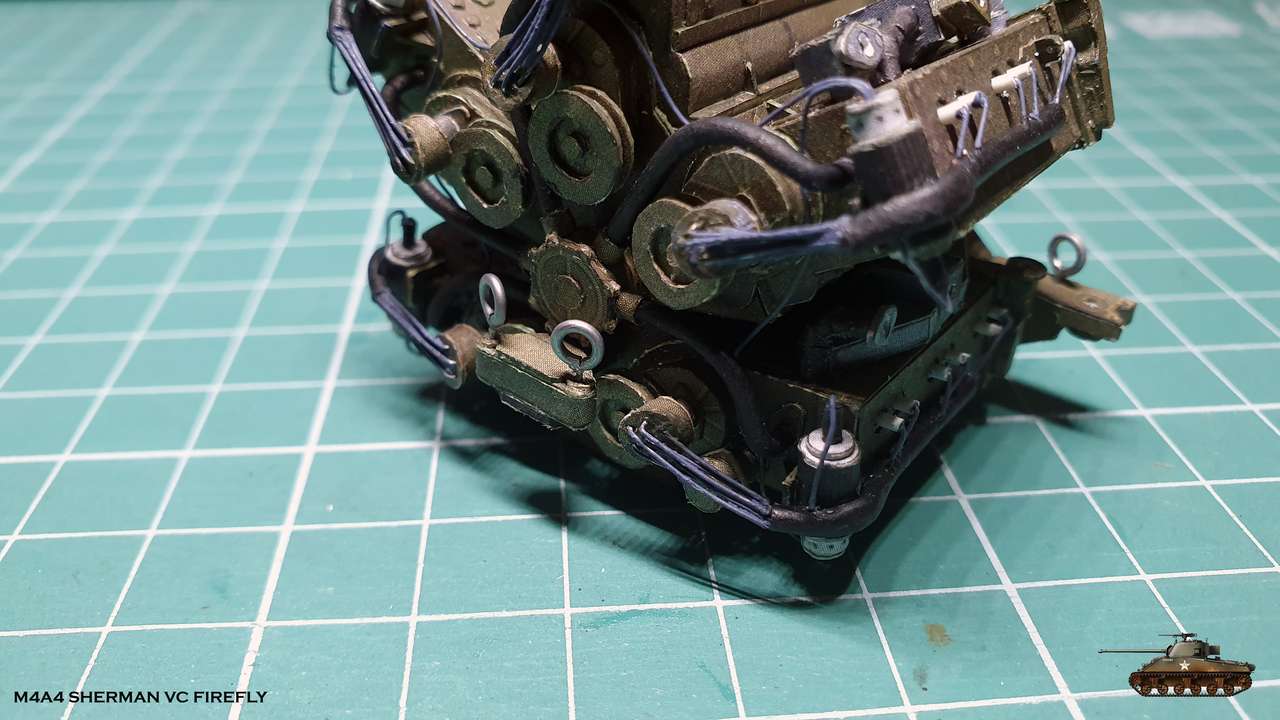 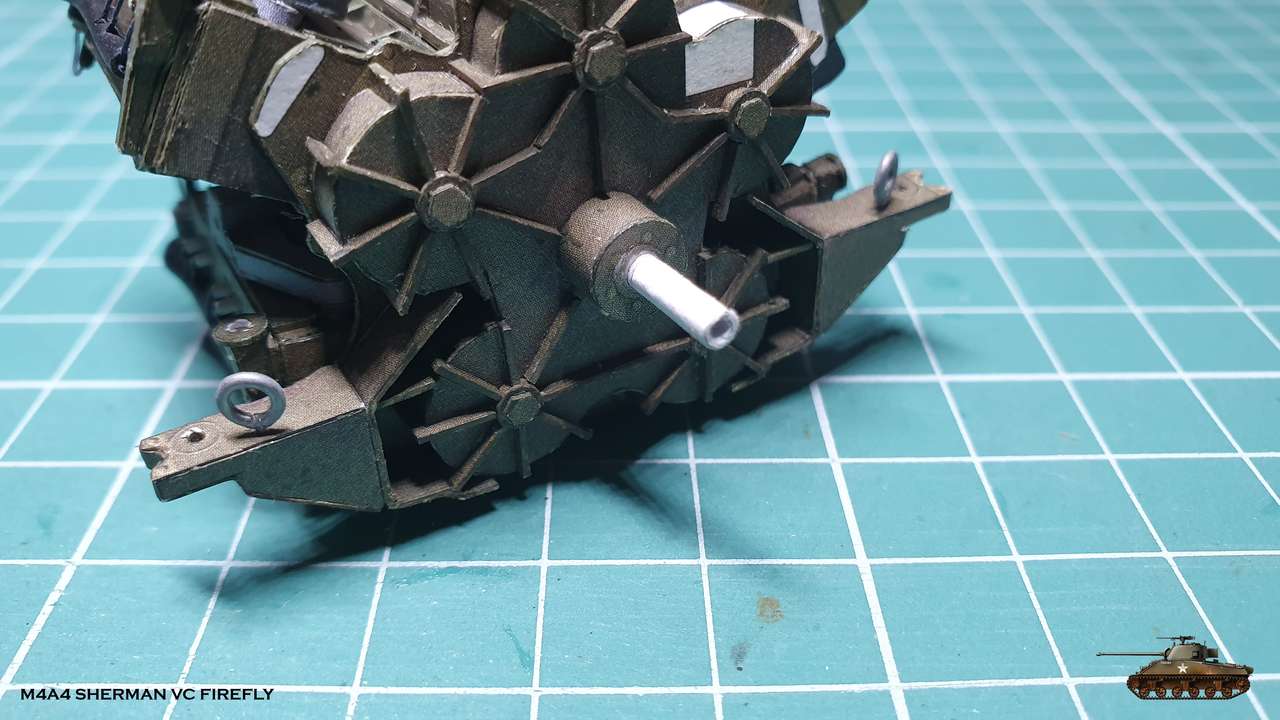  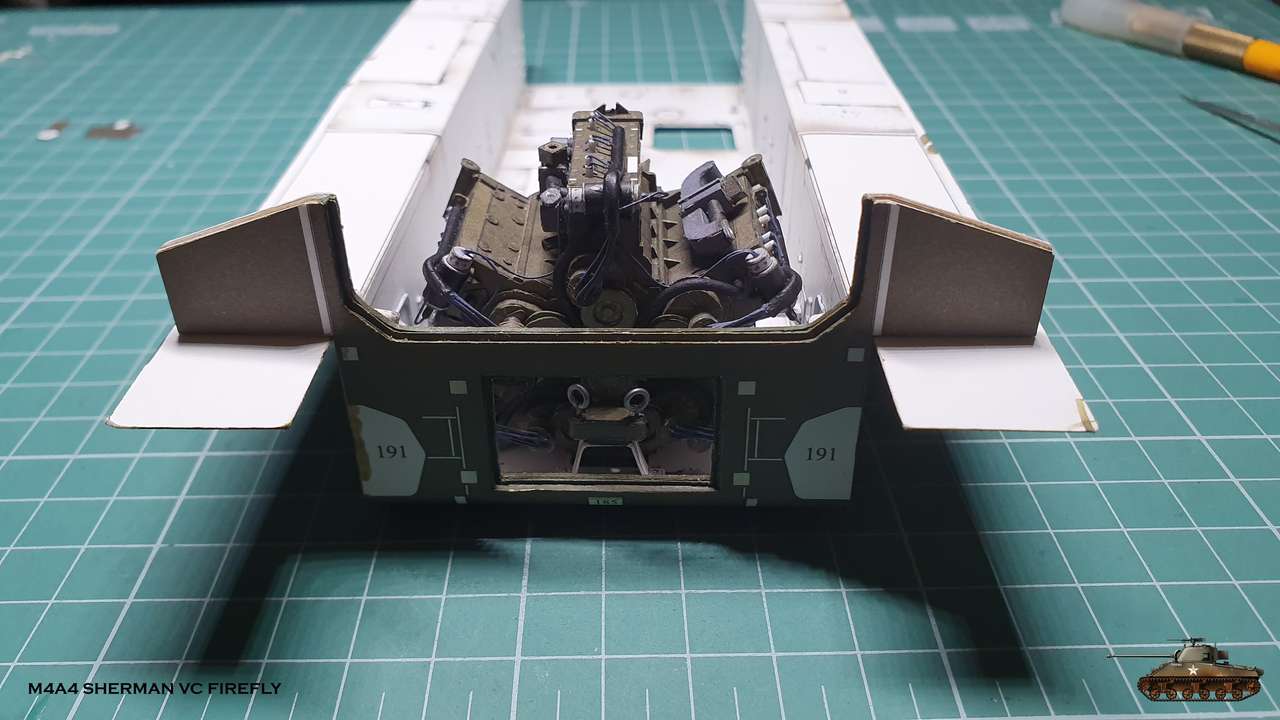 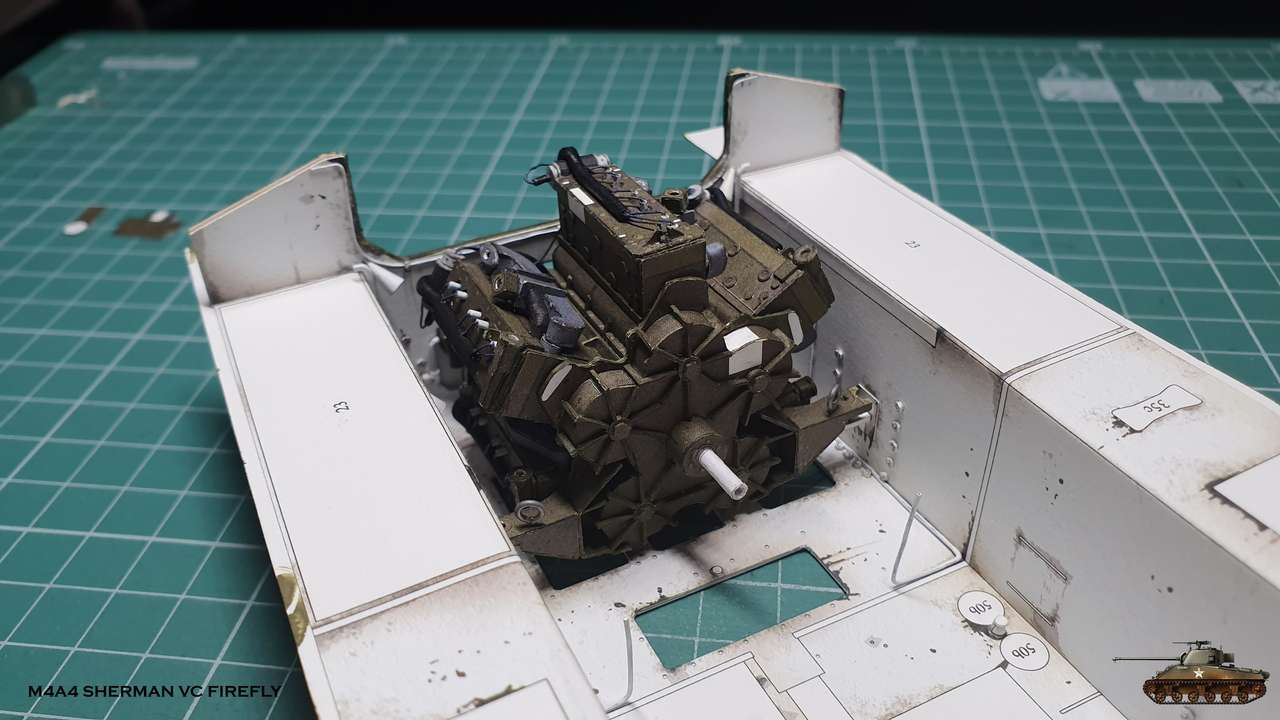 In addition, I assembled an auxiliary motor for driving a radiator fan 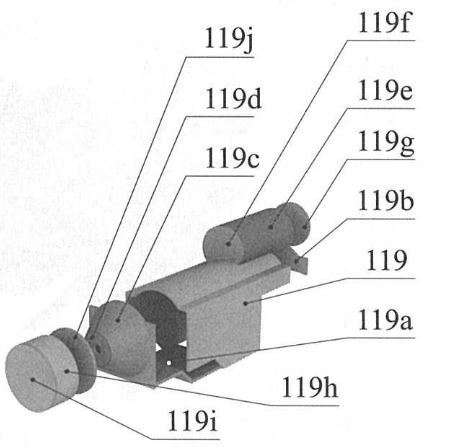 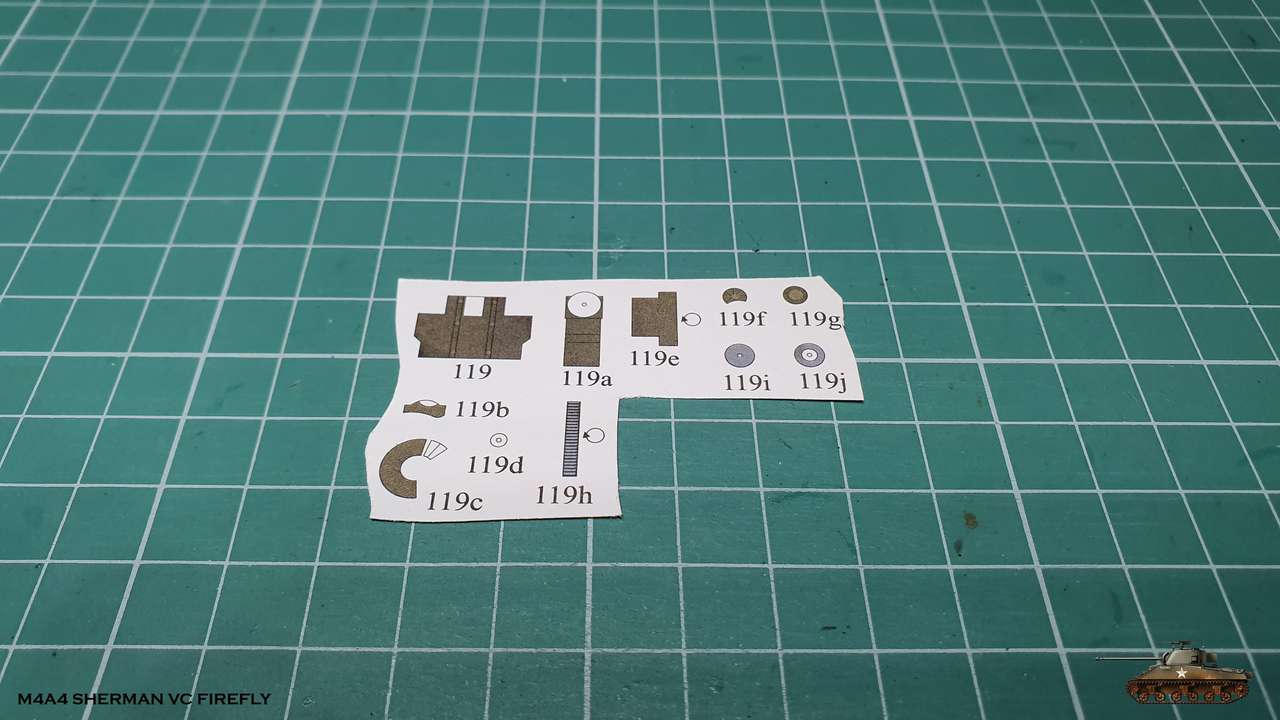 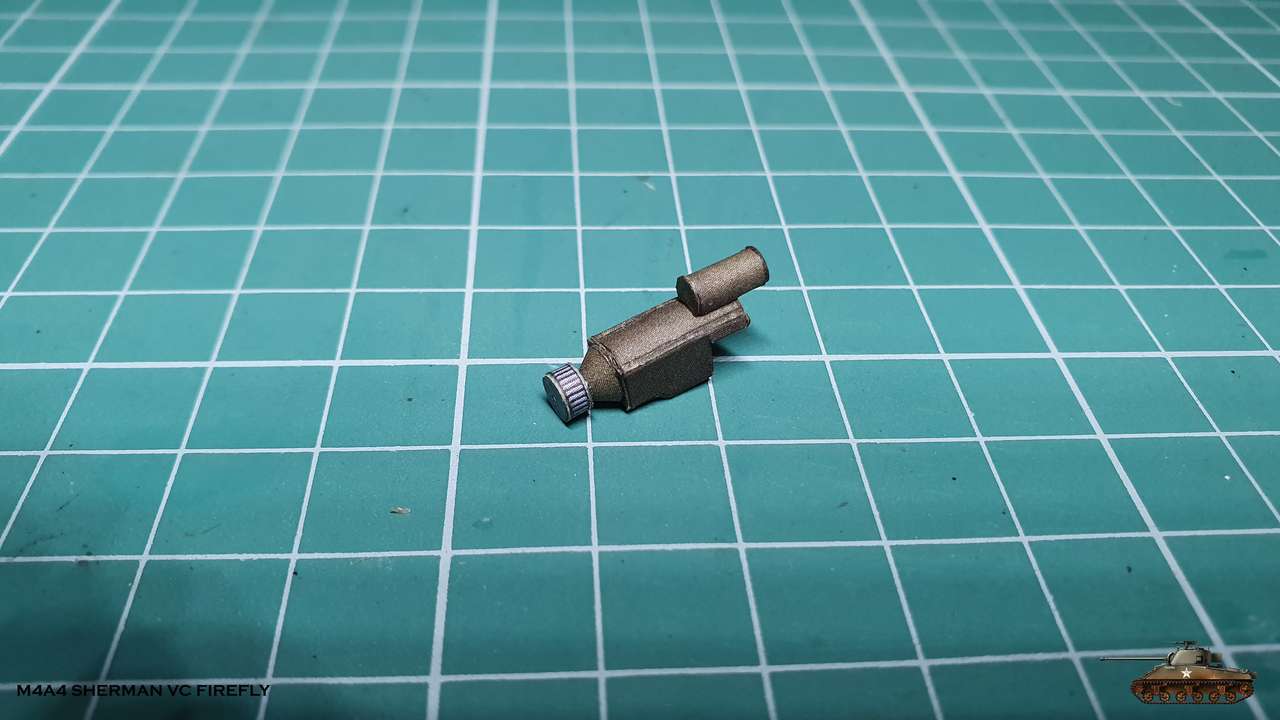 
|
| Google Adsense |
|
#66
09-28-2019, 01:53 PM
|
||||
|
||||
|
An impressive job Igor. The engine looks amazing.
|
|
#67
09-29-2019, 02:12 PM
|
||||
|
||||
|
good work it's nice when it fits in place.
__________________
David........... Paper modelling gives you a happy high. currently building. c GAZ 51 ALG 17, wagon 111a. unex DH411 excavator and spitfire Mk 9
|
|
#68
10-01-2019, 12:17 PM
|
||||
|
||||
|
Thanks guys
Quote:
Last edited by Igor; 10-01-2019 at 12:43 PM.
|
|
#70
10-13-2019, 05:42 AM
|
||||
|
||||
|
Thanks gotham
We have holidays and I got a short break. Now back in the business. Carburetors .. And i can't describe how I do not like these tubes at an angle: ") Since there are 5 blocks, each block has its own carburetor. And in this case, in the original version, each carburetor was connected directly to the block, and after improvement they decided to align them all in a single row, probably for a more convenient service. So, there are 5 carburetors, three on the left and two on the right. In the assembly a lot of small parts, including 1 mm and small pipes at an angle. I used the same method as before - I rolled up the tubes and glued tongue to tongue and then folded and glued slice to slice. After assembly, I glued them to the bracket 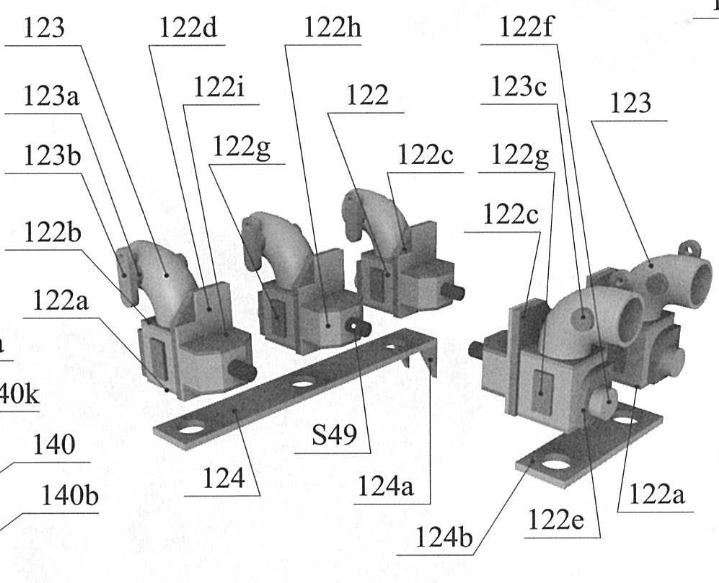 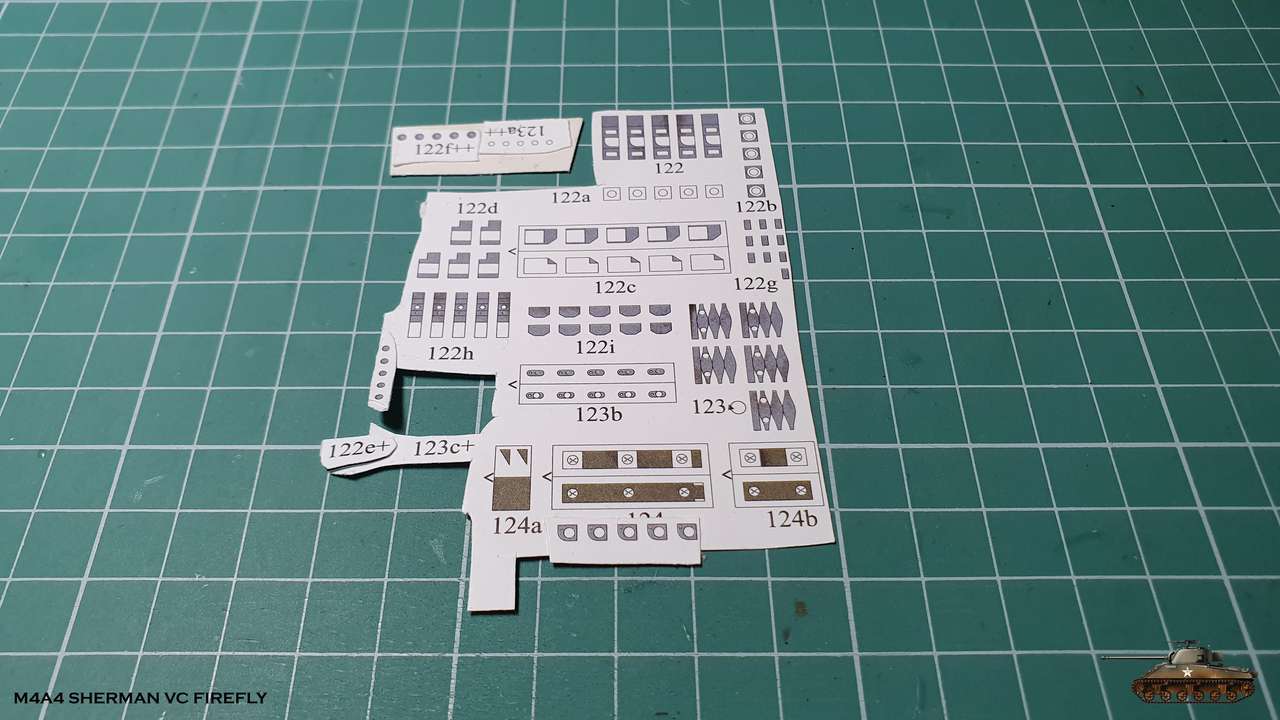 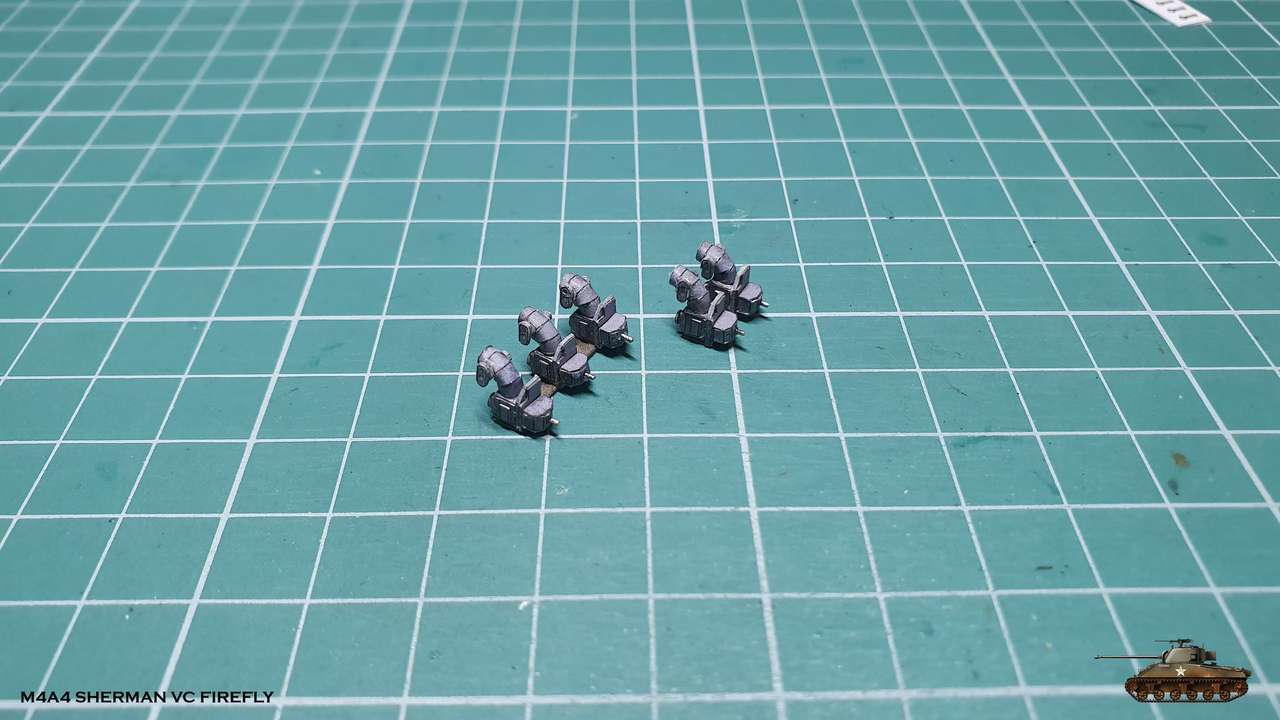  And then I stopped and did not attached them to the engine. Because now there is a beginning of a chain, which is very dependent on different parts and their location: On the one hand, carburetors sit on a base that literally hangs on tubes leading to the blocks. On the other hand, they are connected to a distribution pipe, which rests on the radiator at a later stage. So the correct height and alignment in parts is very important here. That is why I turned to assembly of following parts. The throttle rod is also interesting and contains 5 levers for each of the throttles. I fixed the levers at the same level and filled with super glue to improve stiffness. The supporting knees aren't attached. This will give me the freedom to connect levers to throttles. The throttle rod is glued exactly horizontally in place, and the next step will be the assembly of the distribution pipe. And maybe a few more details ... because I ran out of black paint for tubes and a new one still shipped. 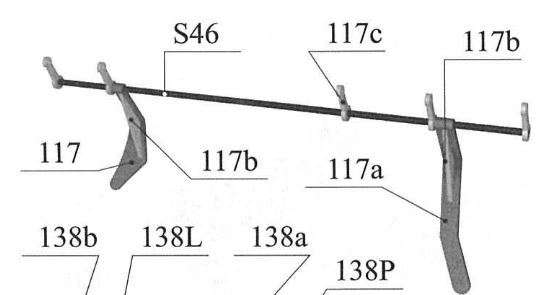  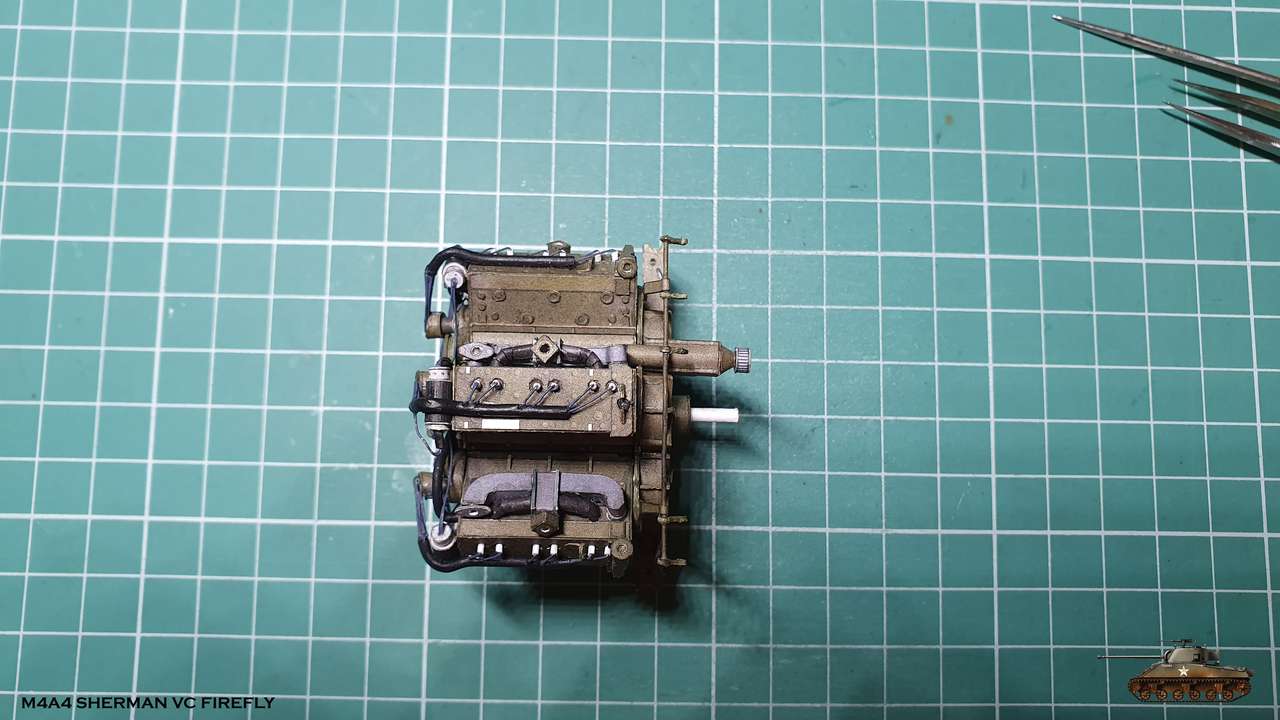 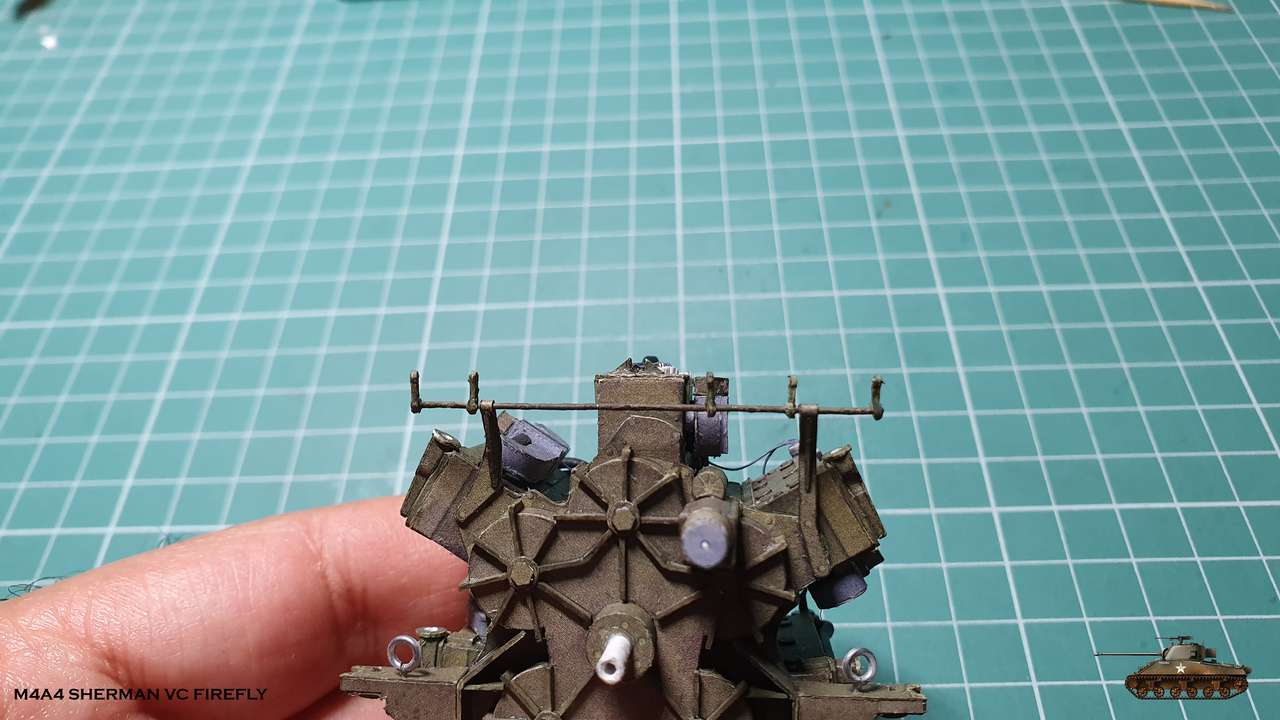 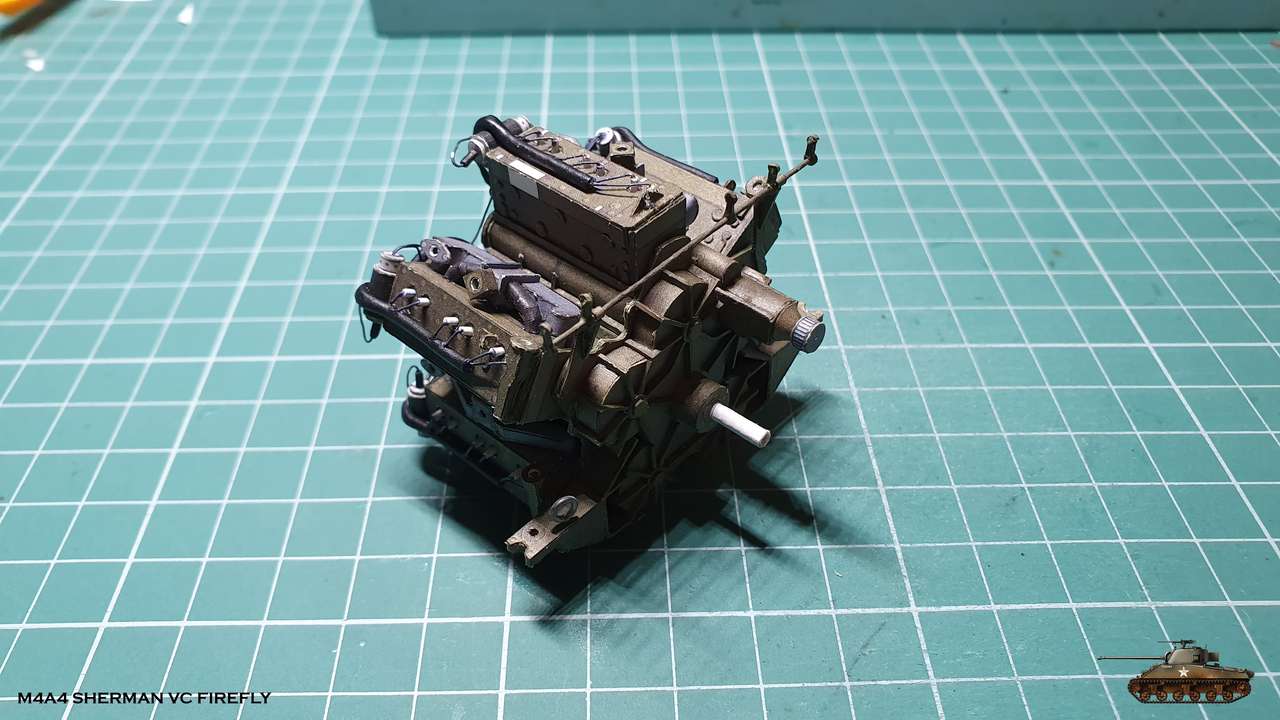
__________________
Welcome to my gallery
|
| Google Adsense |
 |
|
|


 Linear Mode

