


|
|
|
#141
 01-17-2020, 04:13 AM
|
|||
|
|||
|
This engine looks great in or out. Removable top is a great solution in this case.
I can understand why the engine is fragile and definitely can understand your worries regarding this and I can only wish you good luck on your journey. I sure will be following you. This is an effing masterpiece, pardon my french... 
|
|
#142
01-17-2020, 04:34 AM
|
||||
|
||||
|
Hi Igor, haven't checked in for a while but the engine is a true masterpiece. I fully understand your decision to build it in place and to keep as much of it visible by a removable cover. It's just too complicated and fragile to be taken out, and once the model is finished you won't "play" with it anyway I suppose.
Good luck with the next stage of your build! Regards, Erik
|
|
#143
01-17-2020, 12:45 PM
|
||||
|
||||
|
Thanks again, pals
Quote:
Such a joy!
__________________
Welcome to my gallery
|
|
#144
01-17-2020, 01:40 PM
|
|||
|
|||
|
Igor,
Your work is amazing, you have a touch of an great artist.
|
|
#145
01-17-2020, 03:38 PM
|
||||
|
||||
|
looking good igor
__________________
David........... Paper modelling gives you a happy high. currently building. c GAZ 51 ALG 17, wagon 111a. unex DH411 excavator and spitfire Mk 9
|
| Google Adsense |
|
#147
01-28-2020, 03:10 PM
|
||||
|
||||
|
Thanks Abir, David and Gotham.
After inserting the engine I stopped to follow numbering and instructions and decided to assemble the front of the tank - transmission unit and gearbox. The reason was my concern about open front - I didn't want to continue to fill the interior without knowing that wall are aligned and fixed. By looking on drawings I realised that it will be interesting and challenging. It's my first time to meet curved carton details and angle cut edges. This power frame is very unique. So, first of all cutting frame details You can see on second picture the angle cut edge. I started to cut with angle from signed line to edge and then with iron ruler on edge and by the line cut until the end. Then I curved carton frame with mice pad cushion and circled part and gued it by perimeter lines only o one side of walls. This way it was more convenient to assemble the frame, from middle to the sides. Next step - skin parts. Cut it all and started to glue on power frame. Here is a middle stage of this process. You can see here details curved and ready to be glued in special curved shape To be continued...
__________________
Welcome to my gallery
|
|
#148
02-04-2020, 09:10 AM
|
||||
|
||||
|
First of all - don't forget part 147, i almost did
 I was little afraid about this tabs part with curved edges. But if you plane wisely - it can go easy. I decided to glue wall 150a/b to main part and then shape the tabs and the skin(150). Tried several times to assemble together without glue and it went well. Tabs set exactly on wall curved edge. The curved part skin sits on, gave me right shape and i glued tabs to wall edge. Assembled side bumps and interior skins and finished with lots of rivet heads. In reality they replaced whole unit so everything was on rivets. Transmission unit is ready! 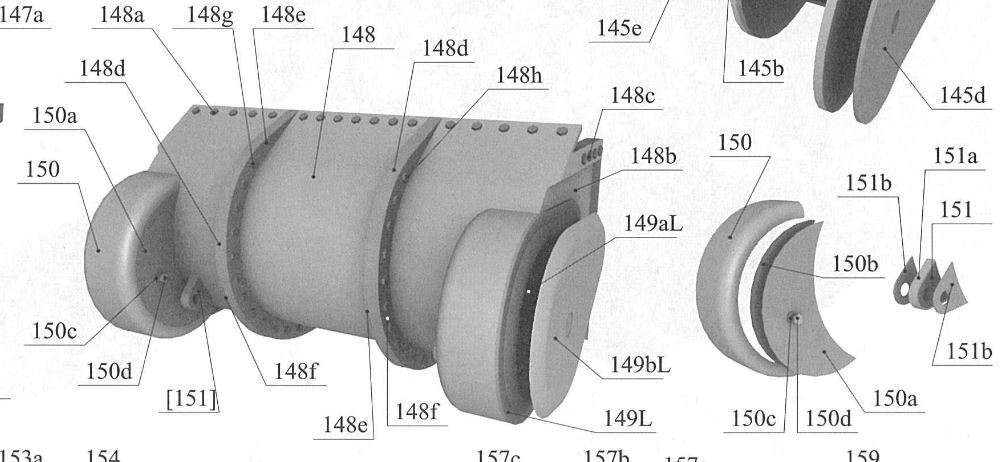 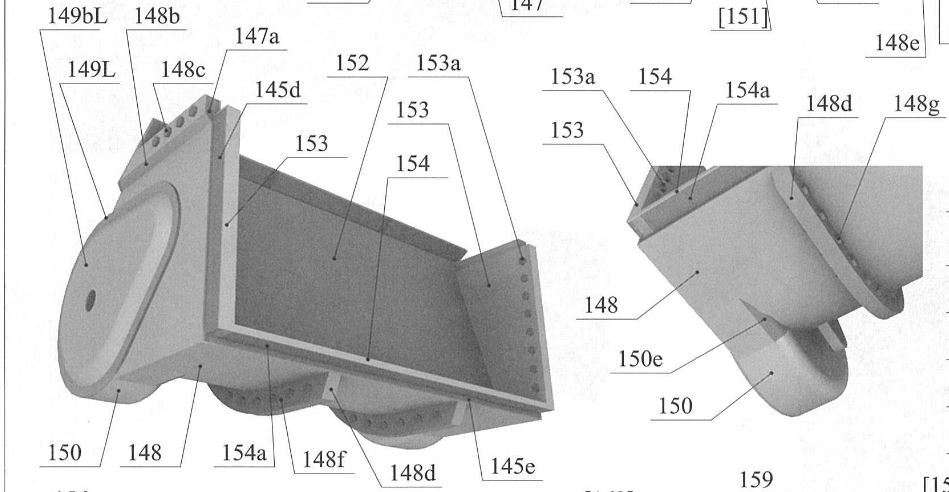 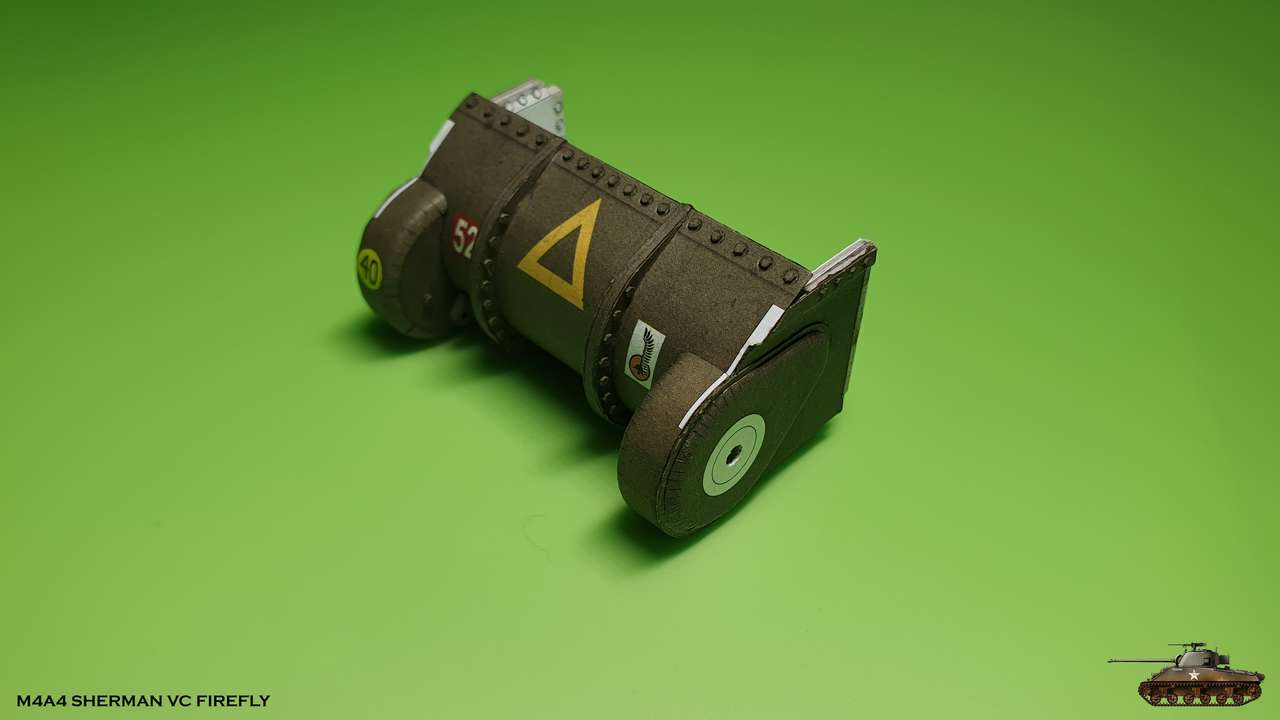  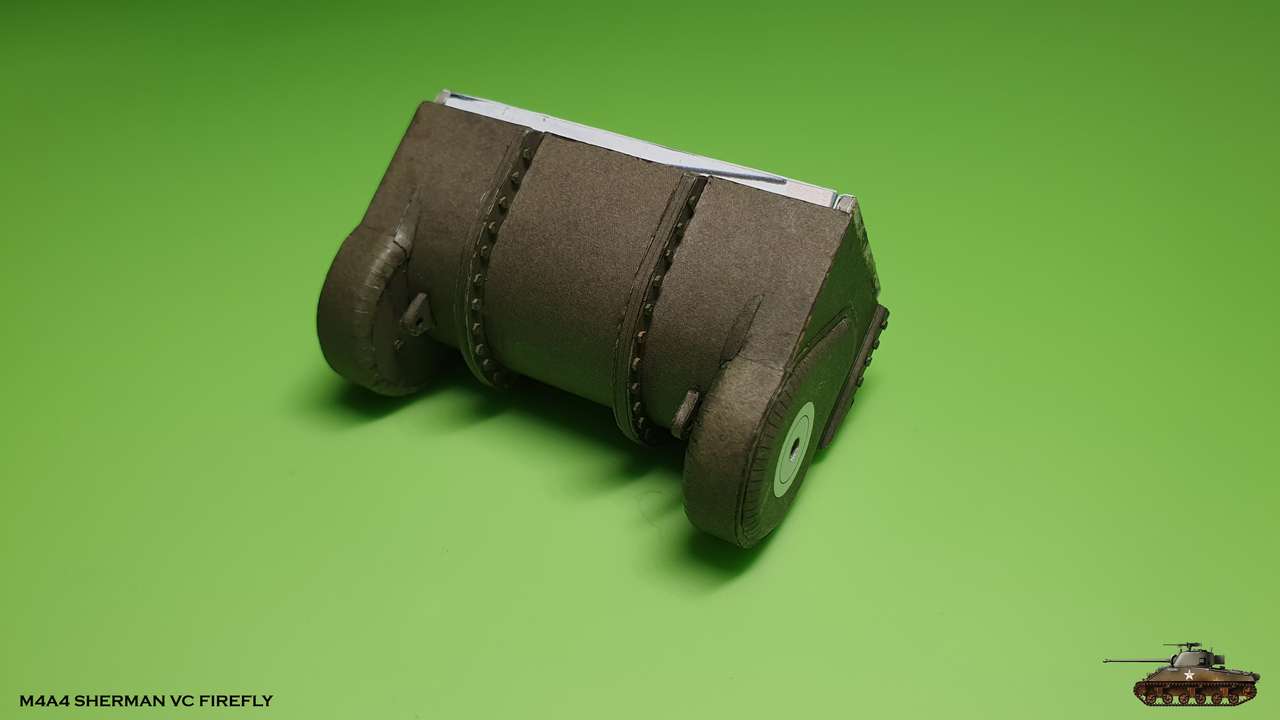 
__________________
Welcome to my gallery
|
|
#149
02-04-2020, 09:39 AM
|
||||
|
||||
|
Impressive, it looks great. The curved parts were great, I take very good form. Sometimes it happens that what seems difficult is not so much and sometimes the other way around, it has happened to me several times. Also the riveting is magnificent Igor.
|
|
#150
02-16-2020, 03:20 PM
|
||||
|
||||
|
Thank you Sergio
I continue with inner parts of transmission unit. The assembling was a joy, probably because of thoughtful design and white parts that almost don't need edge coloring 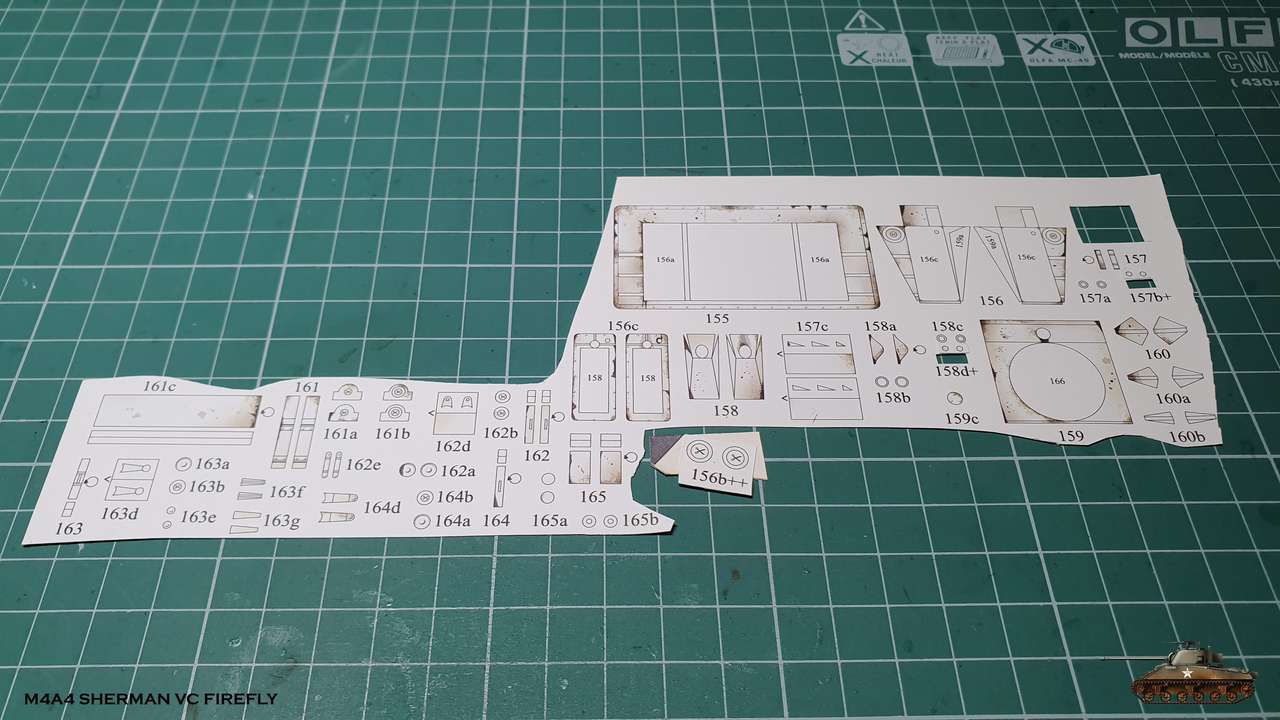 First of all differential carrier panel with steering brakes covers 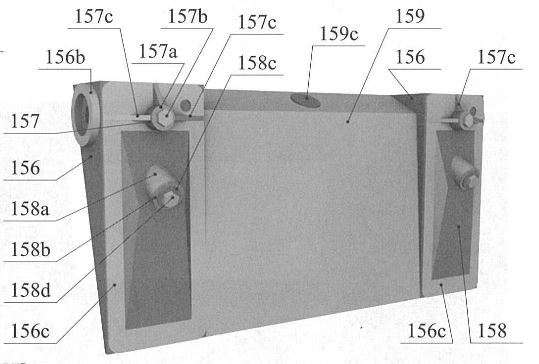 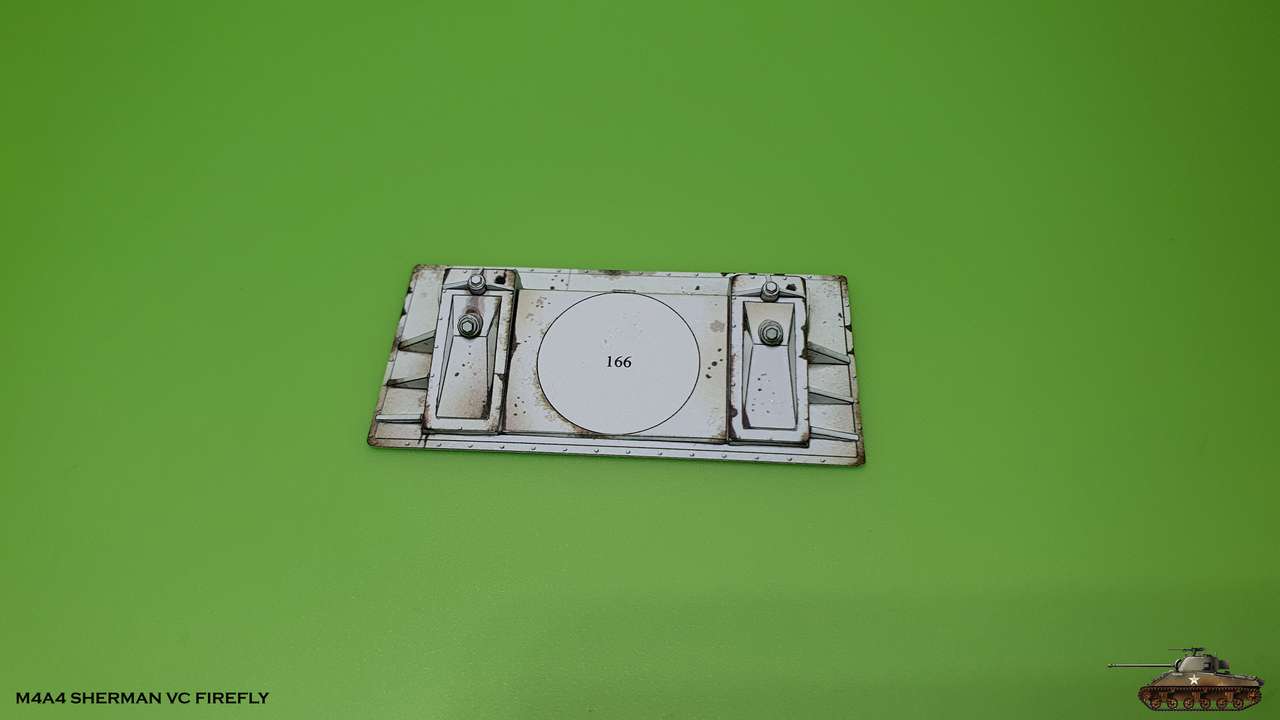 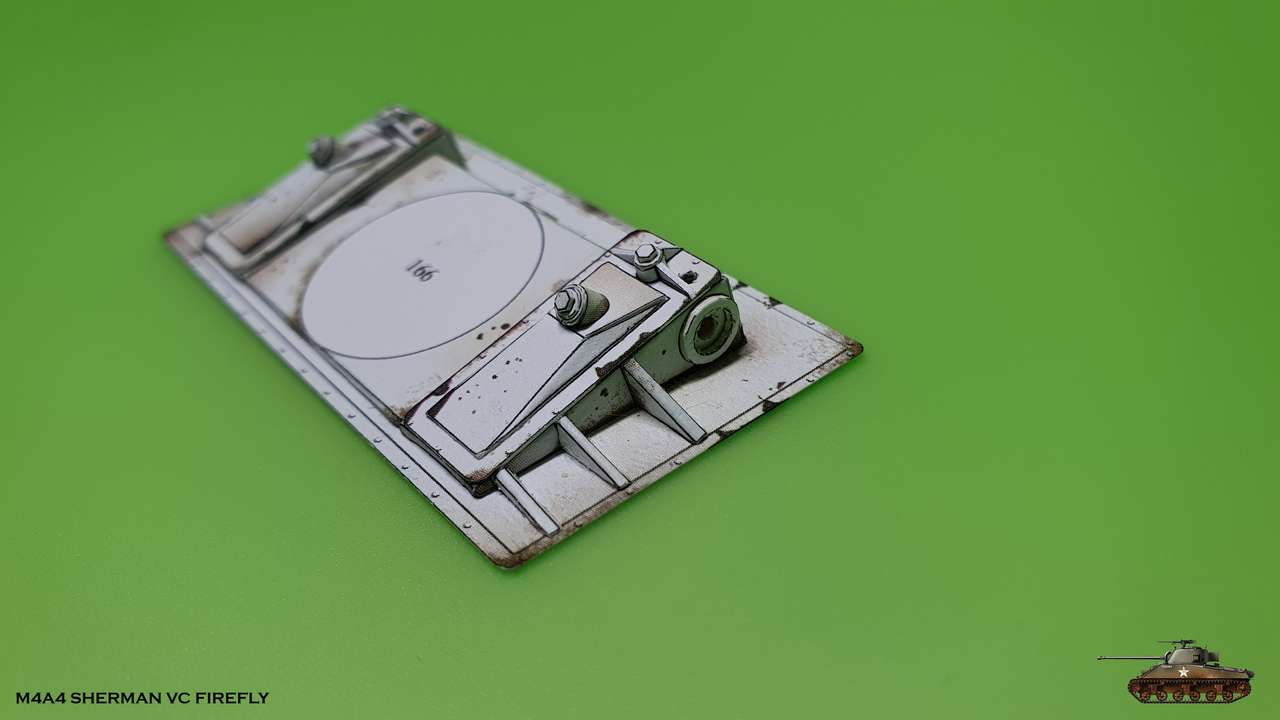 Then were assembled all the levers that operated steering brakes and differential breathers. Pay attention to engineering solution to transfer power to right steering brake by means of fat shaft and double lever. A lot of small parts, but everything connected nice.  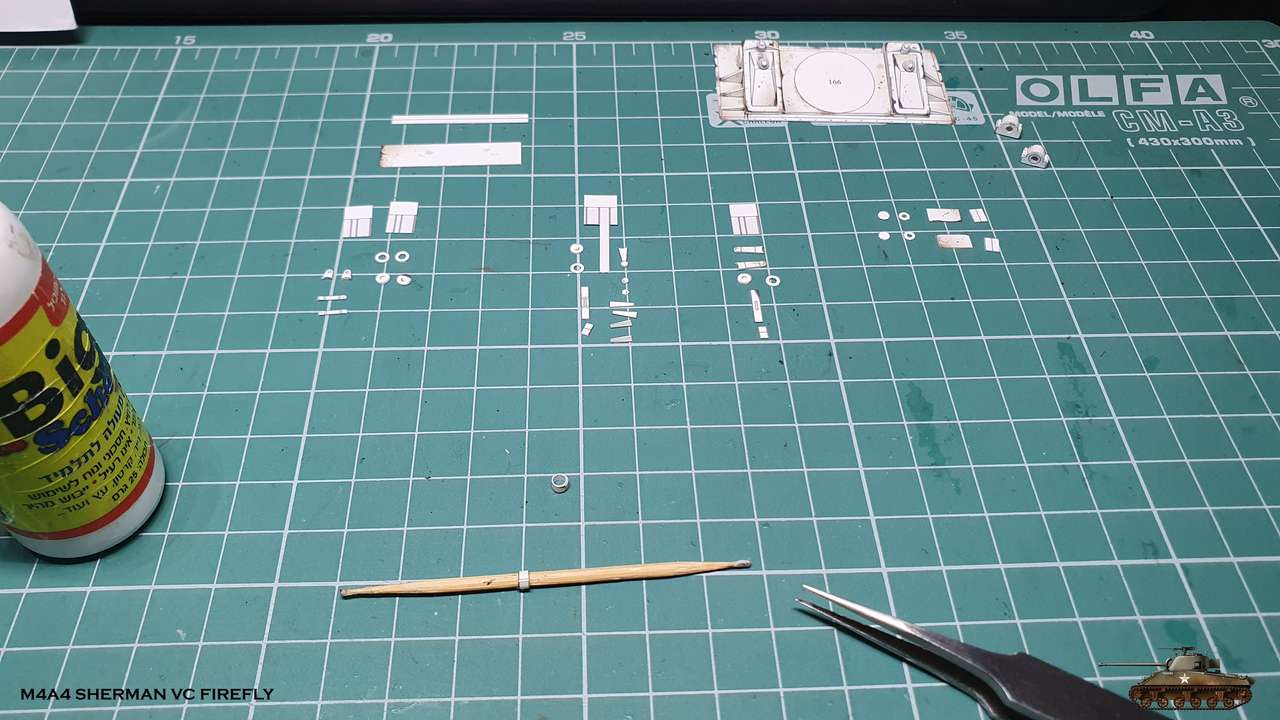  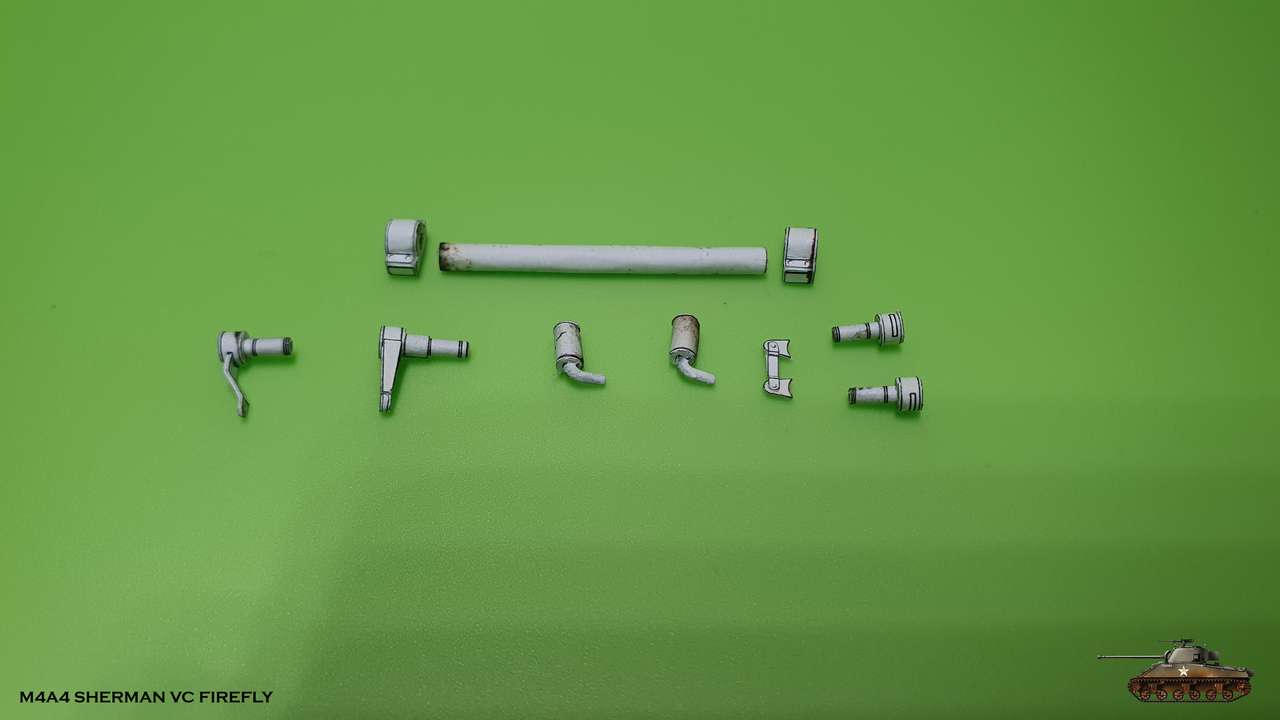 And parts are glued to place I will connect roads to steering levers in later stage, when driving chair plate will be mounted  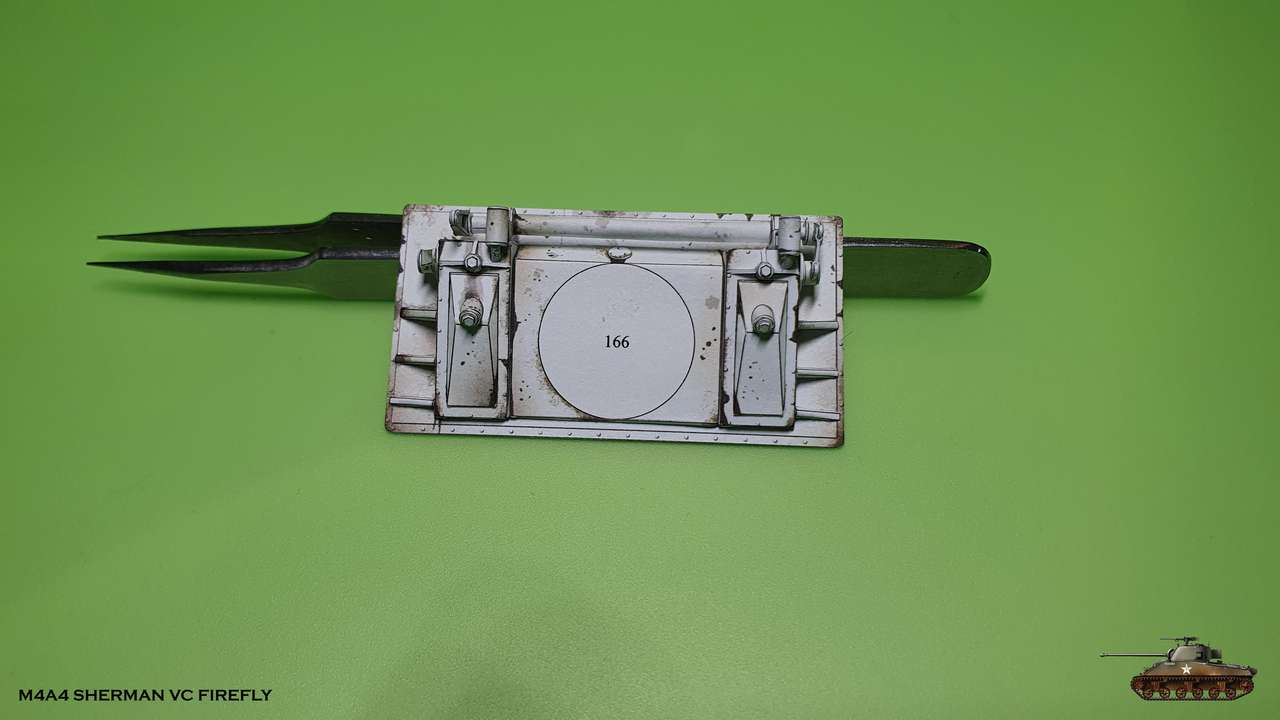 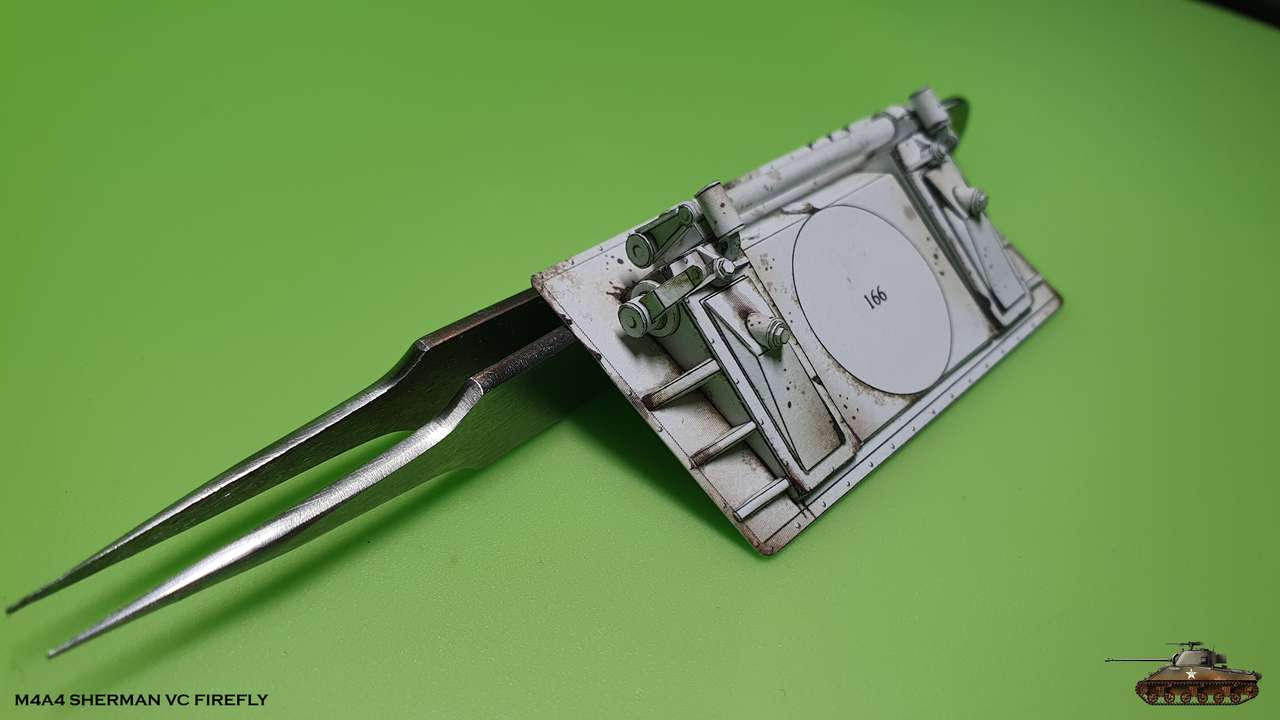 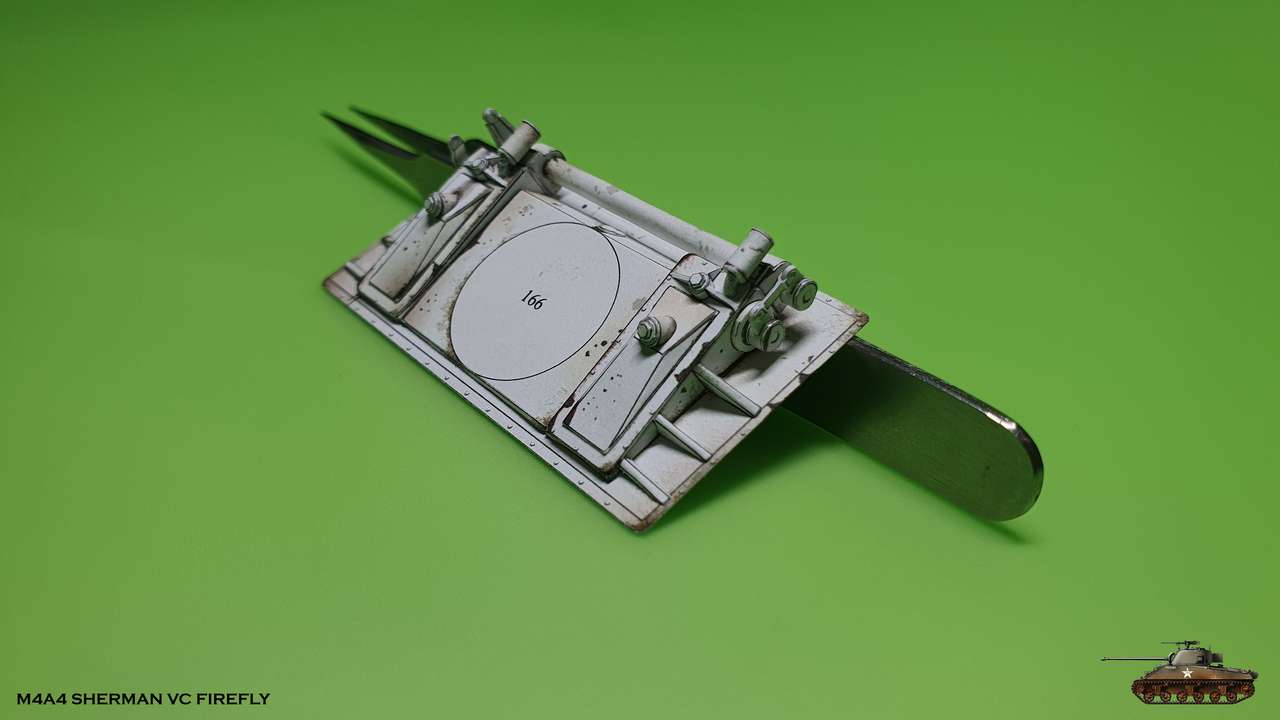 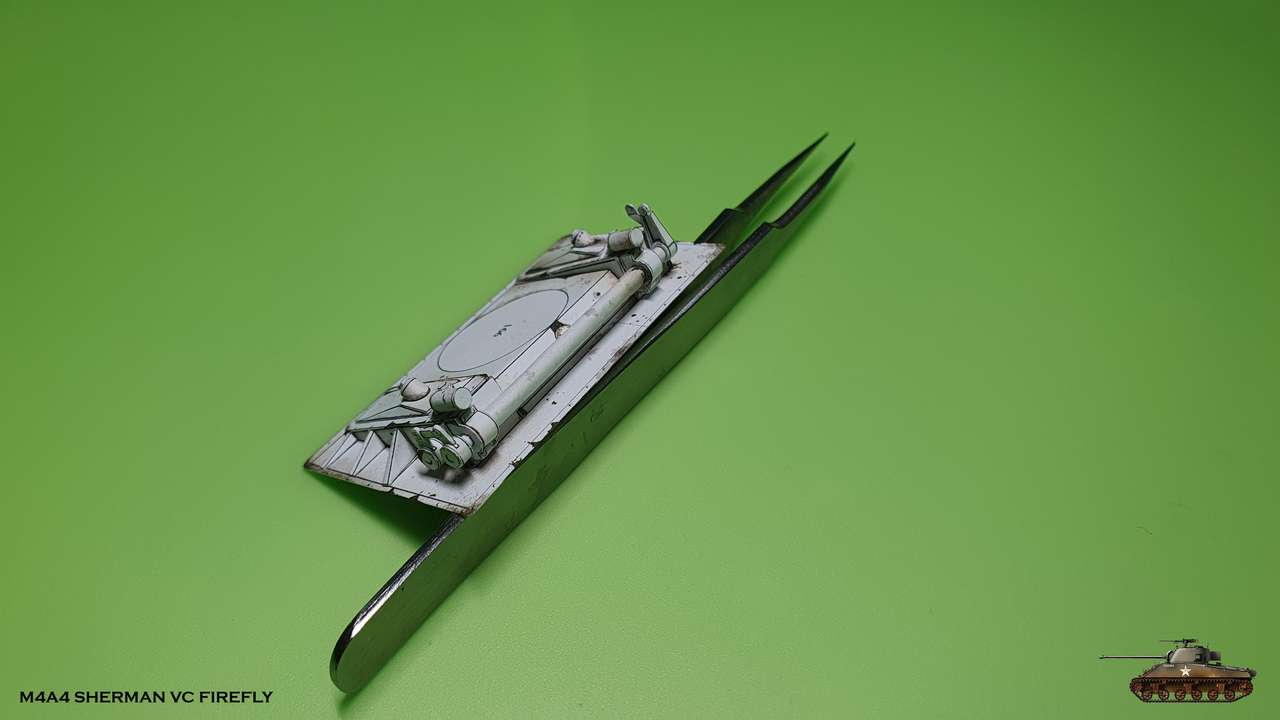 Tried dry fit panel into transmission unit 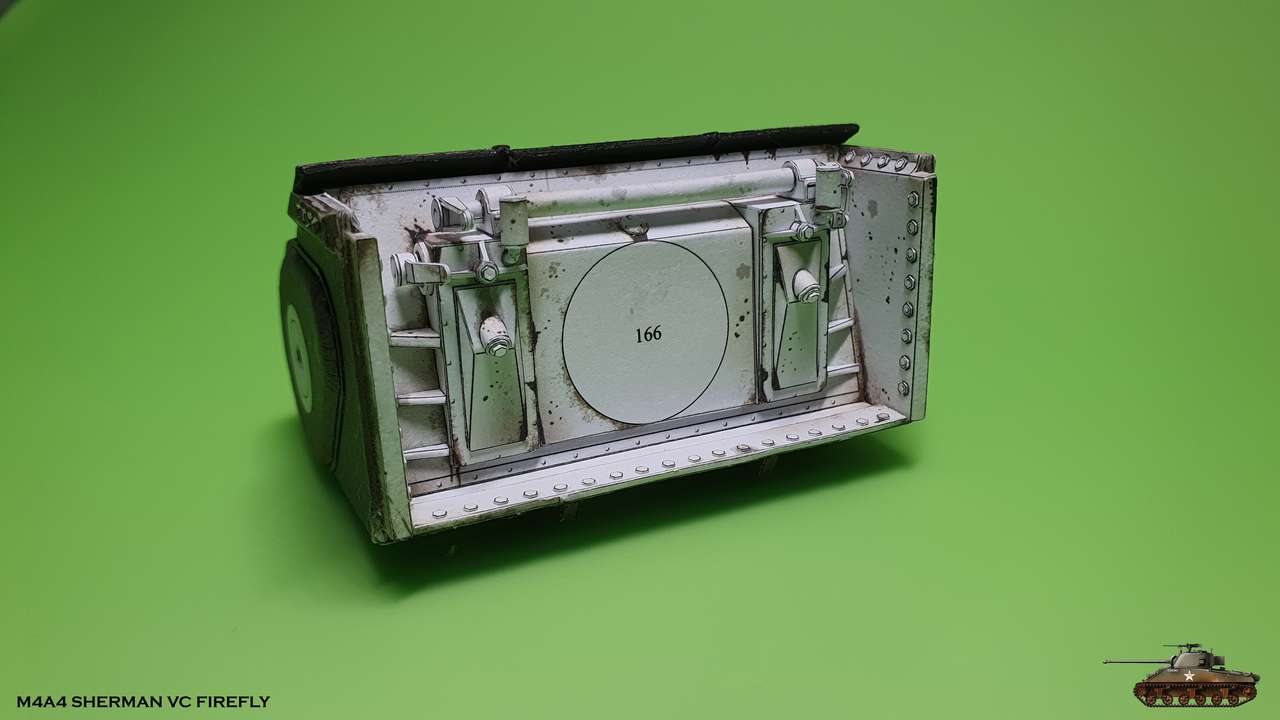
__________________
Welcome to my gallery
|
| Google Adsense |
 |
|
|


 Linear Mode

