


|
|
|
#41
 08-05-2019, 04:59 PM
|
||||
|
||||
|
Fantastic work Igor!

|
|
#42
08-06-2019, 01:31 PM
|
||||
|
||||
|
goods work Igor i also found that cutting them out first and then forming and gluing was best
__________________
David........... Paper modelling gives you a happy high. currently building. c GAZ 51 ALG 17, wagon 111a. unex DH411 excavator and spitfire Mk 9
|
|
#43
08-18-2019, 01:19 PM
|
||||
|
||||
|
Thank you all!
I continue to equip this miracle of engineering. Next in line are ignition distributors, idle rollers and ignition coils First of all, the base. There are also several types and one even comes with a fuel pump. So you need to keep track of where to glue each one 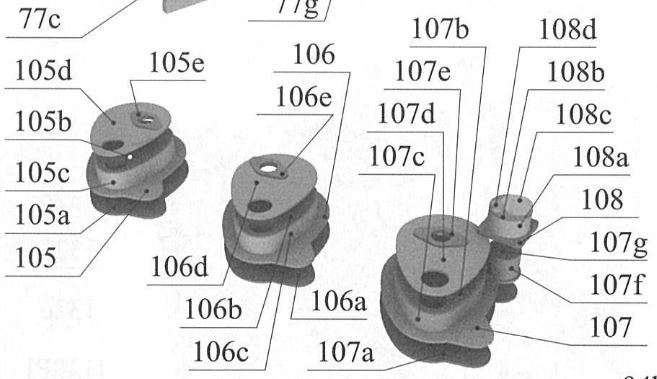   Then the rollers. And why they are useless - in the previous version of the engine, they turned water pumps, but due to poor flow distribution and problems with such a solution - in this version 5 pumps were replaced by one in the middle with the distribution pipes for each block (you will see in the future) and the rollers were left without work Therefore, there will be no connecting belts 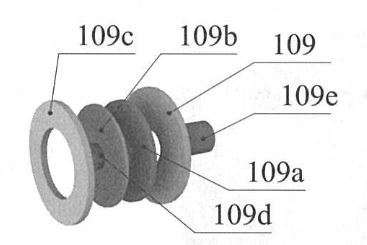 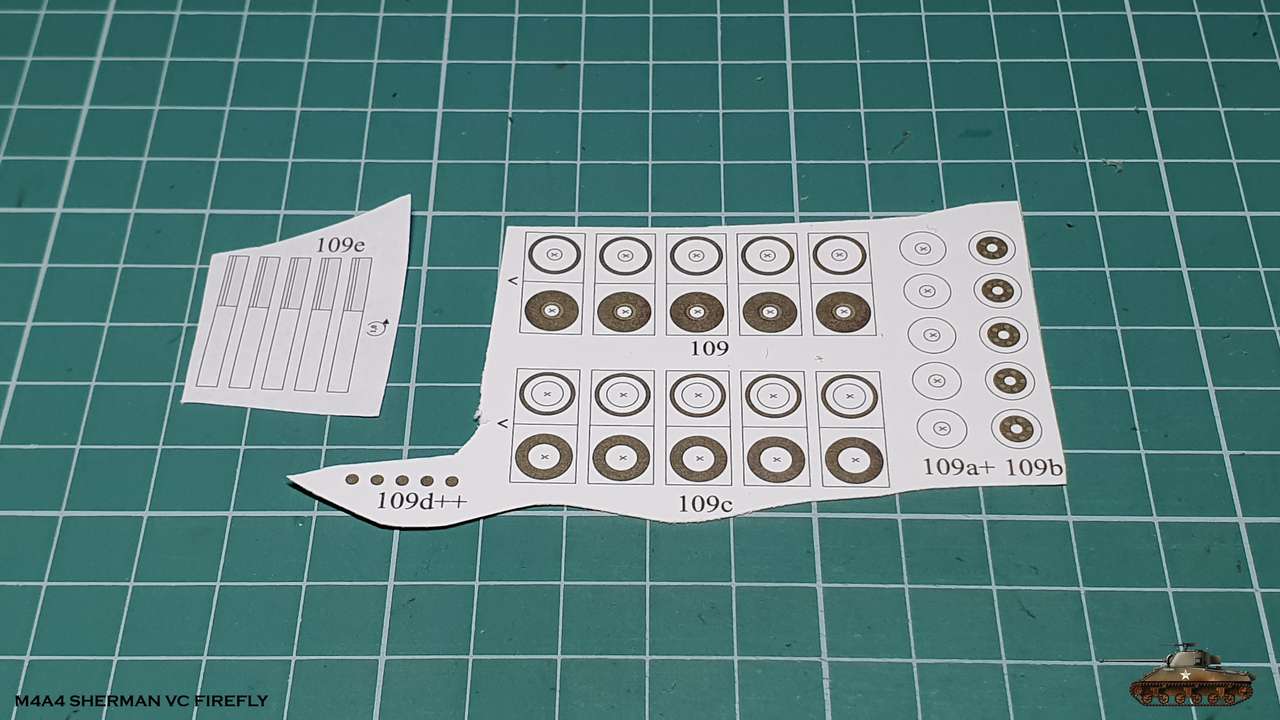 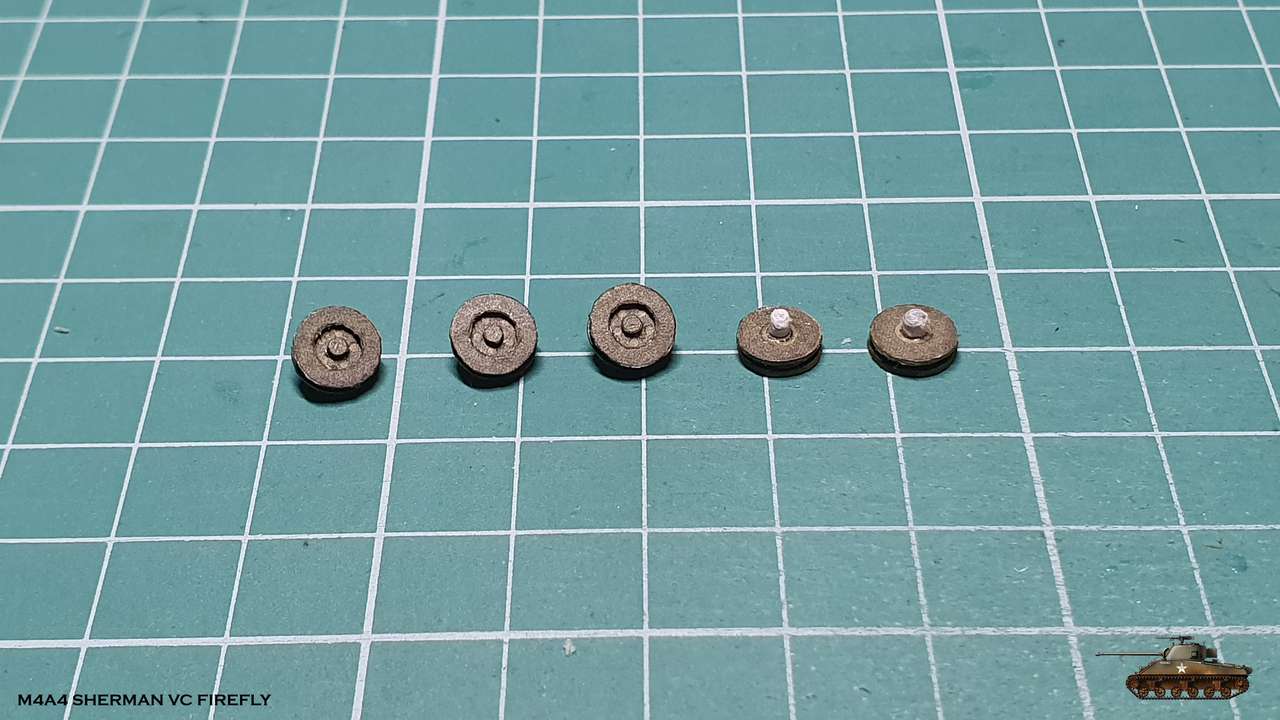 Ignition Distributors - those simple 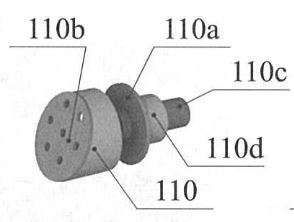 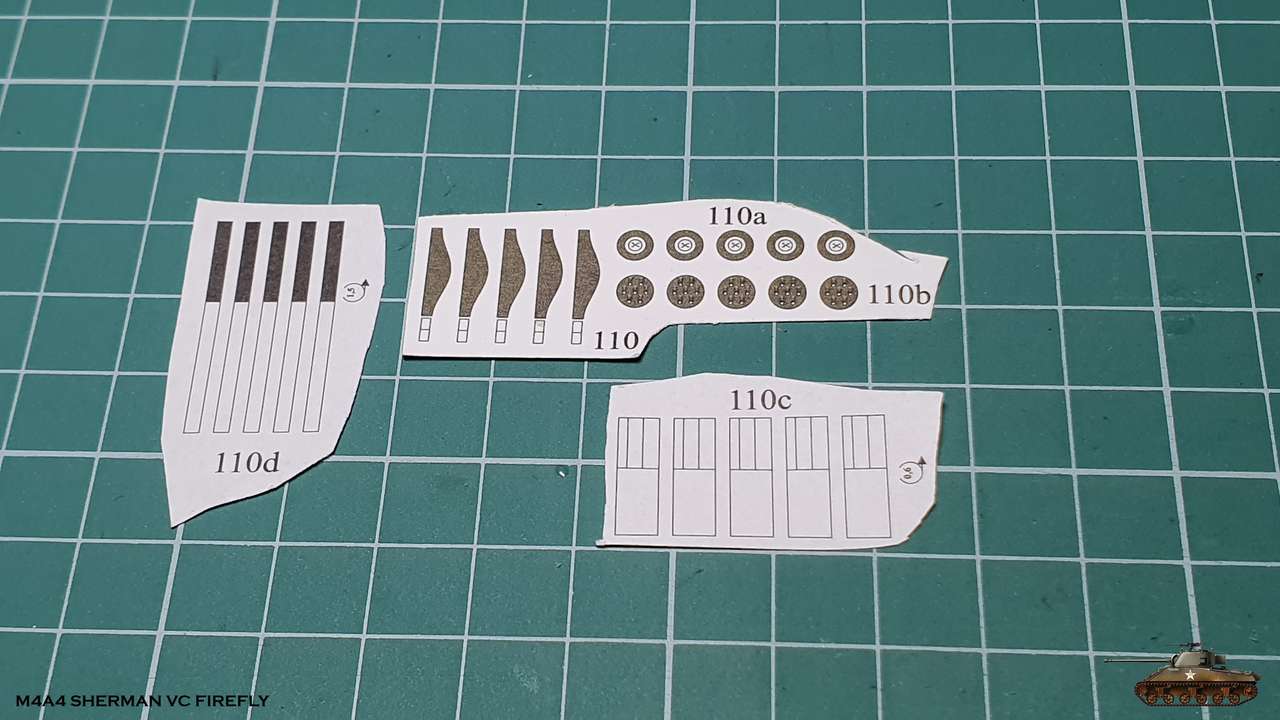 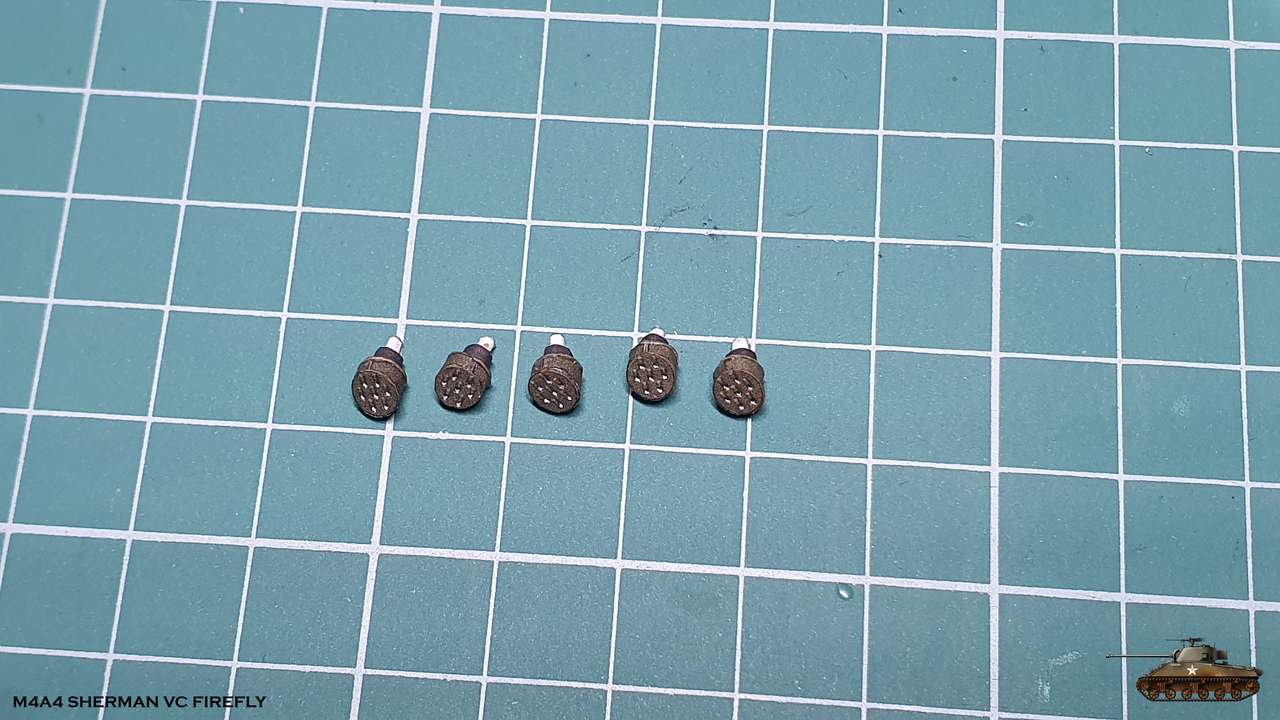 And the ignition coils. Here, too, you need to pay attention to direction of attachment. On each block it is in its own way 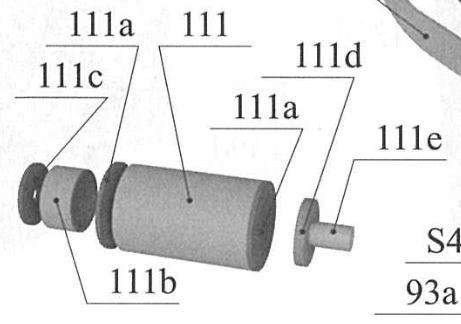 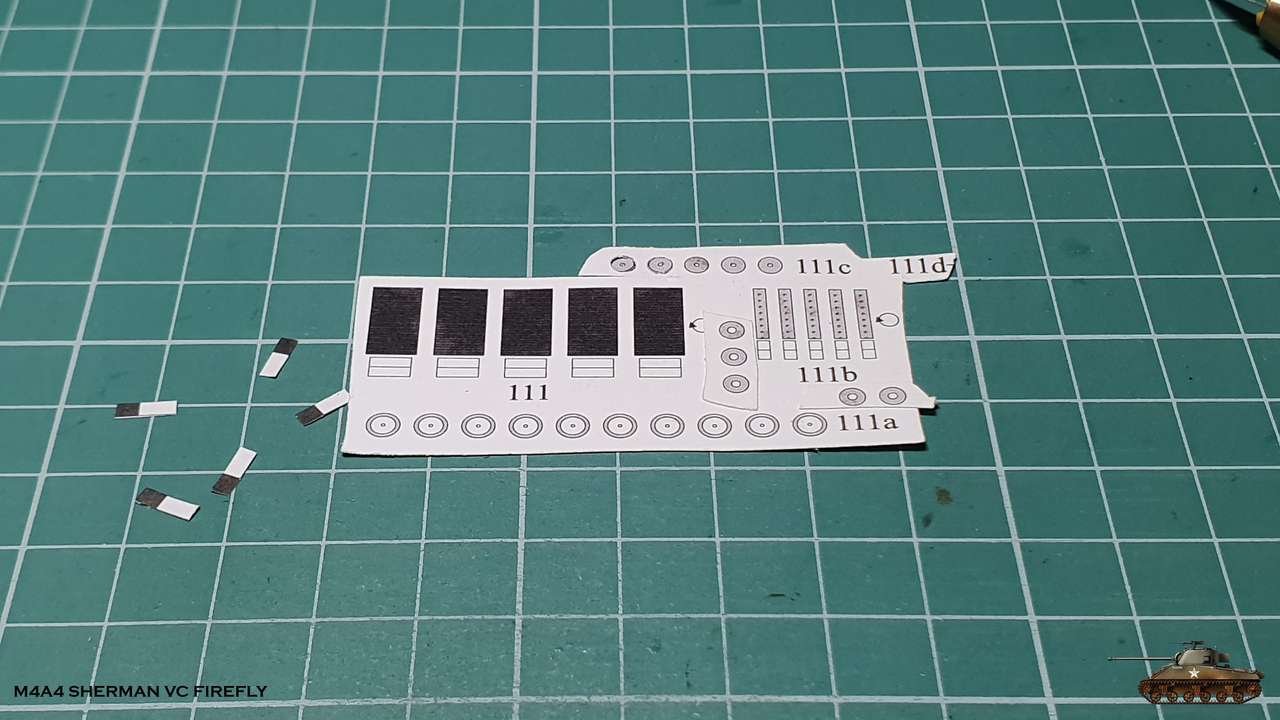 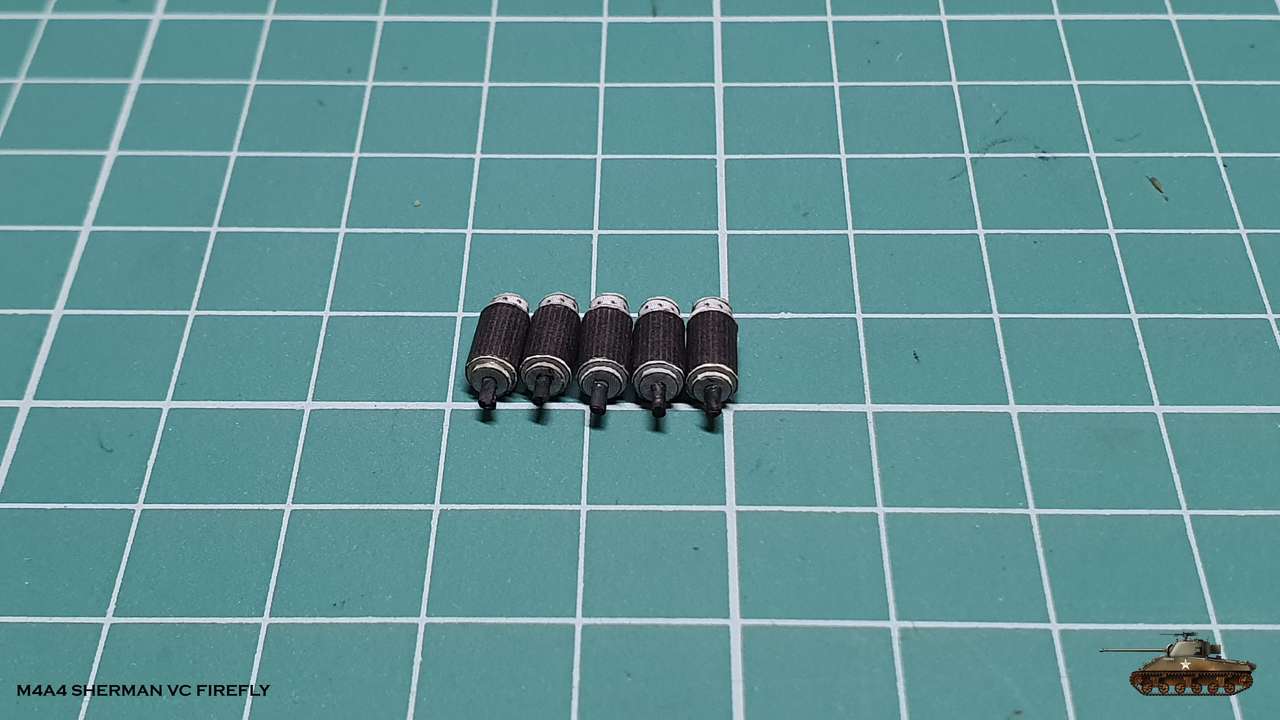 And everything is attached to the engine 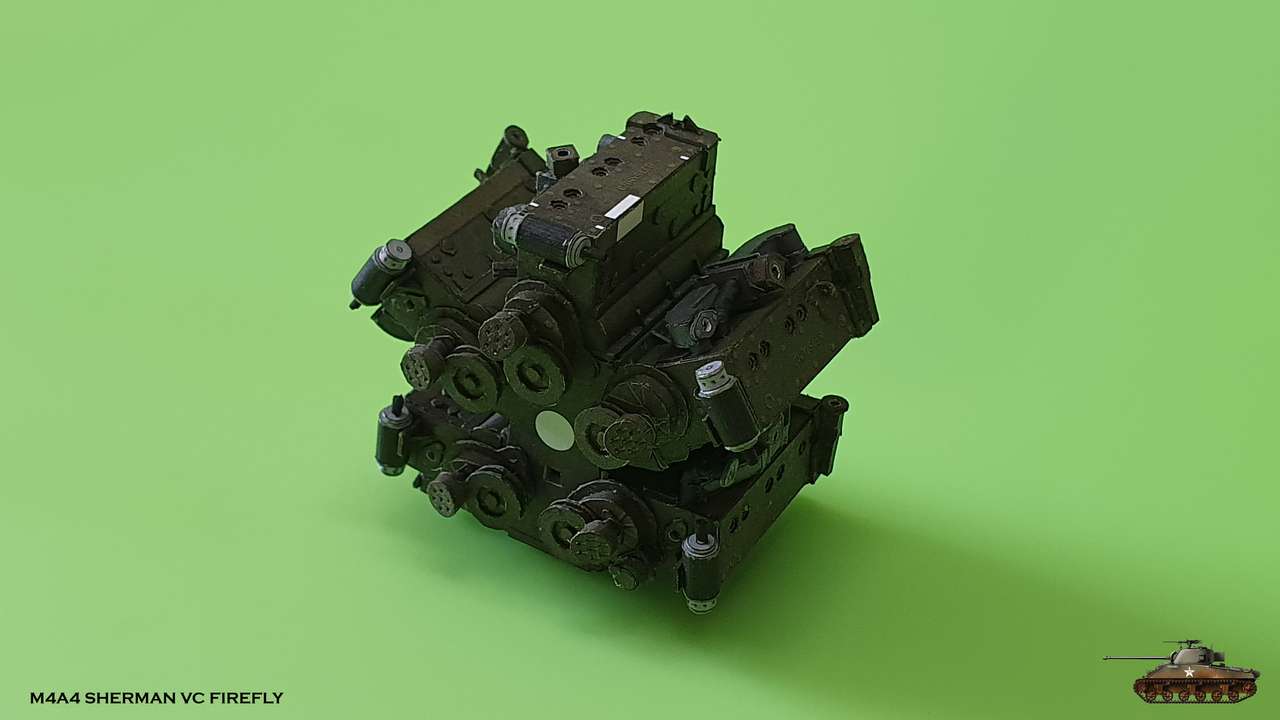 On a side note, I would like to share my impressions of Halinski paper. On the good side - a paper of convenient thickness, it is well cleaned of glue and glued strong together. On a bad one, IMHO - it is not possible to bend sharp corners normally with drawing a bend line from the inside (from the outside it ruins the paint) Therefore, it is sometimes necessary to cut parts into pieces and glue edge to edge. Also, when twisting small parts - the paper is stratified. I compare it against paper from GPM and old Halinsky. Another note - there are details that are given on thin paper for dense twisting. So it seems to me that the calculation was to twist them by a robot into a super dense, with no minimum clearance in the middle, tube. :-D Otherwise, it is not possible to enter into the desired diameter with given length. It is necessary to constantly trim and adjust to fit. Again IMHO. I'm going on vacation, but stay tuned!
|
|
#46
09-02-2019, 01:20 PM
|
||||
|
||||
|
I'm back and continue.
Next is the gearbox. In fact, it's just 5 shafts with five engines connected to the main shaft by gears. There are not many parts, but overall it looks interesting  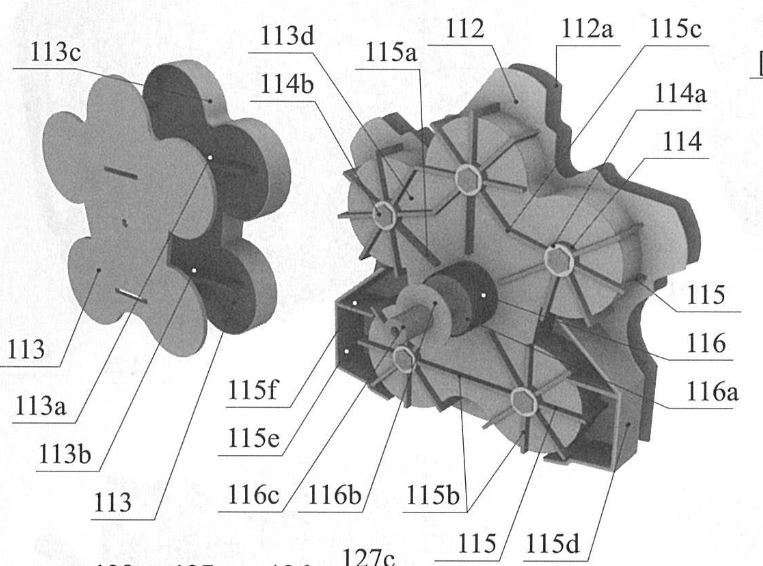 Gearbox is ready. 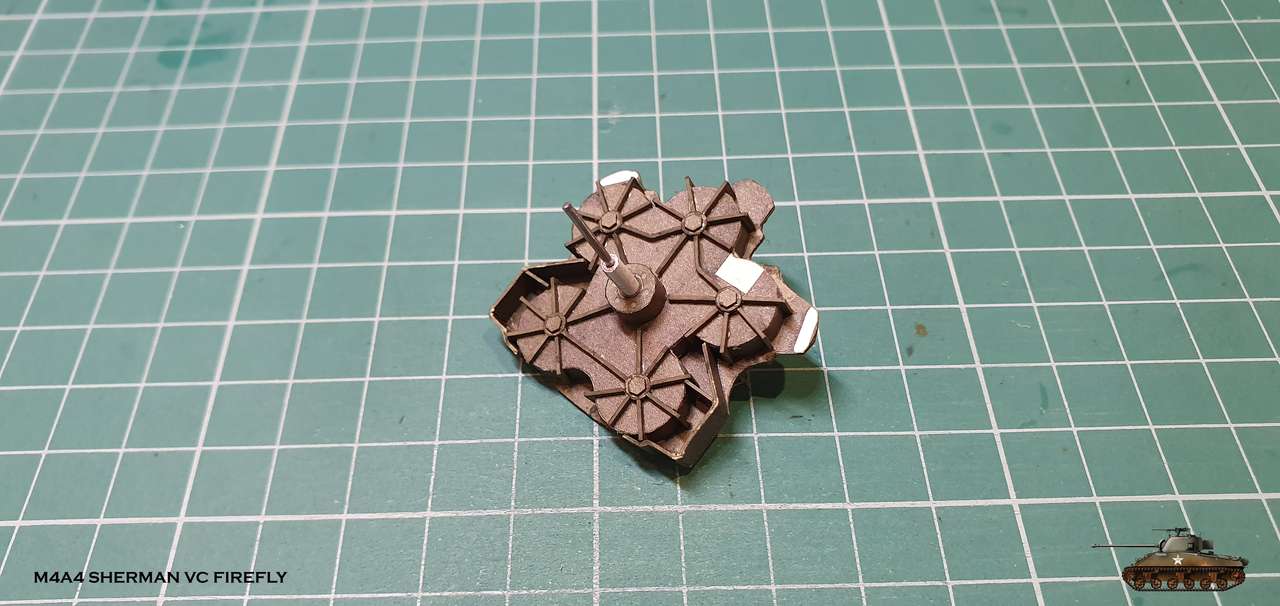 And attached to its place 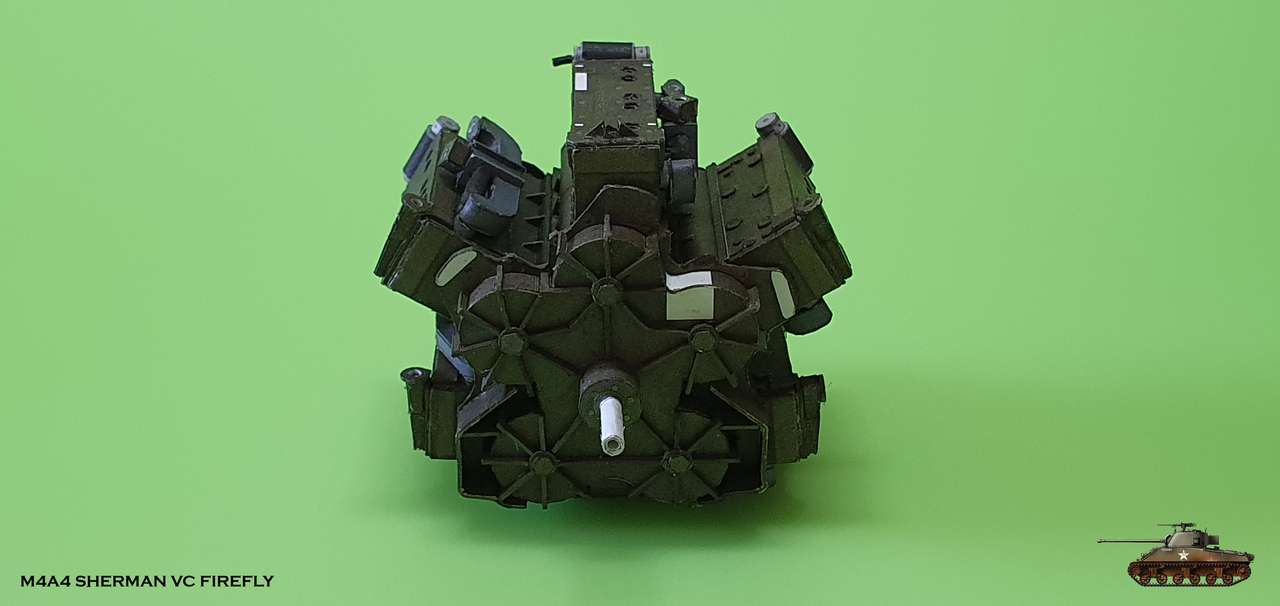 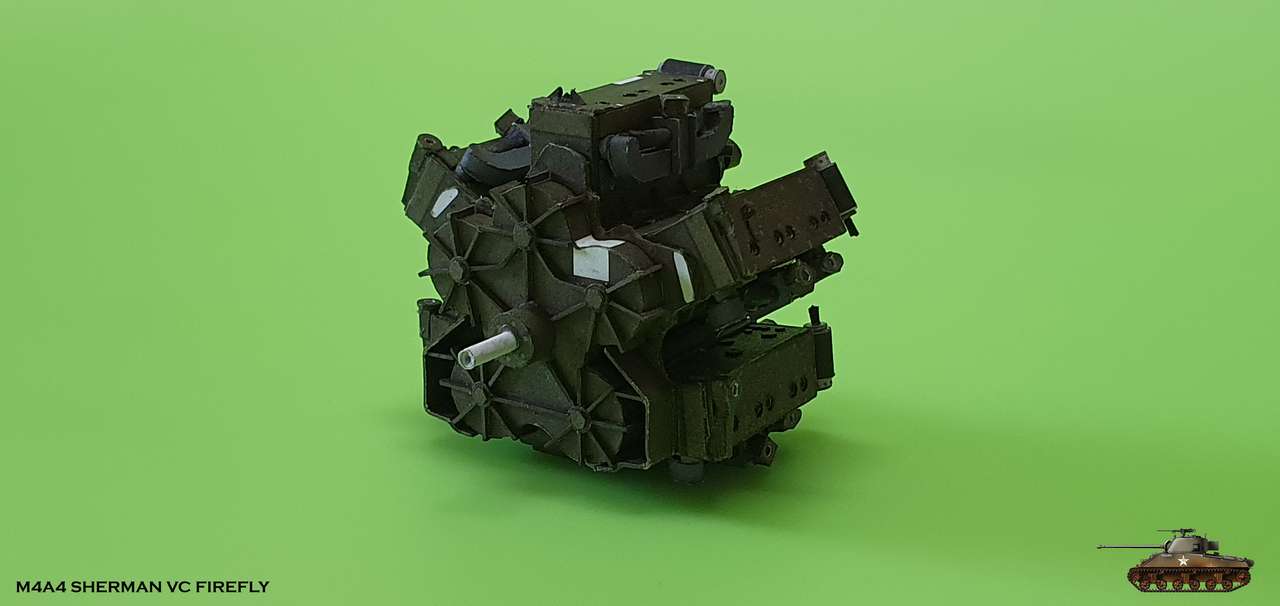 And that's how it looks inside  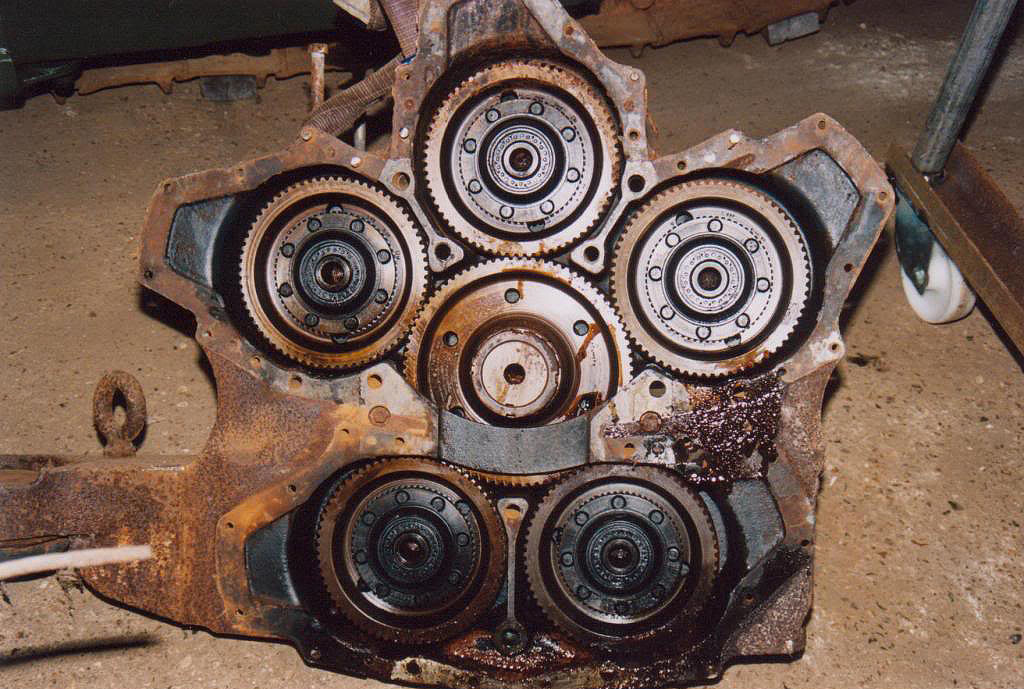
|
|
#48
09-04-2019, 10:46 AM
|
|||
|
|||
|
Thanks for keeping the inspiration coming Igor
|
|
#49
09-04-2019, 02:29 PM
|
||||
|
||||
|
This continues to look great Igor, you're doing a great job.
|
|
#50
09-14-2019, 04:33 AM
|
||||
|
||||
|
Boris, hirondelle and Vinalssergio155 - thank you
I'am entering to chapter with scratch build part Now it is water pump. As I wrote earlier - in the first version there were 5 of them, one for each block. But it turned out to be not effective and therefore they designed one central pump, which distributed cool fluid throughout the block through 5 tubes.  I made tubes from solder of suitable diameter and painted black. The pump has already been fixed in place (care must be taken with direction of all exits) and then noticed in the drawings that under the tubes are passing synchronization cables between ignition coils. I turned to shape those cables from the same solder of a suitable diameter and installed them before pump tubes. 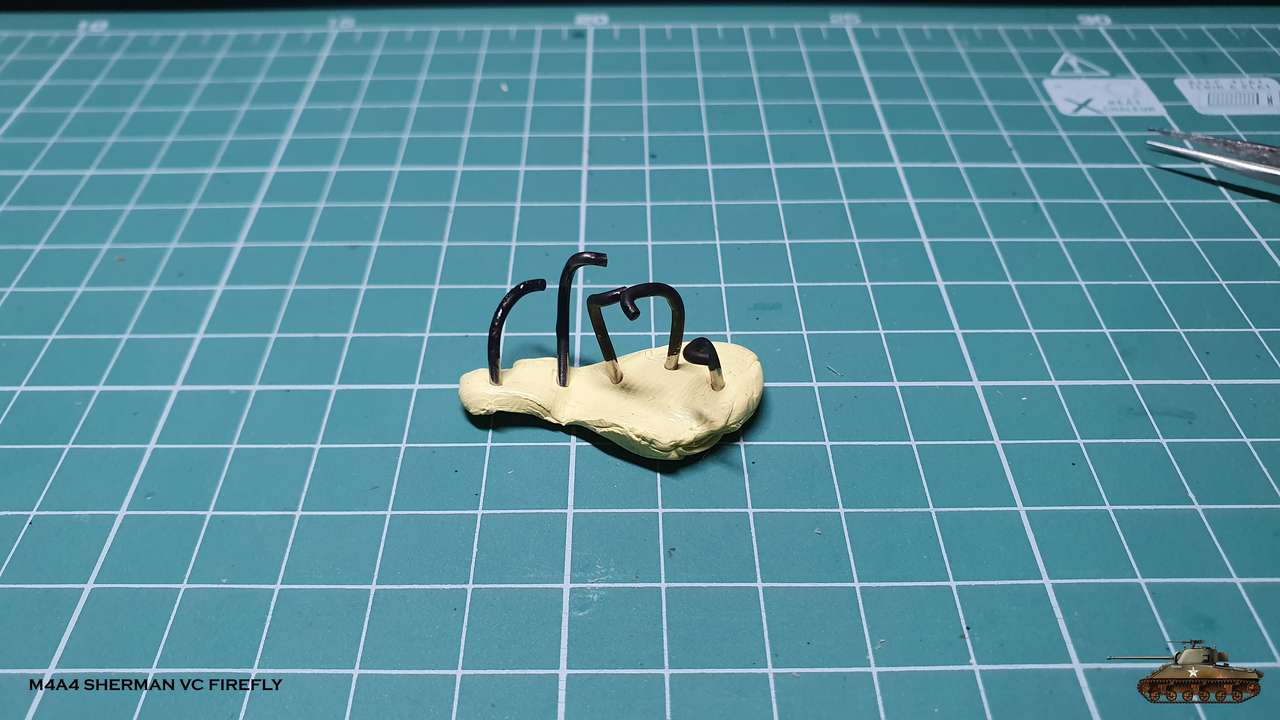 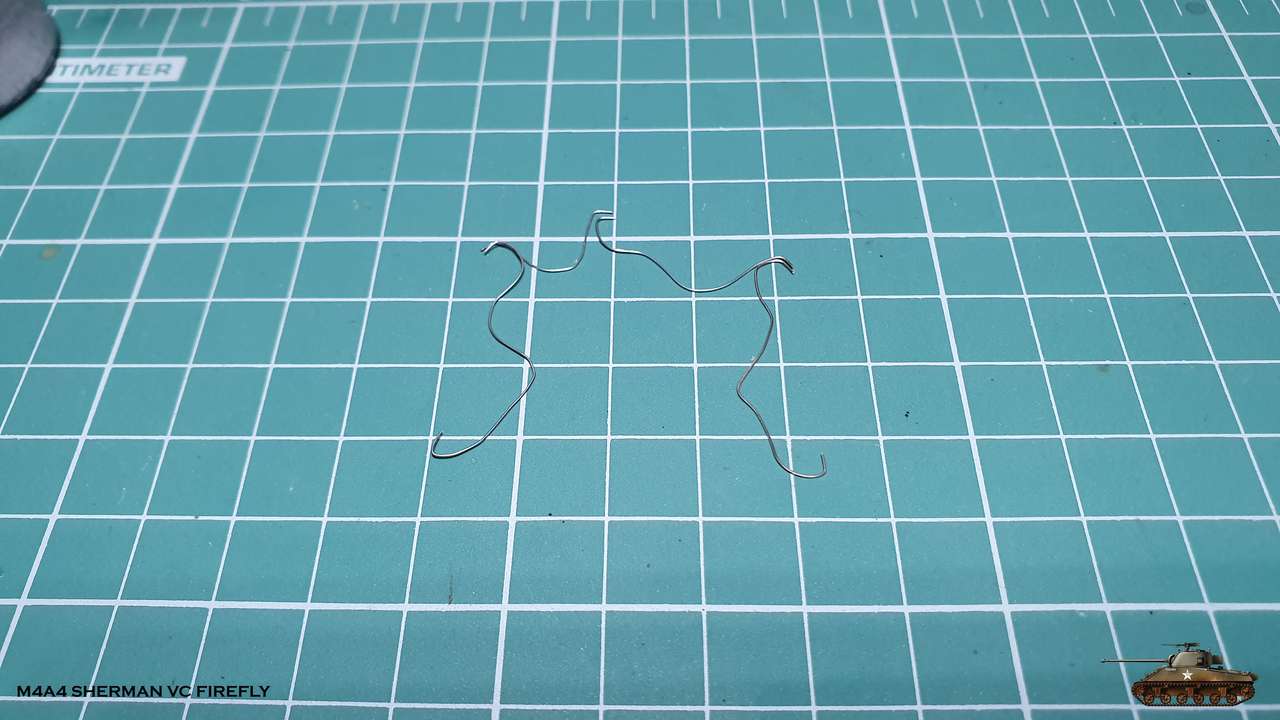  Then I carefully attached the tubes, each in its place with drops of super glue. 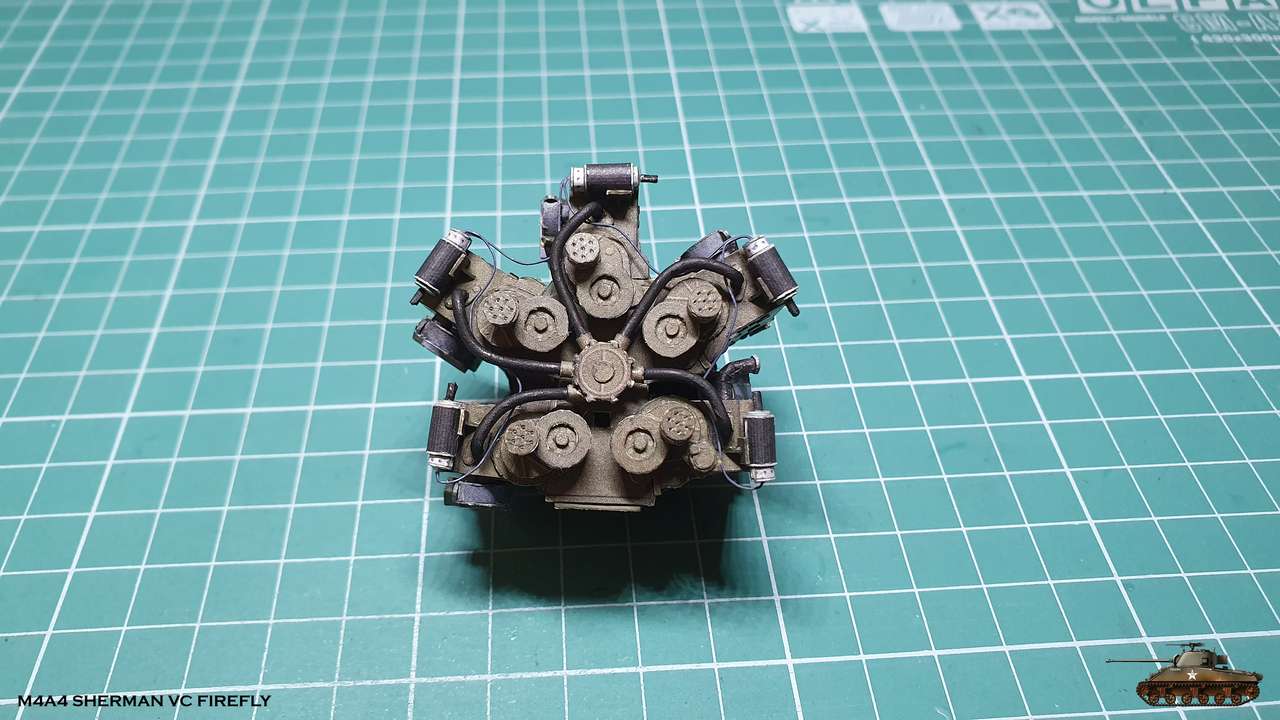 
|
| Google Adsense |
 |
|
|


 Linear Mode

