


|
|
|
#301
 07-27-2020, 04:00 AM
|
||||
|
||||
|
A detachable top, a cabrio tank. I'm glad you pulled it off because it would be a pity if those great details wouldn't be visible anymore. Great work, Igor!
Erik 
|
|
#302
08-04-2020, 02:17 AM
|
||||
|
||||
|
Thanks Erik
Now it's time to add details to upper armor. 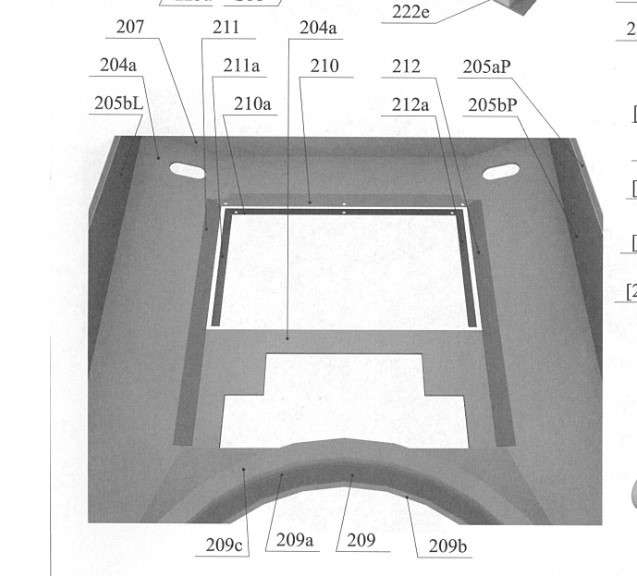  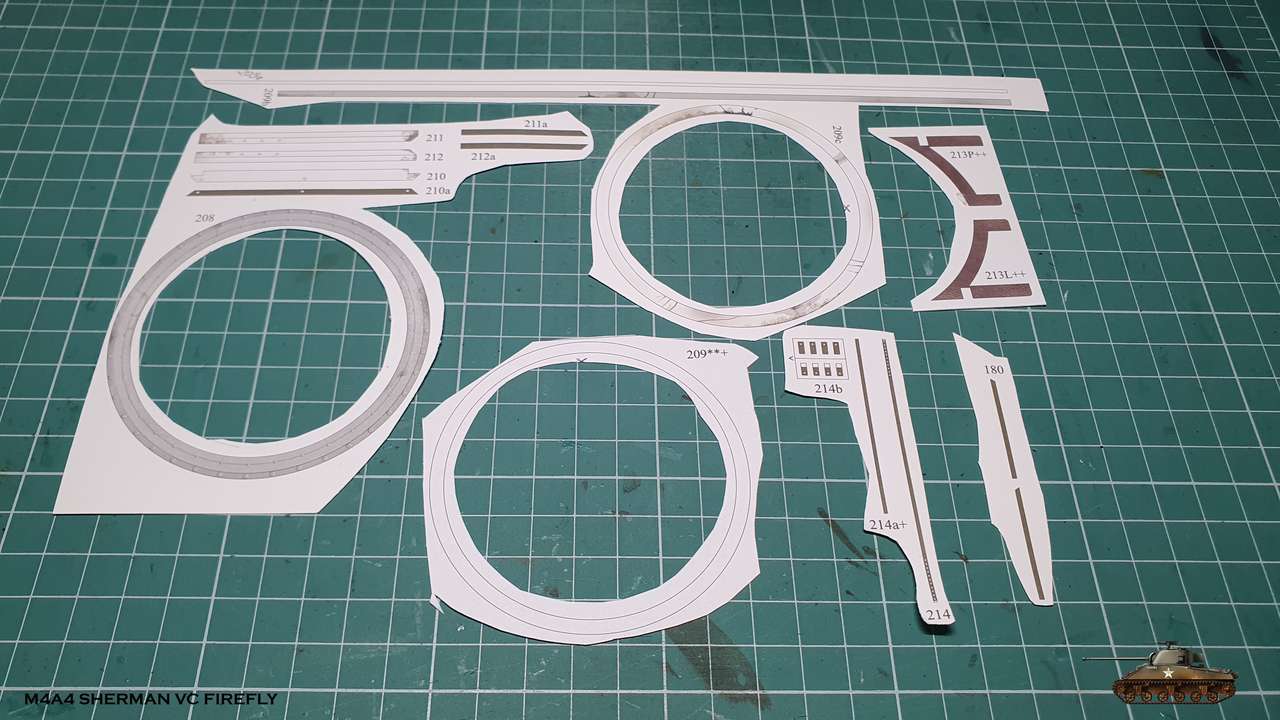 First is the frame to support closed engine bay door 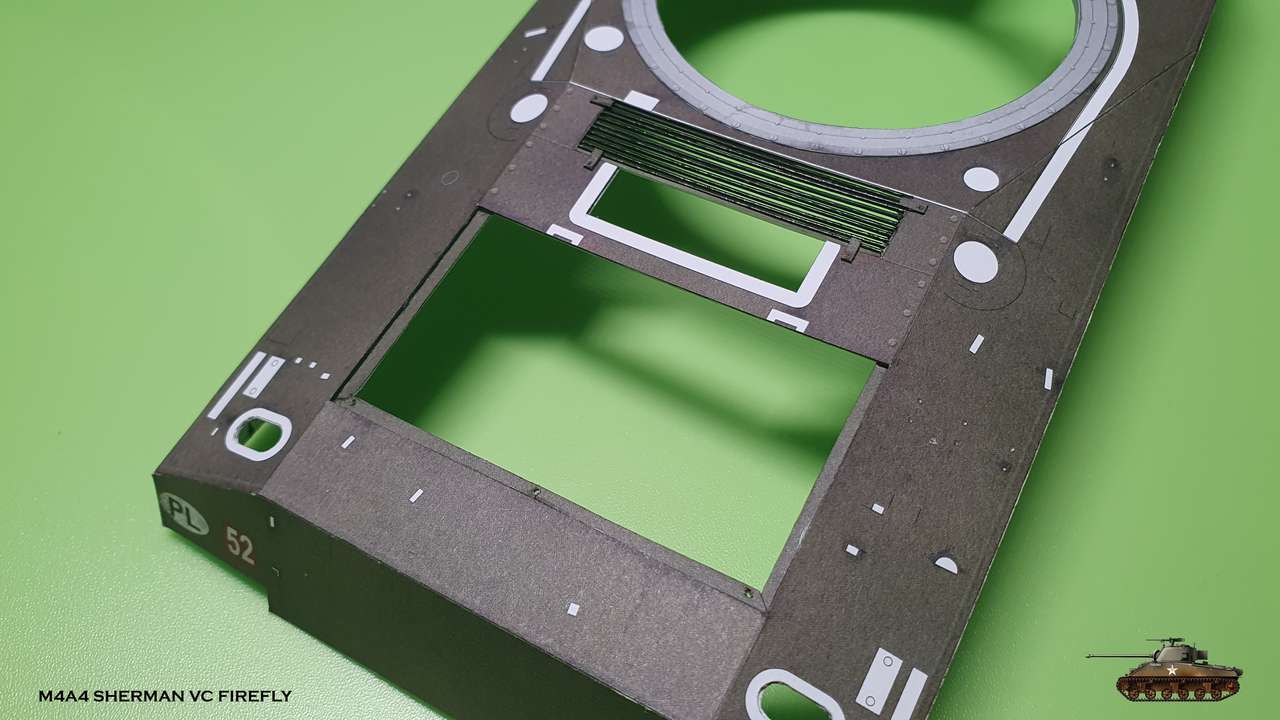 Second is radiator air flow mesh. This was maid from separate rods 0.6 mm, that glued one by one into the frame. A little tip: if you want to straighten some rod, just put it on table and put on top steel ruler or some aluminium/steel plate. Move ruler/plate forward and backwards, shifting on length of the rod. You will see magic  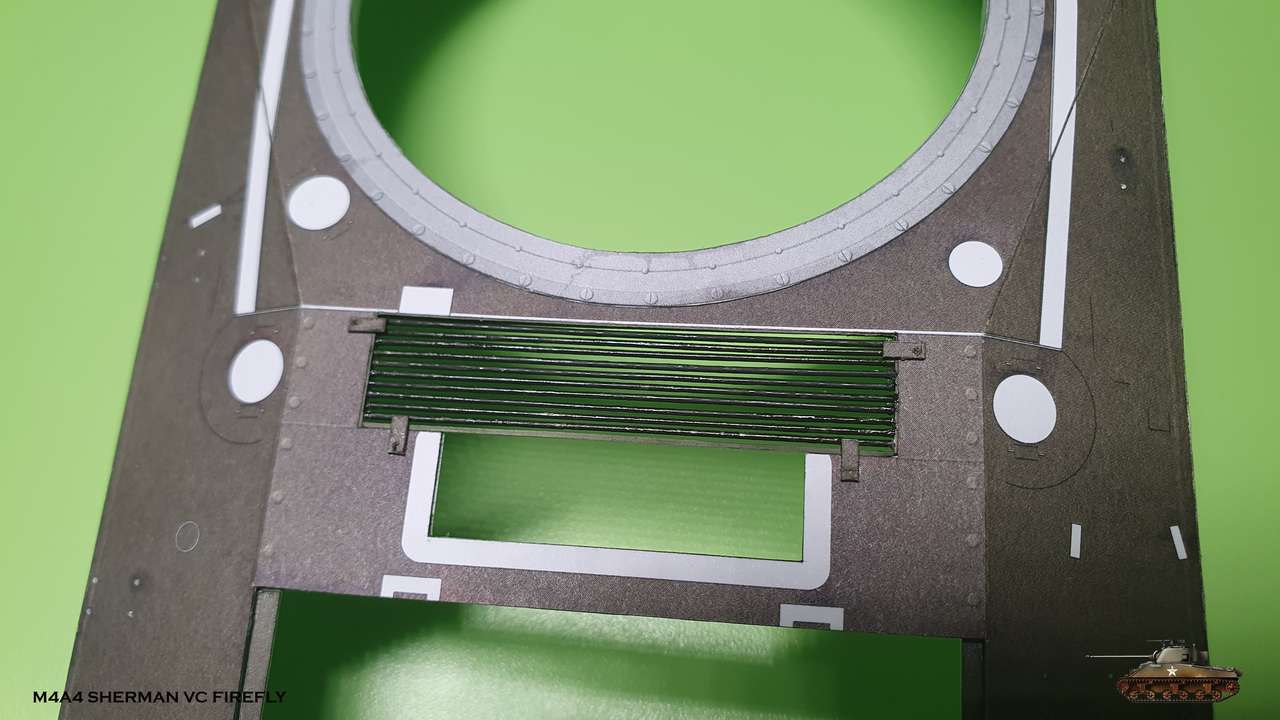 Third is turret ring 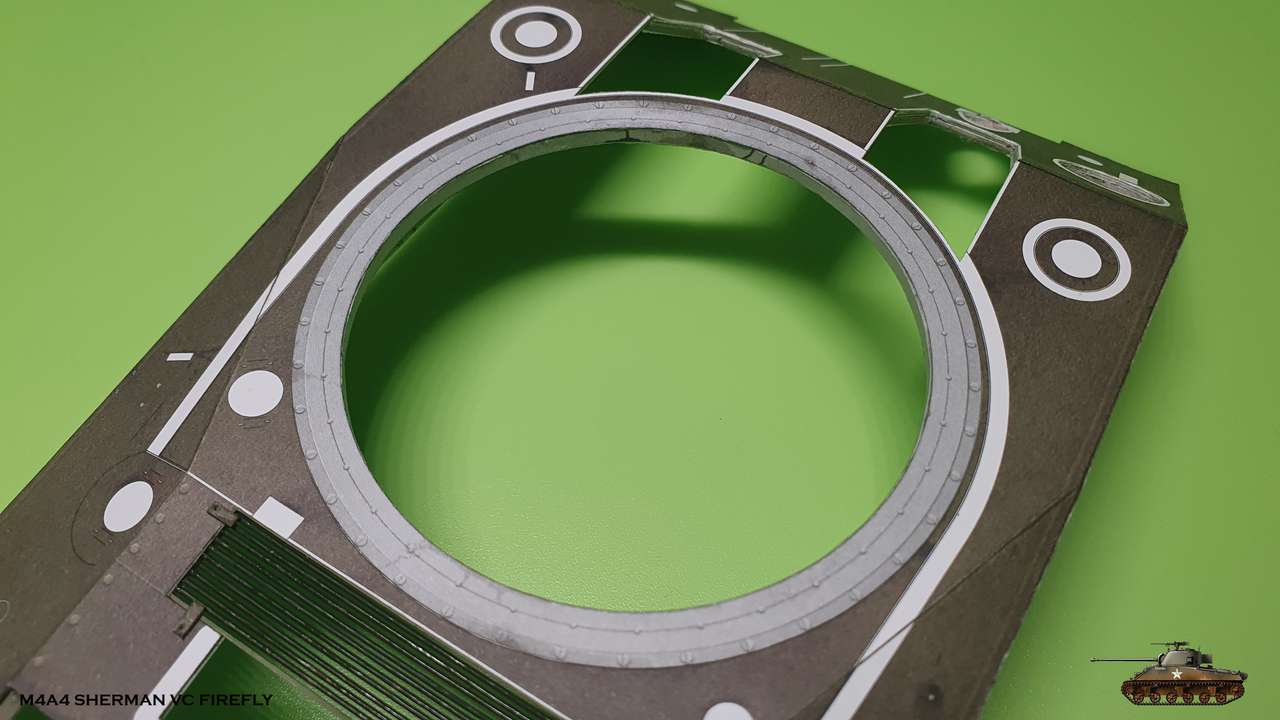 From the inside with last details that are two safety cushions on edges of front hatches  Here you can see radiator through the mesh 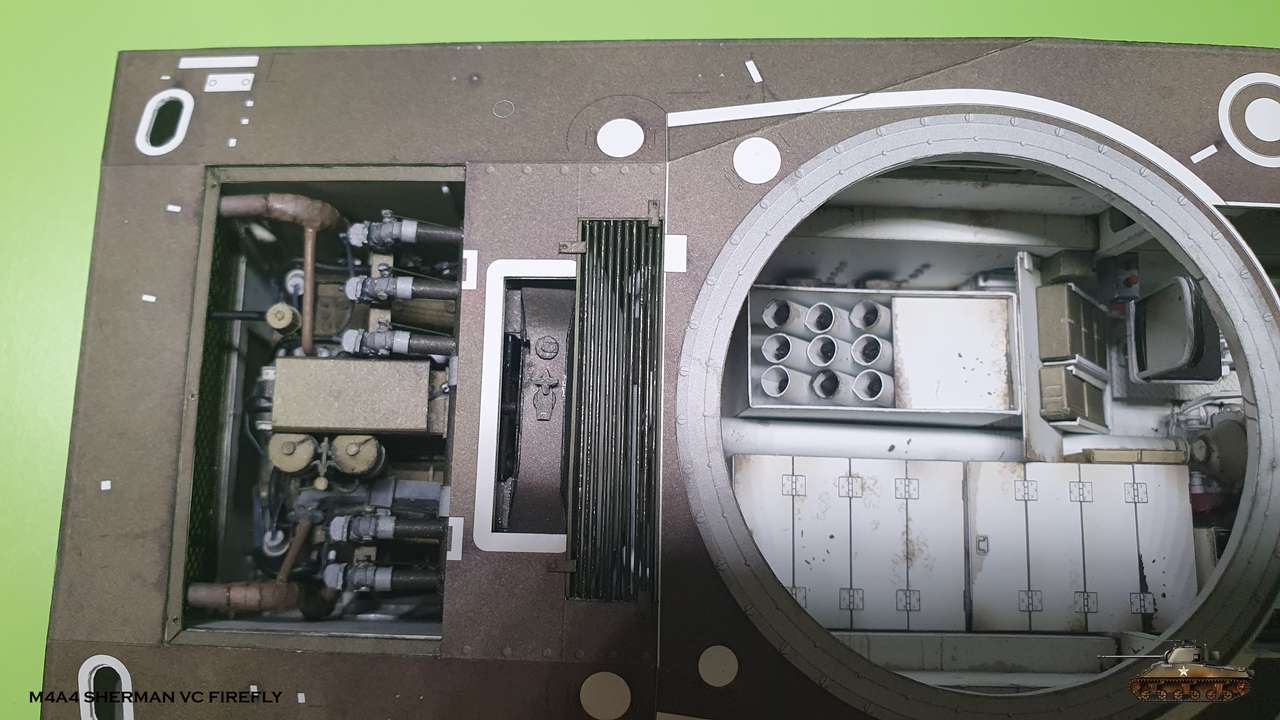 And while I collected parts for this details I found that I forgot about thin strips, that cover side gap between powertrain and hull. So don't forget those - part 180 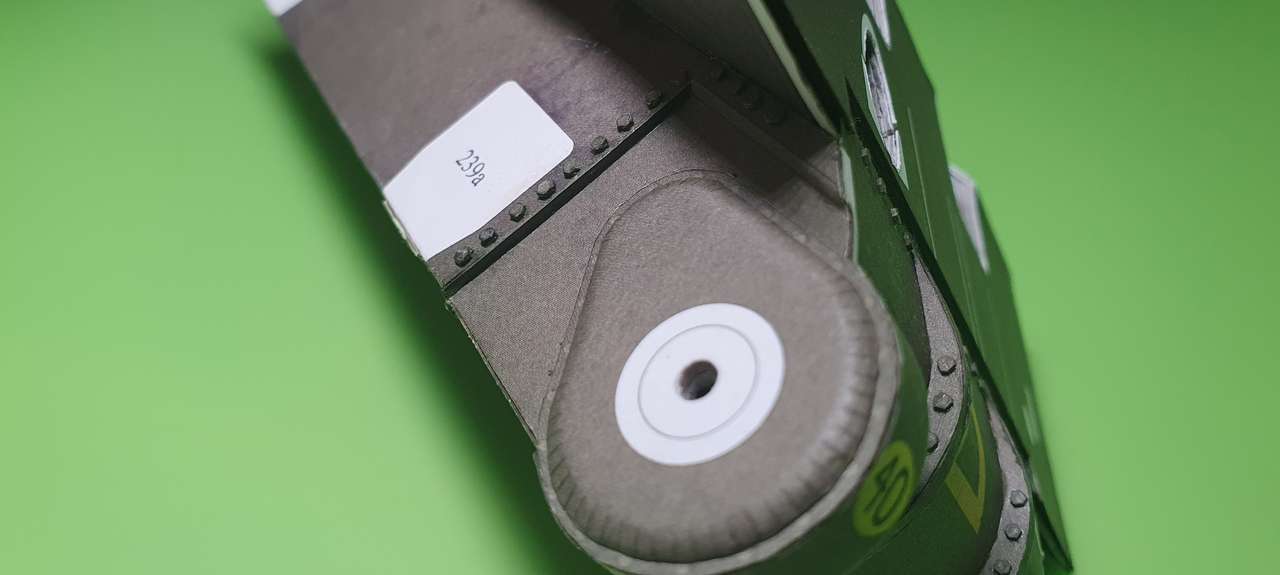
__________________
Welcome to my gallery
|
|
#304
08-07-2020, 02:26 PM
|
||||
|
||||
|
Thanks Kevin
I continue with turret skirt. Nothing special, but you need to be very accurate to put it in place. First i glued iner part and then i glued angled outer parts. Here's a little mistake - part 225g must be trimmed at edges, so it will later aline with hetches cover. 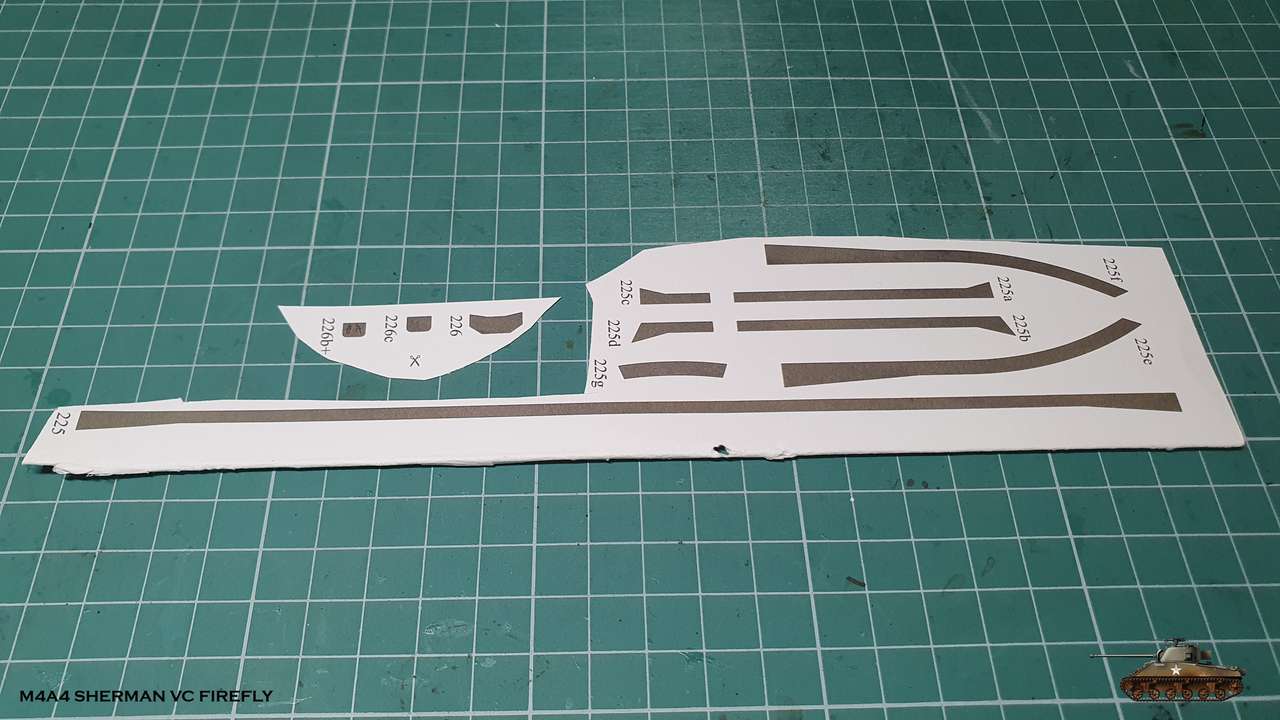 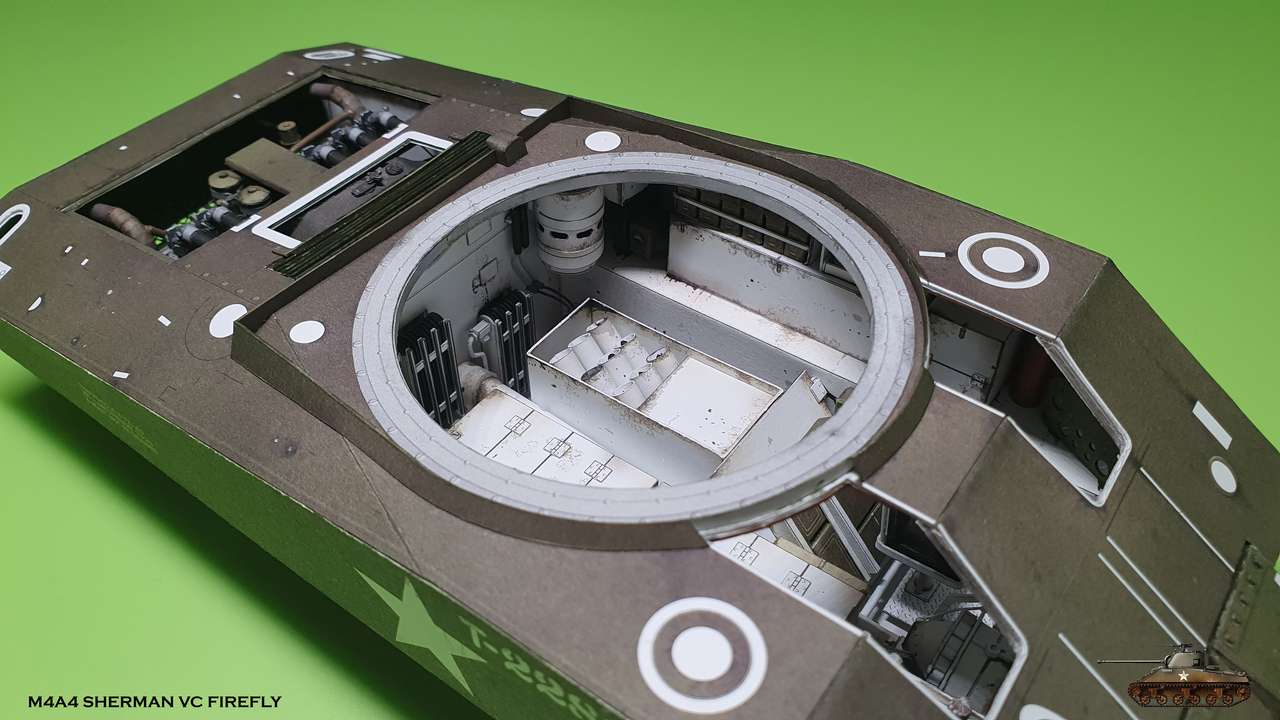 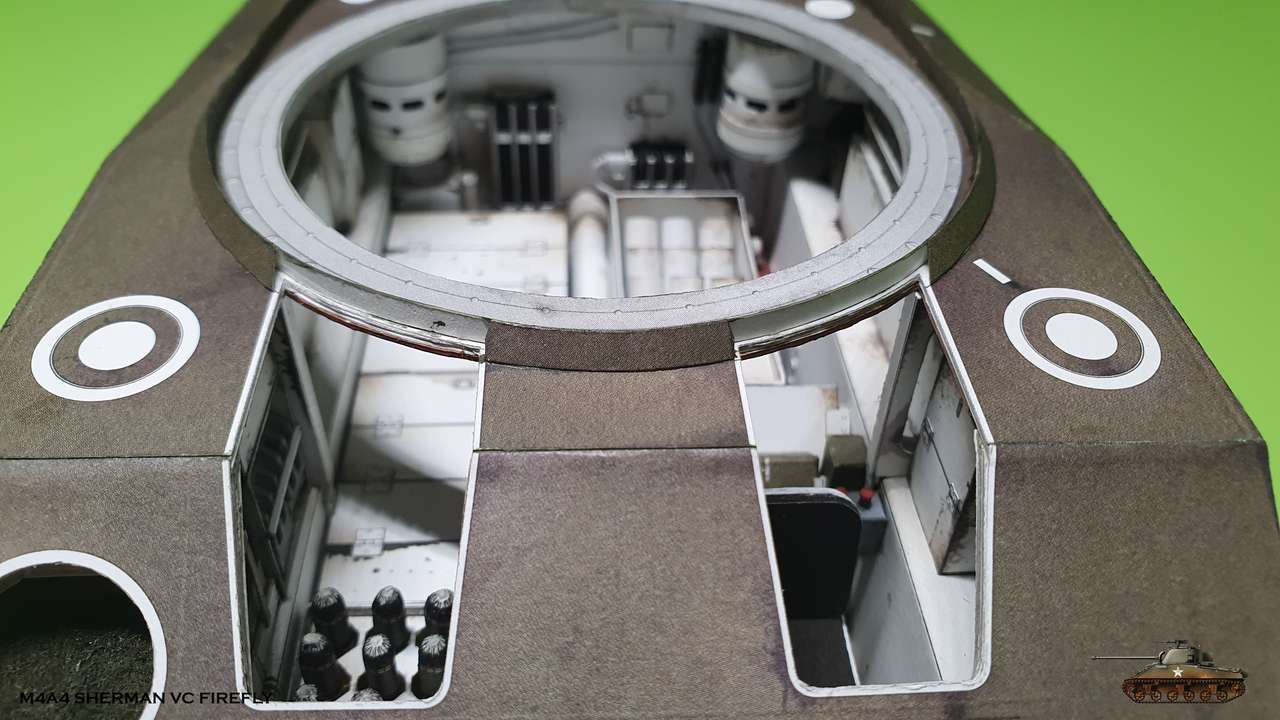 There is one more error here with assembly 226. I seems that this one was not designed under Halinski hat There are three parts: 226, 226b, 226c, but it must be as shown on the drawings - b is a and c is b.Also part 226a in drawings glued inside the cover making some kind of wisor and it is white from inside with no inner strip provided to cover, so you need to paint it accordingly. 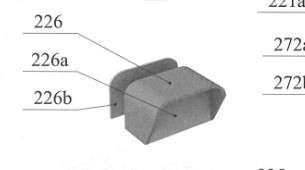 And what is this box you may ask? Well, this box contains two pull handles that operate the twin fire extinguisher system inside the tank. 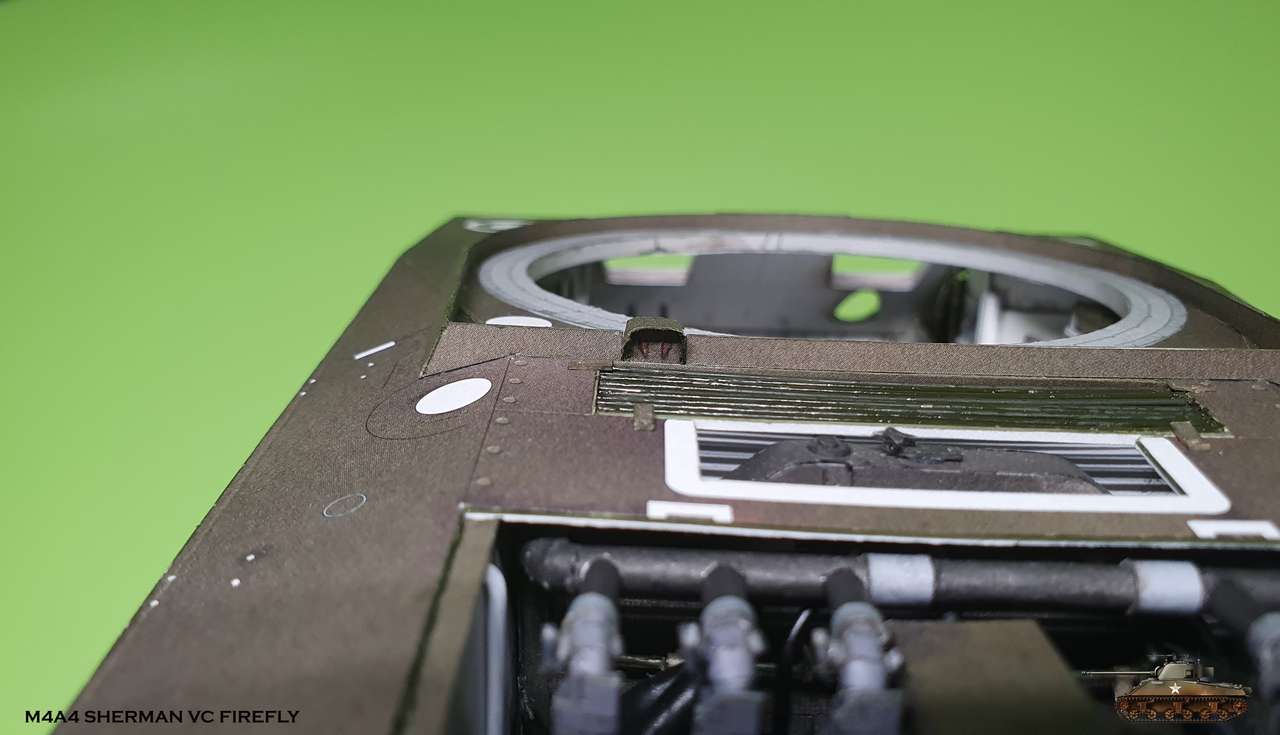 Here you can see how two lines inside go up to connect with pull handles 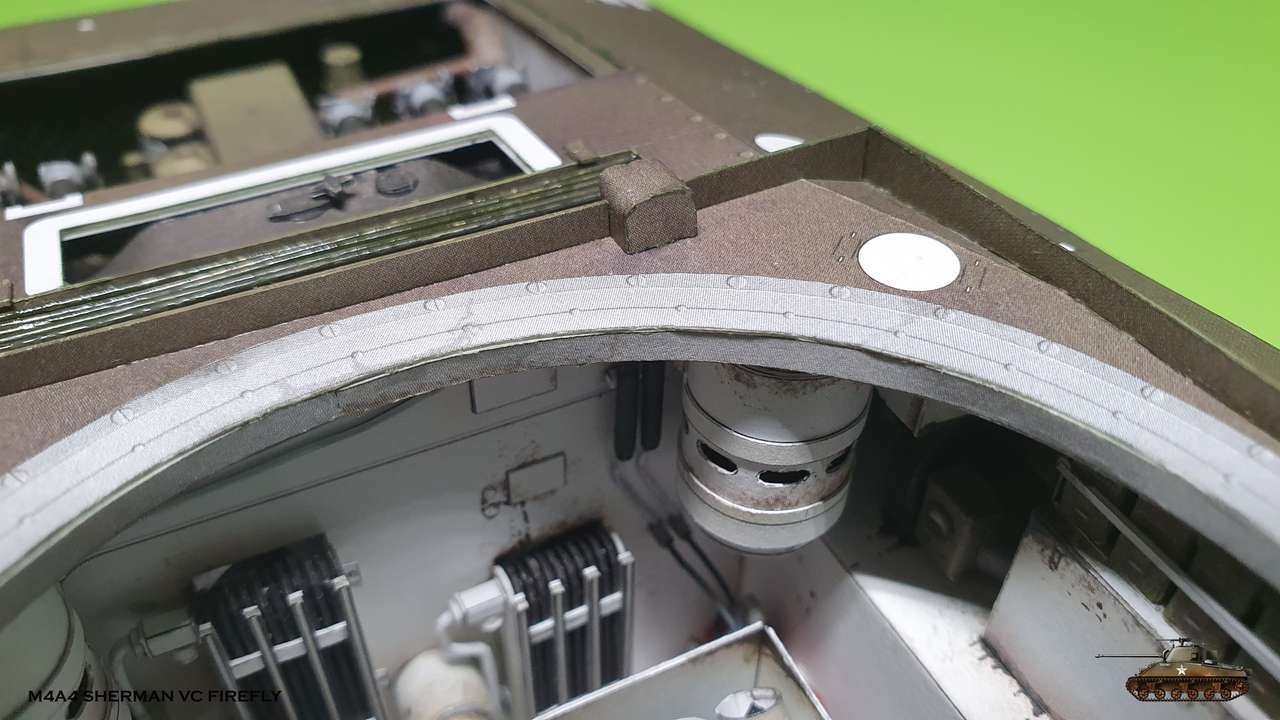
__________________
Welcome to my gallery
|
|
#305
08-08-2020, 07:03 AM
|
|||
|
|||
|
Is/Was there any way to to make it so that the top of the body can be easily removed to reveal the detail. Seems like a crime to seal it all up.
Perhaps a few tiny magnets in hidden locations.
__________________
"perfection is finally attained not when there is no longer anything to add, but when there is no longer anything to take away" - Antoine de Saint Exupéry
|
| Google Adsense |
|
#306
08-08-2020, 01:35 PM
|
||||
|
||||
|
Quote:
__________________
Welcome to my gallery
|
|
#307
08-09-2020, 05:45 AM
|
||||
|
||||
|
It looks extraordinary Igor!
|
|
#308
08-11-2020, 12:15 PM
|
|||
|
|||
|
I know it is not a contest, but I am glad I don't have to judge yours and Roman's Shermans. Both are excellent builds that show what incredible shapes can be created with paper.
|
|
#309
08-14-2020, 12:06 PM
|
||||
|
||||
|
Thank you
Front hatch towers assemble. Another thing that i met for first time - fragmented power frame. ") 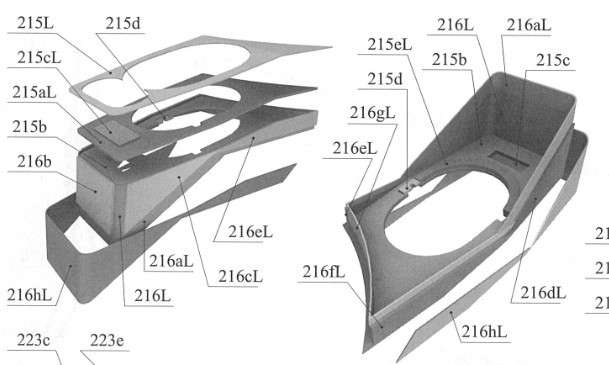 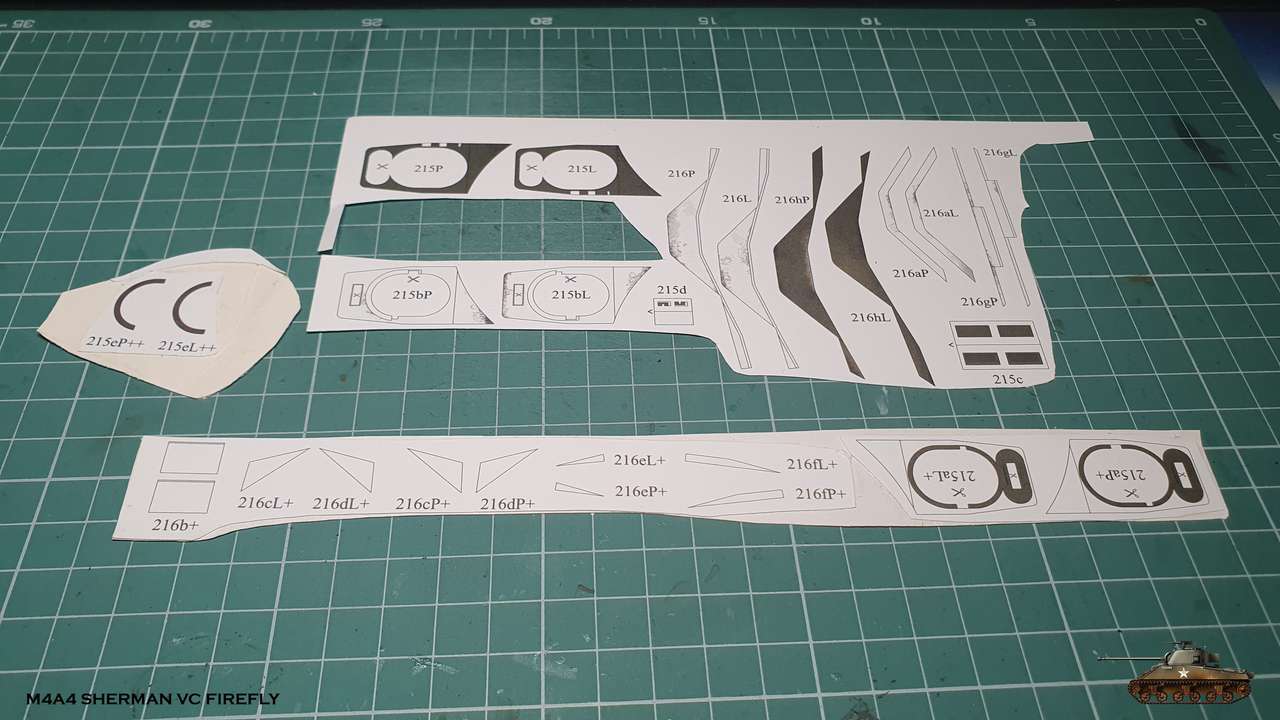  I glued it first to inner skin, then skin to top and then outer skin. Also there is another cushion inside + locking mechanism. 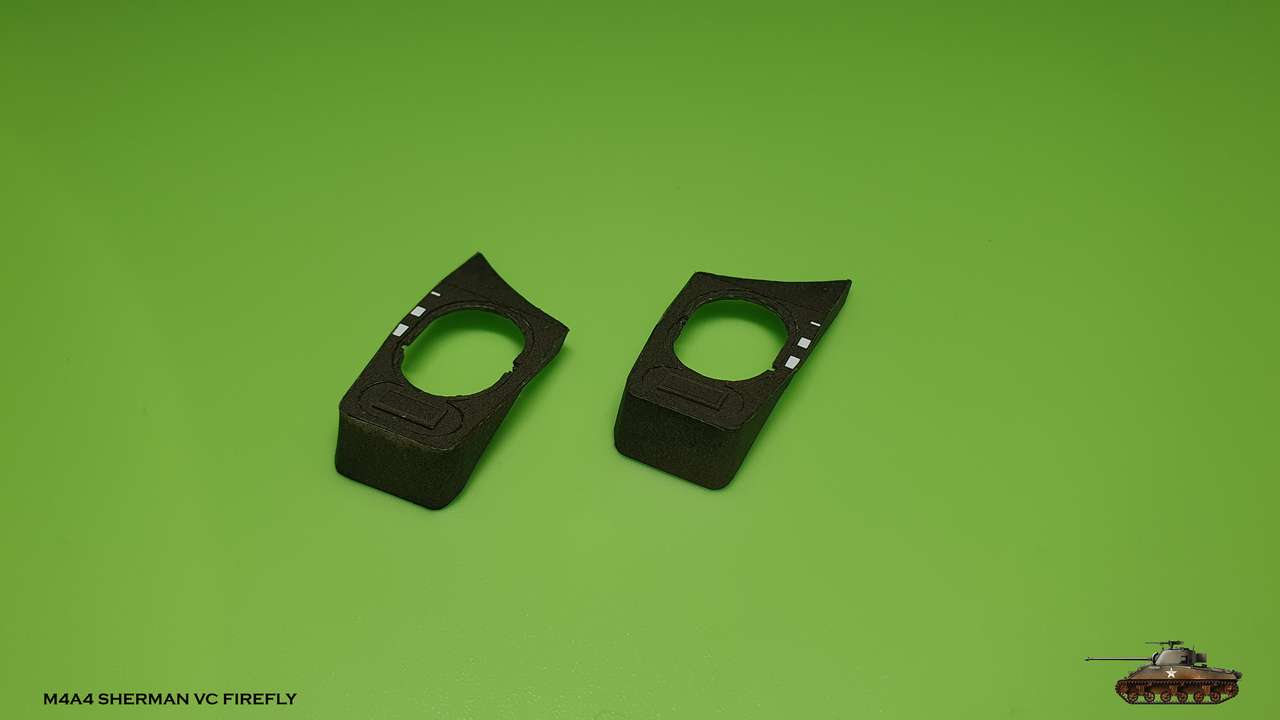 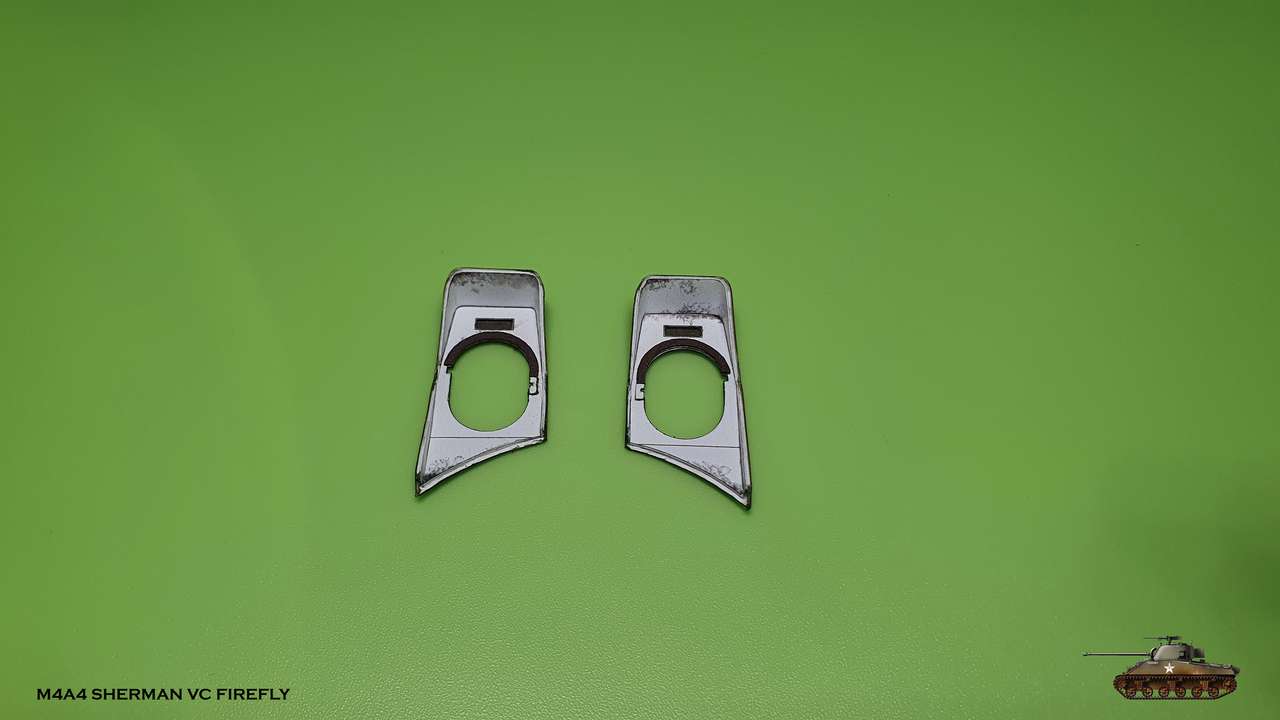 Couple of strips frame edges of hatch 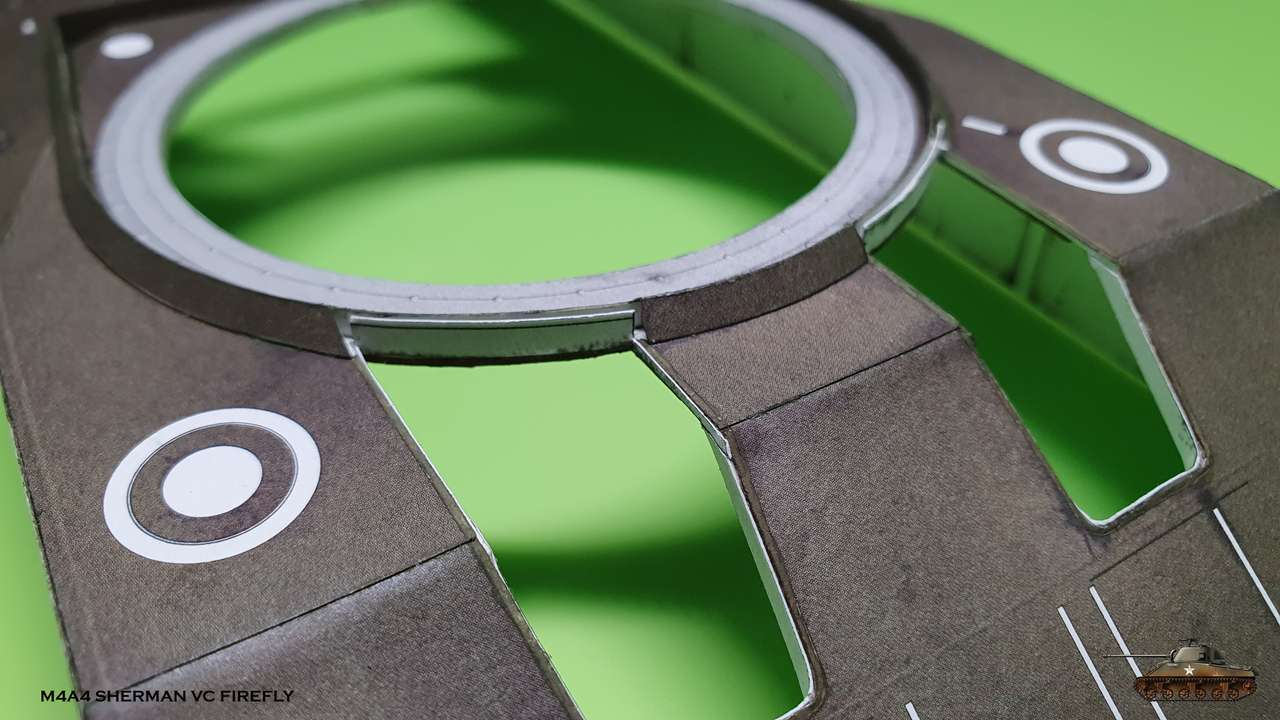 Towers connected well to the body, no adjustments needed.    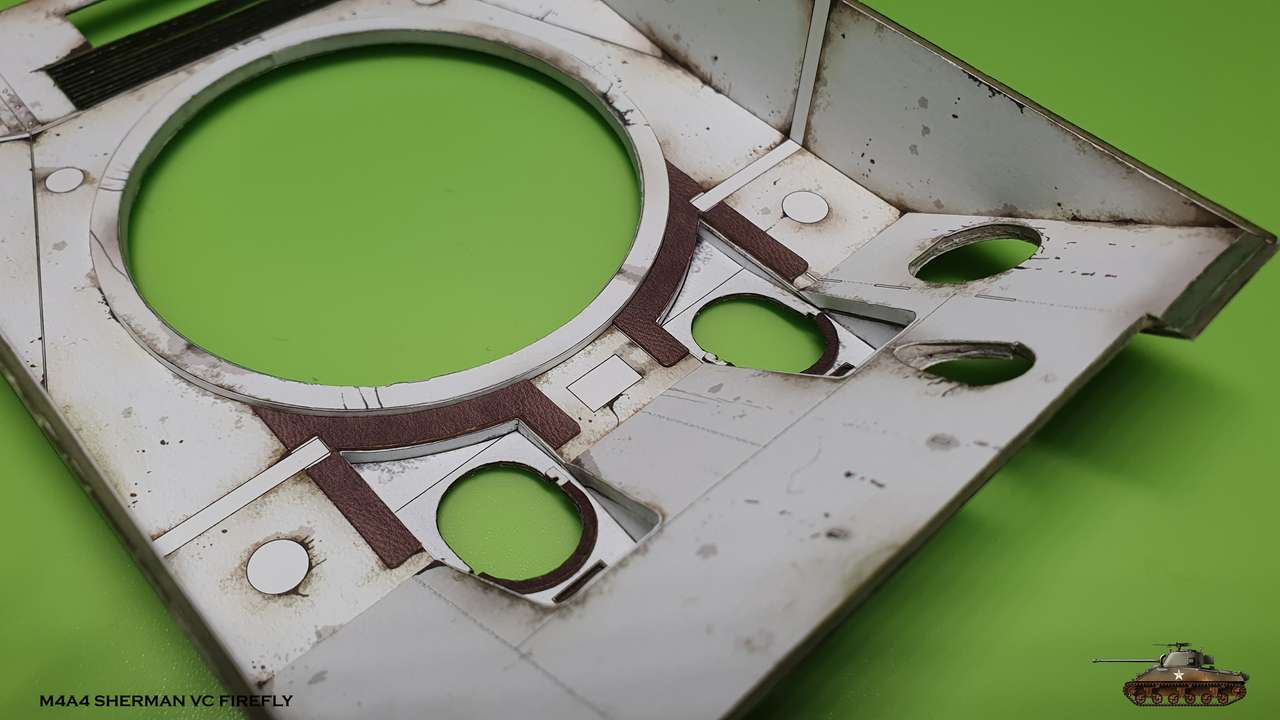 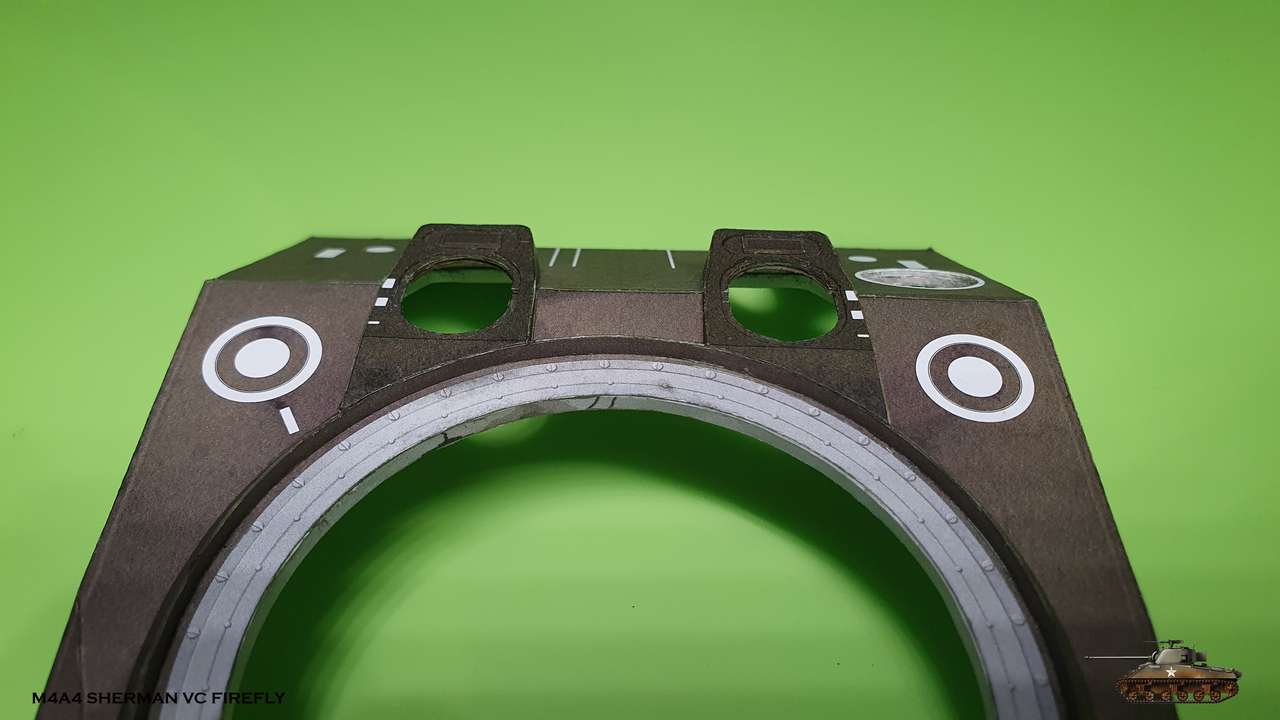
__________________
Welcome to my gallery
|
 |
|
|


 Linear Mode

