


|
|
|
#11
 08-05-2021, 07:14 AM
|
||||
|
||||
|
Outstanding craftsmanship. Very precise and accurate cuts and scores.
Well done! 
|
|
#12
08-06-2021, 06:42 AM
|
|||
|
|||
|
Part6
Quote:
I'm happy to hear that :D -Suspension continued When I build idler wheels with laser cut part, the color paper's back side doesn't printed. So I had to attach with color paper.  Like this.  All Idler wheel parts are ready.   Quite Hard to assemble because it doesn't fit well.   Anyway, It finished. Now, I build return roller and its connection.  Cut all parts again.  Sheet 2 is over now! 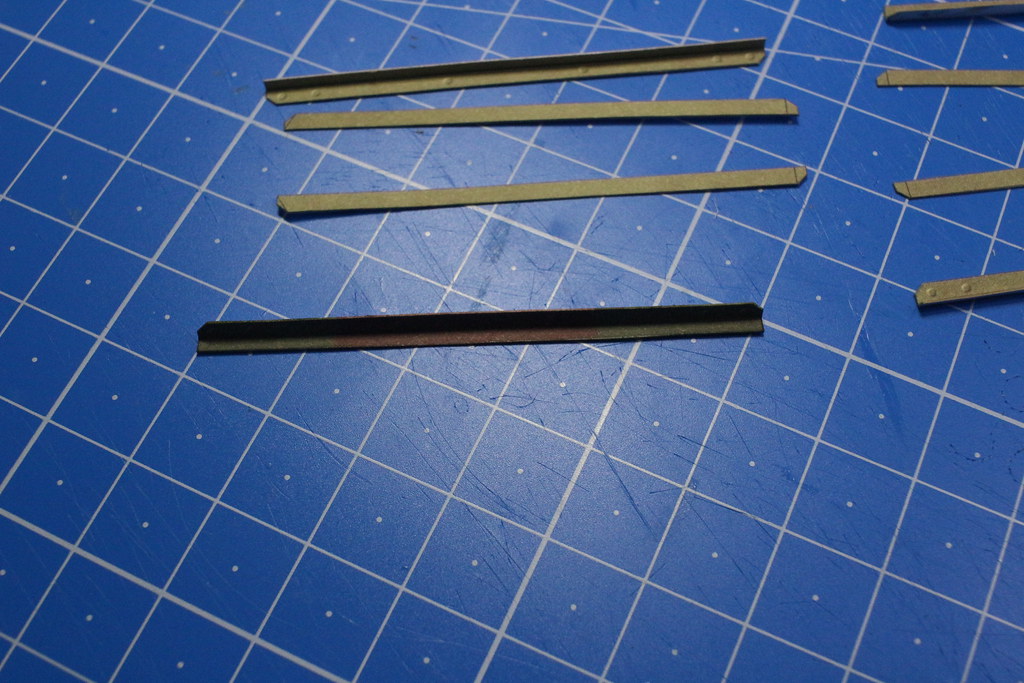   In case of this part, I need to attach color paper. That rectangular part remain white backside when assemble with original prints.    Building completed.   And lastly, I attached it to the hull. This is today's build. As I always said, I hope you have a good time, and see you next time!
|
|
#14
08-07-2021, 06:17 AM
|
|||
|
|||
|
Part6
Quote:
-End of suspension. Today, I finished suspension finally. I thought It might be hardest work, but it was quiet easier.  Because of this laser cut. If other laser cuts excepted, It still worth over 40pln of price   Those guide horns... Exactly same as 98's TKS' one.   Its only problem is not fit with sprocket wheels. I cut some area.   This is track's tread(or something else) They're quite small, but not that many.  Using airbrush, I painted it with acrylic gun metal.    After shorten its length, I attached it to the wheels. Almost every single tangent of wheels glued. 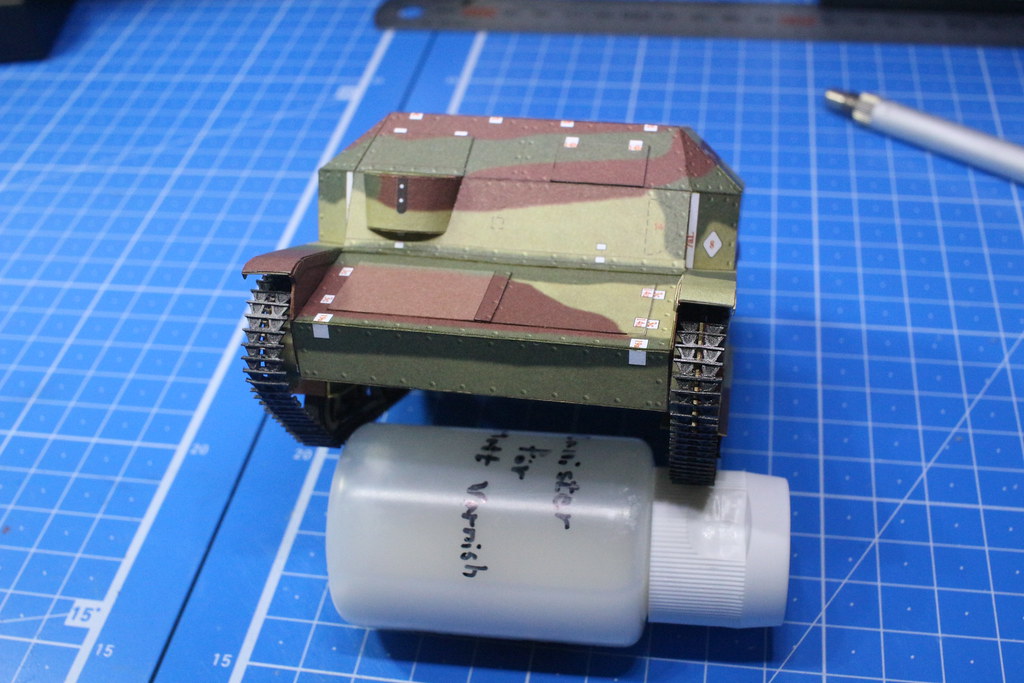  It's done. This is today's build. As I always said, I hope you have a good time, and see you next time
|
|
#15
08-08-2021, 06:15 AM
|
|||
|
|||
|
Part7
-Hull detail build
   In this finish, there are some apertures exist.  [/url] [/url]So I find extra reserved color again, and cut it.   Then attached. 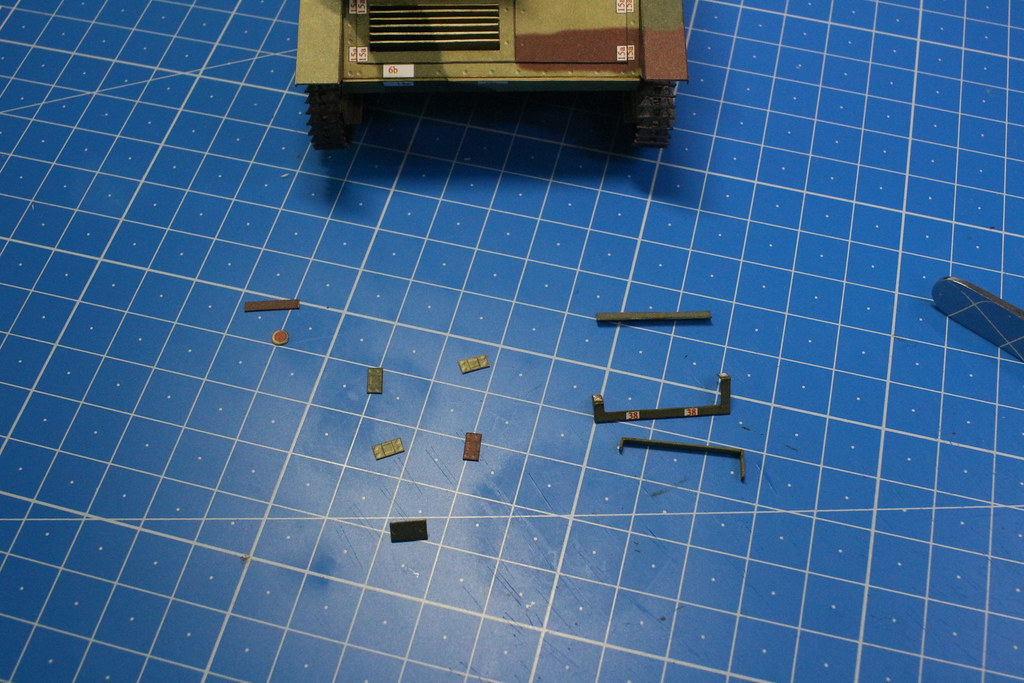 Next, I build behind details.  This spare road wheel storage was most hardest part. It was slightly thinner than road wheel, So I had to thinner road wheel.  It was little bit squeezed, but looks find to me  And other parts like hinges, back light, vent cover added. This is today's build. Because of the scale model paint, I build less than before... Anyway, have a good day and see you next time :D
|
| Google Adsense |
|
#17
08-09-2021, 06:05 AM
|
|||
|
|||
|
Part8
Quote:
I'm lucky that this track is a laser cut. -All hinges, exhaust pipe.  yellow and brown hinges plus AA MG mount cut.  This mount's height was little higher, so I shorten it.   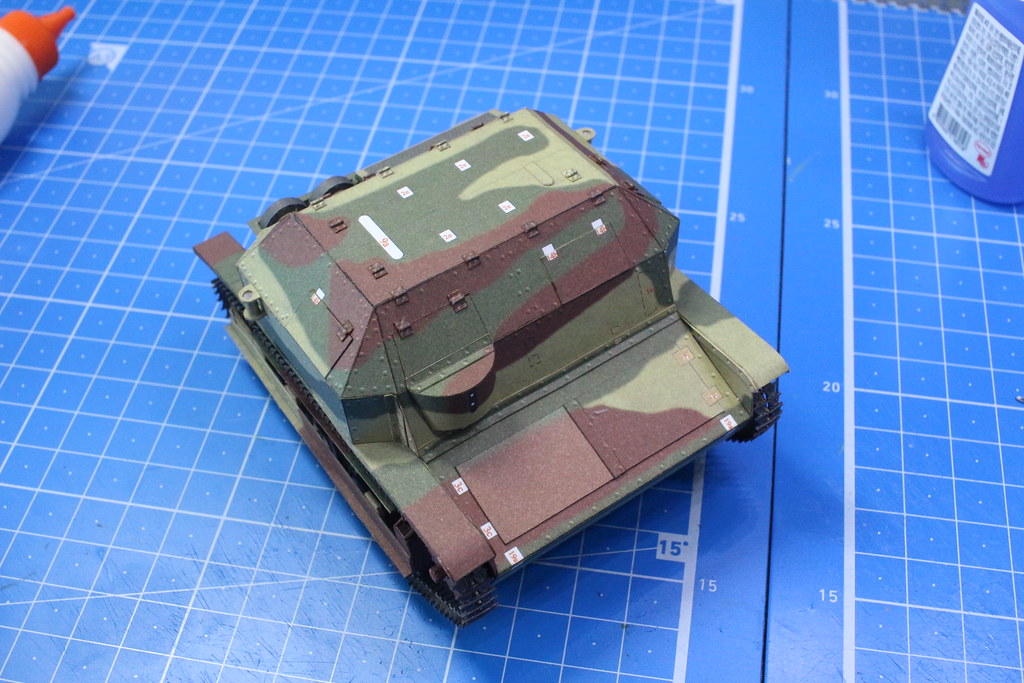 Done. 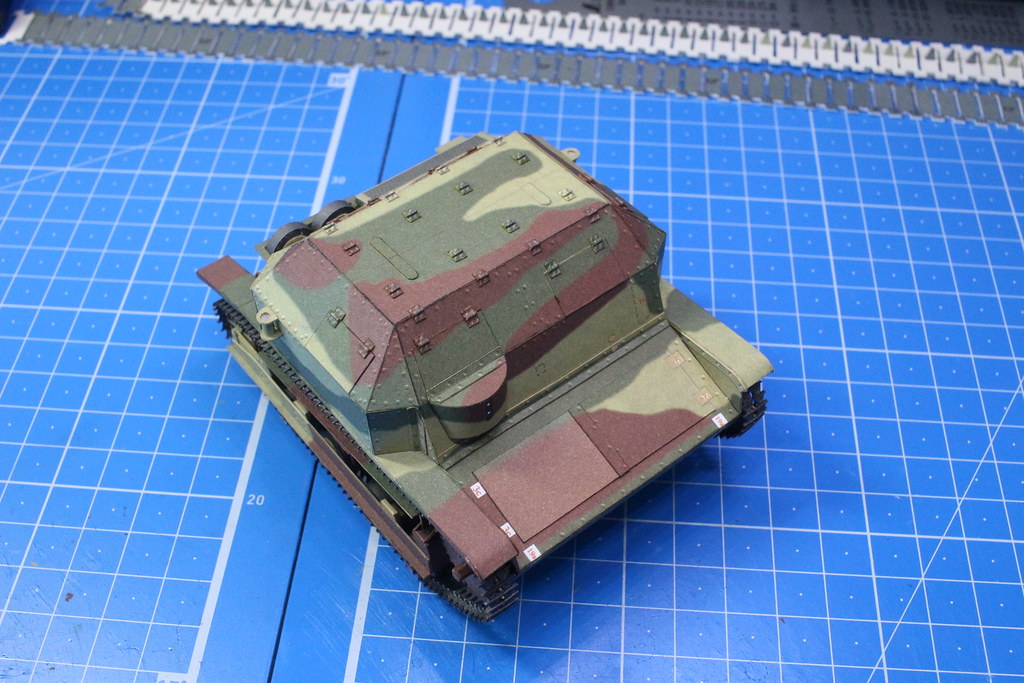 Also I added green hinges.  Next, I build exhaust pipe. It's drawing is evolved after 98's TKS.(detail and pipe's inner surface added) 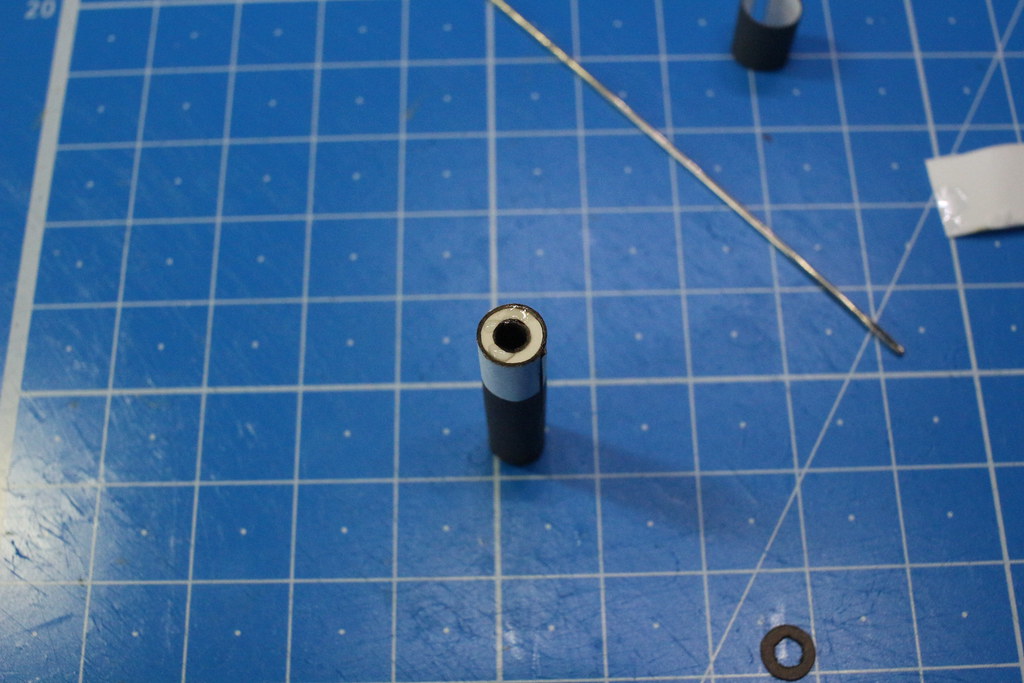     That connector is two-piece, and it fits well with other parts.   Fits very well 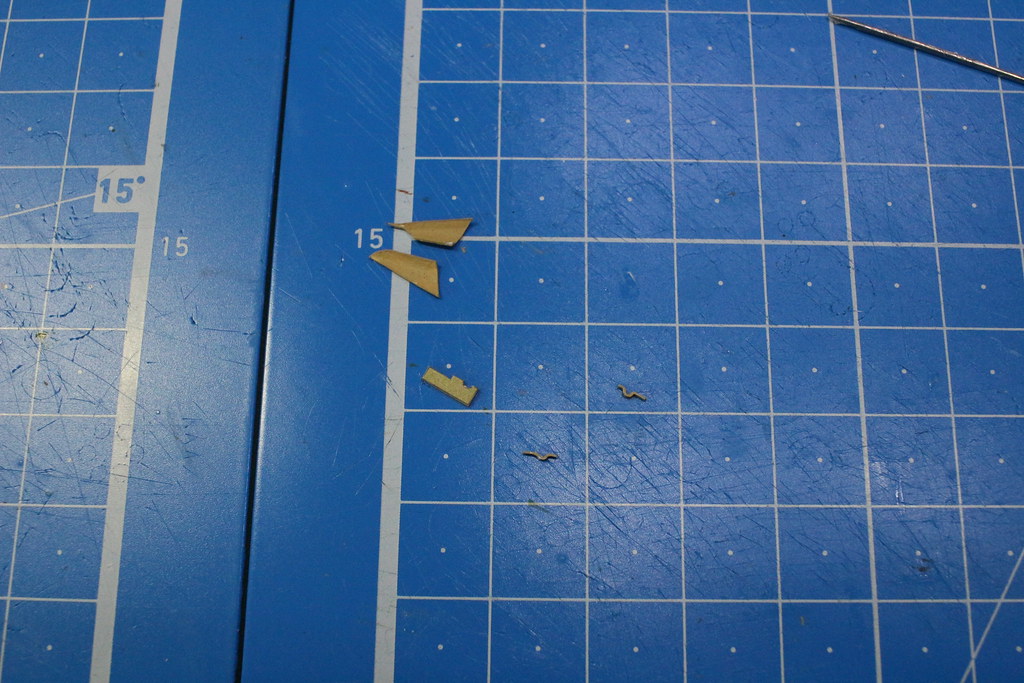 Then I build exhaust pipe's end and rest paper part of behind.    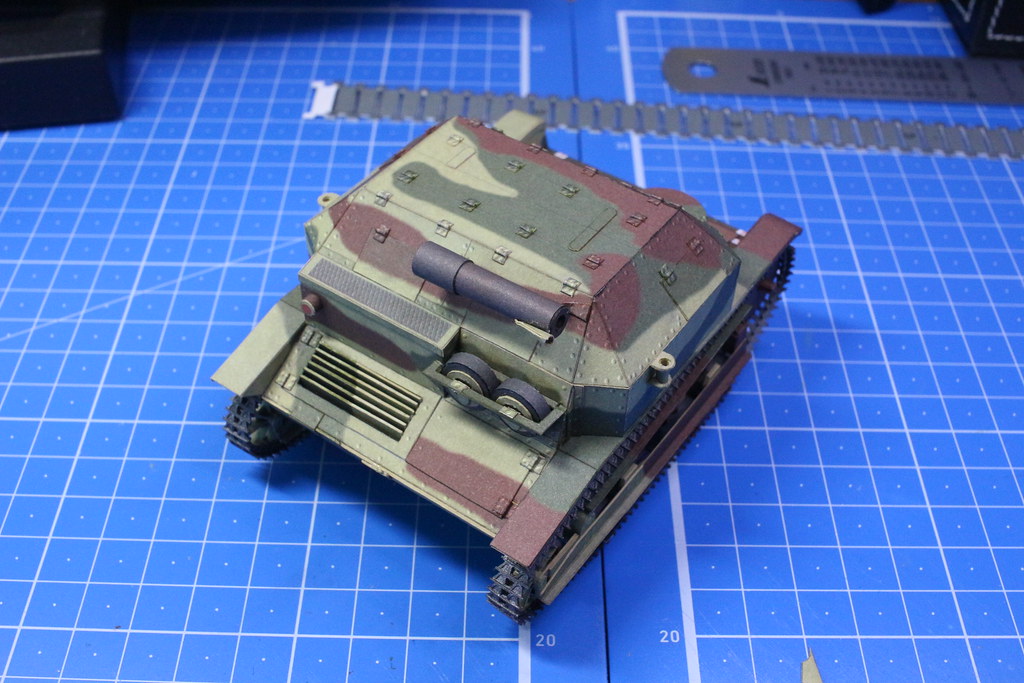 Behind's paper parts is done. This is today's build. As I always said, have a good time, and see you next time.
|
|
#20
08-10-2021, 06:31 AM
|
|||
|
|||
|
Part9
Quote:
Quote:
-End of journey  This are paper parts that last remained.  All paper parts are attached.   Using plastic rod for shovel. 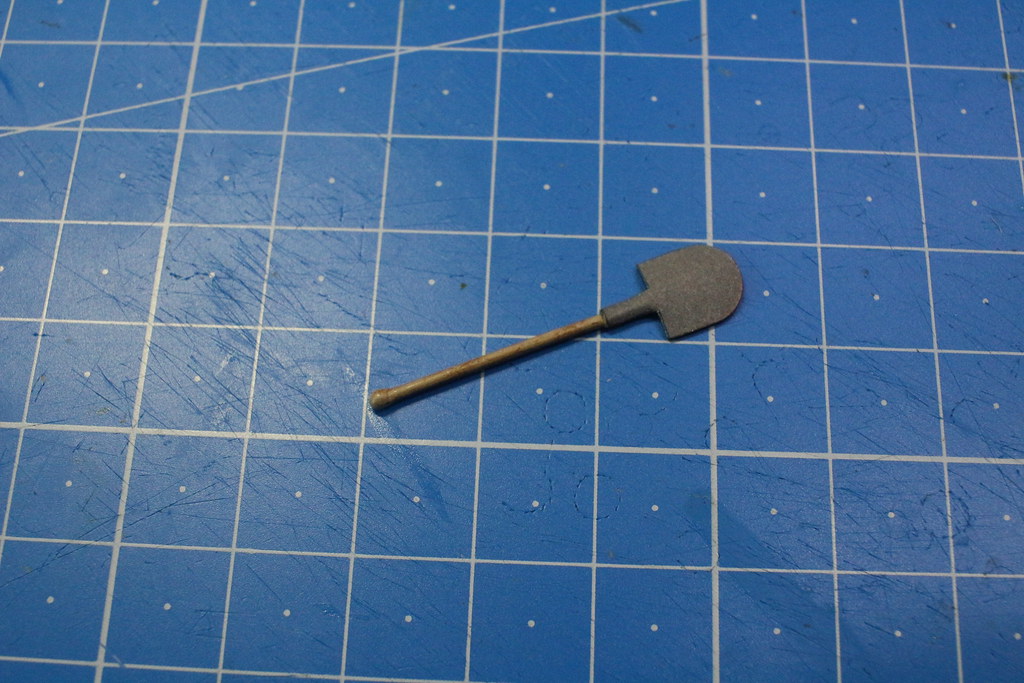 Then I painted it.   Next, I painted panel handle. Now, It is time to build Wz. machine gun.  Using 1mm plastic rod and masking tape, I build its shape.  Referring internet searched pictures, I add bolts, connection and iron sight.  I made its hole with 0.4mm of pin vice.   Gun ready. All parts are done. It is 10 days after I started this model. Here are some completed model's picture.    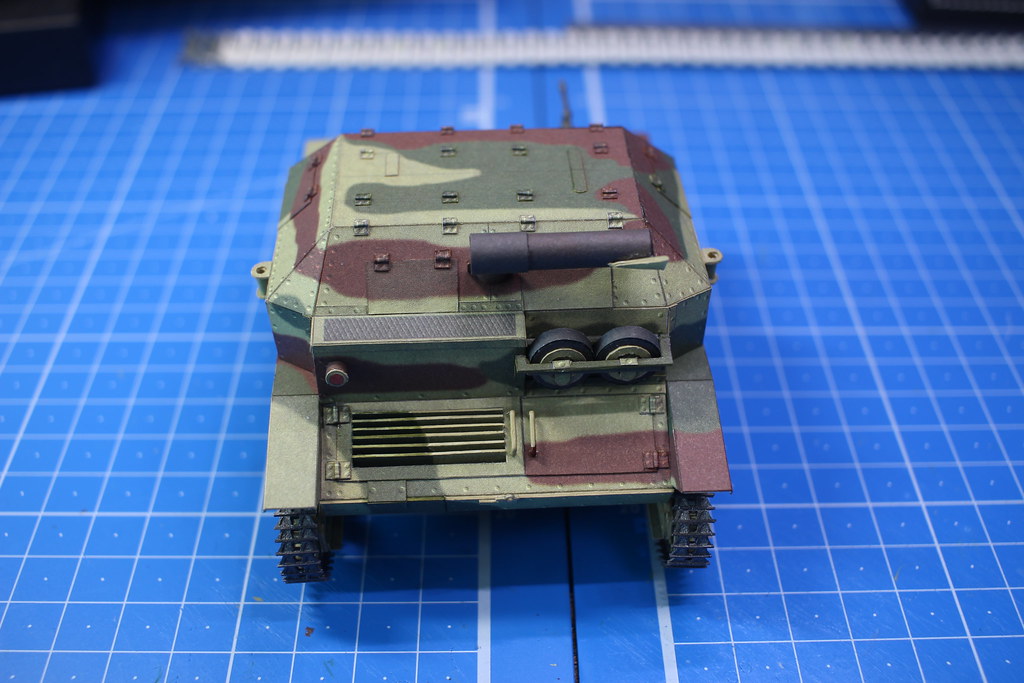 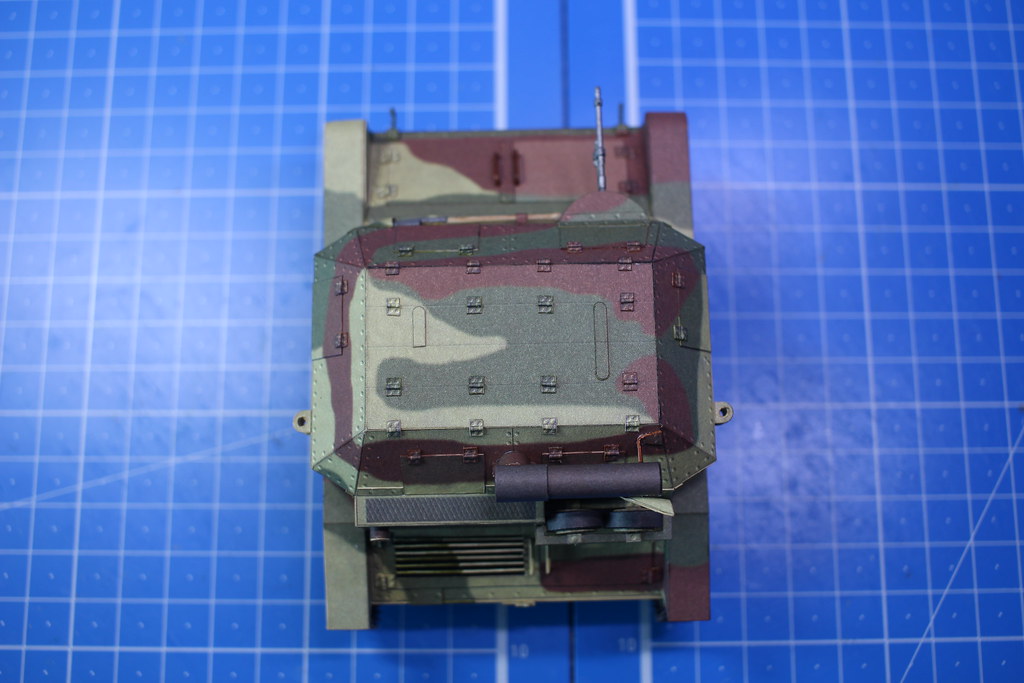 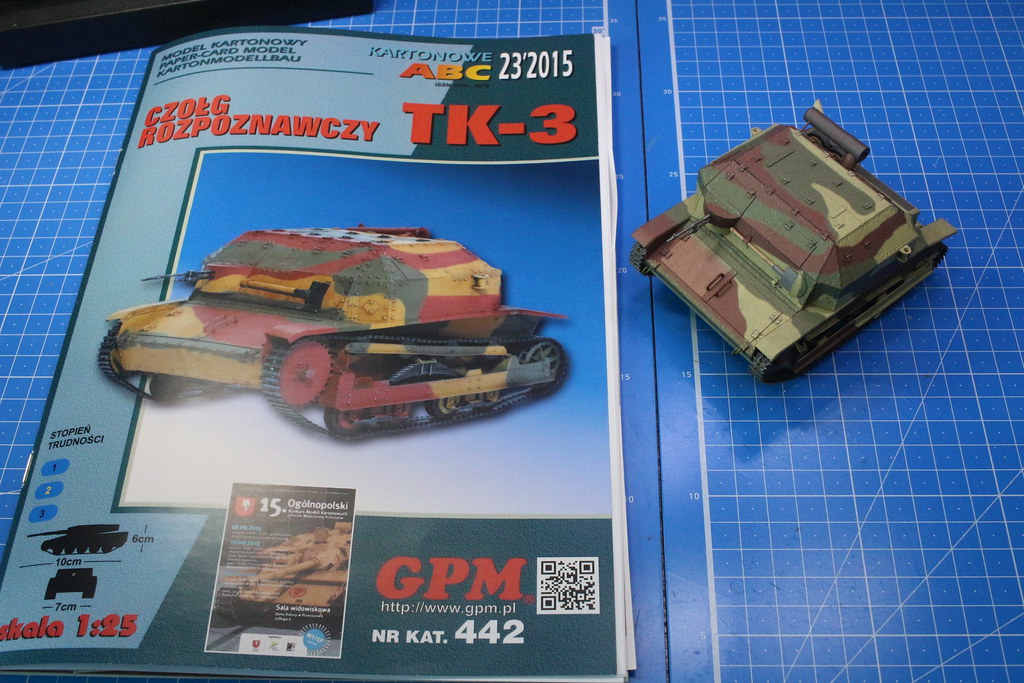 I was so happy to build this model. Now I'm considering what to build between TK-3's rail transporter and PP-52 armored trail. Well, One sure thing is my vacation is almost over, so I can't complete it in time. Anyway, I hope you have a nice day
|
| Google Adsense |
 |
|
|


 Linear Mode

