


|
|
|
#1
 04-25-2022, 01:15 PM
|
||||
|
||||
|
Pzkpfw. I Ausf. A, Orlik, 1:25
Hi to all.
Well, there is no surprise. I continue with tanks  In a matter of fact, after Sherman i wanted to make some easy and fast stuff and already printed TIE Interceptor by UHU02... but this kit was waiting so long! So i decided to get back to my project to build 6 main german Panzers of WWII, from I to IV. Already completed II from Halinski and III from GPM and waited for decent Pzkpfw I. I have Ausf. F from WAK, but this modification was not mainstream and only a few were produced. Ausf. A were some simple and old models. But Orlik published 2014 issue with new design and full interior and that what i decided to build. Pzkpfw I was first tank in new line of armored warfare concept. They were super light and had only machine guns, but suited well for supporting infantry. You can read all the info about the real tank here This model by Orlik is well designed and has a full interior and interesting detailed suspension. So this a soft landing after Sherman. Tank is tiny  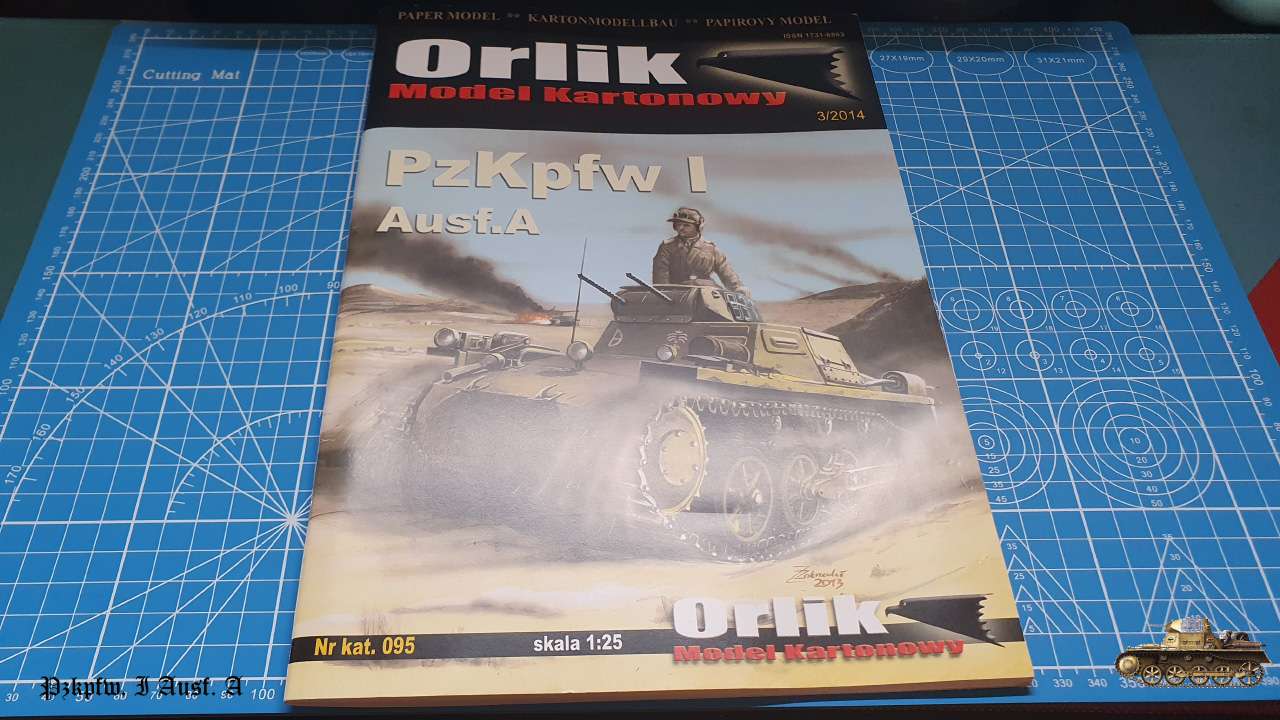 About the book - some parts printed double sided and it's a plus! Designer gave details for supporting structure to build tank dome with right angles and also alignment rack for suspension angles. Model detailed on a decent level, not Sherman but ok (told you i will always compare now )Tracks will be made from book. I checked laser cut kit, but it is simple and not worth to add. Will use same tools as before. Still have my watercolor paints for any shade, but also ordered Tamiya Acrylic XF-59 Desert Yellow paint for exterior. 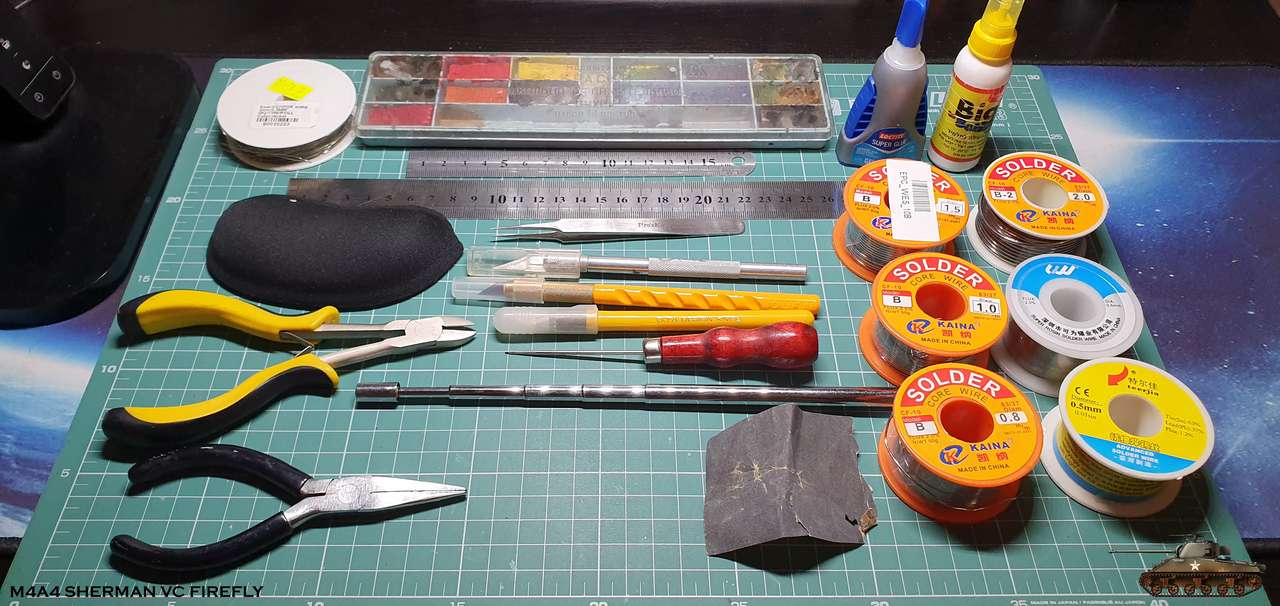
__________________
Welcome to my gallery 
|
| Google Adsense |
|
#2
04-25-2022, 01:24 PM
|
||||
|
||||
|
Started unusually by the numbers and instruction and not with tracks.
They are simple, just tree parts for each link, so i don't think i will stuck on them in later stage. So first of all power frame of hull. If you want that interior and exterior skin will align perfectly, you need to assemble frame very carefully and accurately. And this starts from gluing it on right cardboard 0.5 and cutting it exactly by lines. Some part need to be cut with angle. First joint parts K1 and K2 and then by the order. I skipped part K6, because its curvature popped out from frame curve at front and i decided to glue it later with interior skin. 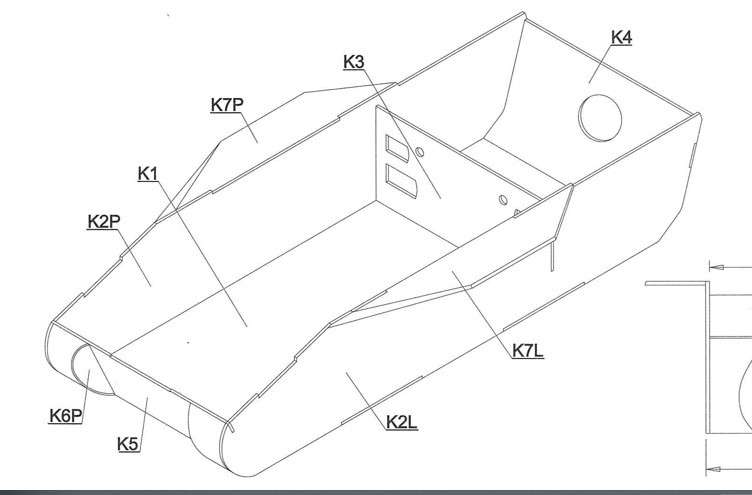 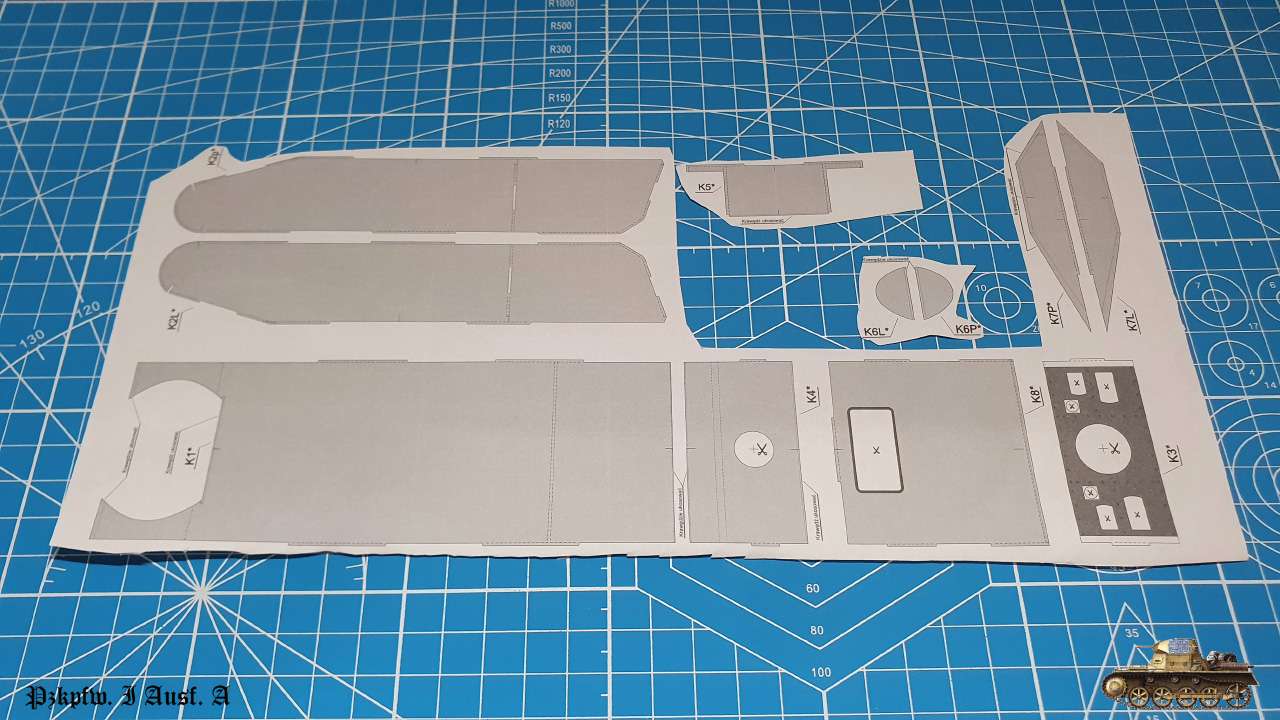 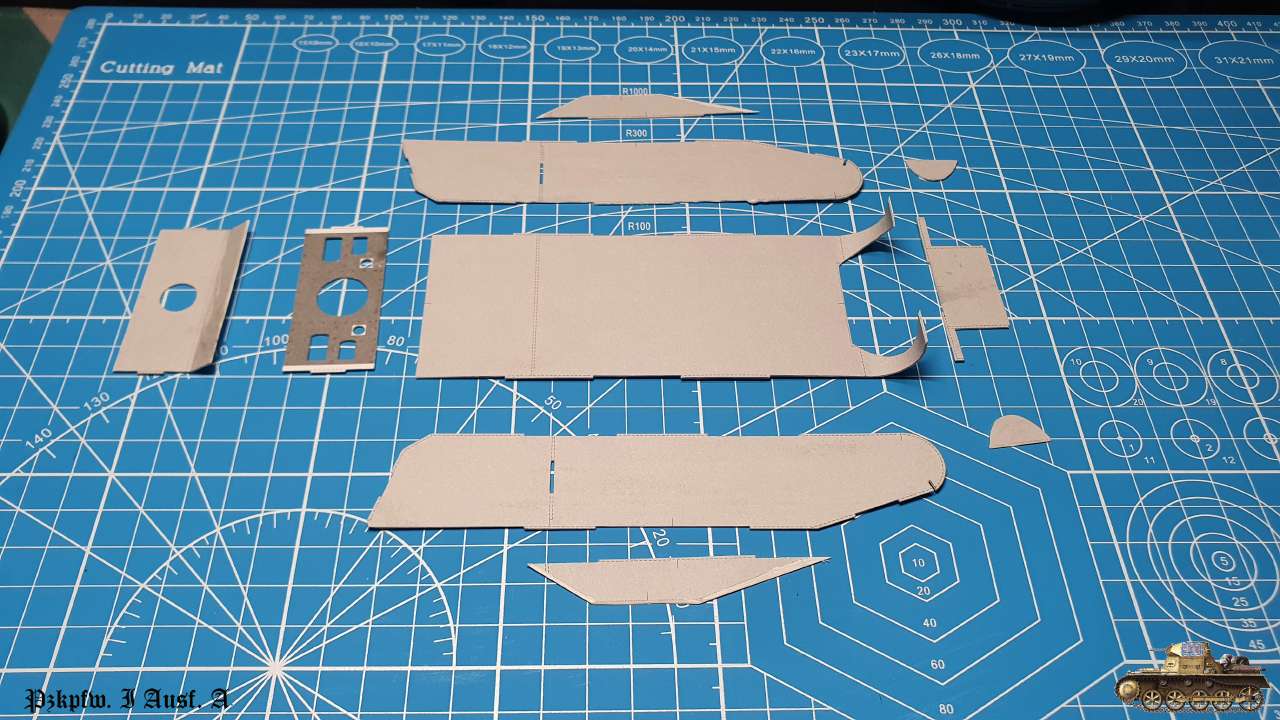  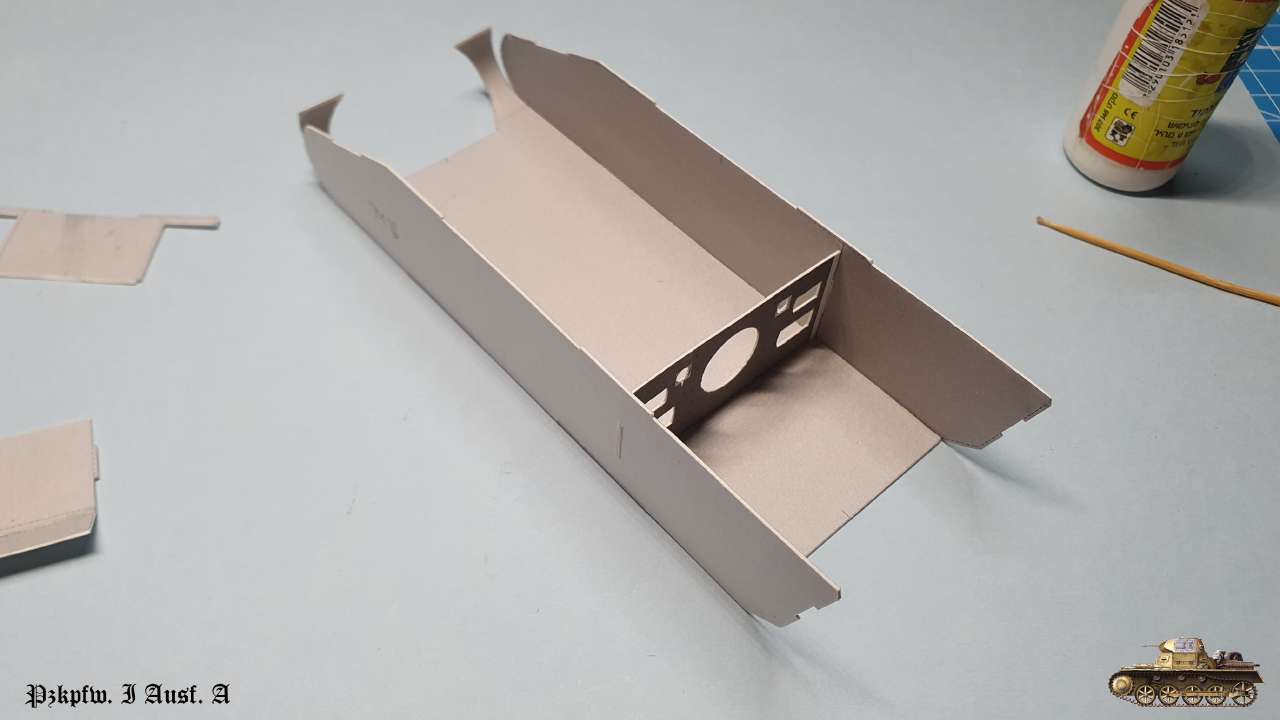 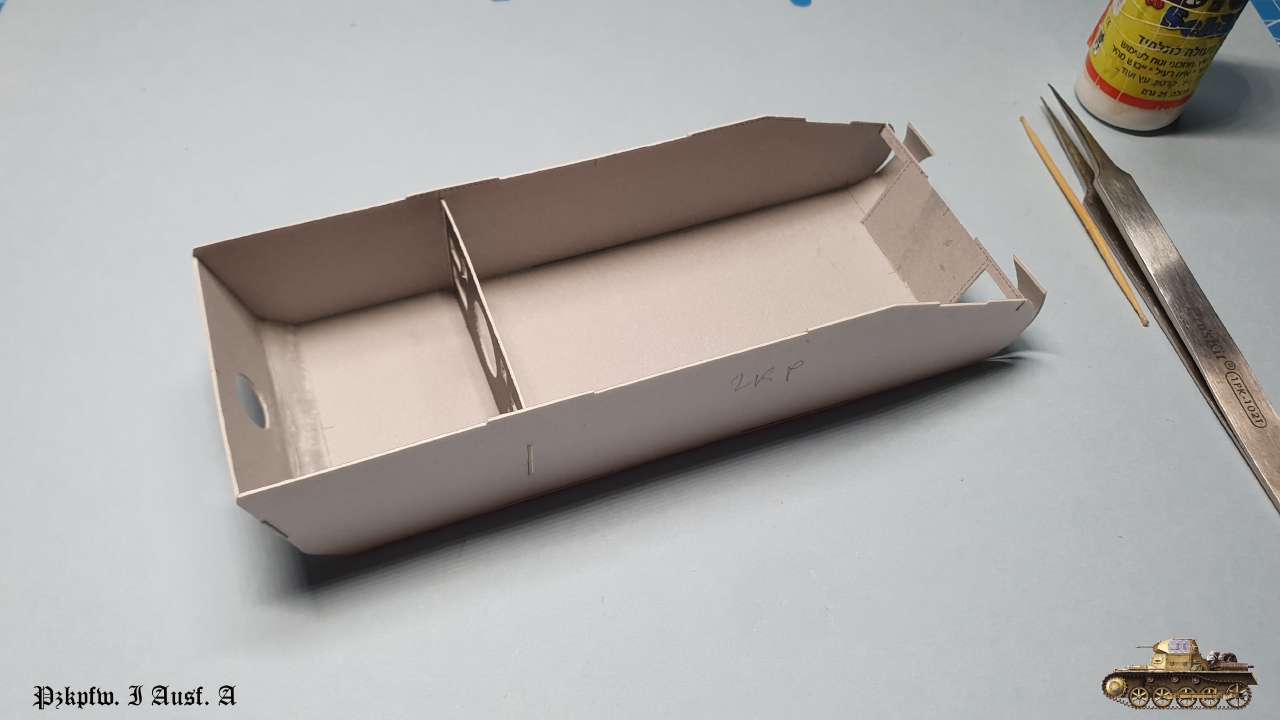 Frame is ready 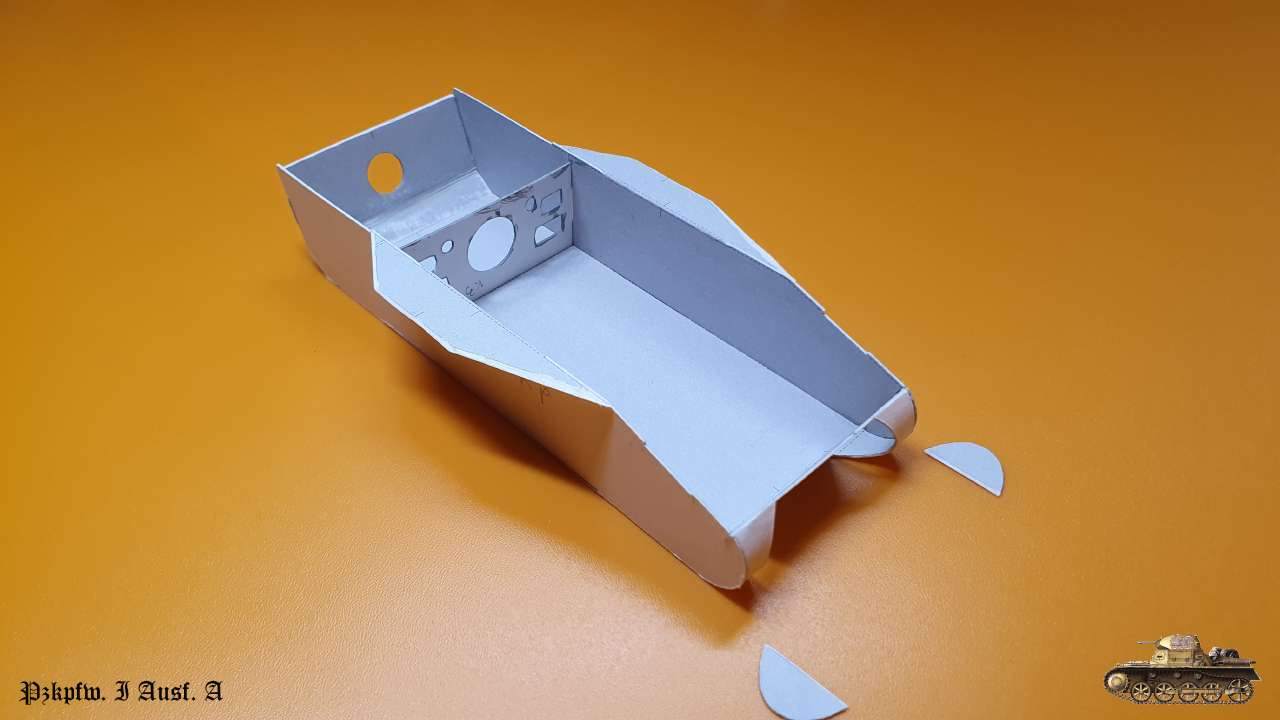 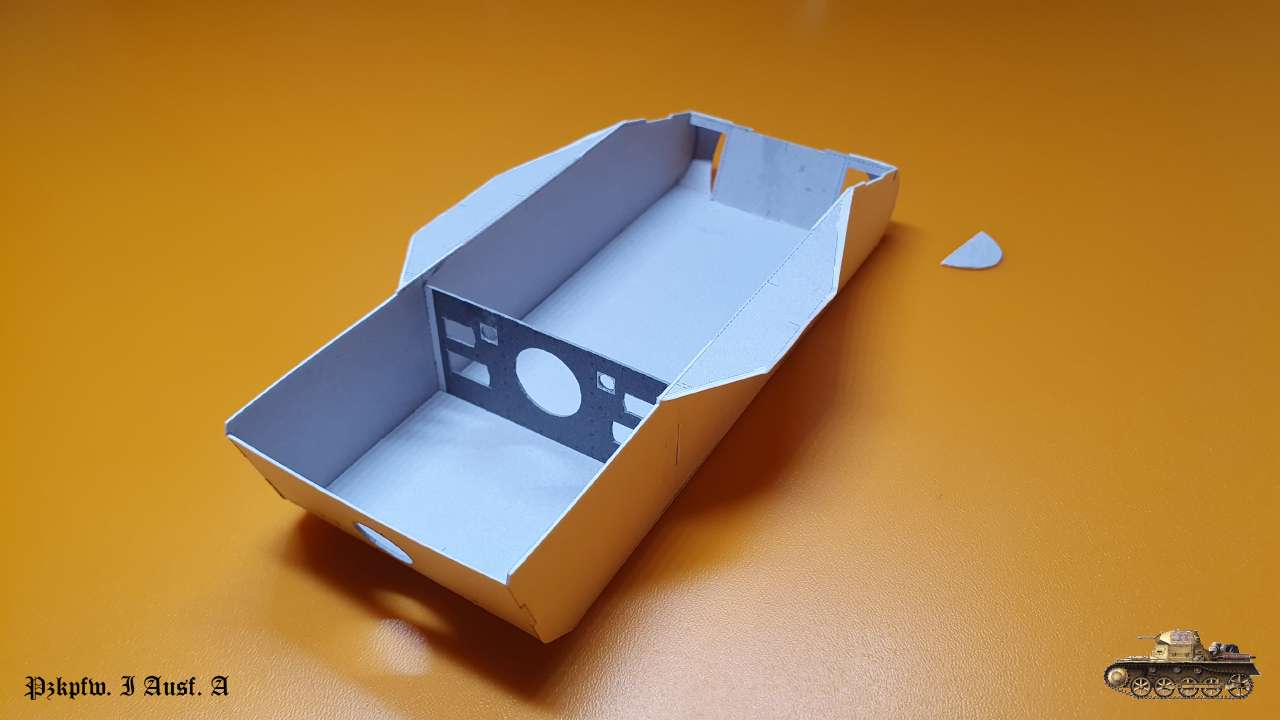
__________________
Welcome to my gallery
|
|
#3
04-25-2022, 01:31 PM
|
||||
|
||||
|
Naturally next came interior skin.
Aligned perfectly by lines, so no mistake in frame assembling. Only issue was with parts K6 - it was wrong shape and didn't attached properly at front. I adjusted it and aligned inner skin part 6 accordingly and then glued to frame 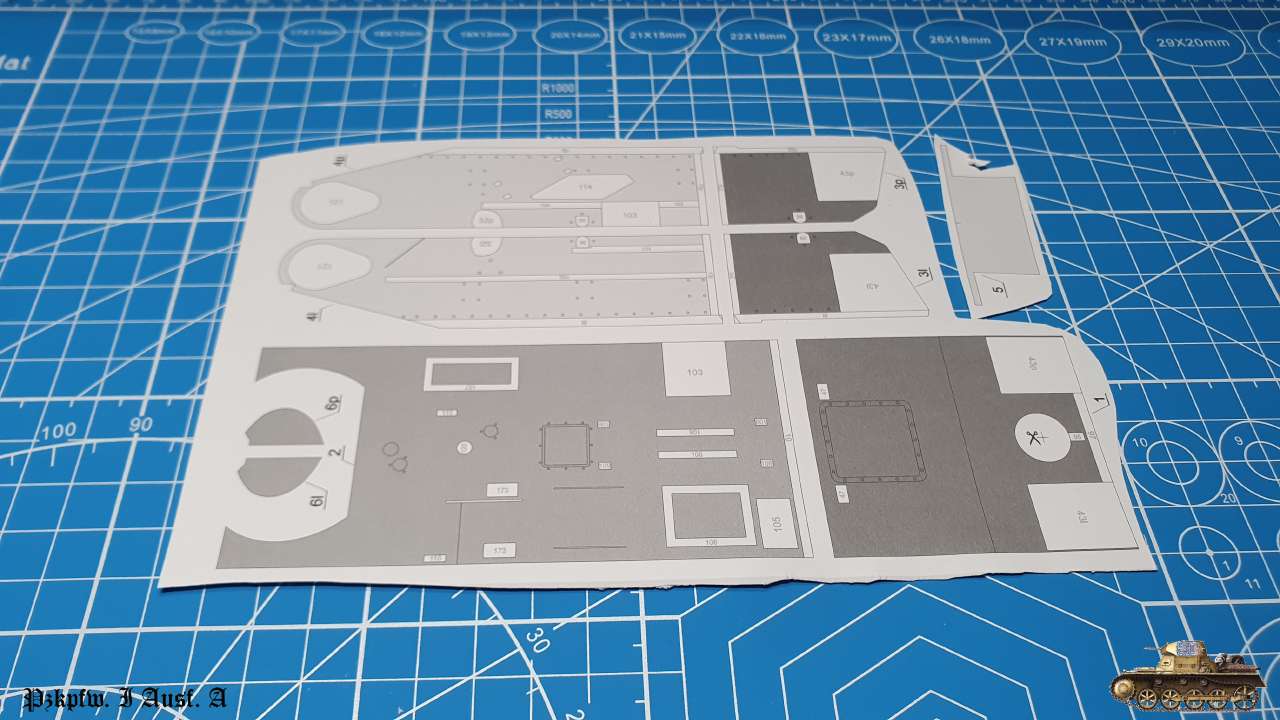 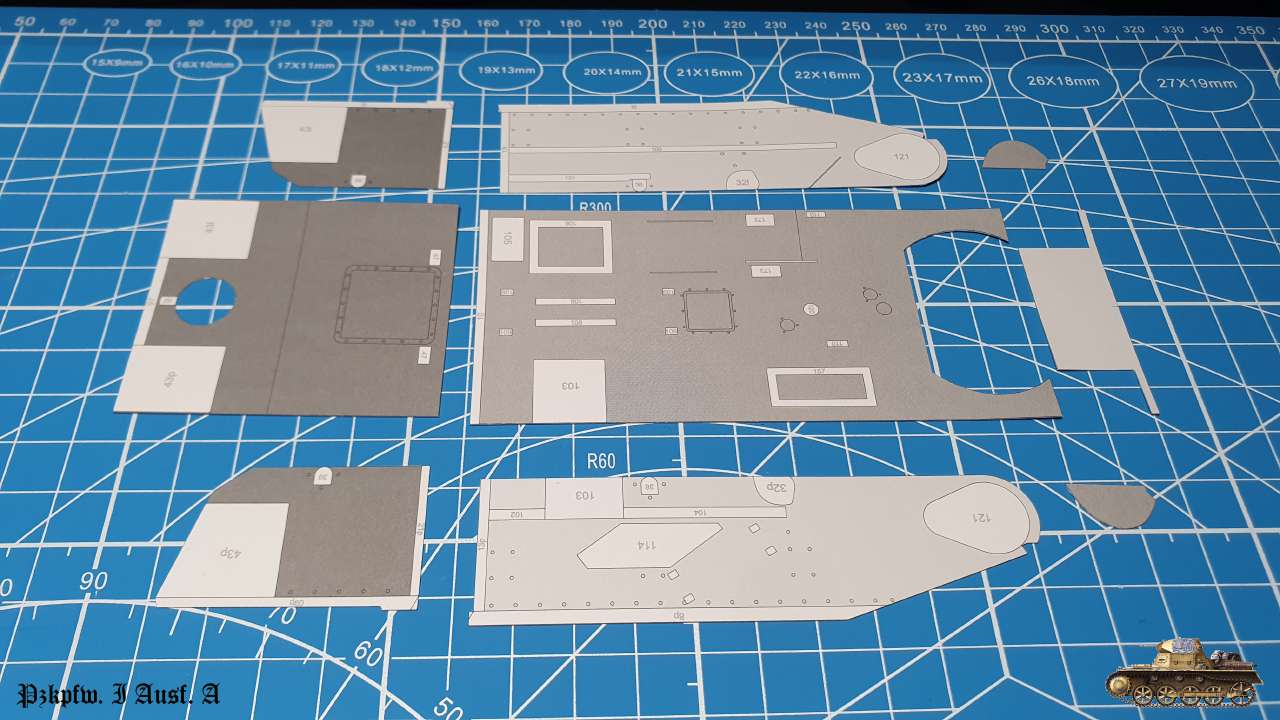 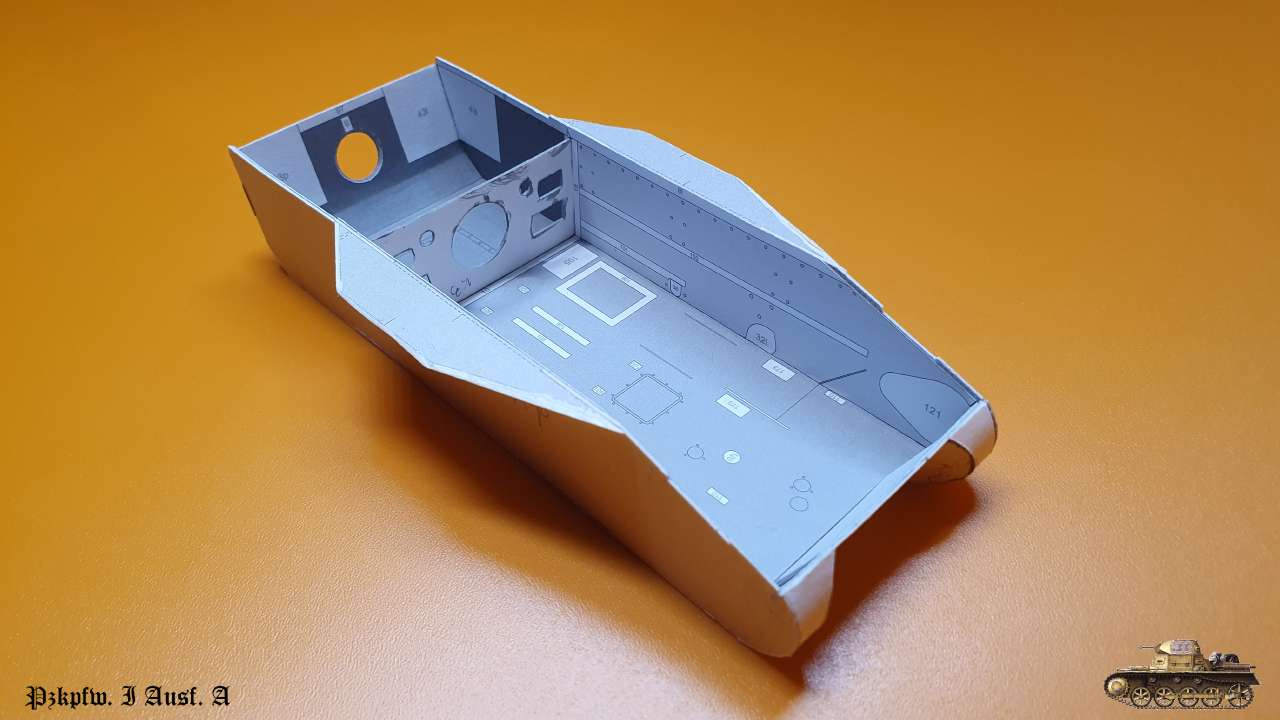 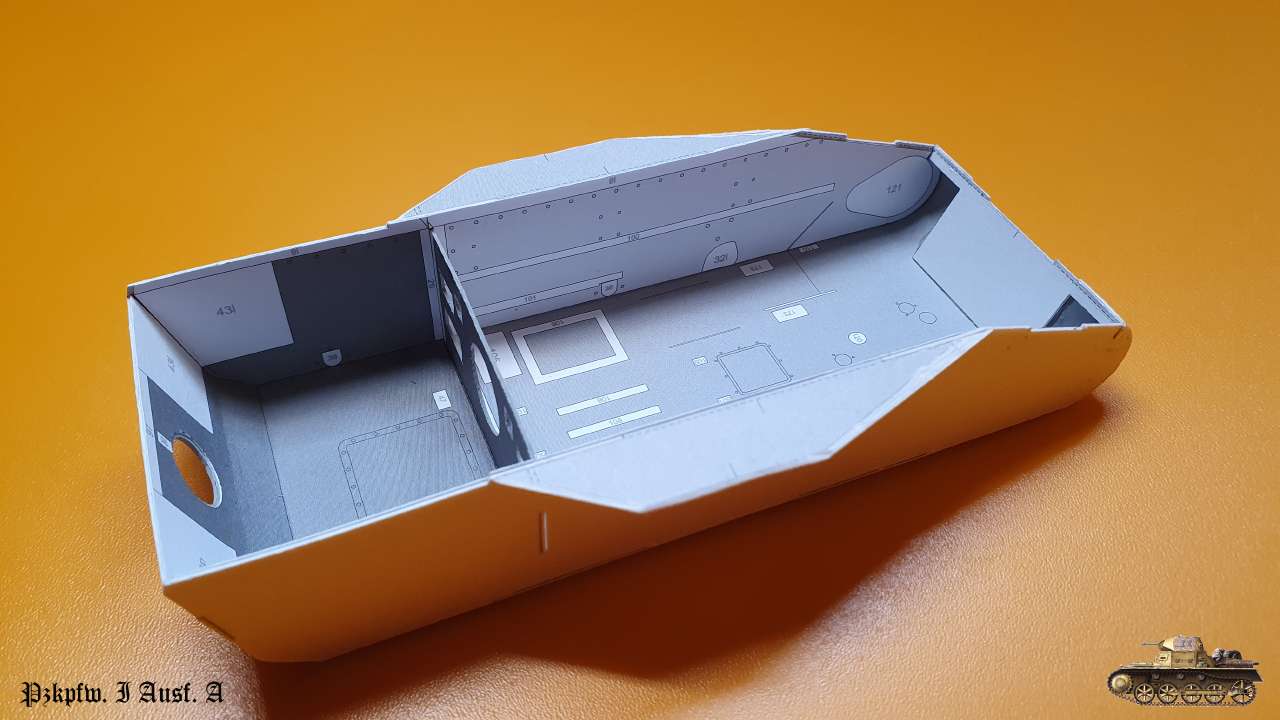 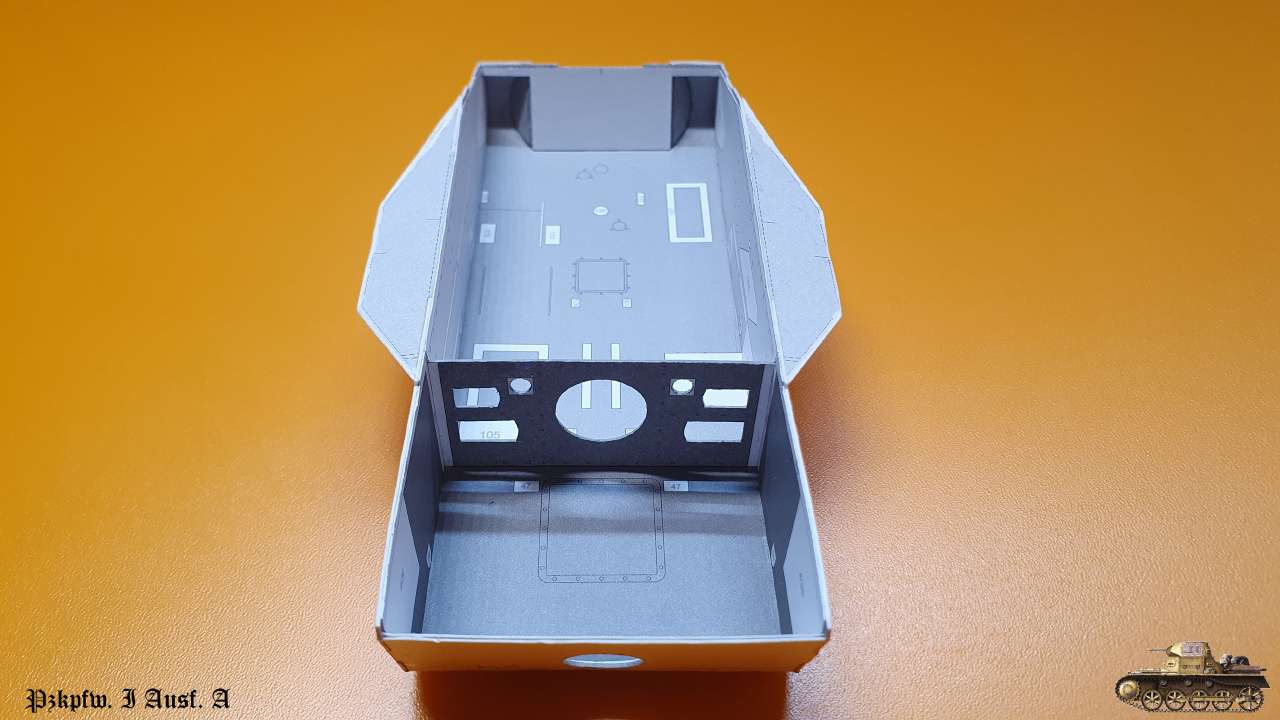
__________________
Welcome to my gallery
|
|
#4
04-25-2022, 01:36 PM
|
||||
|
||||
|
off to a good start Igor.
__________________
David........... Paper modelling gives you a happy high. currently building. c GAZ 51 ALG 17, wagon 111a. unex DH411 excavator and spitfire Mk 9
|
|
#7
05-05-2022, 12:55 PM
|
||||
|
||||
|
Thanks!
After little vacation, back to the work. Firewall and some panels. Firewall consists of wall itself and intermediate gear case 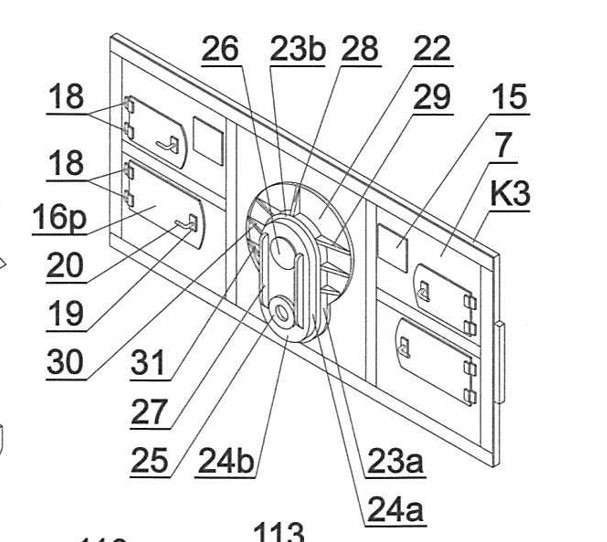 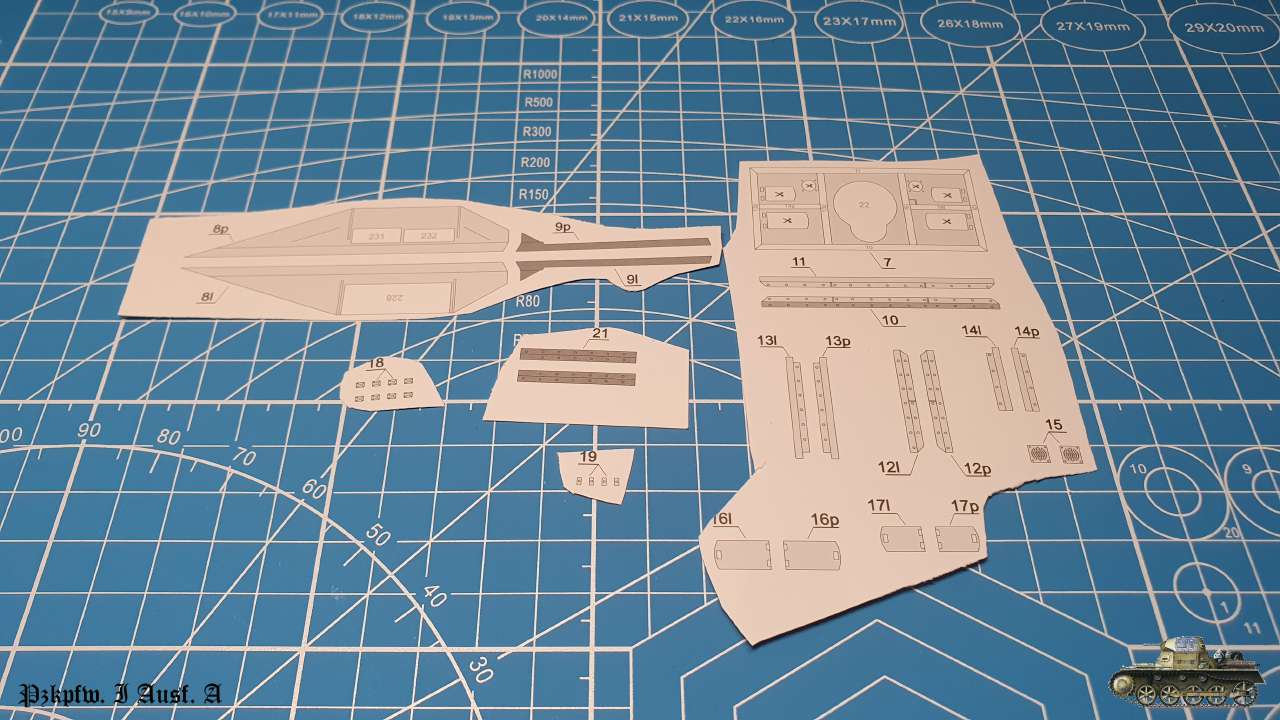   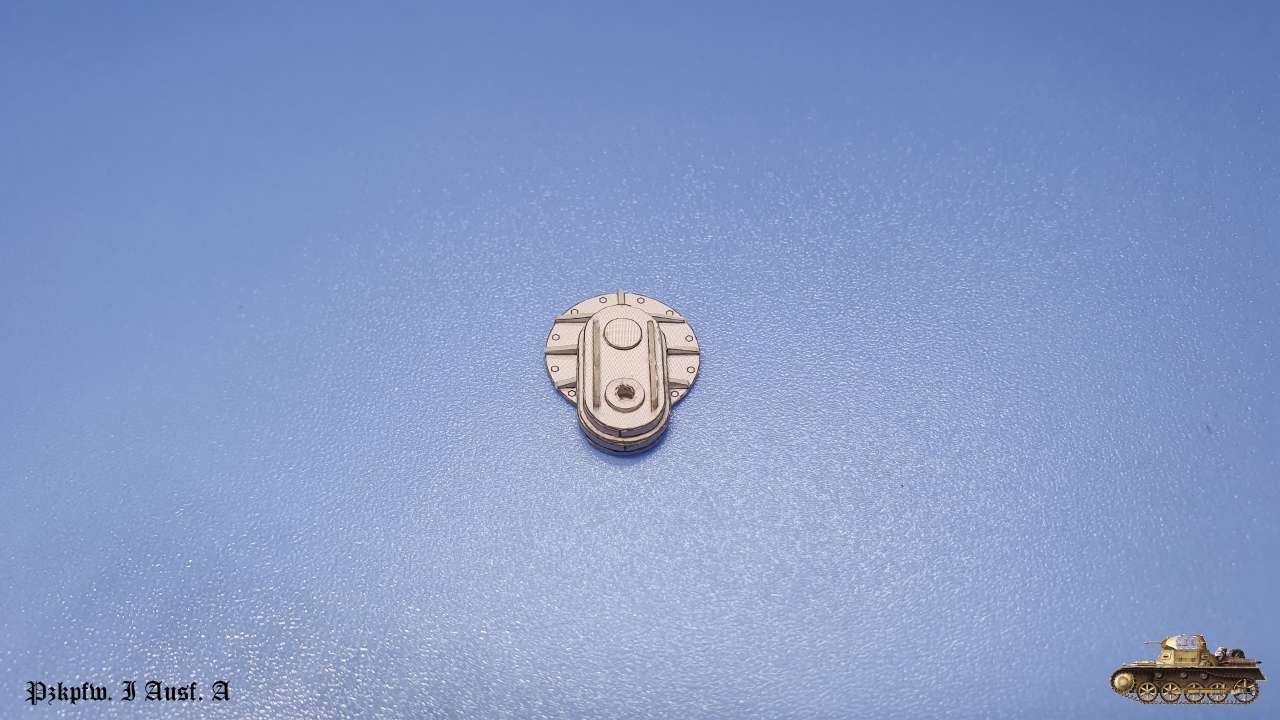 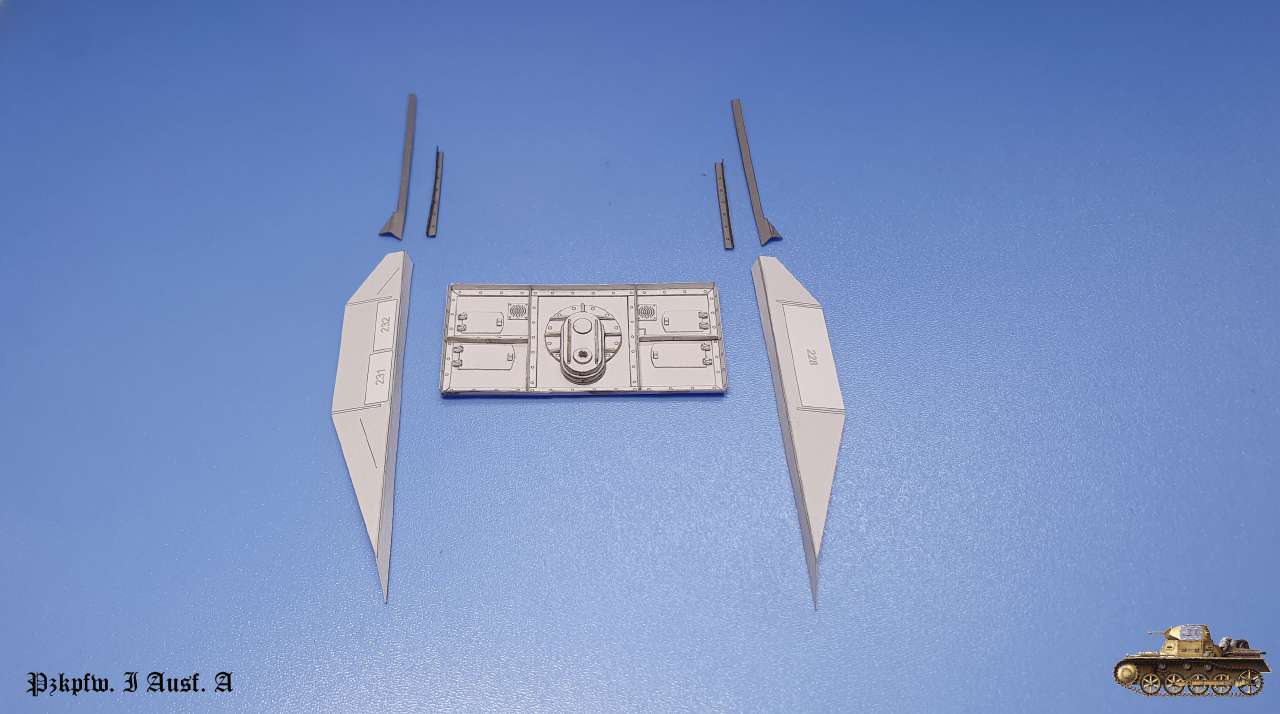 Glued in place. Didn't attach handles on doors for easy assembling. Will put them in next step Decided to picture on blue background, because on this one you true color doesn't distorted 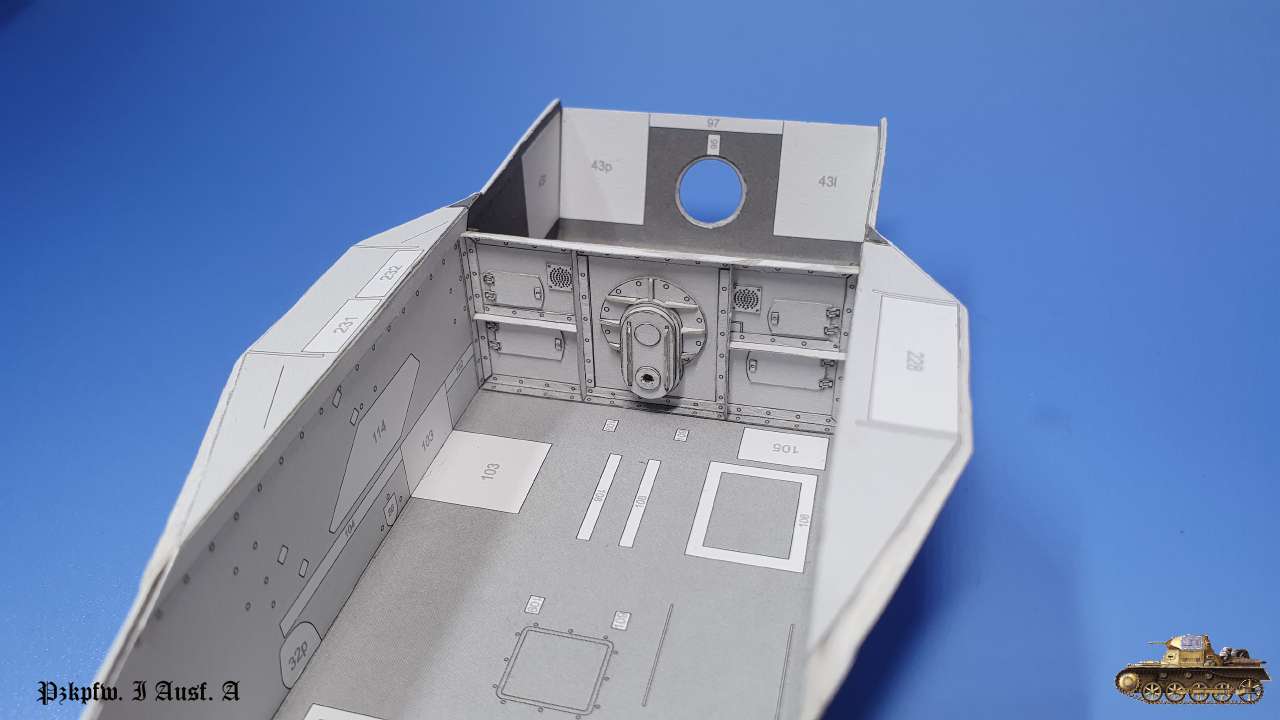 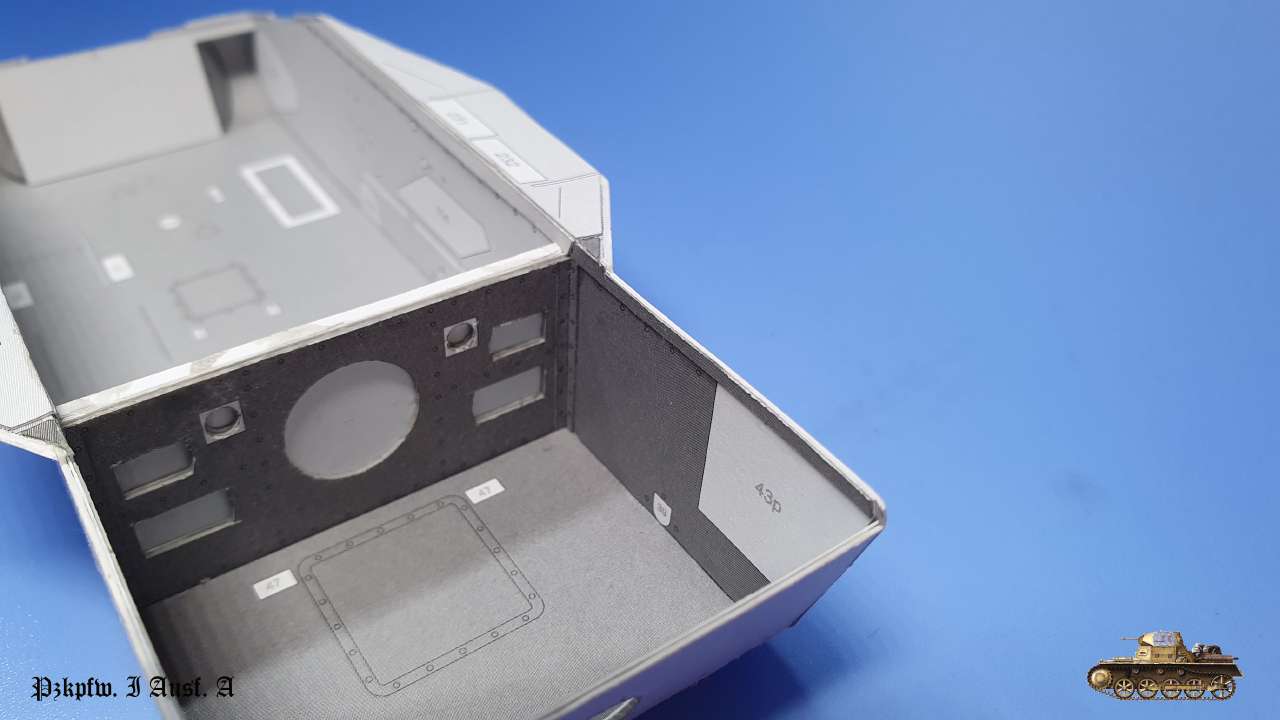 I see that by now there are some little issues here and there, so i will start error report list from now on Errors: part 12 wrong side, left must be right and right must be left part 27 to short, or gluing spot is to long
__________________
Welcome to my gallery
|
|
#10
05-10-2022, 02:01 PM
|
||||
|
||||
|
Tension bars. Two in main hull and one in engine compartment
I bent long small diameter tubes with a help of wet paint brush. Just go over the detail with it and bent on suitable road. This way it has less cracks. Just to mention - designer gives the option to make this bars from wire 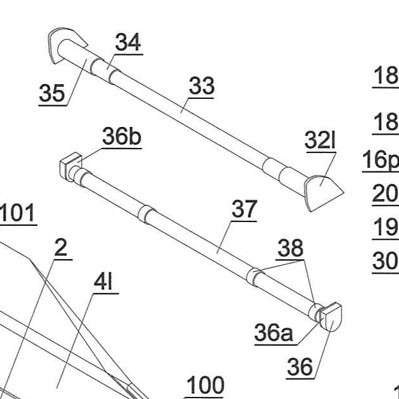 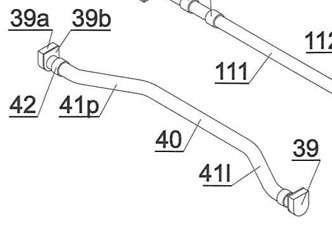 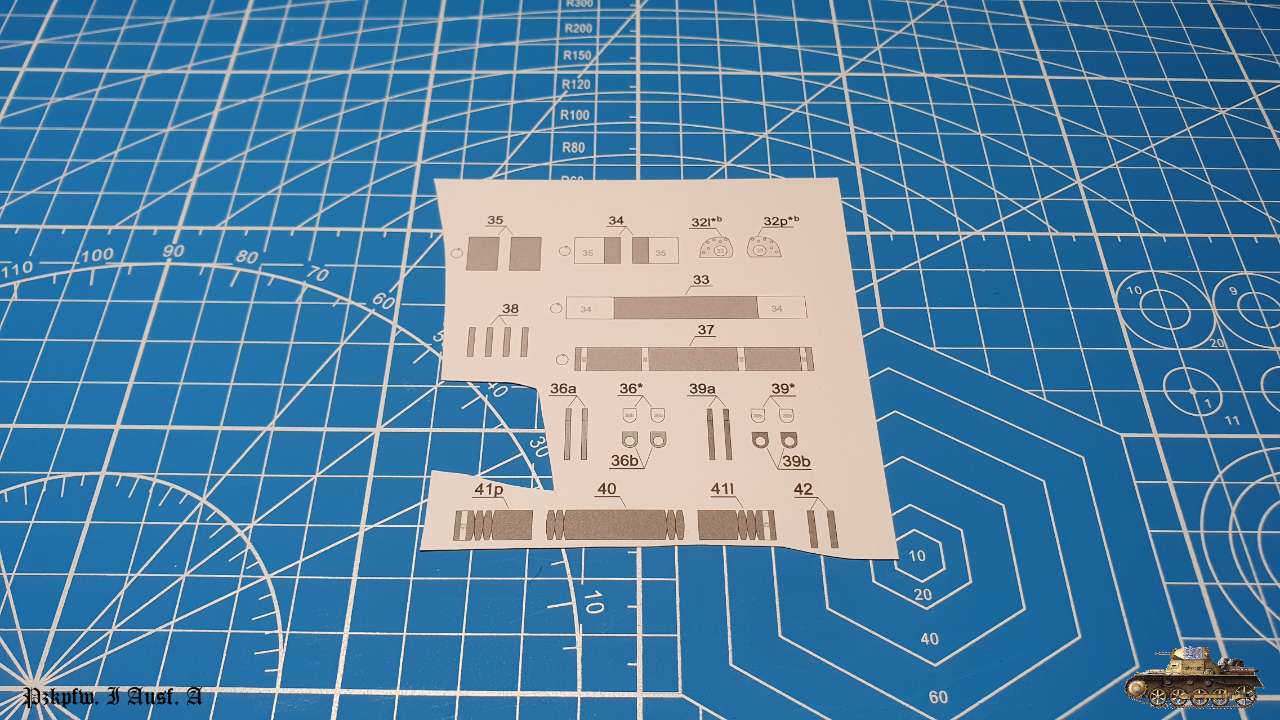 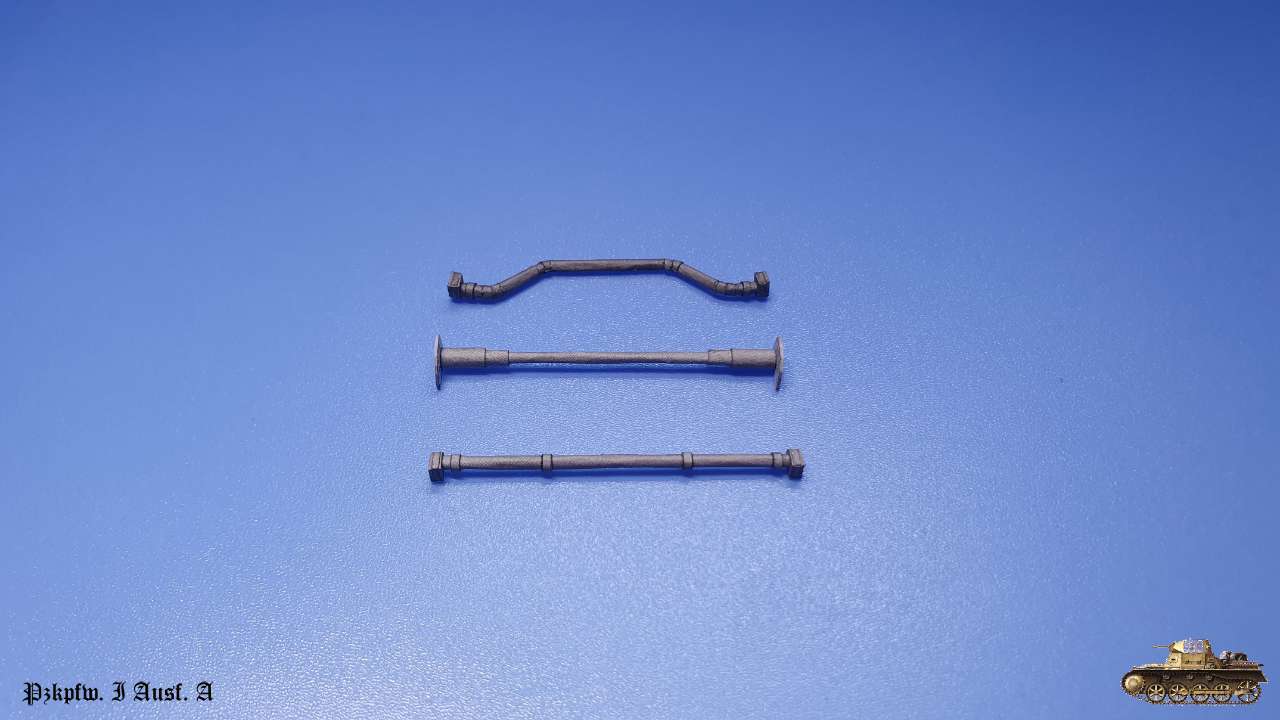 Though i assembled power structure right and inner skin inserted exactly, for my surprise two of three bars where too short  Pay attention that engine compartment bar lies on a side. It is not clear from drawings 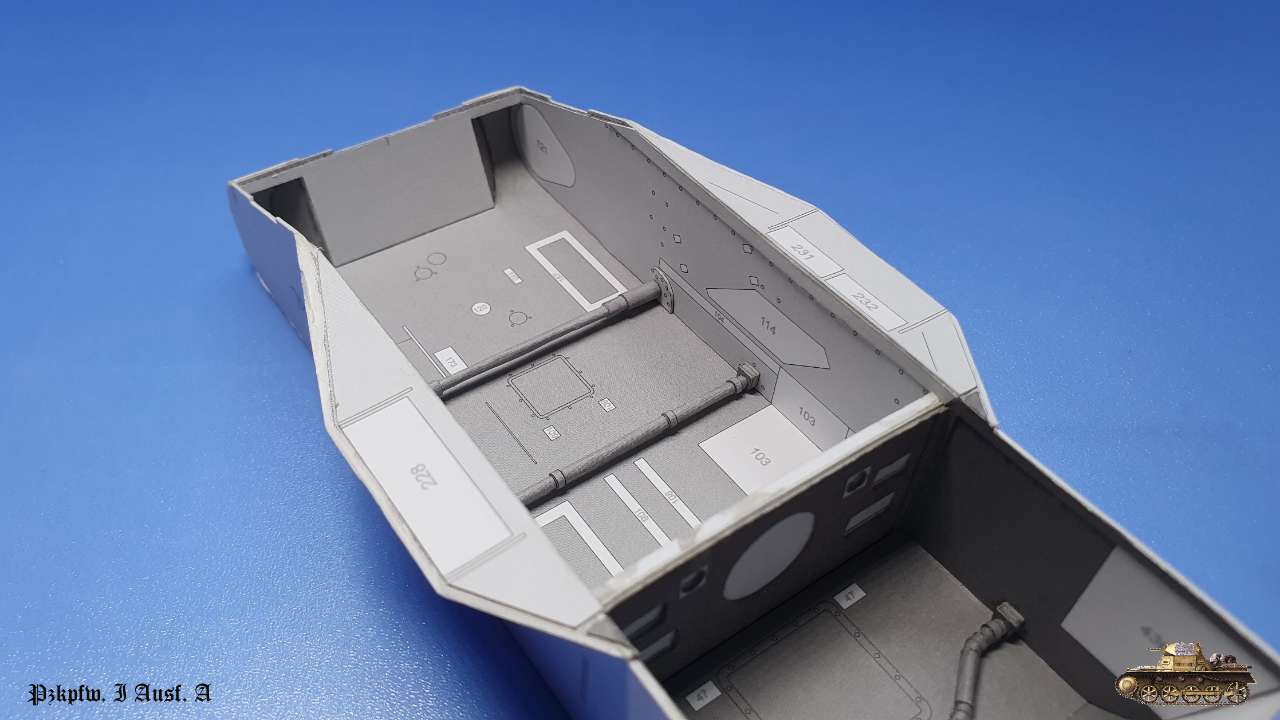  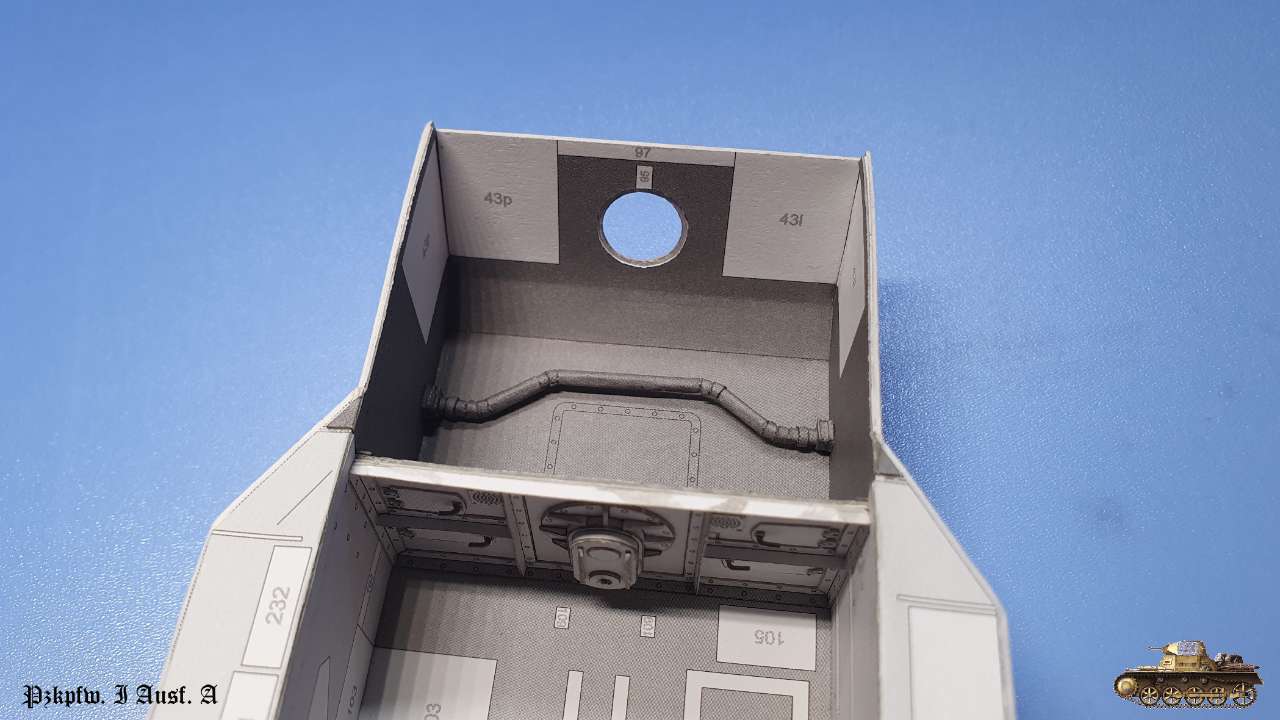 Errors: Part 37 to short. Extended it with additional 0.5 mm patch on part 36 Part 40-41 is to short. Extended it with additional 0.5 mm patch on part 39 Parts 36, 39 seem like must be glued on 1 mm cardboard and not 0.5 as signed. Edge strip is wider that the part.
__________________
Welcome to my gallery
|
| Google Adsense |
 |
|
|


 Linear Mode

