


|
|
|
#1
 06-26-2011, 01:09 PM
|
|||
|
|||
|
Another Bearcat in Blue colors
The best way to thanks all the tips and advices, is to put them in practice
 and thanks to Yogi, I build the Ojimak`s Bearcat in Blue Angels colors. and thanks to Yogi, I build the Ojimak`s Bearcat in Blue Angels colors.The advices to make the fuse round was to cut more triangles in join sections, and to the oval fuselage to avoid the swept back elevators, and only rest to ink the edges and fuse join sections to aviod the white paper color. This is the first time that I make paper hub, and the props where inked in black color, just becasue came in blue in kit. I hope you like it. "Once a Blue, always a Blue". Al 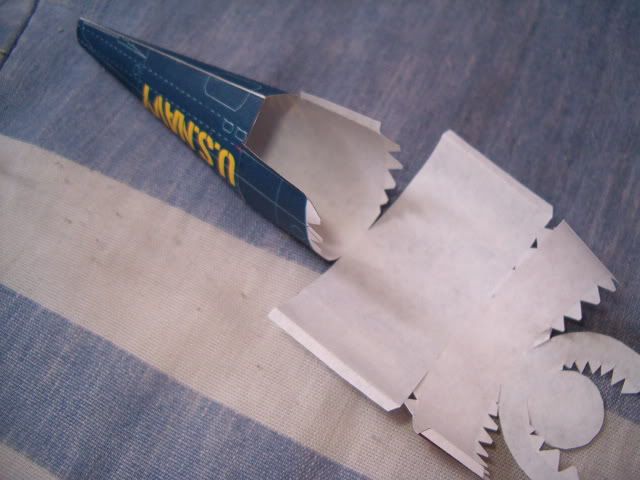 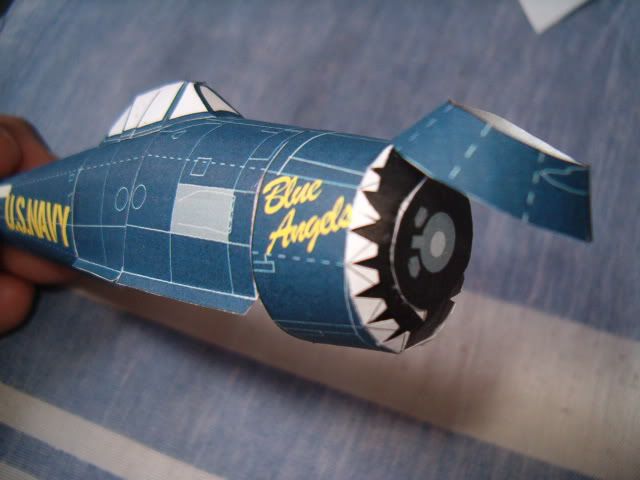 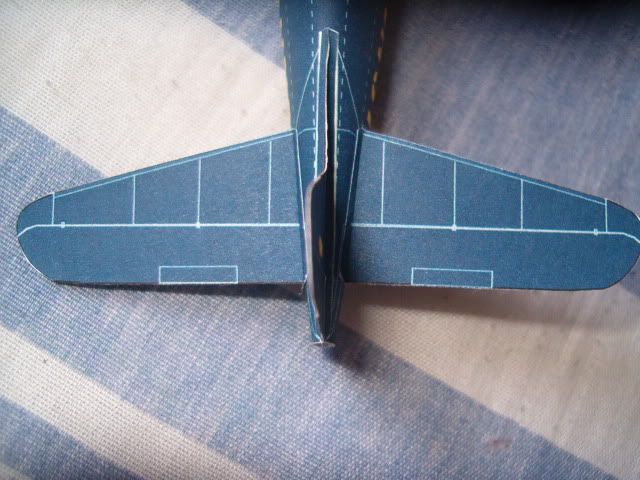 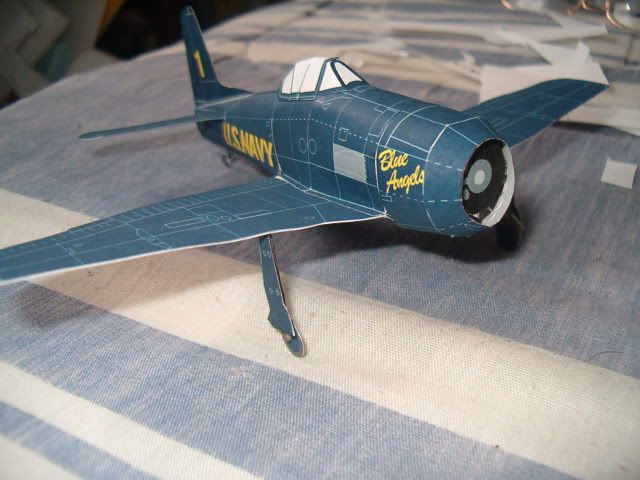 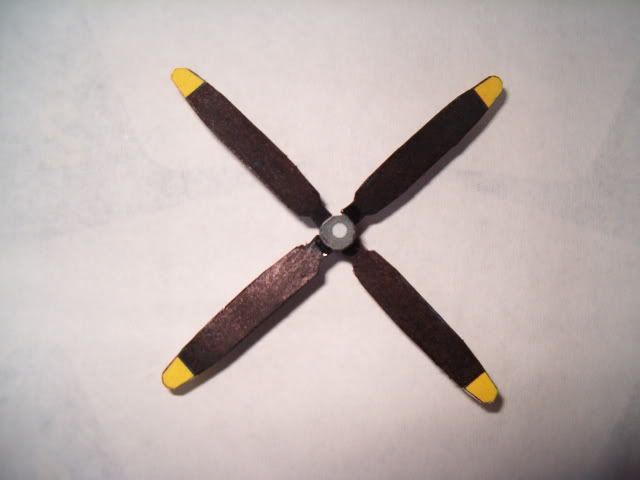 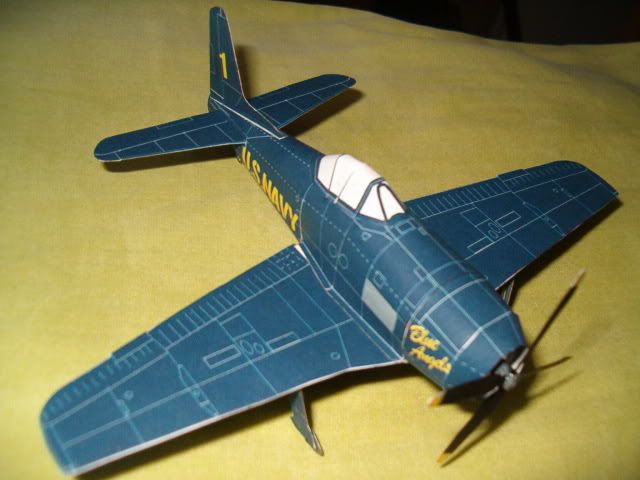 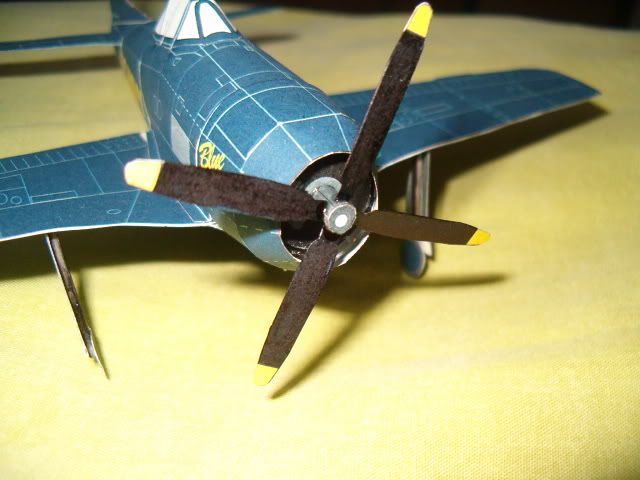

|
| Google Adsense |
|
#2
06-26-2011, 02:37 PM
|
|||
|
|||
|
A lovely way to honor to those who started the Blue`s history:
http://www.airshowbuzz.com/go/view/v...gc7WjpPRwhyqjv
|
|
#4
06-26-2011, 09:27 PM
|
|||
|
|||
|
Richkat, thanks, I glado you like it.
Cheers. Al
|
|
#6
06-27-2011, 08:06 AM
|
|||
|
|||
|
Uyraell, thanks for the kid words, hope to see soon some of your creations.
|
|
#7
06-27-2011, 10:19 AM
|
||||
|
||||
|
Nicely done!
Yogi
|
|
#8
06-27-2011, 12:20 PM
|
|||
|
|||
|
Thanks Yogi, yesterday started the FG Panther, but I noticed a very diferent style in design and buit method... with a big canopy looks like a cartoon plane.
Please, do you have any advice to build petals nose? Cheers. Al
|
|
#9
06-27-2011, 02:48 PM
|
||||
|
||||
|
Al,
FG models do have a definite look. More "fun" than "rivet counter." However, they are generally very forgiving of modifications to improve their accuracy, add detail, or even make them fly. When I do petals (which I hate) I do some prep and use a couple of tools - plus the Titebond II glue I use tacks up enough to hold parts in 10-15 seconds, which can be challenging but helps hold parts in place. 1: cut out the part, I usually undercut to bevel the petals to help the edges fit (printed side ends up slightly larger than the unprinted back side). 2: preshape the part, if it's just a cone (sides of each petal are straight) I usually just roll across the width of the part to shape the base; if the part is more spherical (sides of each petal are curved) I first lightly roll the petals along their length so they curve up (which will be in toward the center in the finished part) then I roll the base ring (trying not to disturb the petals) into shape. 3: glue the base ring together. 4: shape the petals by gently bending each one in by rolling the tip of a toothpick along the petal, then switch to rolling two petals at a time by rolling the toothpick along each seam, then do some rounding by inserting the part into a series of progressively smaller holes (my woodworking magazines send me plastic drill gauges about every other month, so have lots of holes). 5: when disgusted with the above, apply a liberal amount of glue to the bottom (wide part) of the petals - this softens them but you really want to make sure it gets into the seams (and not on the outside). I don't work more than about a 1/4 inch (half cm) at a time. 6: bring the petal edges together, working your way around the part. I mostly roll the tip of a toothpick along each petal and the seams to do this (as noted, my glue tacks up fast). I also use my set of holes to progressively bend things inward. 7: repeat until done, frustrated, or disgusted. Seriously, to see how a real pro does it try: Tutorial and Technique for the Assembly of Open Petal Designs Yogi (I'm still having fun ...)
|
|
#10
06-27-2011, 09:25 PM
|
|||
|
|||
|
Yogi, thanks one more time, very nice technique.
|
| Google Adsense |
 |
|
|


 Linear Mode

