


|
|
|
#21
 09-09-2011, 12:16 PM
|
||||
|
||||
|
Next up - the wings. Simple setup - one piece wrap-around wing with a cutout for the landing gear bay and a box frame former.
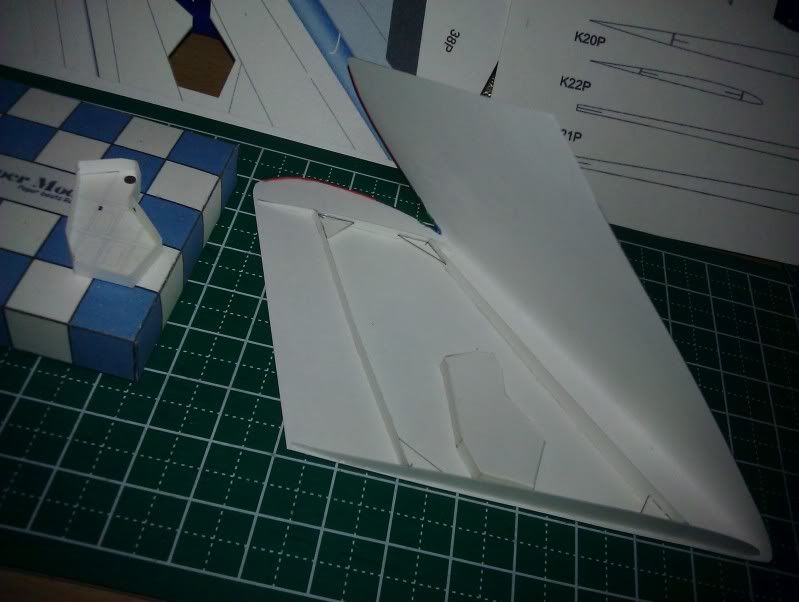 The wing tips at 1:33 need to have small slivers taken out to round the edges (like a petal fold), but at this scale, this would just make a mess. Its easier to burnish the part into the right shape. So to remove the lines, I simply went over them in watercolor pencil, dry: Before: 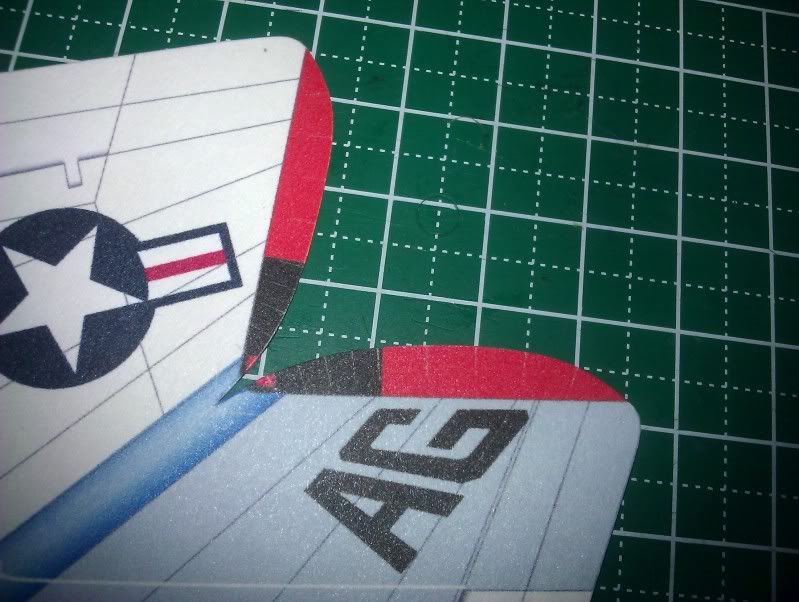 After: 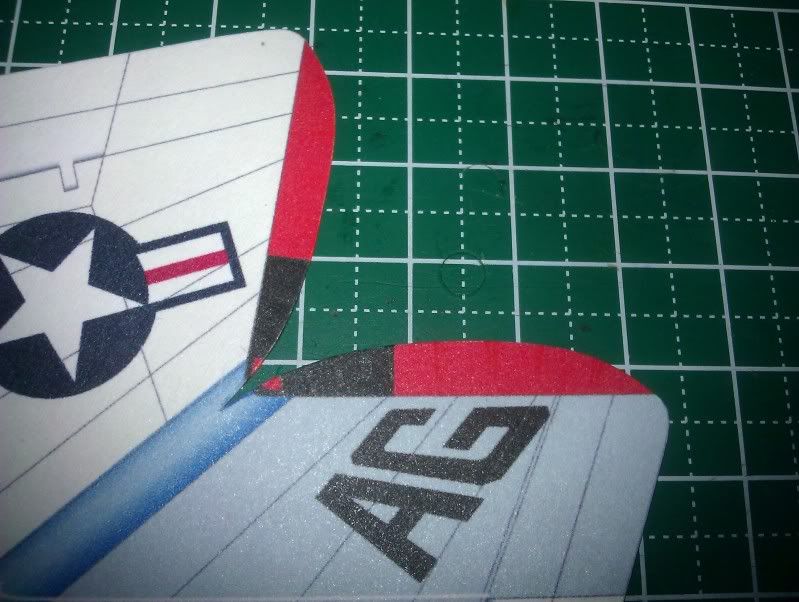 Then its just a matter of doing it again and attaching to the fuselage. The wings (and the stabilizers) are just butt joints straight against the fuselage, but the fitment is perfect and gives a perfectly aligned set of wings. Everything came out square on the first shot - just be sure to cut the parts very precisely. 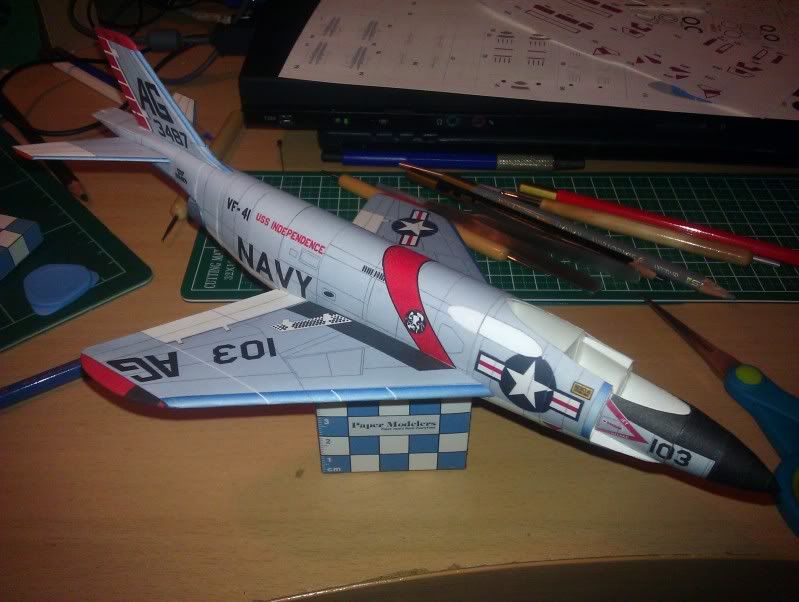 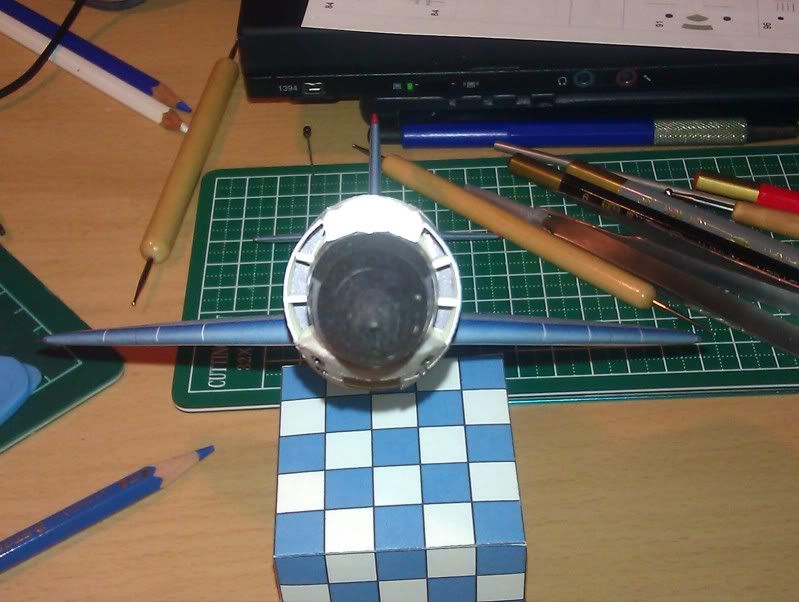 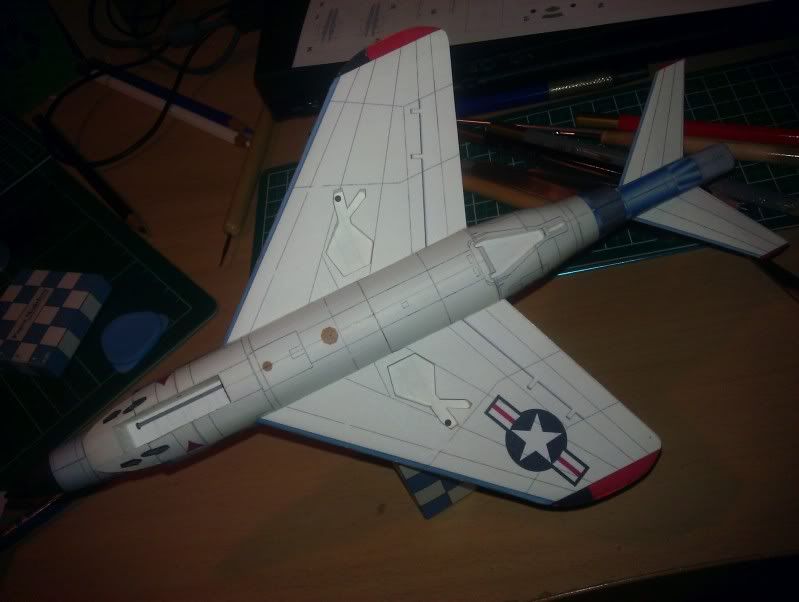
__________________
Put on hold build (someday I'll finish): F-35A Lightning II 1:72 Previous builds: cMags' Card Model Builds 
|
|
#22
09-09-2011, 12:33 PM
|
||||
|
||||
|
Chris,
As an alternative for the wingtip sliver, you can remove a small sliver from the inside of the wing tip, then burnish it. This allows the interior of the tip to form a slightly smaller radius than the exterior. You just have to be careful not to cut completely through. This is looking to be a really nice build when your done!
__________________
Ray Respect the Paper, RESPECT IT! GET OFF MY LAWN!
|
|
#23
09-09-2011, 01:20 PM
|
|||
|
|||
|
that really is a nice airplane and beautiful build! subscribed
|
|
#25
09-10-2011, 07:23 PM
|
||||
|
||||
|
Thanks for the comments guys, the encouragement really helps to keep the build moving.
Now that the fusleage and wings are done, I'm on to details. Lots of details. Two pages of details.  Well, that's what makes a great model, so here we go. Let's start with the cockpit: Well, that's what makes a great model, so here we go. Let's start with the cockpit:Here we have the cockpit tub partially installed. The fit was tight and the formers needed to be trimmed to accommodate - Another small-scale tolerance issue. Not unexpected or difficult to work around. You can also see the 1/4-20 nut glued in above the front gear well to weight the nose down for the tricycle gear. 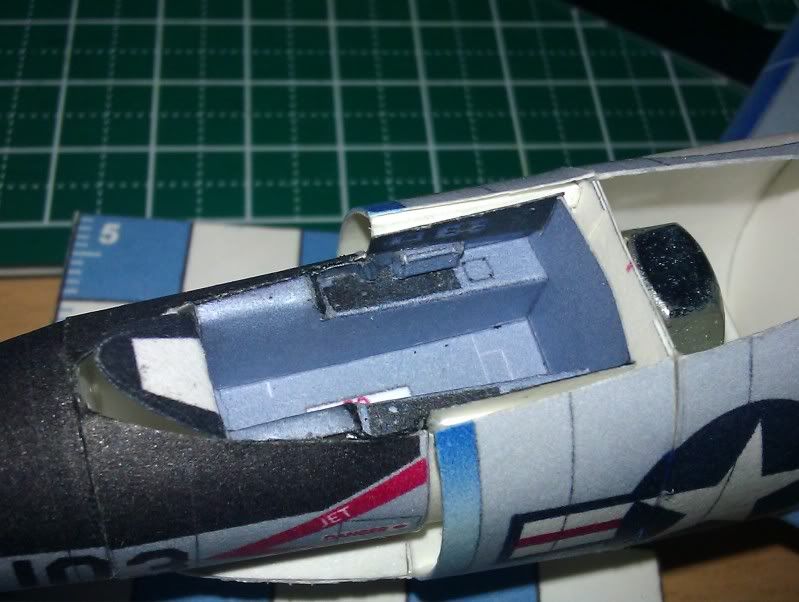 And fully seated: 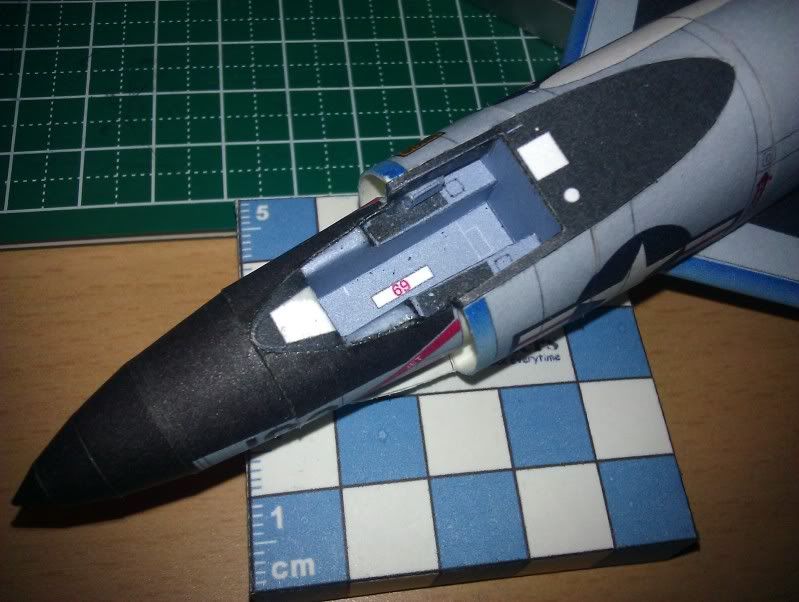 Next the ejection seat. Yes, an ejection seat in 1:72! That was a day's work (on and off):  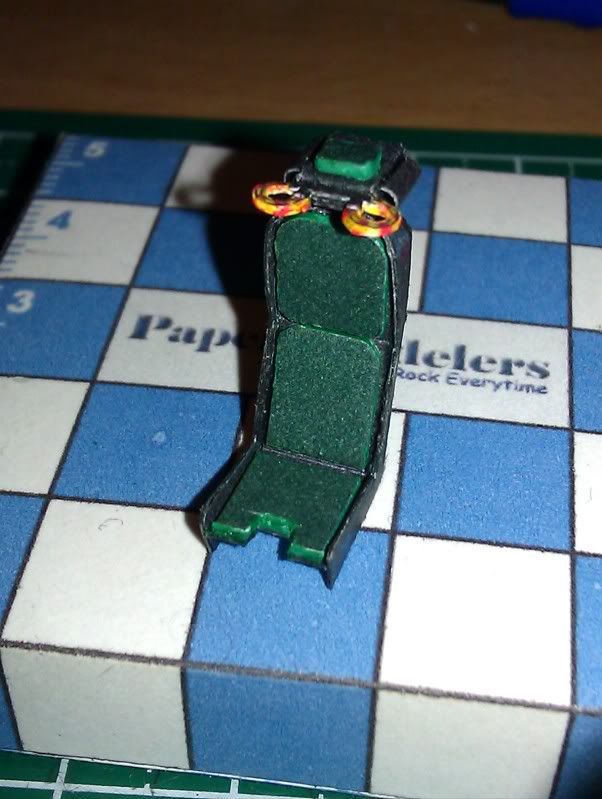 It was a tight fit due to the tolerances - I needed to massage the cockpit sides out of the way and really wedge the seat in there. I didn't even bother using glue - its that tight.  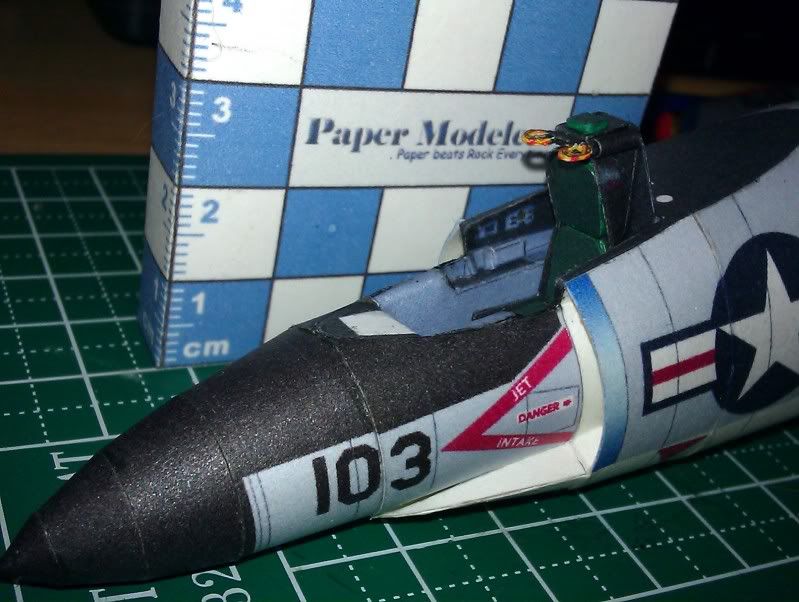 And here she sits so far: 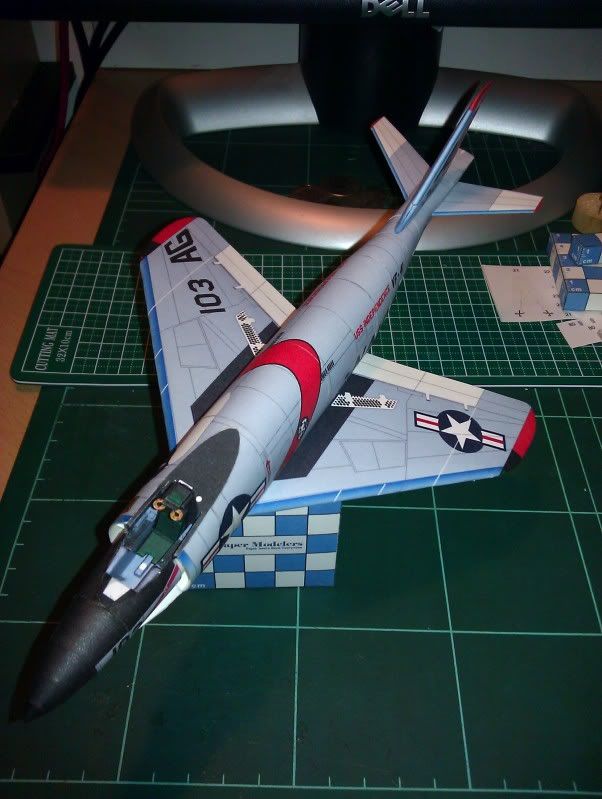
__________________
Put on hold build (someday I'll finish): F-35A Lightning II 1:72 Previous builds: cMags' Card Model Builds
|
| Google Adsense |
|
#27
09-19-2011, 01:59 PM
|
||||
|
||||
|
Thanks Ray. This has been a pretty quiet thread, not much discussion. O-well, guess my build speaks for itself. Works for me - we'll let it stand as an instruction guide for future builds.
Here we have the completed cockpit. I may take another pic before adding the canopy with a proper camera (all these pics have been from my phone which does a pretty nice job, but really close in macro shots are best left for actual cameras). The details were on the knife's edge of impossibility, but I managed to get them together. On the instrument panel hood, there is a gunsight from clear acetate, a small vertical detail (not sure what it is  ) and on the right, a 3D instrument gauge. The thing cant be more than half a millimeter in any dimension. These details would be challenging at 1:33 to all but the really braille-scale builders, and that doesn't really include me. In the back, the radio box does expect you to scratch a piece of wire from the radio to the base - I used a piece of glue-stiffened thread. ) and on the right, a 3D instrument gauge. The thing cant be more than half a millimeter in any dimension. These details would be challenging at 1:33 to all but the really braille-scale builders, and that doesn't really include me. In the back, the radio box does expect you to scratch a piece of wire from the radio to the base - I used a piece of glue-stiffened thread.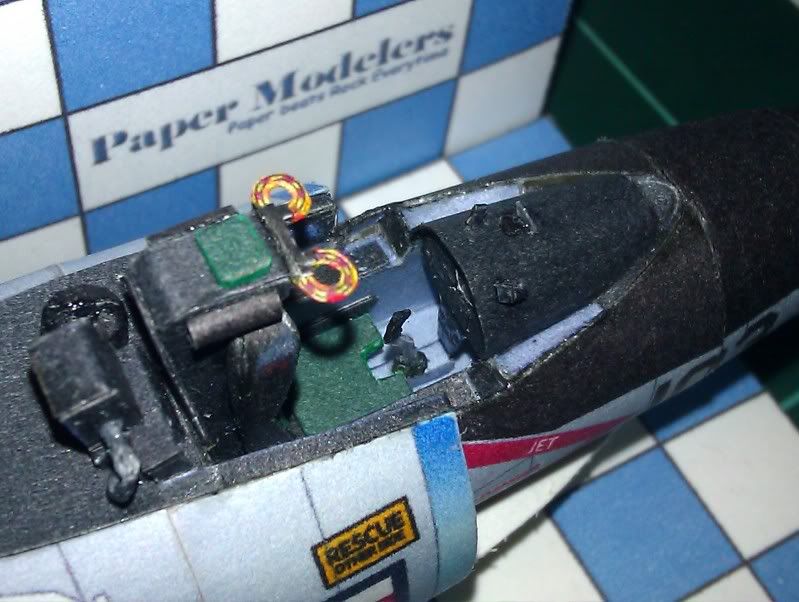  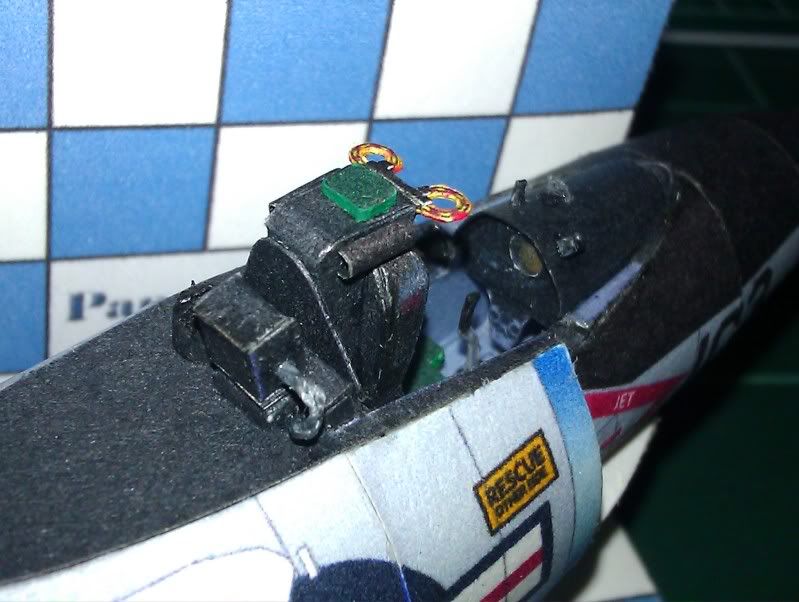 I think I'll attack the clear canopy next, to protect all these details! 
__________________
Put on hold build (someday I'll finish): F-35A Lightning II 1:72 Previous builds: cMags' Card Model Builds
|
|
#29
09-19-2011, 07:59 PM
|
||||
|
||||
|
Just saw this thread today.
Absolutely incredible and detailed work, and at the right scale too ! I humbly bow to your skill. Looking forward to the completion, and seeing how you will make that clear canopy.
__________________
John peace thru light
|
|
#30
09-19-2011, 08:13 PM
|
||||
|
||||
|
Thanks Don and John. John, did you ever see my Albatros D-III thread? I used your rigging technique and it was excellent. Next time I'll try tippet or some other monofiliment if I can find it, but the technique lent itself nicely to thread too. We all learn from each other here. I'll be sure to detail my clear canopy technique.
__________________
Put on hold build (someday I'll finish): F-35A Lightning II 1:72 Previous builds: cMags' Card Model Builds
|
| Google Adsense |
 |
| Thread Tools | |
| Display Modes | |
|
|


 Linear Mode

