


|
|
|
#21
 01-27-2012, 08:32 AM
|
||||
|
||||
|
Quote:
Keep it up!! 
|
|
#22
01-27-2012, 10:52 PM
|
||||
|
||||
|
Turbine exhaust nozzle assembly
The nozzle assembly refuses to be simplified. I was hoping I could skip the middle sections and hide the missing parts in the covers, but they're needed to support the covers. So the full turbine nozzle assembly it will be.
Luckily for me, only 15 of the segments fit around the nozzle at this scale so I'm saved one! ") Beginning with the inner section: 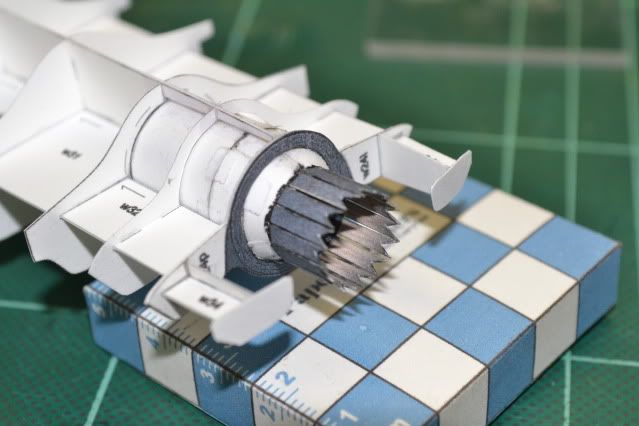 Then I was forced to split this part in two for easier assembly at this scale: 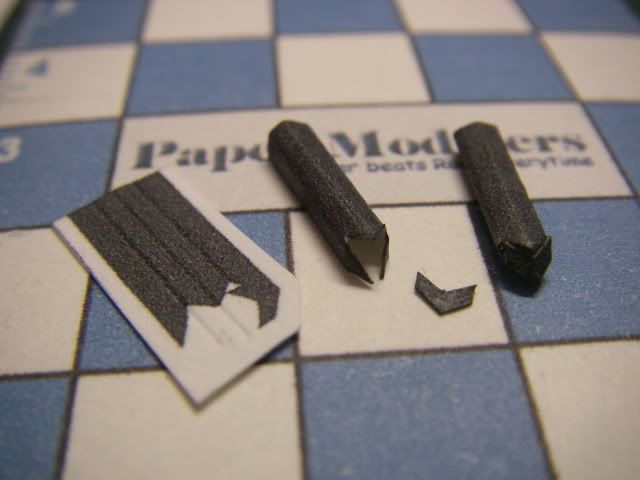 Only 10 more to go!  Then I can add the covers and the nozzle will be done. This is one of the more detailed sections so I'm excited to see how it turns out and hopefully foreshadows the rest of the build in a favorable shade. Then I can add the covers and the nozzle will be done. This is one of the more detailed sections so I'm excited to see how it turns out and hopefully foreshadows the rest of the build in a favorable shade.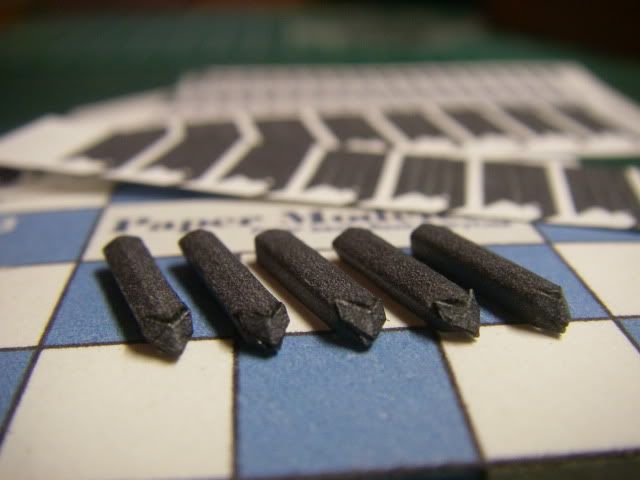
__________________
Put on hold build (someday I'll finish): F-35A Lightning II 1:72 Previous builds: cMags' Card Model Builds
|
|
#24
01-28-2012, 08:40 AM
|
||||
|
||||
|
Pavel's models are a little on the expensive side but you're paying for the quality. These are easily on par with the big name printed kits - Model Hobby, Orlik, Halinski, etc. While I'm building in 1/72 scale, the kit is designed for 1/48 and would very easily scale to 1/33. In fact, each page has a definite half page separation where it looks like 1/33 parts pages were stitched together. So you get a lot of kit for your money.

__________________
Put on hold build (someday I'll finish): F-35A Lightning II 1:72 Previous builds: cMags' Card Model Builds
|
|
#25
02-01-2012, 10:10 PM
|
||||
|
||||
|
Exhaust nozzle completed
Been a couple days since I've posted an update on this thread, but I've been whittling away on the exhaust nozzle. I did end up using all the parts. Everything went together very straight forward, and came out pretty nice I think, maybe just a little thicker than it should, but won't cause any problems.
Here are some pics of the assembly process: 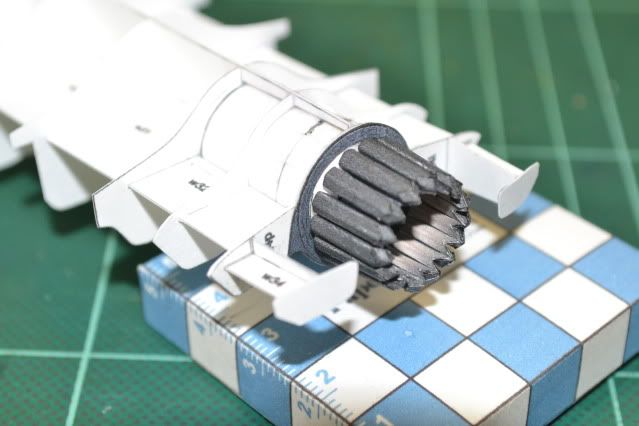 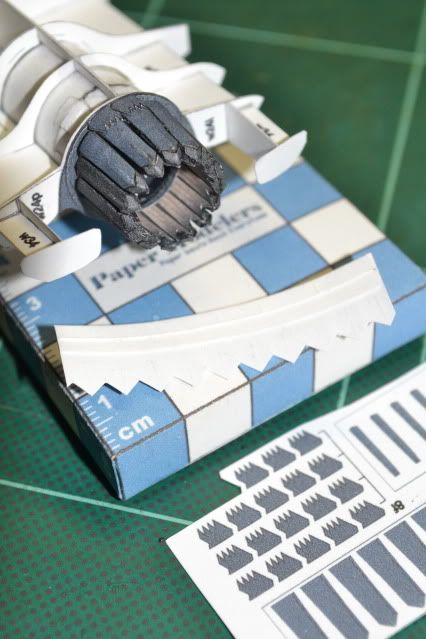 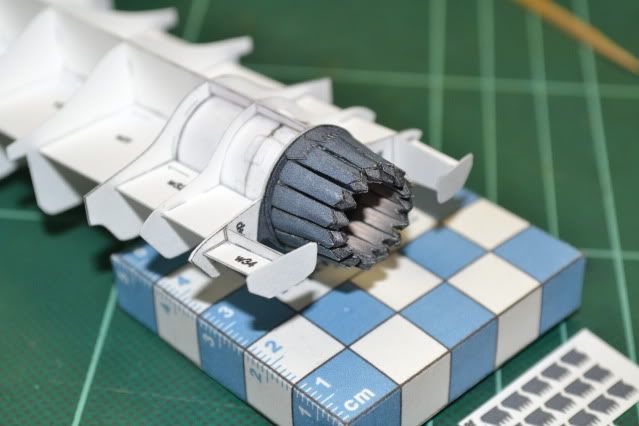 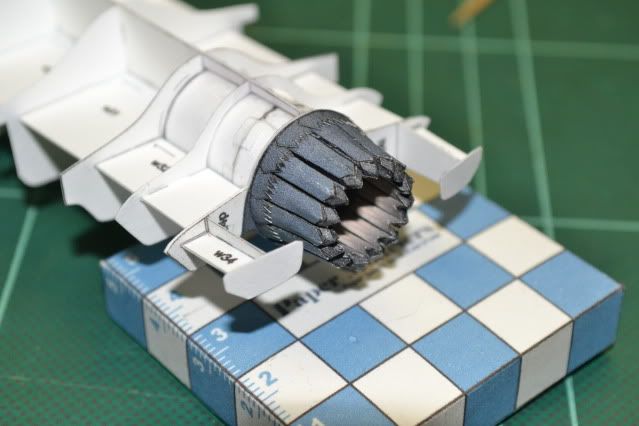
__________________
Put on hold build (someday I'll finish): F-35A Lightning II 1:72 Previous builds: cMags' Card Model Builds
|
| Google Adsense |
|
#27
02-01-2012, 10:22 PM
|
||||
|
||||
|
It certainly felt like it! It ended up being, lets see, carry the one... 90 parts to make the nozzle. Only 600 some-odd more parts to go!
__________________
Put on hold build (someday I'll finish): F-35A Lightning II 1:72 Previous builds: cMags' Card Model Builds
|
|
#30
02-08-2012, 10:59 PM
|
||||
|
||||
|
Intakes
So to round out the airflow system, I figured I'd tackle the air intakes next. They are only a few parts each, but form up in quite the complex shape, and there is very little to guide you to the proper shape. This was more a task in sculpting than model building, but I think I was reasonably successful. There are certainly a few mistakes though.
I did the right side first, and to help guide the placement, I installed one of the skin segments to help locate the front end of the intake. I was required to trim a half millimeter off either end of the assembly to get it to sit right (or what my best guess at right was). 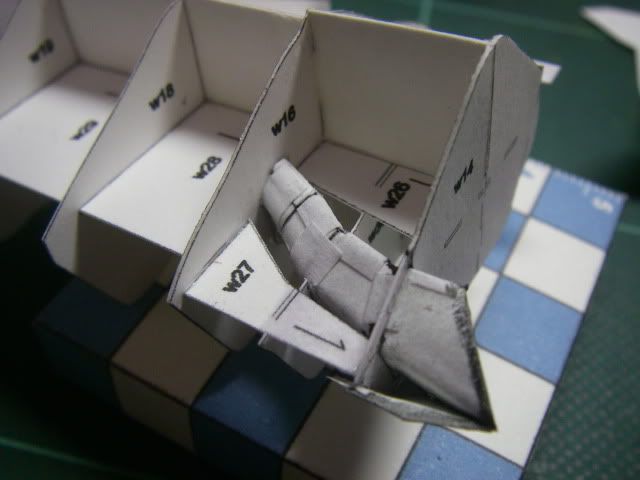 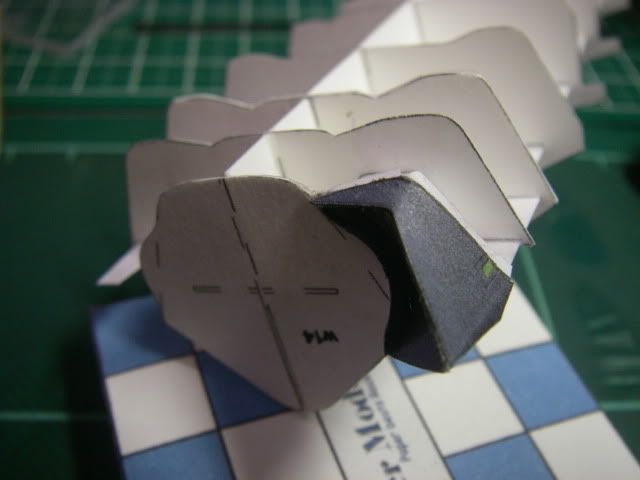 However when I did the left side, even though it appeared to be sitting long like the right side, after I trimmed it, it turned out that I should have not trimmed the front as the skin was too long. I ended up trimming the skin to match the intake length, but the left intake is noticeably shorter now - by over a millimeter, which doesn't make a lot of sense to me because I only trimmed less than half a millimeter, the same as the other side. 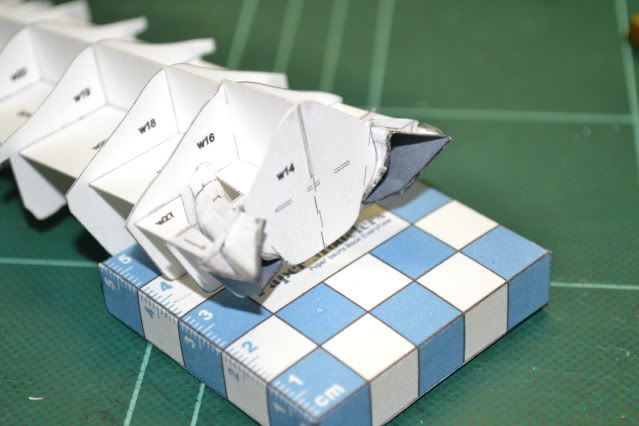 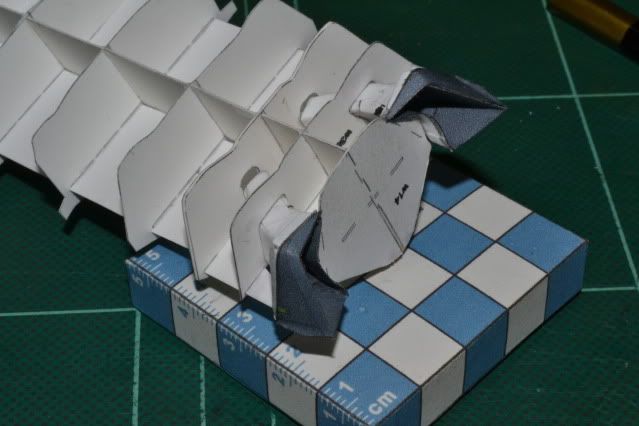 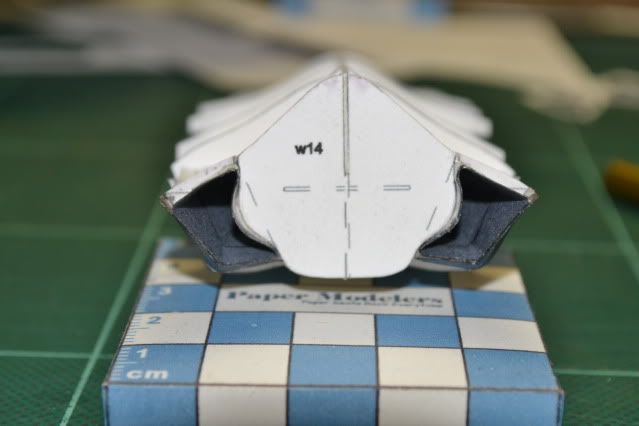 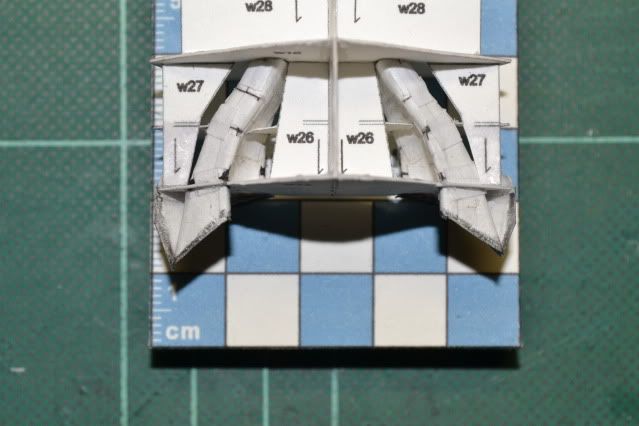 You can see in this last picture the length difference between the two sides. This is going to impact how the skin sits on top, as its one piece covering the between the two fuselage formers and includes the extension sections covering the intake tops. I think I can adjust how it sits by sanding the formers to a slightly different shape, or maybe I can cut the piece so the extensions are separate and trim them to fit. We shall see. This is a very difficult build.
__________________
Put on hold build (someday I'll finish): F-35A Lightning II 1:72 Previous builds: cMags' Card Model Builds
|
| Google Adsense |
 |
| Thread Tools | |
| Display Modes | |
|
|


 Linear Mode

